Terminology:
Scene Layers -> Collections, found in the top right outliner.
Render Layers -> View layers, found in the very top right corner of your screen above the outliner.
Instructions:
Thanks for taking the time to translate the 2.7x terminology + workflow to 2.8 ![]() tinmanjuggernaut ! 🙇
tinmanjuggernaut ! 🙇
I have the whole scene split up in separe view layers but would like to view the whole scene in 3d viewport. Do I just toggle the Collections on and off and hope I remembered to toggle the correct ones each time I render the scene again? Is there a better way to do that? Can I view multiple view layers at once in the viewport?
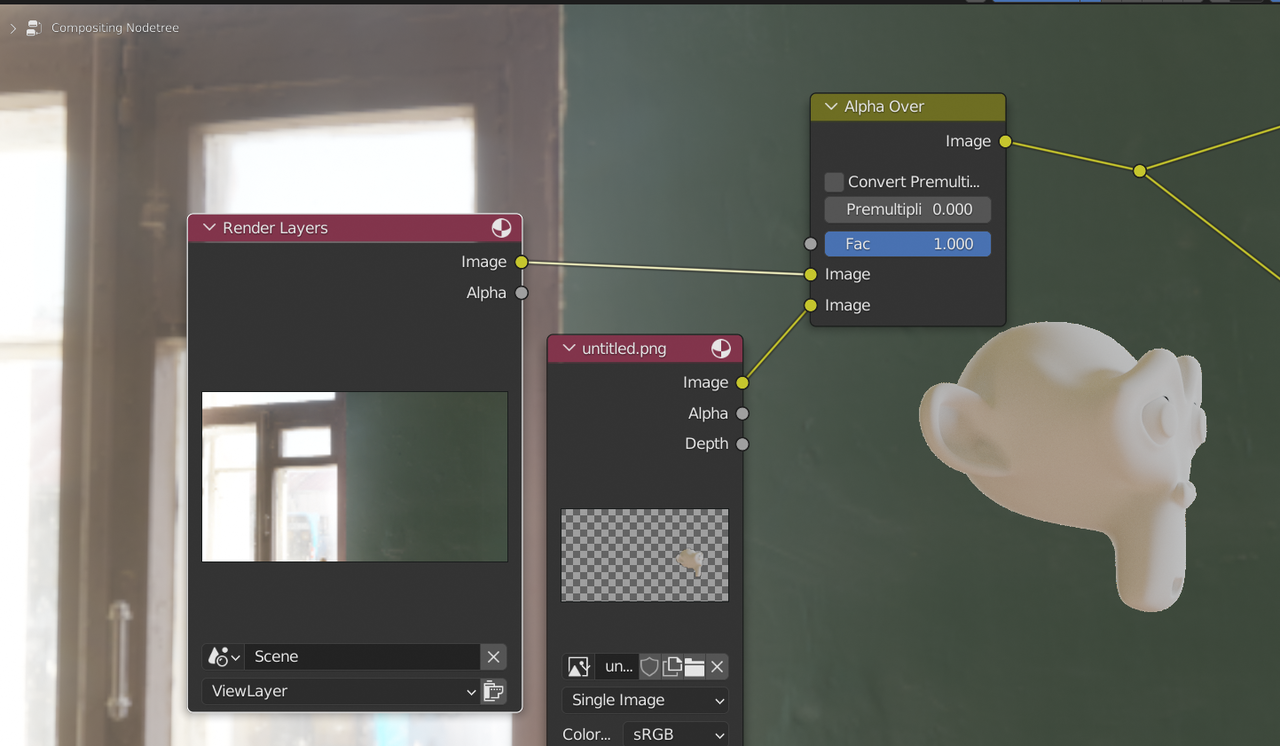
Thanks you so much. My only problem is that when i go to the composite layer Blender only shows me only the backdrop layer:
Hi @pohrerhub ,
there are two things missing: an Output > Viewer Node and the Backdrop needs to be enabled (I didn't do any rendering, so the Bacdrop is just black here):

Hi ![]() spikeyxxx
spikeyxxx
It still renders just the backdrop.
The other layers work perfectly:
Do you have any other ideas?
@pohrerhub I think you have the order mixed up; the 'background' goes into the top socket of the Alpha Over:

I must admit that I can never remember this and always switch them untill it works :)