Hey,
So I'm getting back into Blender and I have this amazing view outside where I work that I want to recreate.
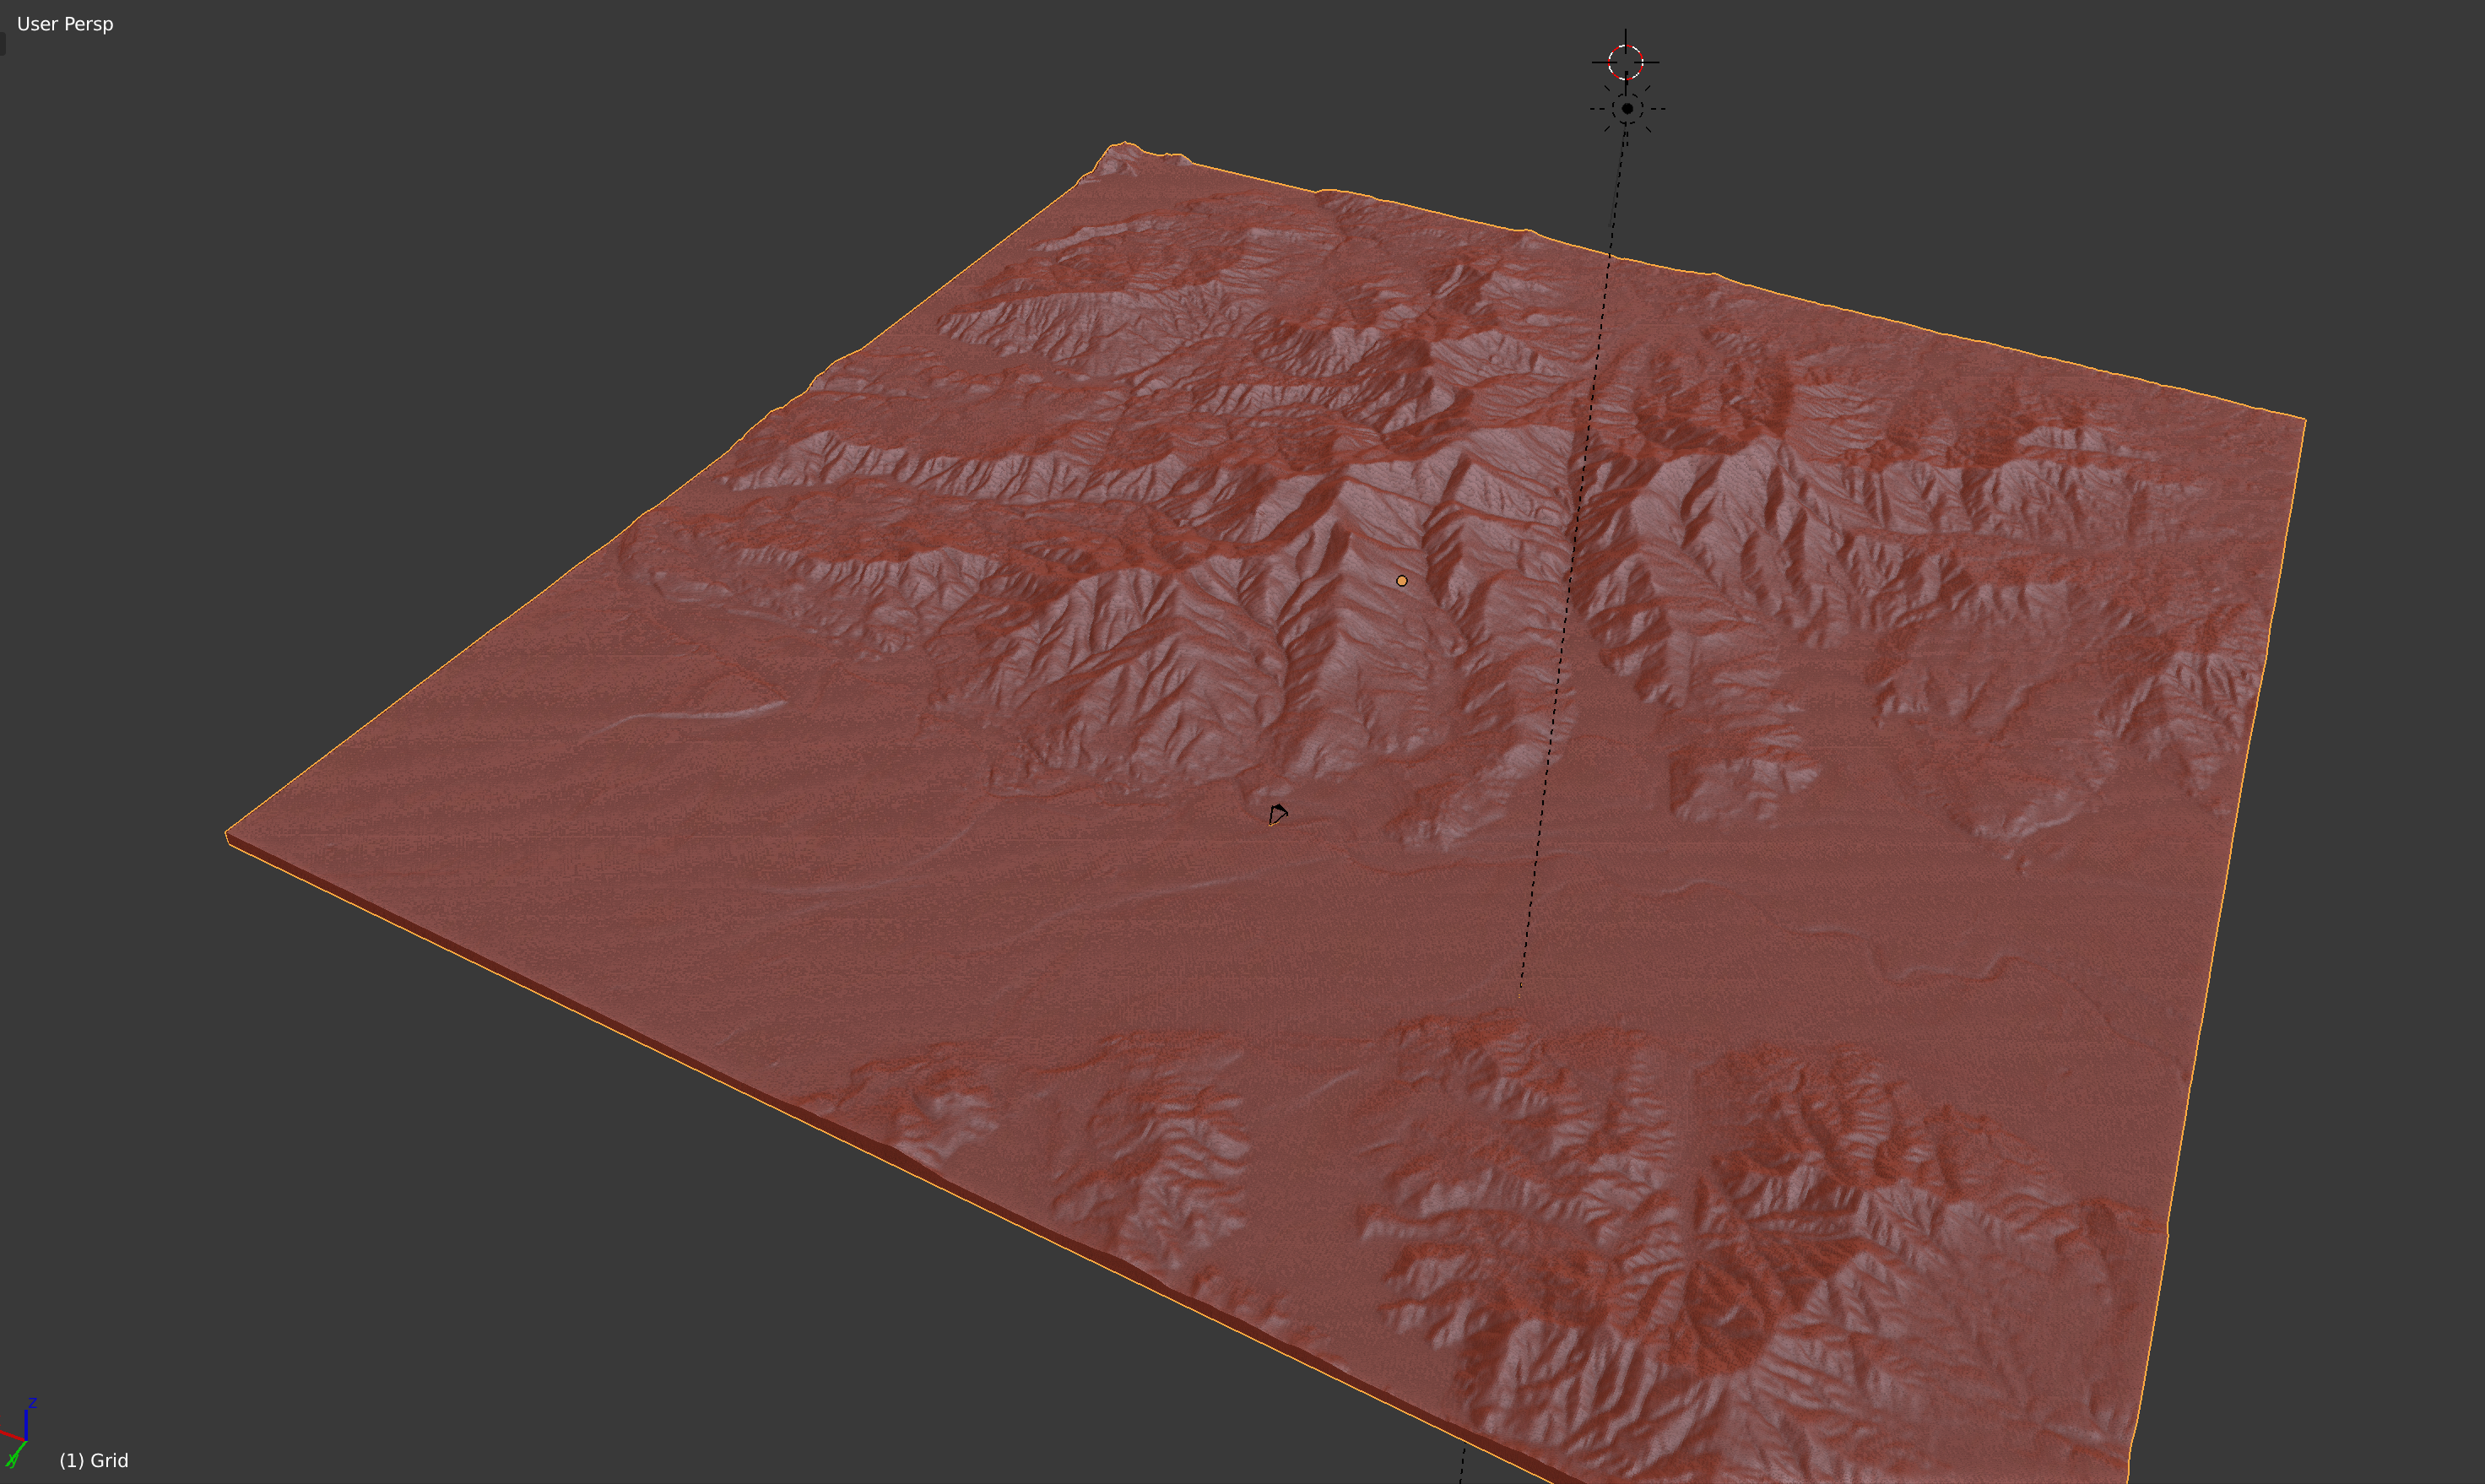
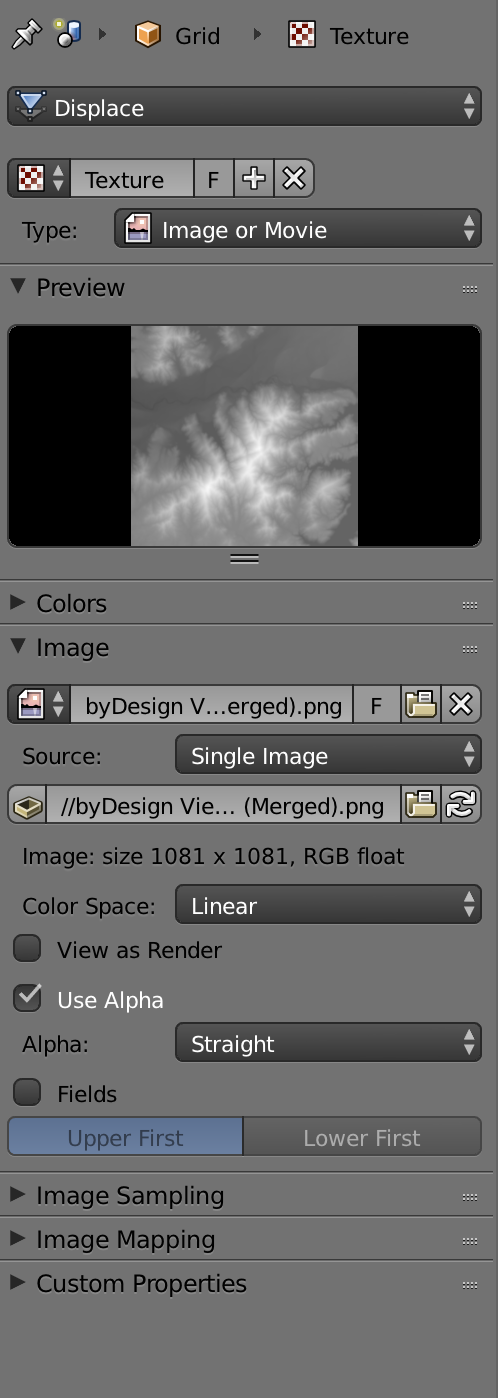
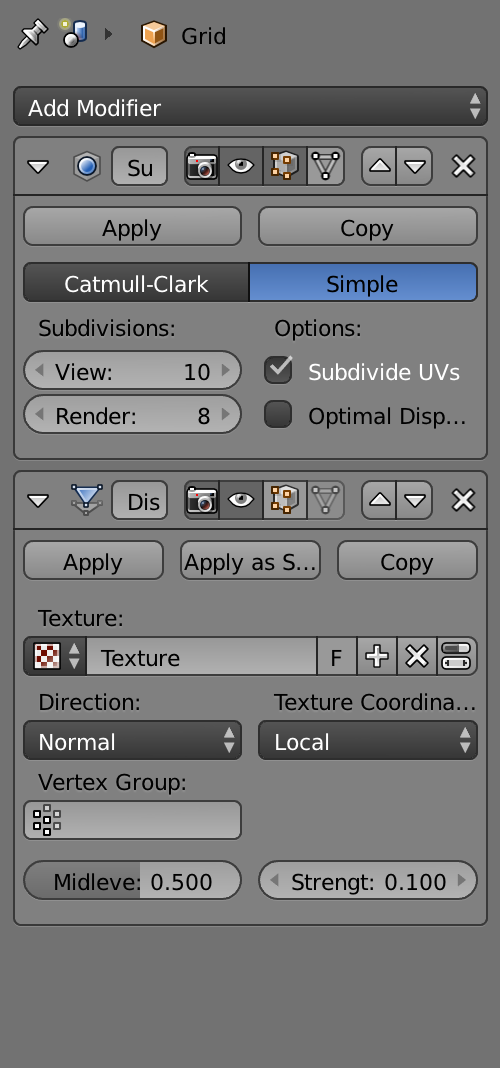
I found this tutorial on pulling height maps from terrain.party, I located my location on the website and pulled in the height map onto a plane with a subsurface modifier and a displacement modifier.
This gave me a great start on achieving accuracy but now I want to go in and sculpt onto that to add more detail. I see the terrain in "Object mode" but when I switch over to "Edit mode", it's just a flat plane again. Hooooow do I go about doing this???
Thanks in advance
By the way, here are a few screen shots from the project if that helps.


I've never done it before but try applying the displacement modifier. This should apply the geometry where it stands and then you can go into sculpt mode and sculpt onto it. If you want to get back to where you were, you could then bake the new sculpt to a new height map and then use it on a new plane with a displacement modifier.
FYI a height map is just a black and white image that determines the geometrys height by its grayscale value between white and black, on a 0.000 -1.000 scale. When it is used through a displacement modifier, it is only "modifying" the geometry to suit on the flat plane and which is not made permanent until a modifier is applied.
Gotcha!
Thank you for the FYI, makes sense, and it worked.
Is there a way to re-topologize after applying the modifier so that I don't have a million and 1 Verts, and it doesn't tax the computer so much, but it still maintains it's shape? Then I could use Dynamic Sculpt and it applies geometry only in the areas it needs it. Is that even necessary or is there a better way?
I appreciate your help btw!
Can someone tell me, waht the height maps can be used for? Only landscapes or something else? Is it able to use it along with normal maps in gaming environment for example? I've heard about height maps but there are not so many tutorilal abot it.
And one more question. Matthew writes: "...you could then bake the new sculpt to a new height map". I've tried many ways, but I receive just blank whitr image without grey color on it. How do you make this from sculpting? (I hope someone maybe did it once in his or her life)))
Height map is generally used to create the biggest transformation and you can then combine it with normal and bump maps for extra details.
Generaly you use the height map with a displacement modifier to currently deform the mesh while normal maps and bump maps will fake deformation of the surface when rendered.
Regarding your baking, if you're using a multires modifier try modifying your preview subdivision level to 1 before baking.
If working another way (dynamic topology or displacement modifier plus subdivision modifier) you'll need a target mesh to bake the displaement to. Blender will then create a greyscale texture based on the difference of high between the modified mesh and your target mesh (generaly the lowpoly mesh you want to use in your game)