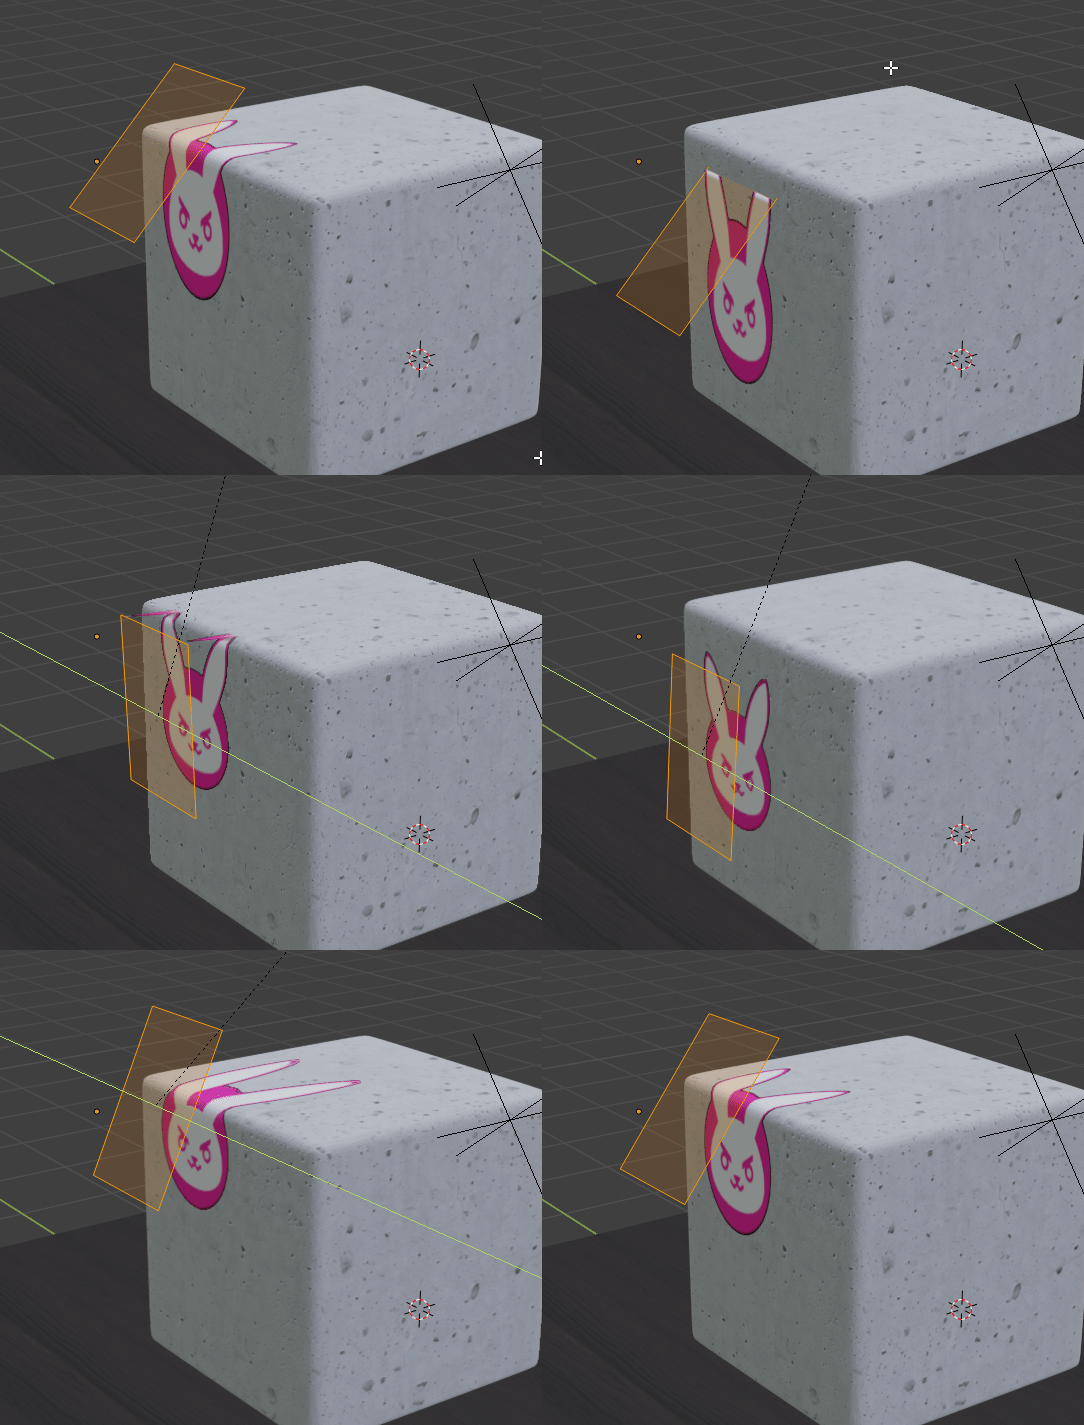
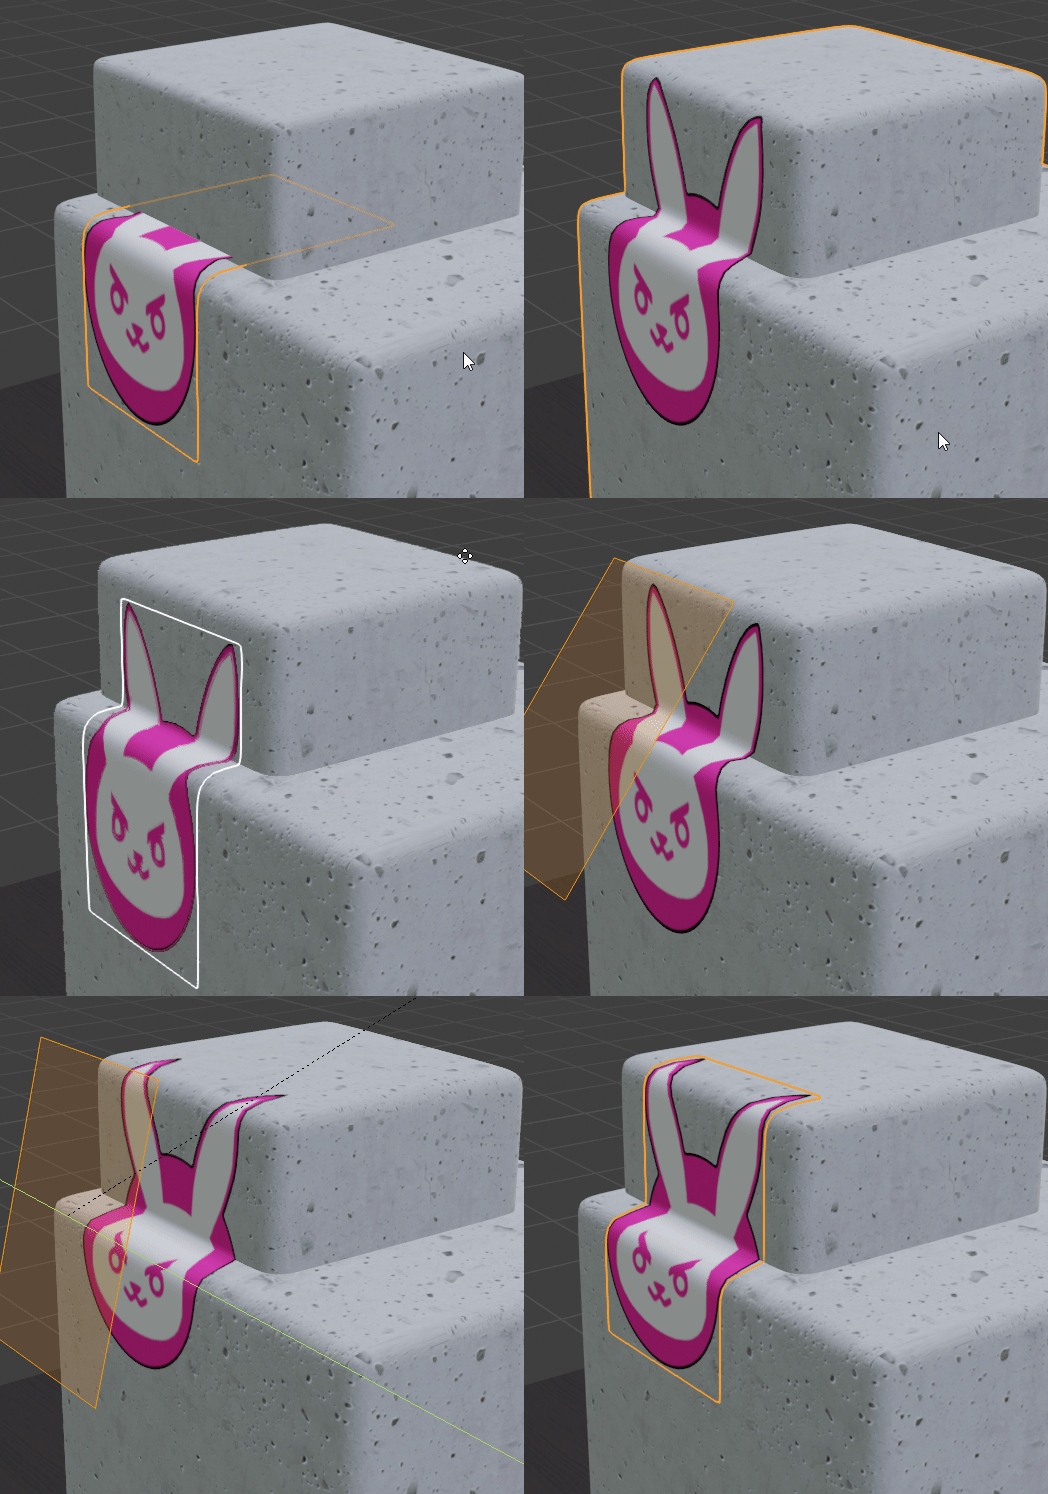
Decals are one of those things that I always wanted to explore, so I thought it was pretty cool to see this video pop up in the feed. I'm not really sure what to make of this workflow though. As far as I'm aware, everything that this method does can be done just as well using the shrinkwrap modifier. It's true that you need to add a decent number of subdivision to your image plane, but booleaning out parts of your current mesh can also result in any number of vertices.

If your mesh consists of multiple objects you can join them together (or duplicate them first and join them to use as a 'guide' object)

There's also always the option to add the decal in your material, combined with a UV project modifier so you can even combine elements of your base material with the decal


Maybe I'm missing something, but I don't fully understand what the idea behind actually booling + cleaning up your mesh is supposed to offer as an advantage. I was kind of hoping for a way to easily project decals over a variety of meshes / objects without having to add modifiers to every single one of them. I believe that UE4, for example, just allows you to easily project decals like this over anything in the environment. I kind of hoped Blender would have something like that now that EeVee's here. Would love to hear your thoughts! :D
Thanks for raising so many good points ![]() numbernine :)
numbernine :)
To me the main benefits of this method are that it leaves the target mesh completely intact and allow you to treat the decal as a separated object. This means you can apply decals during any stage of your project, whether you are at the early stage or polishing it, with clean visual result. This technique also provides better looking results in non-flat surfaces compared to using the shrinkrap modifier.
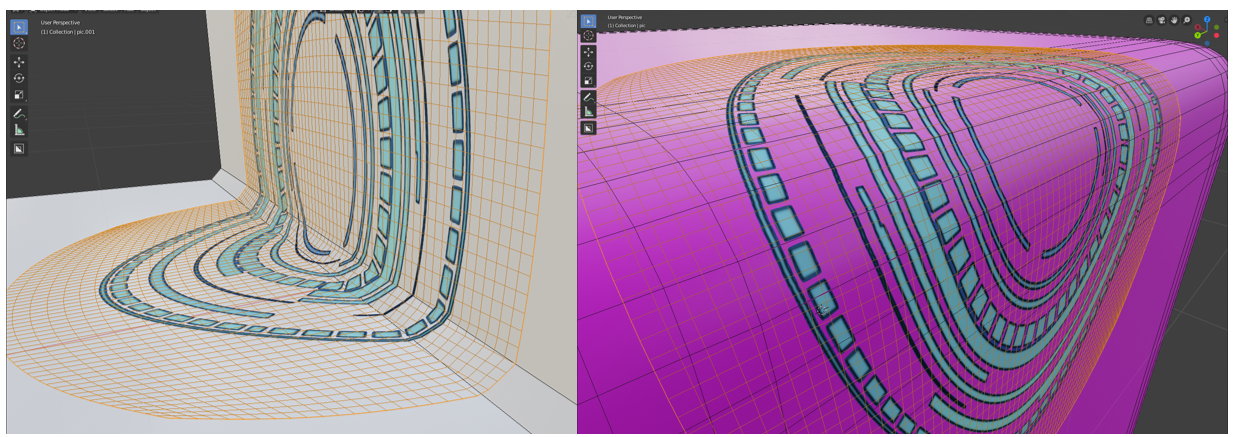
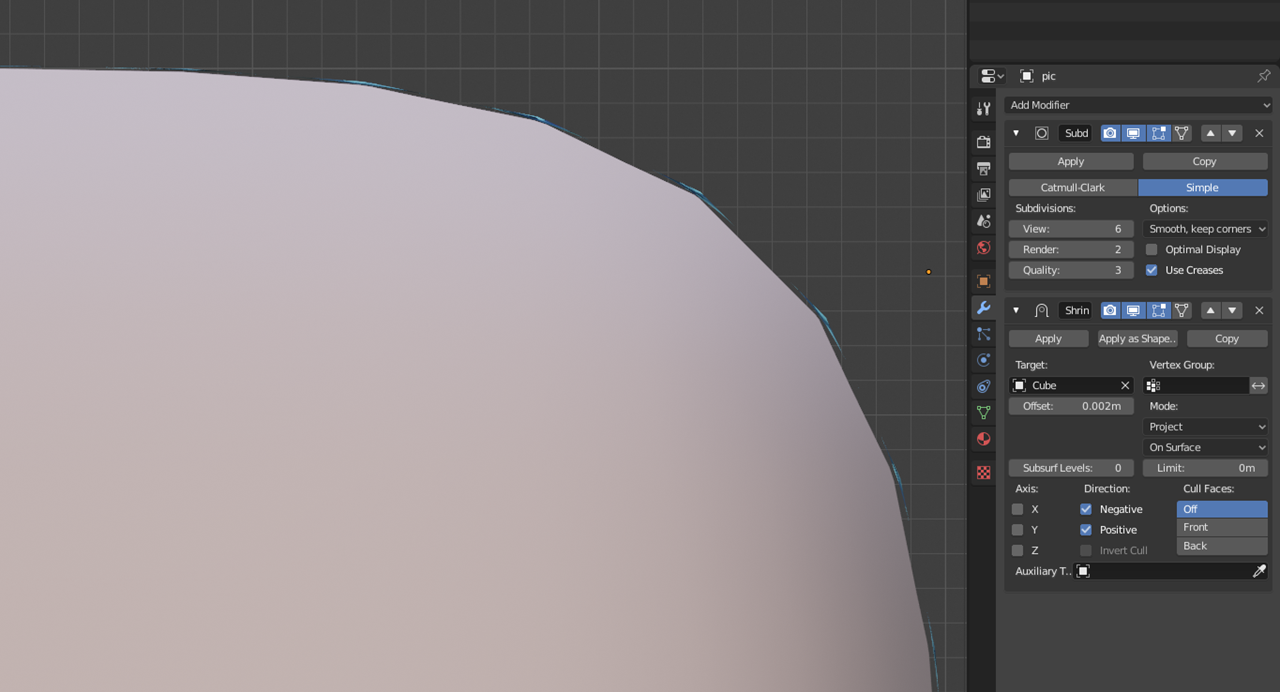
Shrinkwraping the decal on a curved surface or on the inside of an L shape will end up with non aligned faces no matter how high you'll subdivide it. This will force you to use a higher offset value to avoid intersection and overlapping faces compared to the very low value of the displacement modifier. The end result can be damaged.

Booling will allow you to borrow the target mesh and the decal will share the exact same topology and you will not have this issue. With a one-to-one topology you get the exact same normals and shading as well, which will make the decal to look stuck on the target.
In the case of multiple targets, joining them would be quite destructive if you're at an early stage. Arguably you can as well duplicate them and use them as a target and then you'd be using a similar approach to this workflow :)
The main drawback I found with using the UV Project technique directly on the target is that it goes through the whole mesh if (I used an image as empty for better visibility):
At the end of the day it of course also is a matter of preference, simply I find this workflow more convenient for the reasons described above. It can also be then scripted it so you can just select the target, the imported decal and you get the job done for you :)
Thanks again for these very good questions,I hope you'll find this useful eventually :)
Let me know if things remain unclear:)
/Thibaut
I did notice that shrinkwrapping required a slightly higher offset, though I wonder how noticeable it would really be. I hadn't noticed that the UV Project method projected straight through the mesh, which is obviously a downside if your object can be viewed from all sides. Initially your method seemed like quite a few steps to me, and I'm unfortunately not experienced enough to start cobbling a quick python script to automate this for me, but it could become quite fast.
I'm just a bit surprised that decals require so many steps and are so relatively unflexible. In UE4 for example you can create a simple bounding box that can project (in different ways) an entire material onto everything within those bounds, and can even interact with the material it's being projected onto.
https://docs.unrealengine.com/en-us/Resources/ContentExamples/Decals/1_1
In this way, you never need to fiddle with all your materials and objects separately. I love Blender, but I do find it a tad odd I have to start messing with booleans in order to get some basic decals into my object / environment.
Thanks for the quick response!
Edit
I'm also currently checking out an addon called DecalMachine to see how it functions, but it looks promising.
Well based on what I see on the video, it seems Unreal uses a similar yet more automated and interactive approach, based on boxes intersection ( = booleans).
It take note on your comment and see how long it can take to script it :D
Cheers,
/Thibaut
EDIT:
DECALMachine basically makes the workflow much faster, among many other things. I'm not certain it uses the exact same technique but the result is also topology based. You can see it as an equivalent to hardops for the boolean workflow.
If you feel like doing it I won't stop you! :D
In the meantime, I've been going over DecalMachine's YT channel and just watched this video. I can't tell for sure what it does, but I think the standard 'project' in this addon does some kind of knife / carve project to transfer the topology from your base mesh to your decal!