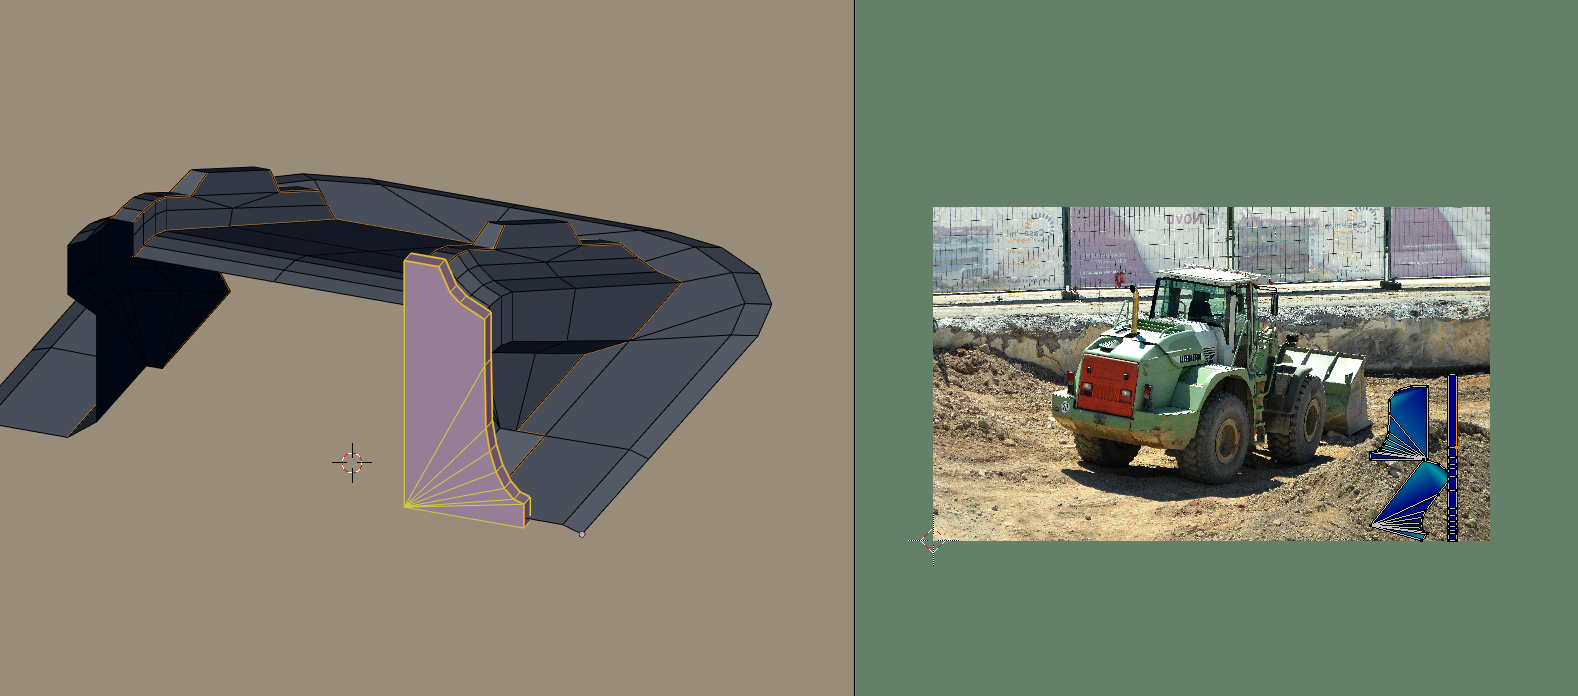
![]() scdelf Could you post a screenshot of what your UV's look like compared to your mesh?
scdelf Could you post a screenshot of what your UV's look like compared to your mesh?
I am having the same issue , just on the top of the rail piece, did you figure it out?
Here is a quick video of the settings, I couldnt find the scale values for just the rail piece in edit mode just for the whole model as you can see in the video. Let me know if you see anything that could help. Thanks.
https://drive.google.com/open?id=159GWCHXs68P1n3M0m6MTos-12Jn2qu1R
hmm, I just tried that and then cleared the seams and re-marked them and unwrapped but they are the same but maybe a bit more curved(still in the wrong direction) the scale is now 1,1,1.
Also just tried to do a smart uv project and it actually set them the right way but when I tried again with my marked seams it is wrong.
tterence7 ....... 🤔
I'm stumped. Can you upload your .blend file to dropbox or google drive (or similar service) and provide a download link? I'd like to take a closer look at what's happening in your file.
hey Kent, I think I just posted that link without letting you know I posted it, it is the .blend file you asked for.
Thanks for the reminder tterence7 - After opening your file, it looks correct to me:

So I'm wondering if you've been laying our your UV's with a non-square texture loaded in the UV image editor. Whenever laying out UVs, you want to ensure that either no image is loaded in the image editor or that a perfectly square image is loaded (1024x1024 pixels for example). See when I load a rectangular image, the UVs stretch to fit:

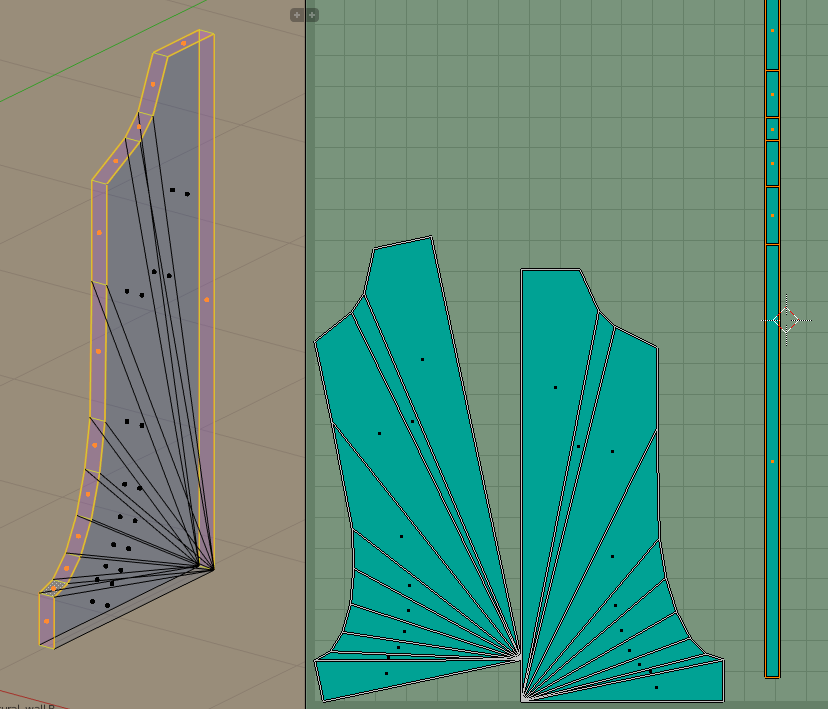
hey Kent, yours looks the same as mine, in the UV editor the top of the rail piece rounds outwards instead of dipping in.Maybe this is normal? But when I use smart uv project on the rail piece it dips in like the 3d view.
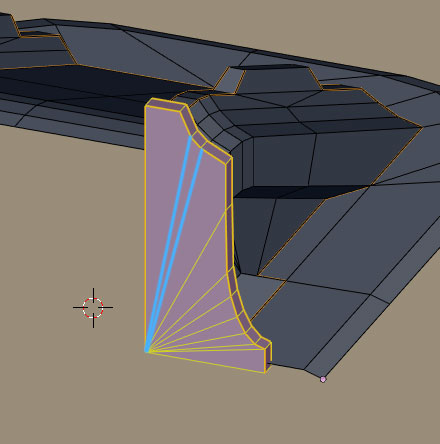
Ooooohhhh ok I see what you're talking about. Yeah what is happening there..I guess that's how the unwrapper is handling the n-gon there. I recommend you connect edges to get back to tris and quads (no n-gons):

*Adding edges where those blue lines are.* I bet you 1200 midichlorians that will force the unwrap to respect the dip.
Hey Kent, it didnt actually, same result.Also tried removing any doubles and clearing normals just in case, and the same. Once again if I do a smart UV project it does respect the dip.
Figured it out, instead of choosing each vertice and pressing f to make those edges, I deleted that whole face and recreated the faces and that worked!
Having a few more issues with the next objects, next corner piece when I mark and unwrap its not symetric lick my model, kinda stretched.Other corner is the same, next piece turned out alright. As you can see in the 4th object, no matter how I cut the rail piece the middle is attached to the side in the Uv/image editor, and it is in green. I have uploaded a short video showing this.Any help would be appreciated.
https://drive.google.com/open?id=1nOhF_PPCrm7a01rTaZQ4NSIyzxhHjKgI
I'm striking out at every turn with you tterence7! I swear I'm a professional 😅
Very surprising to me that refilling the face fixed the initial issue instead of cutting new edges with CTRL + J.
As for your new pieces I can't quite tell the issue from the video. Can you provide another download link to your .blend file?
Haha, no worries, I'm sure its all me. I actually hit CTRL + F to make the extra edges (probably that issue). here is a link to the .blend file.
https://drive.google.com/open?id=1ZydvYWbuKkK-B2Ik7wcB4GQY29Yg6eb1
Ahh ok so I may have been right for once! I was developing a complex for a minute ha. Yeah CTRL + F is deceiving as it simply creates an edge over top of the existing face. CTRL + J cuts an edge *through* the existing face.
I can confirm your issue of not getting the middle row of faces to separate from the sides by cutting seams. I've never seen that before. The only way I could separate it was to select the middle row of faces by themselves and hit U -> Unrwap. There's *always* more than one way to skin a cat in Blender / CG:

Great worked for me too. any reason it seems stretched? more green than blue like the others?
tterence7 If they're the only islands that are more green than blue, it's most likely a scale issue. That the greenish UV islands are disproportionately larger or smaller than the mesh itself.
You can either scale those specific islands down or up till they're blue like the others. Or you can use UVs > Average Island Scale.