Ive been following along with the Human Course, and after revising my model in the sculpting phase, I am doing a second round of texture baking. I'm using Blender 5.1.0 and the issue I'm coming across is that my first displacement bake looks very off from what is being show in Chapter 3 Part 1, Map Baking I. 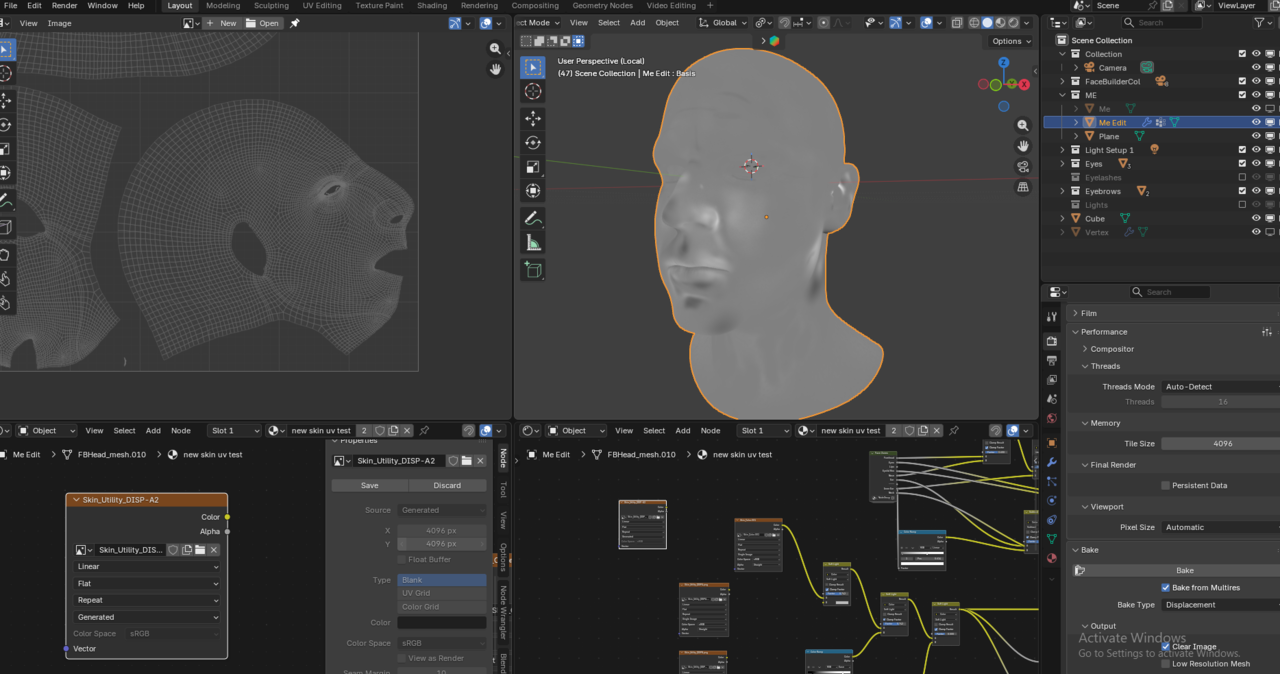
This is how my bake is turning out, despite having the sampling at 1, the memory tiling at 4096, and having the multires sculpt render higher (I'm using 5 not 6 like in the chapter video) and setting the levels viewport to 0.
Has anyone else been experiencing this issue, or is this tied to my UV mapping? Which also looks like this. 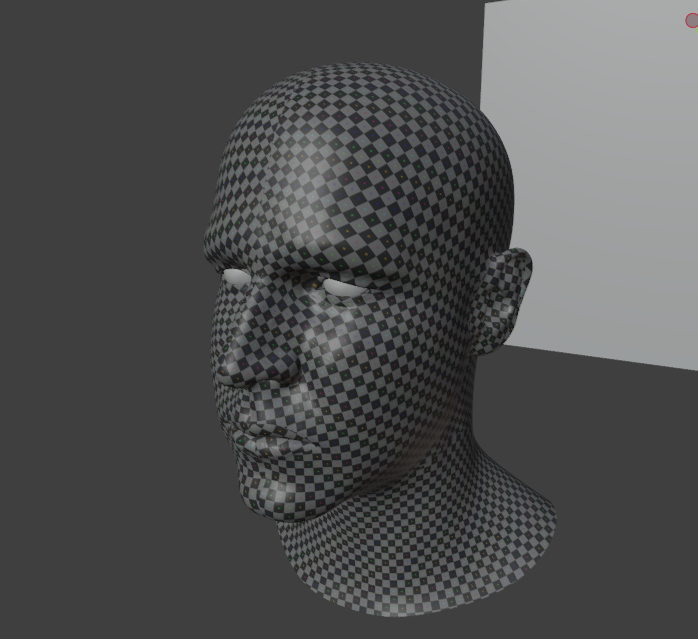
Any assistance would be greatly appreciated.
Hi Peter PPFavinger ,
Hard to tell, this definitely doesn't look right (looks more like it Baked the Displacement from Level 1 to Level 0, or so).
It's not because of your UV's and probably also not becauise of the Blender Version.
Could you provide a link to your .blend file (uload to Dropbox, Googledrive, or so and post the link here) please? That'll help troubleshooting.
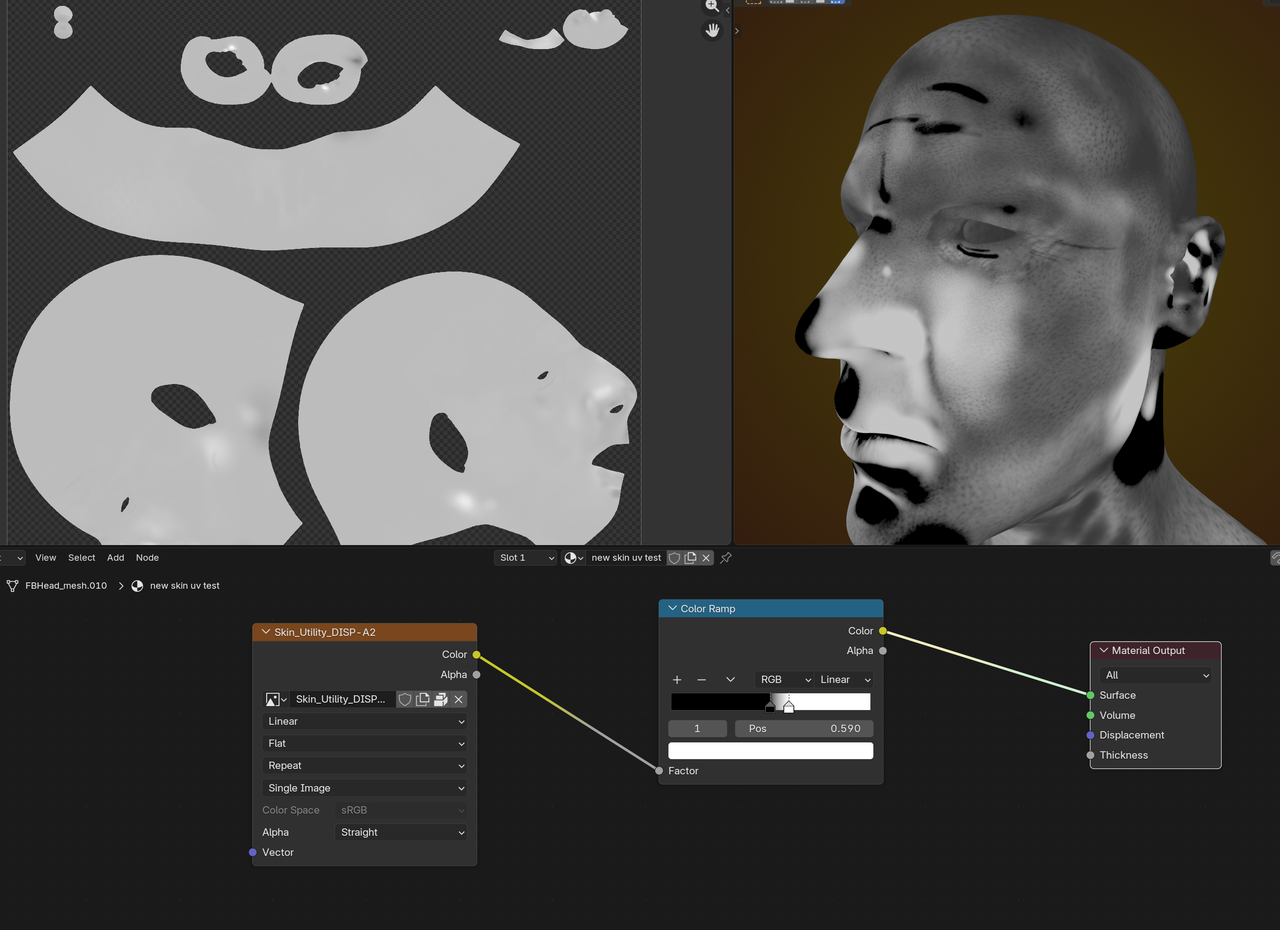
Hi Martin, thank you for reaching out. The current textures that you see are the first attempt at baking the textures, so they are not up to date with the multires displacement. The utility image texture marked Skin_Utility_DISP-A2 is the start of the new set of baked textures I was trying to make, and is also the one that is showing the issue I am having.
Hi Peter,
Thanks for the file, wih the nice explanation (and you Packed the Resources👍, I had forgotten to mention that).
As far as I can tell, everything works as expected, just your details might be too subtle.
That was why we did the testing in Chapter 2:
https://cgcookie.com/lessons/pore-depth-testing
It's common to attenuate the depth, when Sculpting pores and wrinkles. It should feel like you're exaggerating. The Subsurface Scattering will make them less 'intense' (both in CG as in real life).
You might try using a Mesh Filter in Sculpt Mode (set to Enhanced maybe?), or see if you can get away with just using a Color Ramp...
I would (EDIT: not) go back and re-do all the detailing, but see it as a lesson learned; your next head will be even better!
Ahh! Okay, I see where I had not done my due diligence. Martin, thank you very much for taking time to help me realize my mistake and how to correct this! I will push the pore depth and details further.