
Well, it's pretty hard to describe a modeling process by text. The best thing we can do is point it at the right tutorial so you can learn to model. I guess Sessions is a good one:
https://cgcookie.com/courses/sessions-minimalism
https://cgcookie.com/courses/sessions-macro
And maybe the Pokeball has concepts that will help you with it as well?
https://cgcookie.com/courses/catch-creating-a-pokeball-in-blender
Good idea Omar. Here is something that could help get you started on the bar and strap. Starting around the 7 min mark or watch the whole train modeling from the beginning. The ring can be done with a torus object. Note: He does go fast and is more focused on general modeling rather than a step by step.
https://www.youtube.com/watch?v=22bqYI2F8rw
Here is Google AI description.
bus ring and strap modeling blender
You can model a bus ring and strap (like a grab handle) in Blender using a
combination of curve and mesh modeling techniques:
1. Creating the ring
Torus Method: Add a torus mesh (Shift + A > Mesh > Torus) and adjust its major and minor radius and segments to achieve the desired size and resolution. You can then edit the mesh further in Edit Mode (Tab key) by selecting edge loops (Alt + click) and scaling them to create a rounded or oval shape.
Curve Method: Start with a Bezier curve (Shift + A > Curve > Bezier) and manipulate its control points to form the desired shape. In the curve settings, under the object data properties, enable and adjust the bevel depth and resolution to give it thickness. Convert the curve to a mesh (Right-click > Convert To > Mesh) when satisfied with the shape.
2. Creating the strap
Plane to Mesh Method: Add a plane (Shift + A > Mesh > Plane), go into Edit Mode (Tab key), and delete all vertices except for one. Extrude this single vertex along the desired path of the strap, creating edges and vertices. Convert this to a curve (Right-click > Convert To > Curve) and use the bevel depth and resolution options in the curve settings to add thickness. Finally, convert back to a mesh (Right-click > Convert To > Mesh).
Array Modifier with Curve: Create a small segment of the strap as a mesh (e.g., a circle extruded along an axis). Add an Array Modifier to lengthen the strap and a Curve Modifier, which will allow you to wrap the strap along a curve that you define.
3. Assembling the components
Once both the ring and strap are modeled, position them appropriately in the bus interior using the Grab (G key), Rotate (R key), and Scale (S key) tools in Object Mode.
Use edge loops (Ctrl + R) to add detail and refine the shape of the ring and strap.
You can add additional modifiers, such as a Subdivision Surface modifier, and bevel the edges for a smoother, more realistic look.
Tips
Use reference images of bus grab handles for accuracy.
Consider the desired level of detail for the model (photorealism or low-poly).
Utilize hard surface modeling techniques like creasing edges for sharp transitions if desired.
AI responses may include mistakes. Learn more
Or, Select 2 Edge Loops like so:
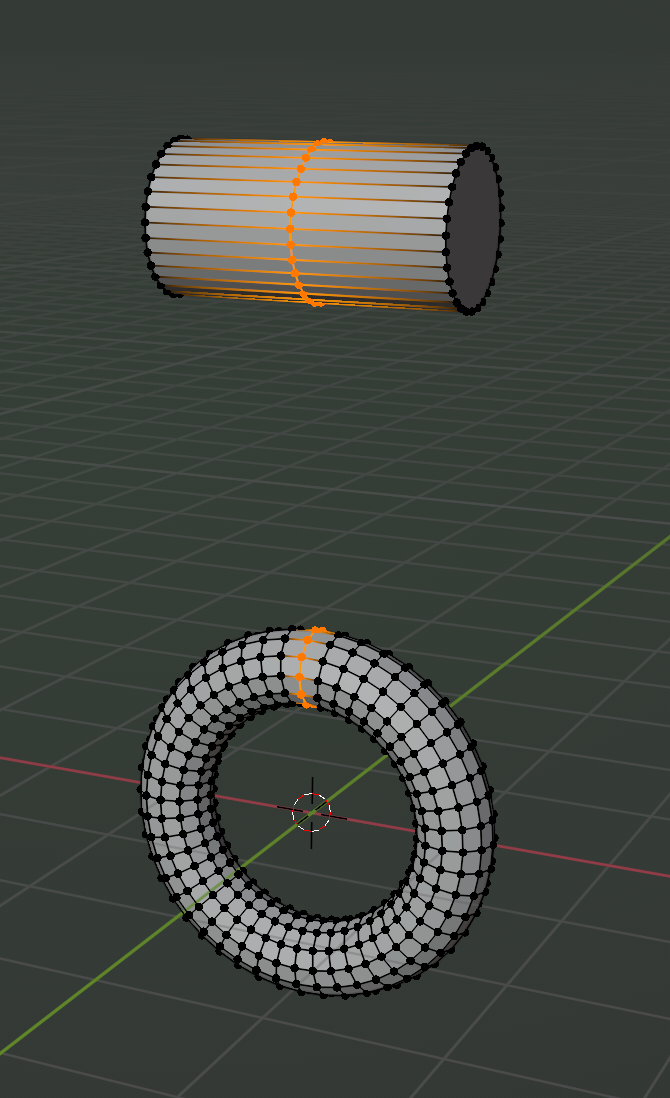
Then P > Separate By Selection.
Connect the 2 Circles of the newly created Object (use V to Rip Vertices apart, F to Fill:
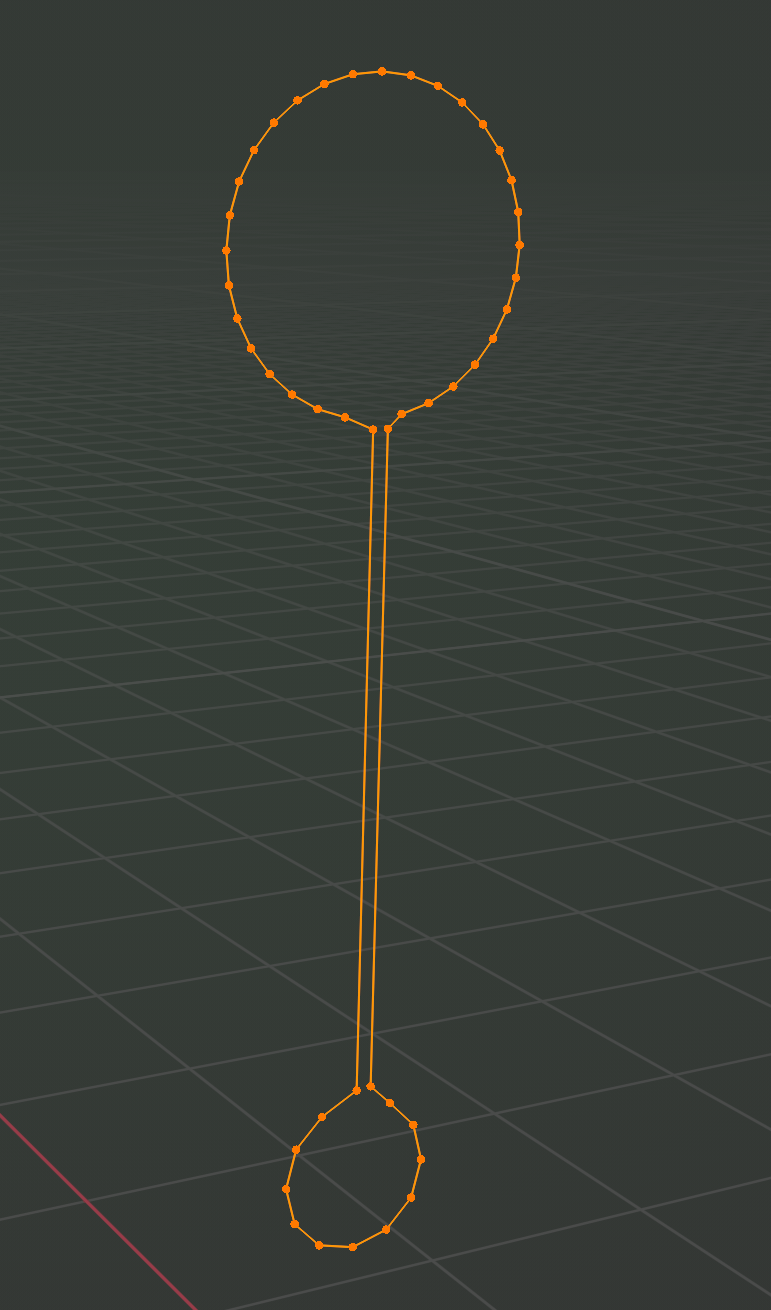
Then you can turn that into a Curve, if t you want, or just Extrude (in my case on the X-Axis), Add a Solidify and maybe a Bevel Modifier to get the result you want:
