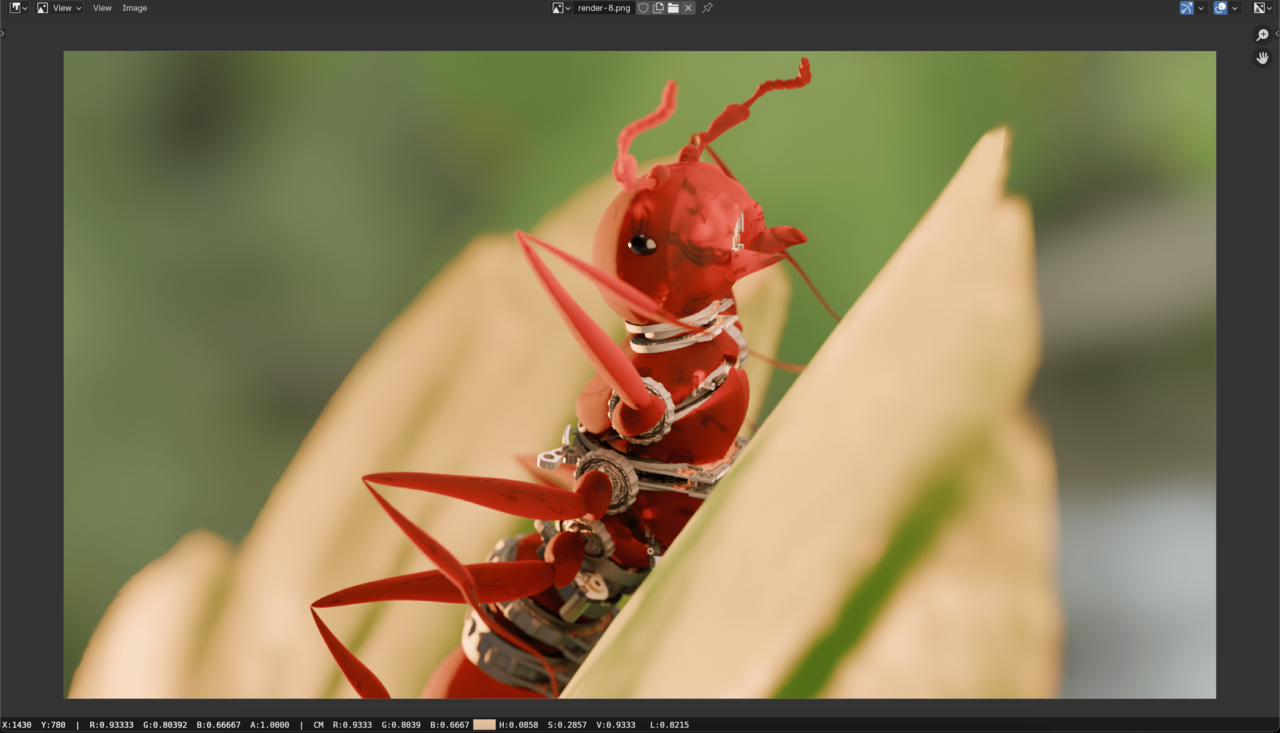
Please have a look at the screenshot. It seems as though I am not getting the results similar to the video. Would this be an HDRI setup problem? I am using the same HDRI here, and I wondered if I am missing an additional lighting such as the sun or area lighting! Thank you for the help in advance!

After setting the Transmission to 1.000 and directly shining an area light towards the ant, here is the first render result.
This was done with Full Global Illumination settings in the Light Paths.
I wonder if I can get more of the effect with the Transmission? It seems a little too opaque to my liking, and would like to get closer to glass.
Would enabling the Subsurface Scattering help in the BSDF?
Hi lleifdux ,
Have a look at the Roughness in the Principled BSDF, that might be set too high.
Hi ![]() spikeyxxx! Thanks for the helpful reply! By adjusting the roughness, I was able to achieve a better translucent effect, thank you!
spikeyxxx! Thanks for the helpful reply! By adjusting the roughness, I was able to achieve a better translucent effect, thank you!
Just wondering now, I wonder what are those specular dimples on my head and the abdomen? Is this the result of the topology?


Okie, thanks for checking out the issue. I have reduced the IOR a bit and it reduced the specular dimple and allowed it to see a bit more components on the inside.
@Dostovel Hi thank you for your input!
I see, I guess I didn't really consciously think more about how the camera, light and material would determine the final render.
I took your advice and focused on light concentration with point light and how the light would bounce towards the camera, and here is the results of it.
Please feel free to let me know what you think, and how I could improve!
It's looking good. Perhaps the only feedback is that the light feels very powerful and it is washing away the image in light, flooding it almost and blowing the white out past 1, what is called clipping I believe. You can see there is a very sharp shadow below the mecha-ant, perhaps softening it up a little could also help.
@Dostovel
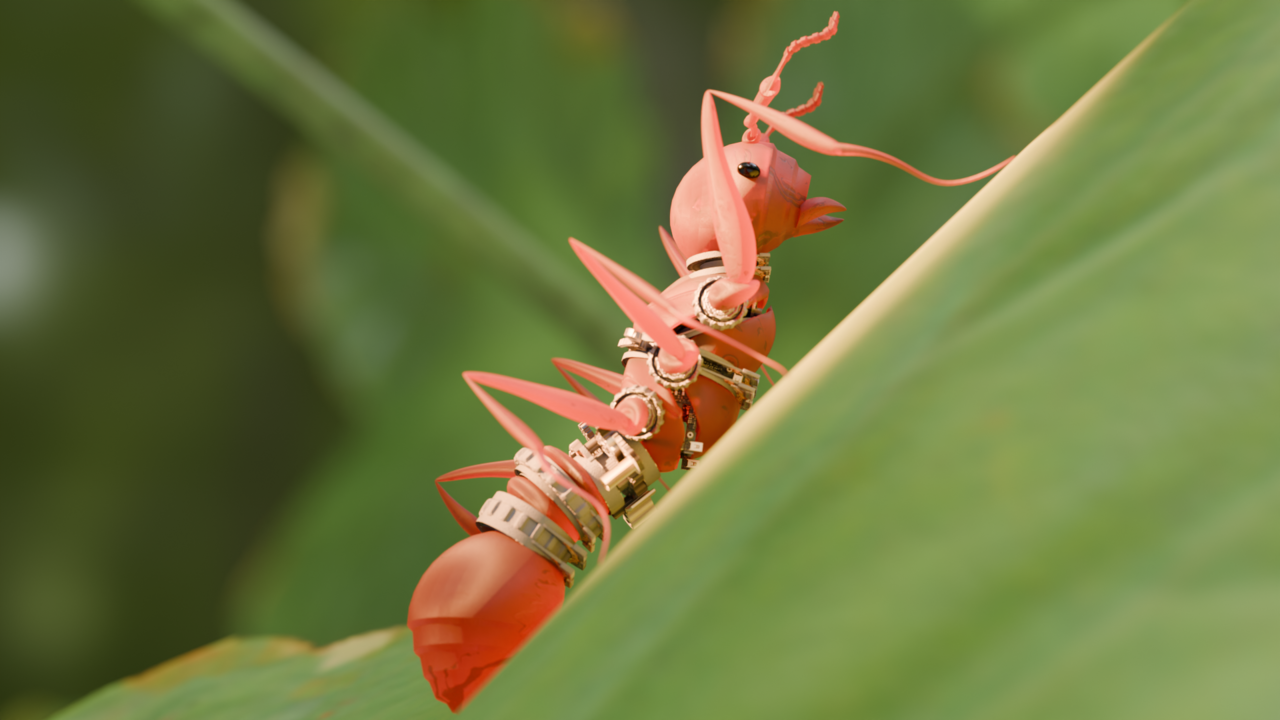
I was able to introduce softness of the ant's shadow but since it decreased the translucency of the ant, I decided to change the rotation of the HDRI, change the backlight angle, introduce a hidden key light, and change the camera angle. Also, checked the brightest parts if the alpha was past 1 (on the render preview it doesn't seem so, not sure if this is accurate measuring).
Don't worry, lighting is a lot of trial and error. In the end you try and try and try, you change and change, you experiment and experiment, and it'll never be perfect, and eventually what we do is just let go and abandon it all. Like the great quote says:

One mistake we often do is we want to show everything, we want to show the translucency, every little thing we modeled, that little detail we put in, but the truth is we have to learn to let go in service of the best framing and composition. If you want to showcase your work, you don't have to do it in a single image, you can have multiple cameras and multiple light setups that accentuate different parts of your model and have a couple different renders.