I'm in blender 4.2.1, no matter how high I turn up the angle for the smooth by angle, the hole punches never smooth out?
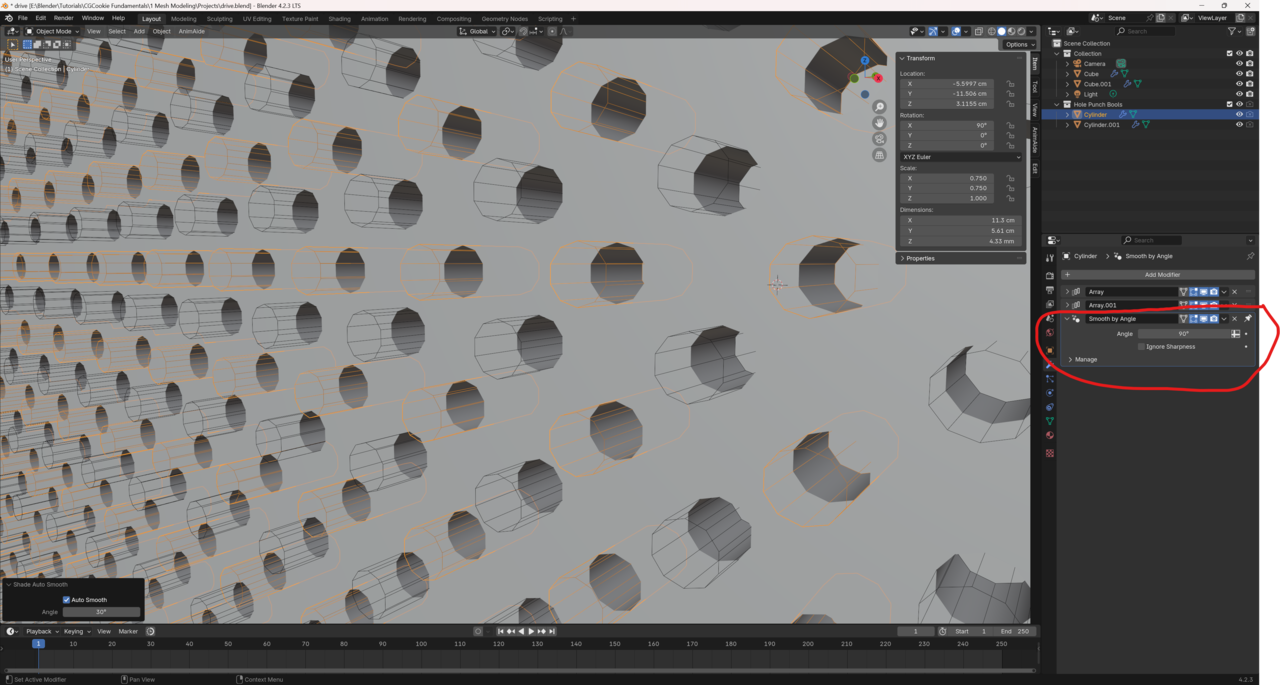
The holes are made with a modifier (boolean), which means they're not real geometry. Because of that the shading auto smooth does not affect the holes. You can fix this by shading the cutter object that makes the holes auto smooth and adjust the angle in its modifier. The smooth shading will then transfer to the holes.
Mind that it will not make them perfect circles. In order to achieve that you need more geometry on the cutter. You can do that easily by adding a bevel modifier with a very small bevel value and after that a subdivision surface modifier with a value of 1 or 2 depending on your desired result.
I ran into the same problem. I just checked the Ignore Sharpness box under the Angle and ended up with the same result. Not sure what effect it this would have down the line but for the purpose of this lesson and results, it worked out for me.
jjmac05 I too also had the same problem but checking `Ignore Sharpness` worked out for me in the end.
But I think I notice that they are not probably perfect circles, and I guess the shading is a bit weird.
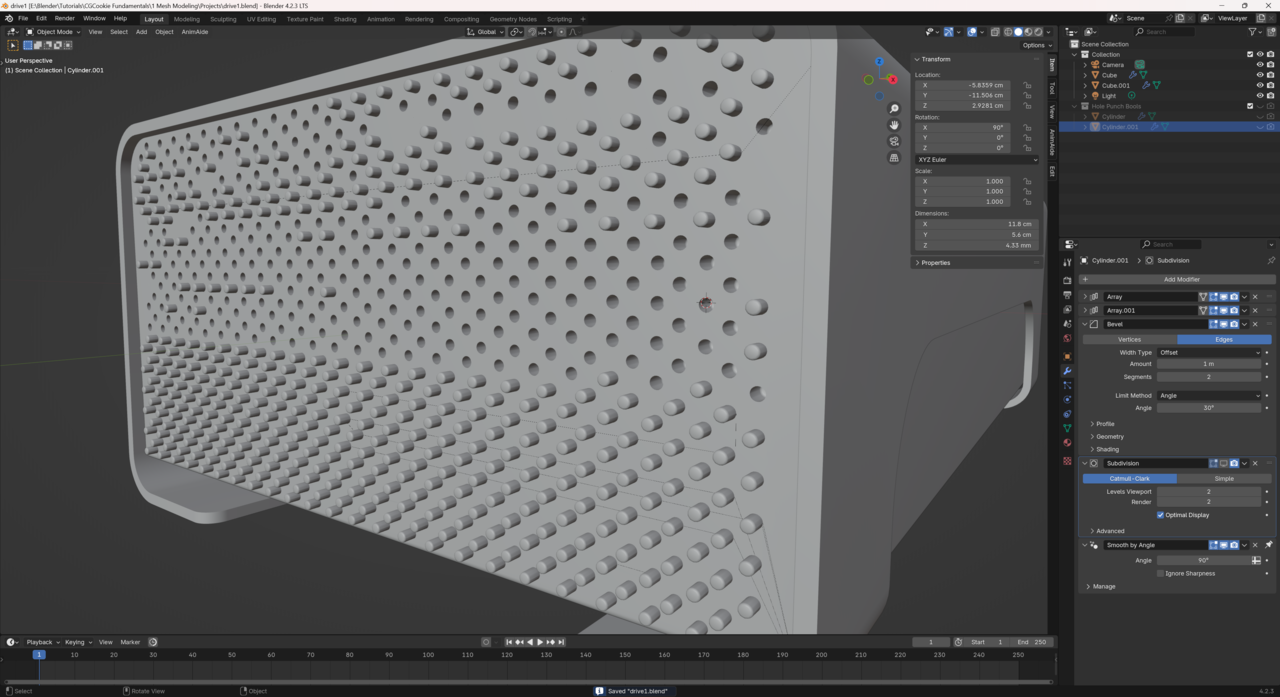
I've tried all three of these suggested solutions. Ignoring sharpness has no visible effect. Shading the cylinder objects and adjusting the angle had only a very small effect and did not achieve the desired result. Beveling the cylinders did result in smooth holes but now many of the cylinders remain visible in the viewport, even after their visibility has been turned off. (Adding a subdivision surface modifier after the bevel modifier really starts to mess with things so I've turned it off.)
None of these solutions are preferred, however, since I want to be able to replicate what the instructor is doing.
In the course JL moves the guide cylinders ever so slightly so that they don't align exactly and cause the errors. Try moving the original cylinder in the same way to see if the adjustment triggers the solver to behave correctly. Also try changing the boolean from exact to fast or the other way around and see if it makes any difference.
Thank you Omar Domenech for the response. I tried shifting both cylinders to avoid the edge, also tried both exact and fast on the Boolean modifier. Neither had any effect on the smoothness of the holes.
First, pick one of the objects to have the shade auto smooth. You have 2 competing smooths. So you have 3 ways to go.
1. On the cube.001 right click and click shade auto smooth. On the cylinder right click on it and select shade smooth.
2. Leave the cube.001 as shade flat and then right click on cylinder and click shade smooth.
3. Leave the cube.001 as shade flat and then right click on cylinder and click shade auto smooth
You could also do shade smooth on both, but that would look horrible so I didn't put that as an option.
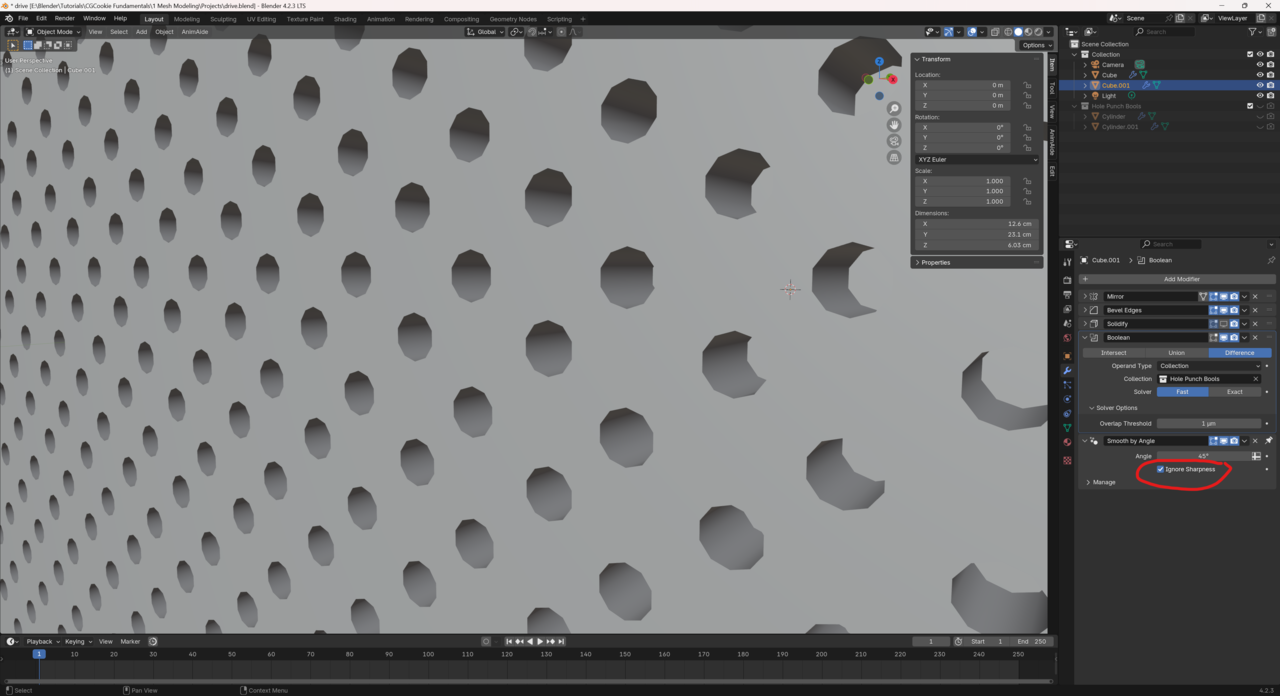
Thank you Dwayne Savage for the response. Re Suggestion 1, In my first screenshot neither of the cylinders have smoothing modifiers or are auto-smoothed--just the cube.001 has the modifier. I need a shade smooth modifier on the cube.001 for its edges, though, so I'm not sure how I would implement Suggestions 2 or 3. I did try it anyway (disabling smoothing modifier on the cube.001 and adding smoothing modifier for the two cylinders) and ended up with a strange result.
I have tried shade smooth. I don't see any difference at all when applying shade smooth to the cylinders, even with an auto shade smooth set up on the cube.
It is an unsolvable mystery, it seems.
HI Roger mmrrogersmith ,
It's not an unsolvable problem!
In your first screenshot, your holes are already smooth shaded:
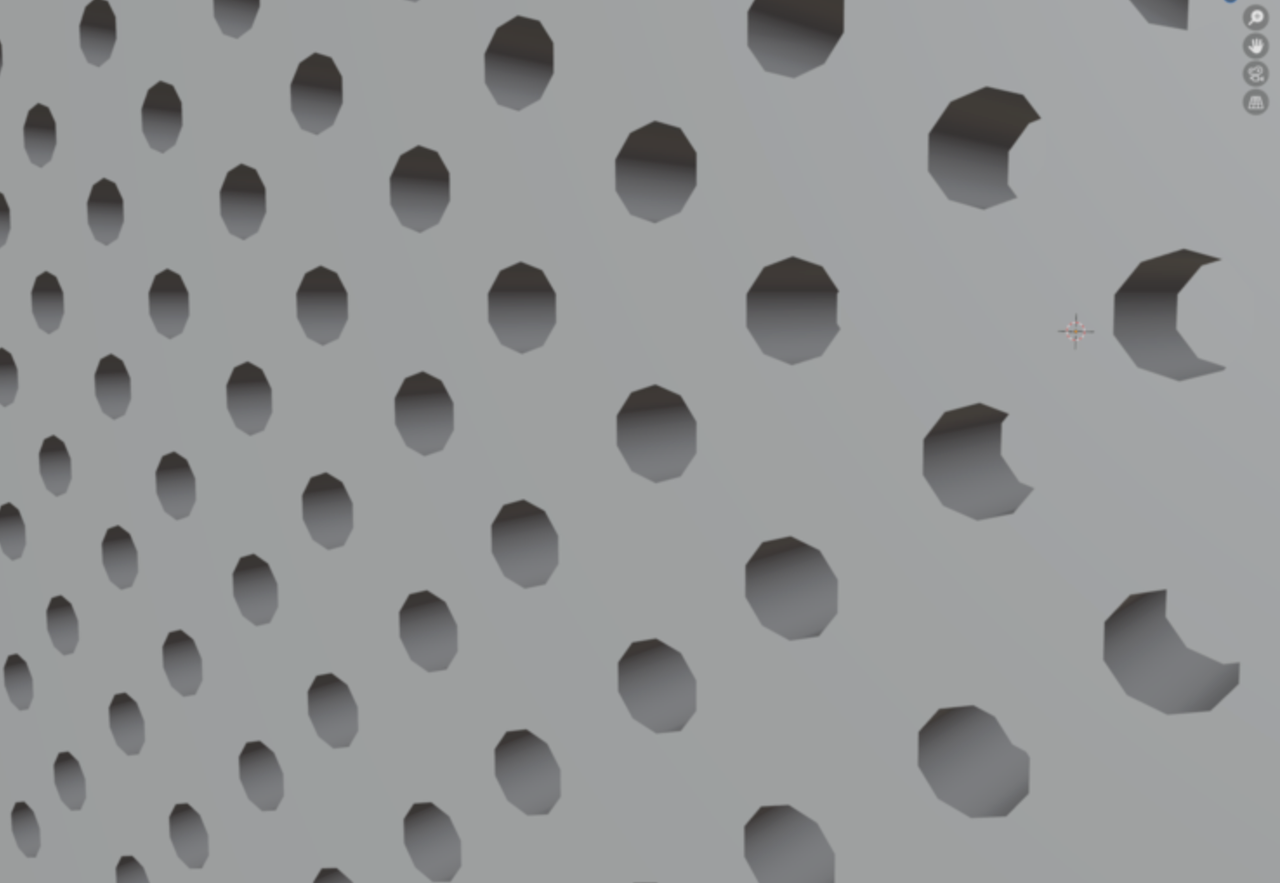
They are still 10-sidied, of course, but the inside is smooth, not faceted.
Look at what Sascha said early on: "Mind that it will not make them perfect circles. In order to achieve that you need more geometry on the cutter. You can do that easily by adding a bevel modifier with a very small bevel value and after that a subdivision surface modifier with a value of 1 or 2 depending on your desired result."
You have a Bevel of 1 m with a model that is a lot smaller. Also 2 Segments is overkill and will just be too much unnecessary calculations. You don't want the side Edges of the Cylinder to Bevel, and the side Faces have an Angle of 36° (360/10), so the Threshold Angle should be higher than that (but less than 90°).
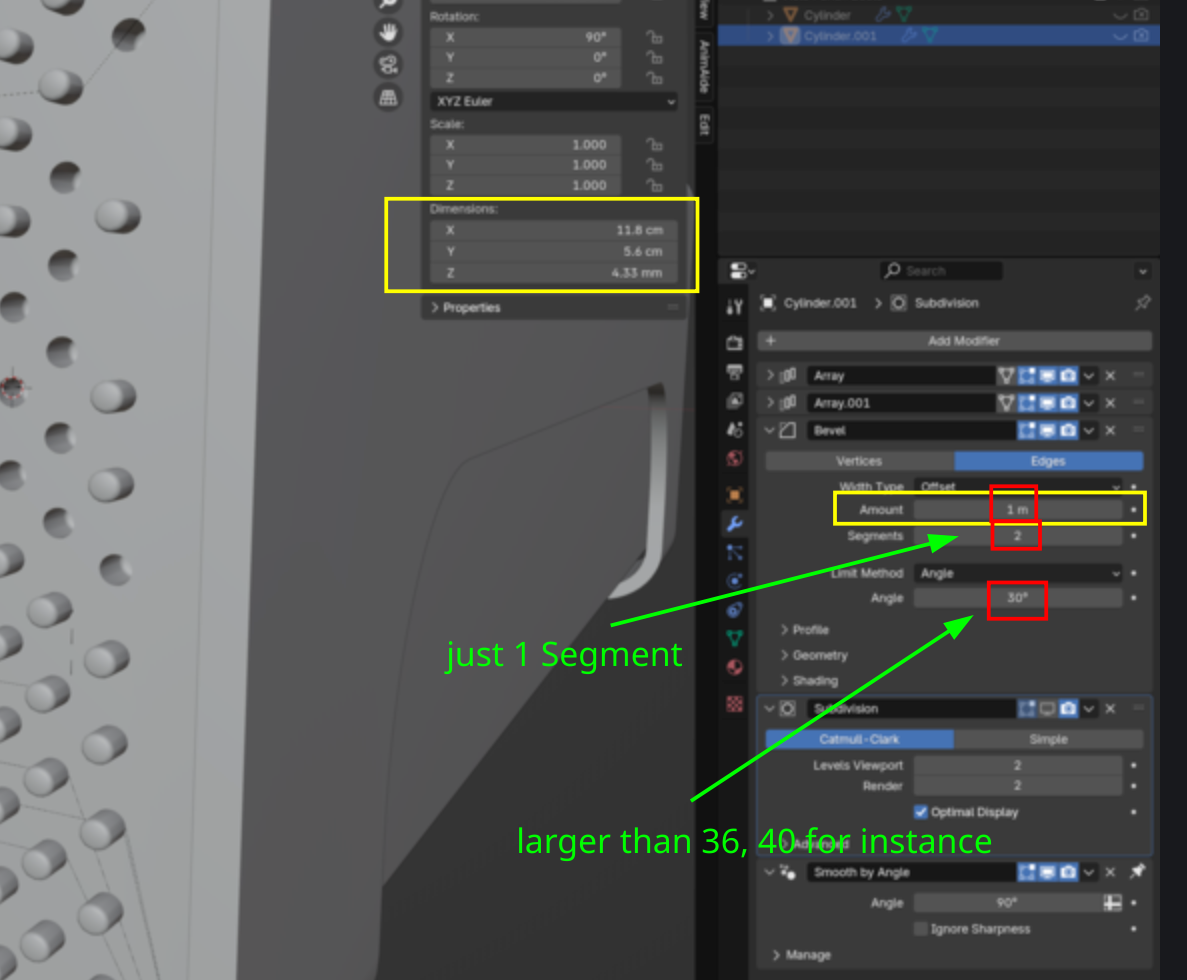
A Subdivision of 2 is also quite a lot for such small holes, and to be honest, I probably wouldn't even bother to Subdivide the Cylinders, unless you plan to get really close with the Camera.
It might be better (easier on your computer), to put the Bevel and Subdivision Modifiers before (above) the Array Modifiers, if you are still going to use them.
Also, your Smooth By Angle Modifier has an Angle of 90°, that seems too high to me.
Those suddenly visible Cylinders in your last screenshot, can probably be solved, by slightly moving your Cylinder, as Omar suggested (if that doesn't already got fixed, by making those changes to your Bevel Modifier).
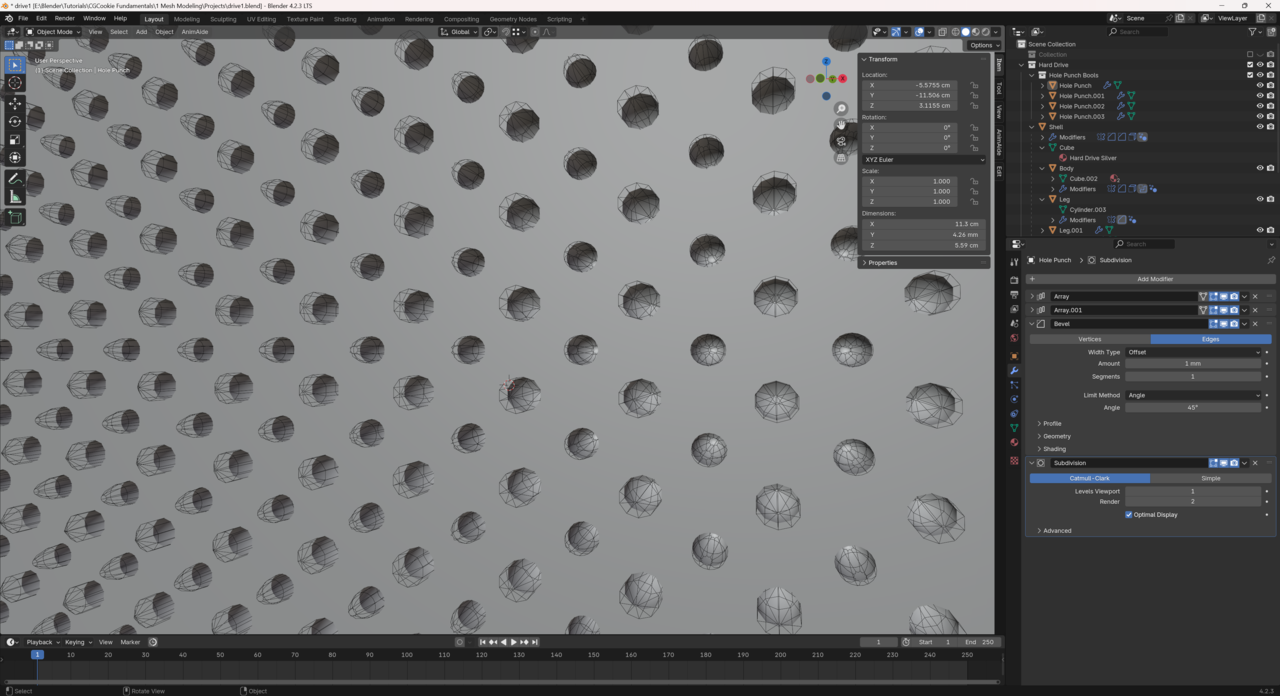
Thank you for the suggestion Martin Bergwerf. Unfortunately my results are still jacked up.
Thank you everyone for the suggestions and for taking the time to try. At this point it's just frustrating for me and I want to move on so I'm not going to spend any more time on it.
Blender and 3D is all about problem solving all the time. You wouldn't believe how much time even the masters have to spend troubleshooting something that goes wrong and stuff goes wrong all the time and every time is a head scratch. So don't sweat it, shake it off and walk it off.
Thank you Martin, I appreciate you taking the time. I am still confused because I feel like I followed those exact steps multiple times already, but that is a different result than I achieved. But I'm sure I misclicked on something at some point.
However, even in your file the holes do not go all the way through the mesh, which is one of the problems I have had. There is a protrusion of mesh at the back of each hole.
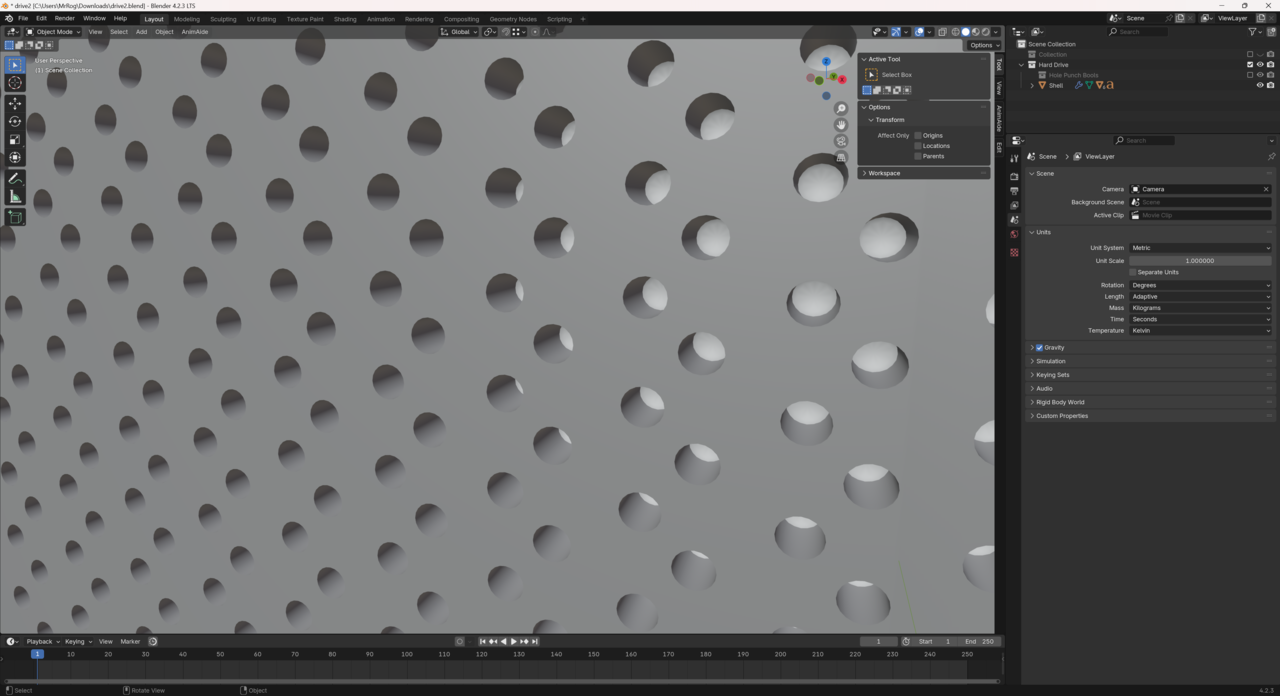
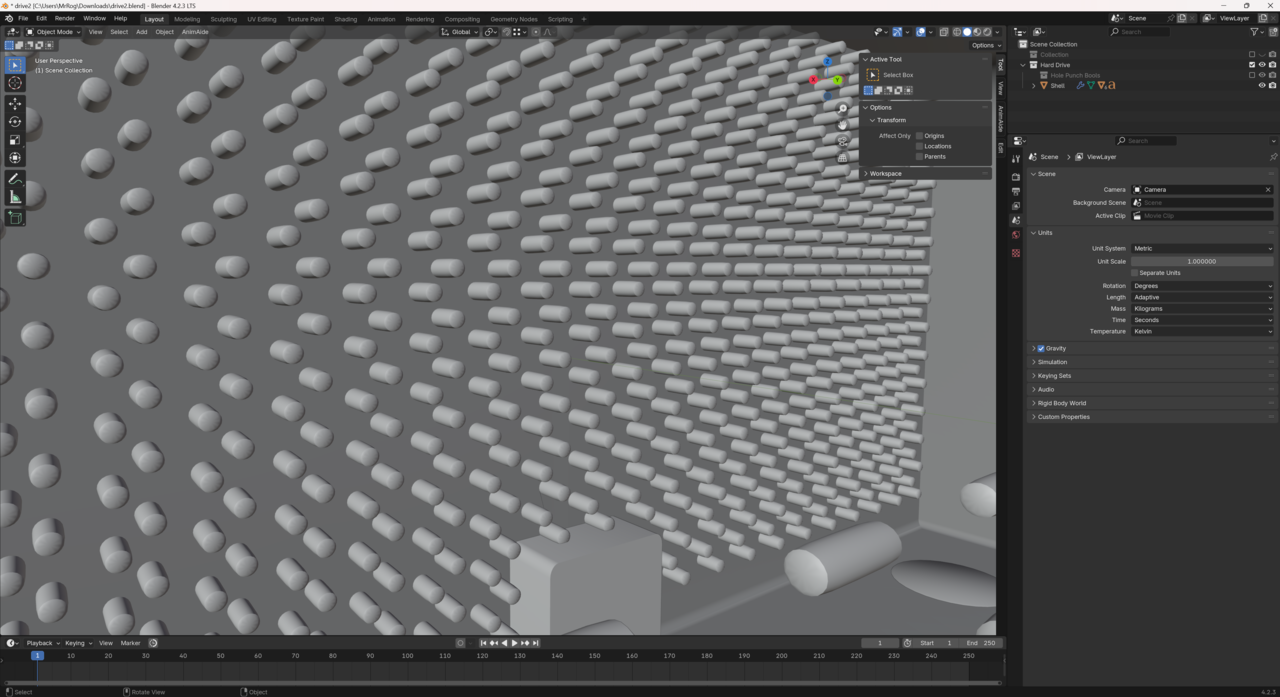
However, even in your file the holes do not go all the way through the mesh, which is one of the problems I have had.
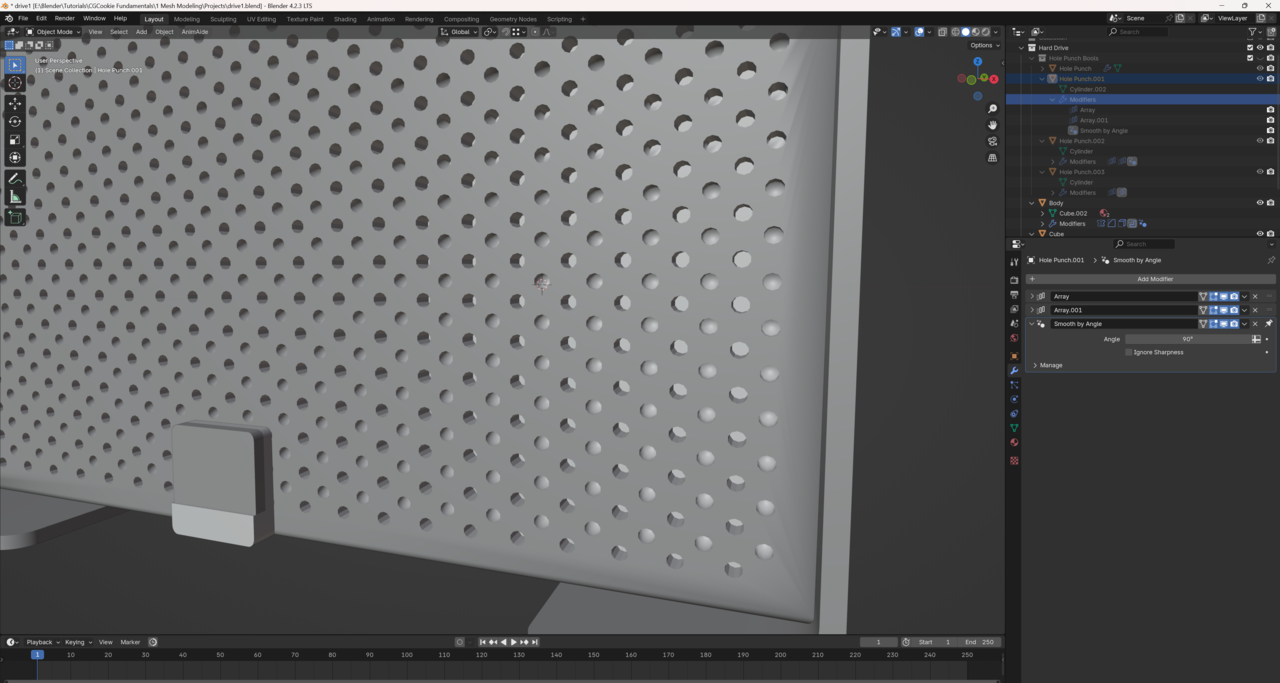
Hi, that is actually the same result as in the course! You can see that here:
If you want the holes to go through the mesh, you could add a solidify modifier. At the moment the whole thing is one solid object, so it makes sense that the boolean is punching into that big volume but not reaching the other side. But, with a solidify modifier placed before the boolean, the volume will become a thin shell that the boolean can punch through. But, this isn't really necessary since we're not modeling anything on the inside and don't need it visible anyway.