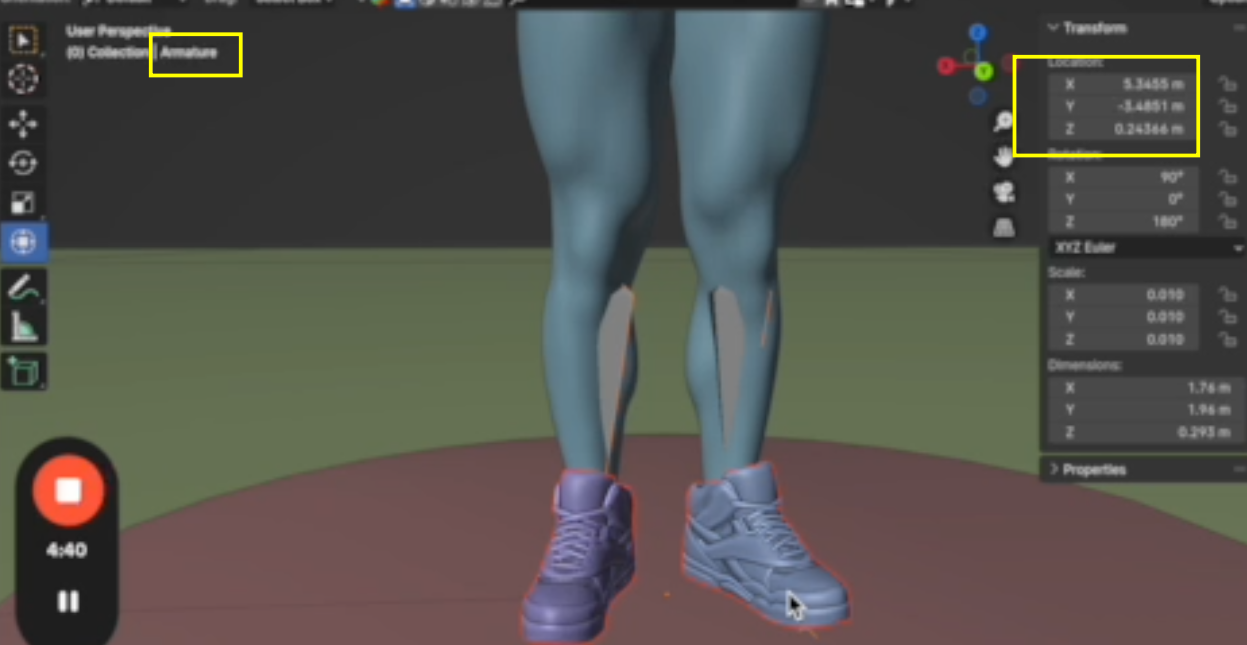
I am having a little trouble trying to parent two mesh objects to armature that I created. I have applied all the transforms on the mesh objects however each time I either parent without weight or with weight the mesh object just end up in random places.
The video below helps explain and show the problem I am running into.
https://www.loom.com/share/c1102bee985a49d1a855c0b1e287c269?sid=e85c4d84-889c-4934-83cd-09a8fa47194d
Are those shoes parented to something? Usually that happens when the original positions of the shoes is actually way over there where they jump to, but then you parent them to something that has another location and they momentarily acquire the location of its parent. And then if you un-parent they return to their real real location.
Test it out and see. Open a brand new file, add a Suzanne somewhere, then parent the Suzanne to the default cube and see where the Suzanne was when you parent it. Then move the parent (the default cube) somewhere, and when you unparent the Suzanne, it'll jump to where it first was.
So the object has its own location transform and they adopt the location transform of the parent when they get parented, but that is only while they are parented, in reality they always held up their original location and as soon as they are not parented anymore, they go back to it. Maybe it's not a parent child relationship, but more of a husband and wife.
Ah so I forgot to say, before you parent the shoes to the armature, instead of applying the transforms, see if you have to unparent them from something first. Most likely yes and they'll jump to their original location. So if any of that scenario is the case, you have to first unparent the shoes with "clear parent and keep transform" so they don't jump.
Thank you very much Omar this worked and helped a lot.
Although I ran into another issue I am not sure if you are enable to help me. I am not able to apply or use parent with empty weights from my mesh to my ameture and when I try to parent it with empty weight and then go into weight paint mode parts of me mesh end up deforming in weird ways. The link below shows the problem I am running into.
https://www.loom.com/share/92d51eadf95a49c098b399b6c8a09294?sid=7dd39b44-e42b-44b9-8b04-23f7d245c551
I think that is the famous spikes bug that Blender has. Kent battles with it all along the way in his HUMAN course. Don't count on it being fixed, it's been like that for years now.
I can't read the error message you get, they resolution in the video wont let me. Just in case, you don't have flipped normals? Turn on face orientations and see if you got any red so you can recalculate.
Try starting the rigging from scratch to see if you don't get all the weirdness. Delete all the vertex grounds, don't let Blender do anything automatic to see if it helps. But another thing, why are you using weight paint on that bone? I'm guessing maybe you want so deformation with a foot roll bone or something? But that bone you are selecting seems to have nothing to do with the foot. In other words, that bone seems to broad for Blender to know what you want to do. So again, try not to let Blender do it for you, go in a bit more manual.
ooo really I understand I will try everything you have suggested and see what I can do.
The error message that I get is "Bone Heat Weighting: failed to find solution for one or more bones". I saw another workout on YouTube where you can transfer the weight from a sub div cube that as been weight painted to your object. I saw it in the YouTube video below go to 4:45 minutes in the video for a much better explanation
https://www.youtube.com/watch?v=NipYtqJnfZA