For the life of me I couldn't figure out why my terrain would never look as smooth as what was shown in the video. After hours of tweaking, increasing the terrain divisions, getting ramp colors _so_ close to each other, and other playing with other details I had just about thrown my hands up and was going to move on to the next lesson, reinforcing in my mind "I'm just not an artist-type". On a hunch, I downloaded the source files to take a look, sure I missed something. 'Lo and behold...a subdivision surface node was used, but don't think it was called out in the video.
Love the content so far--completely surprised at how small little details can generate such incredible looking effects--all in the comfort of my own computer. Always assumed you'd need special hardware/software--never knew Blender could do this. Would be helpful if we could see a bird's eye view of some of the node trees from time to time.
Would also be helpful if CG Cookie was able to add chapter markers to some of the longer videos to jump to specific sections. I find I usually watch them through once, then try my hand at it and jump around in the videos to reference areas I get stuck in.
Hey Paul.
Check 6:16 in the video, the bit where the subdivision node was added. 😜
This course was released by Ducky3d independently prior to being added to the CG Cookie course library.
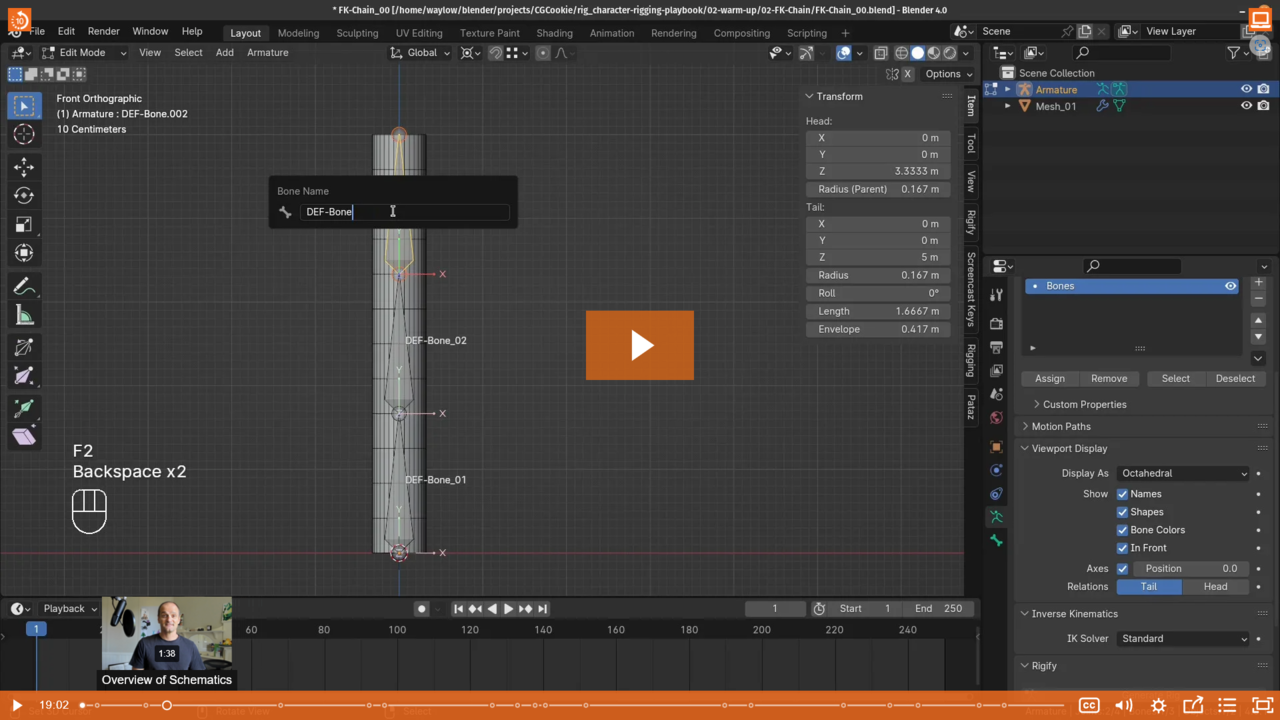
Each lesson of a CG Cookie developed course is usually kept to around 15 minutes and as you can see below with Wayne's latest course RIG, chapters are added to lessons where needed.