What an incredible series. It is paced a bit quick in the later chapters as I found myself needing to pause as some of the commands, even if they had been mentioned before came fast and furious. Loop cut -> Slide -> Snap -> Inset -> Extrude etc. That said, with a bit of diligence, by the end of the course, these modeling commands start to feel more intuitive, so I appreciate the repetition this project requires to really solidify the key commands and process in puzzle solving.
I was even able to diagnose some of the issues I was seeing along the way without help. That said, there is one glaring issue with my model that I could not for the life of me figure out. No amount Snapping, flattening and adjusting fixed this for me (see linked image). I checked my vertices to make sure there weren't any overlapping edges and just couldn't figure it out. It only appears in Cycles, but not in EEVEE. Some feedback on this would be greatly appreciated. I'm certainly going to start my subscription now and grind through any and every course on this site!
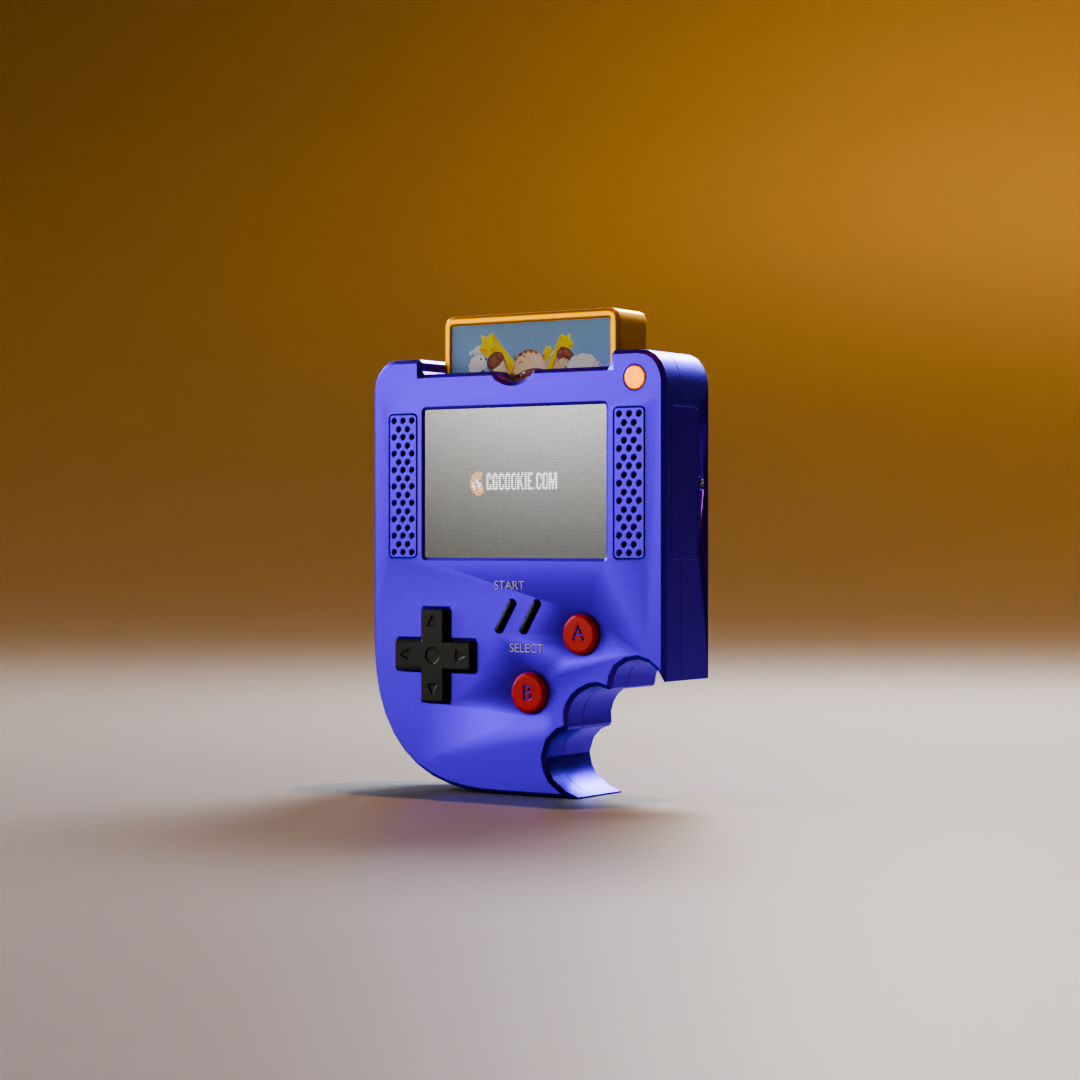
Final Render
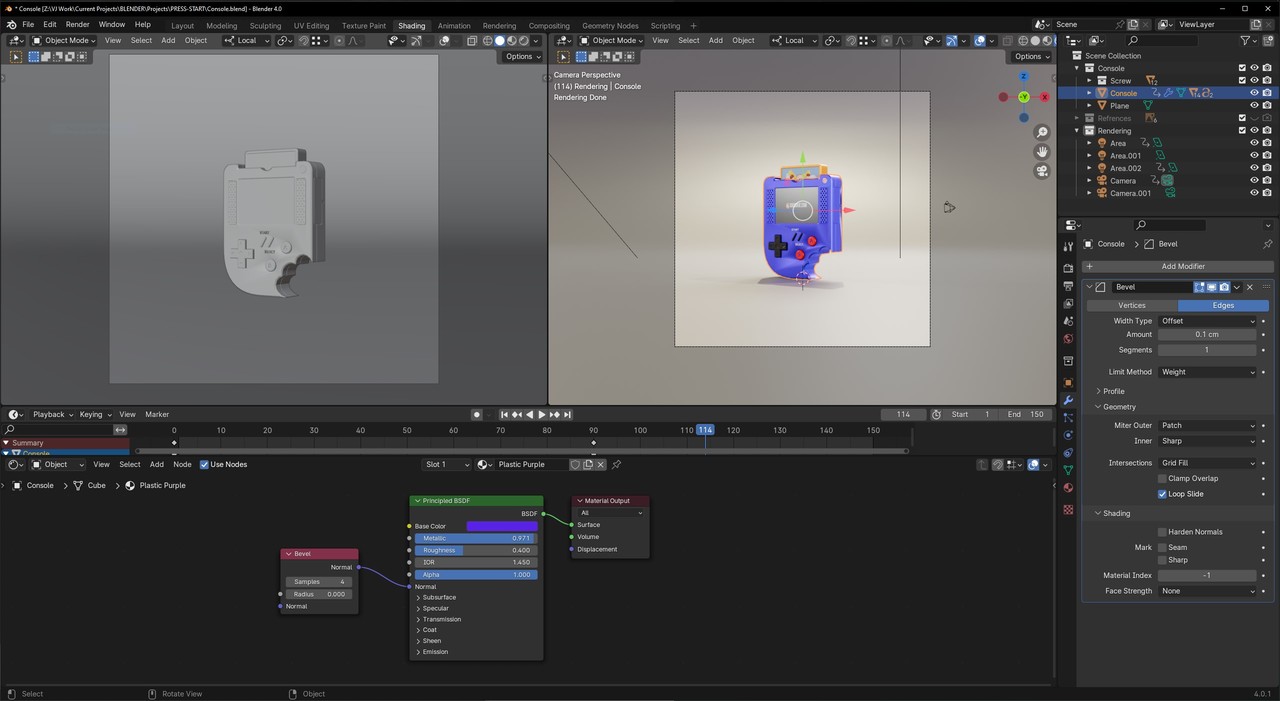
My first guess would be the normals from n-gons. Select the entire area in edit mode, and press alt+n->calculate outside. I believe shift+n is the direct hotkey, but I always use the normals menu from alt+n. Also it would help to see your node setup
I tried all of the things above and it turns out that Martin's suspicion is correct! The bevel node is the culprit. I tried "Mark Sharp" on the problem areas to no avail and it would be a royal pain to go through and manually bevel every piece of geometry. That said, these same issues are also appearing on the face of the geometry. Not sure what to make of it, but here is a render of the face as well as some screenshots of the interface.


Hi Stephan KKnighticus ,
Just to be clear; that side shading is not caused by the Bevel Node alone, but by the combination of the Bevel and the inconsistent Normals (I think...)
The front side shading issue is caused by something different (Auto Smooth).
There was another question about this, but I can't find it anymore.
Assuming the front is flat: you can lower the 'indents' around the A B buttons slightly, or lower the Auto Smooth Angle a bit until it looks normal.
Either of those methods should fix it. should fix it.