Hello,
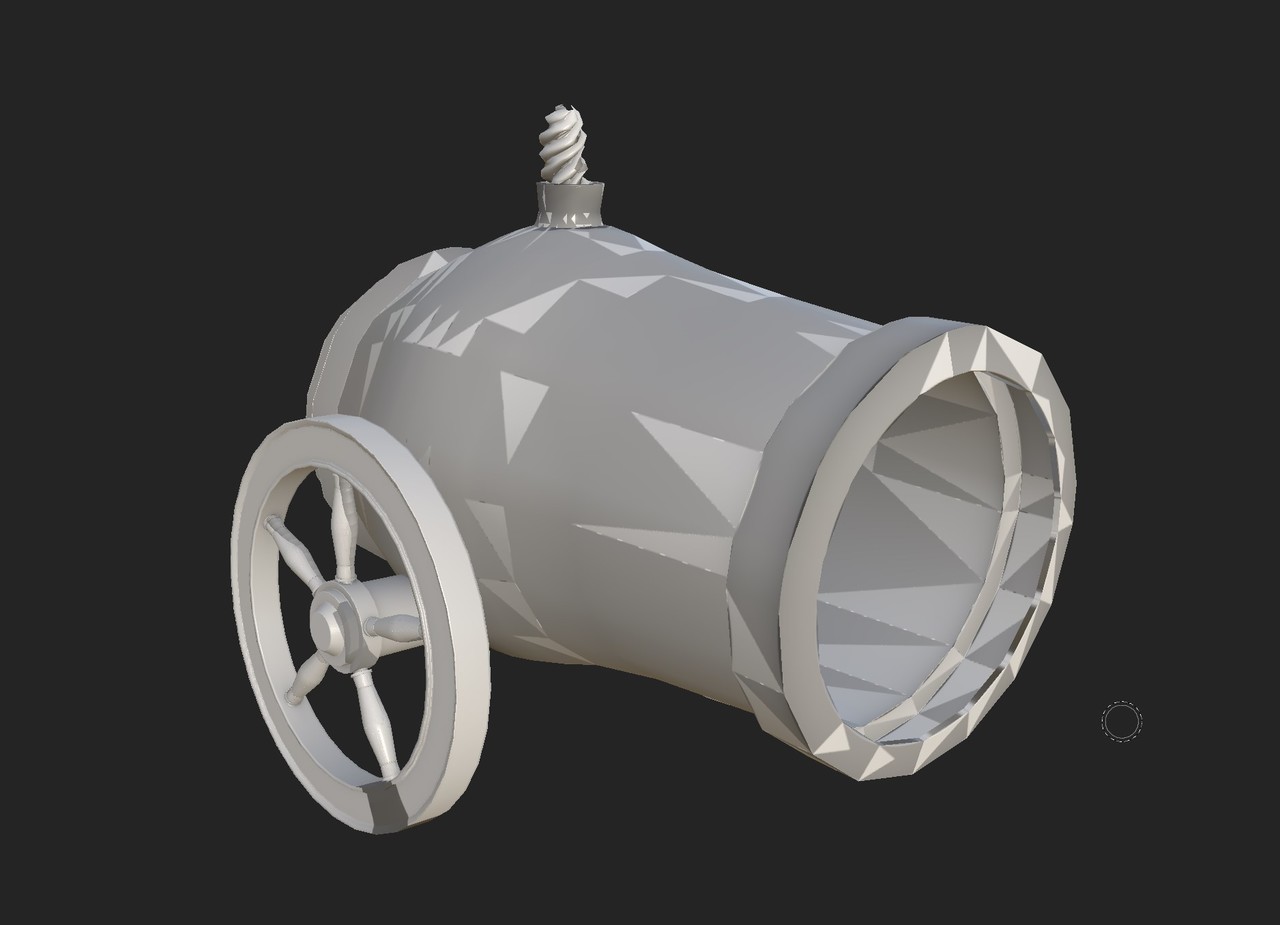
I created some game assets and for some reason my baking always comes out wrong. I'm trying to transfer the high poly details to my low poly mesh.
The baking is done in Blender, Painter and Marmoset and the issue seems to be the same. So it's something wrong with my mesh. I searched for a long time the cause of these artifacts, but everybody gives the same advice and that didn't help me.
I have my low poly and high poly named accordingly, I looked at inverted normals, checked my UV's, I used the same material for all objects, my low poly and high poly sit in the same spot, I triangulated the faces of my low poly. I hope I'm not forgetting anything.
I don't want a quick fix, I just want to know what are the common causes for this problem that I have and look for those cases and learn from them. I have no idea what I'm doing so I need a lead, something to search for.

Hello Roxana. The thing with baking is that so much can go wrong for so many reasons. We can try and diagnose what is going on in this case and discover that one extra thing to add to the list of things that can go wrong with baking. Can you make the file available for download so we can jump in and Dr. House this bad boy?
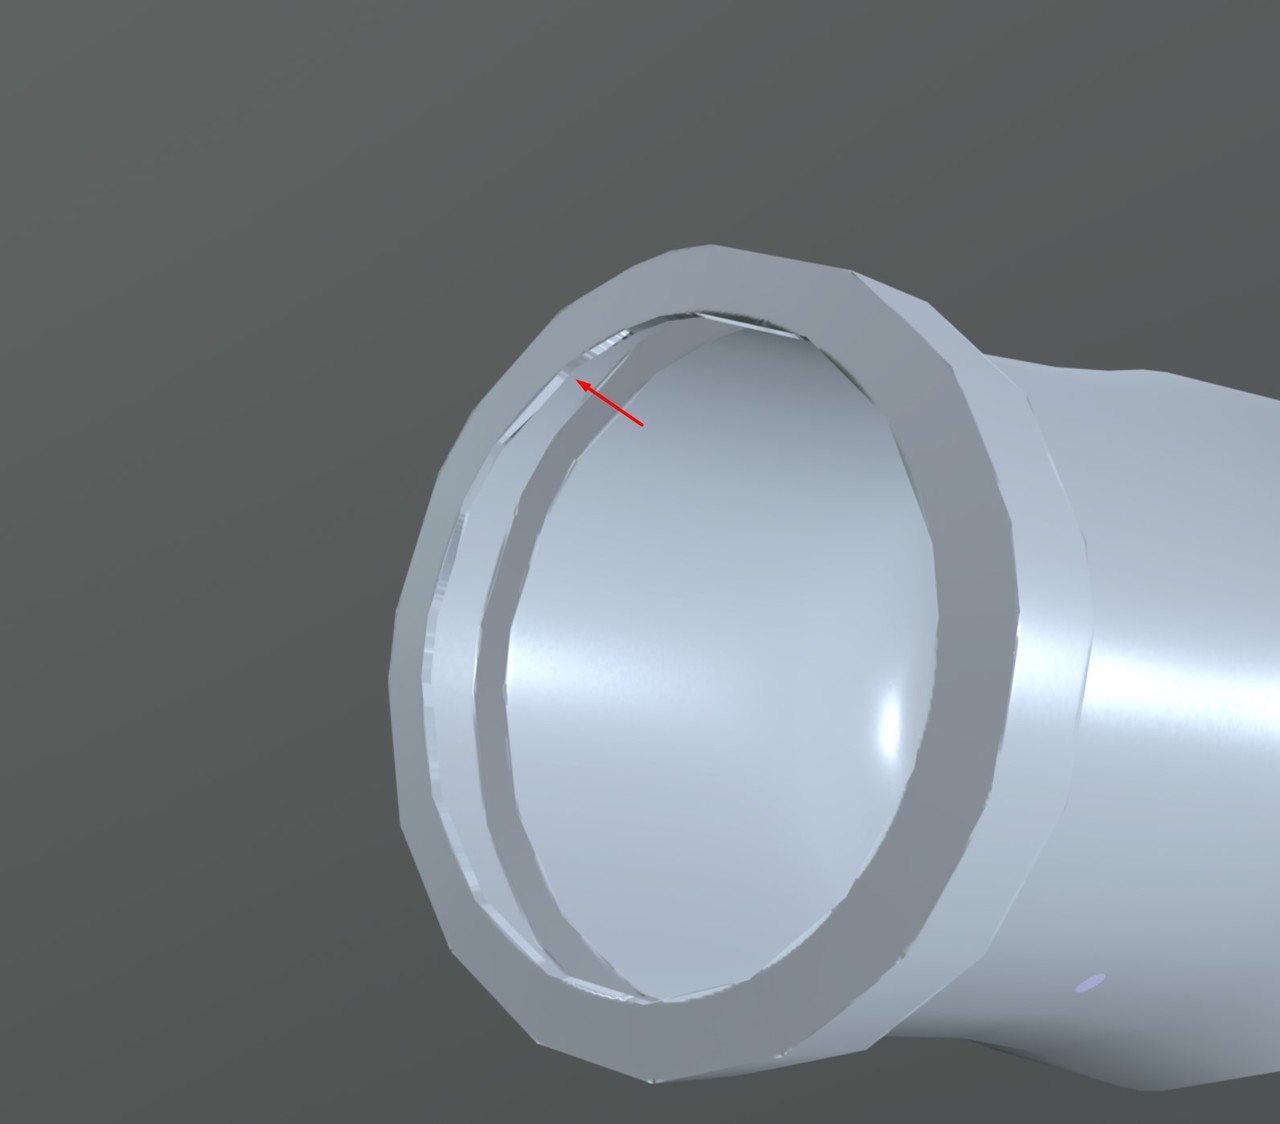
Ok we have to call a priest for this one. But first thing I've noticed, the other collections are influencing the bake. I've turn them off not from view, but the box tick to exclude from view layer and the results of the bake change. Lets keep testing and trying to contact the priest office.
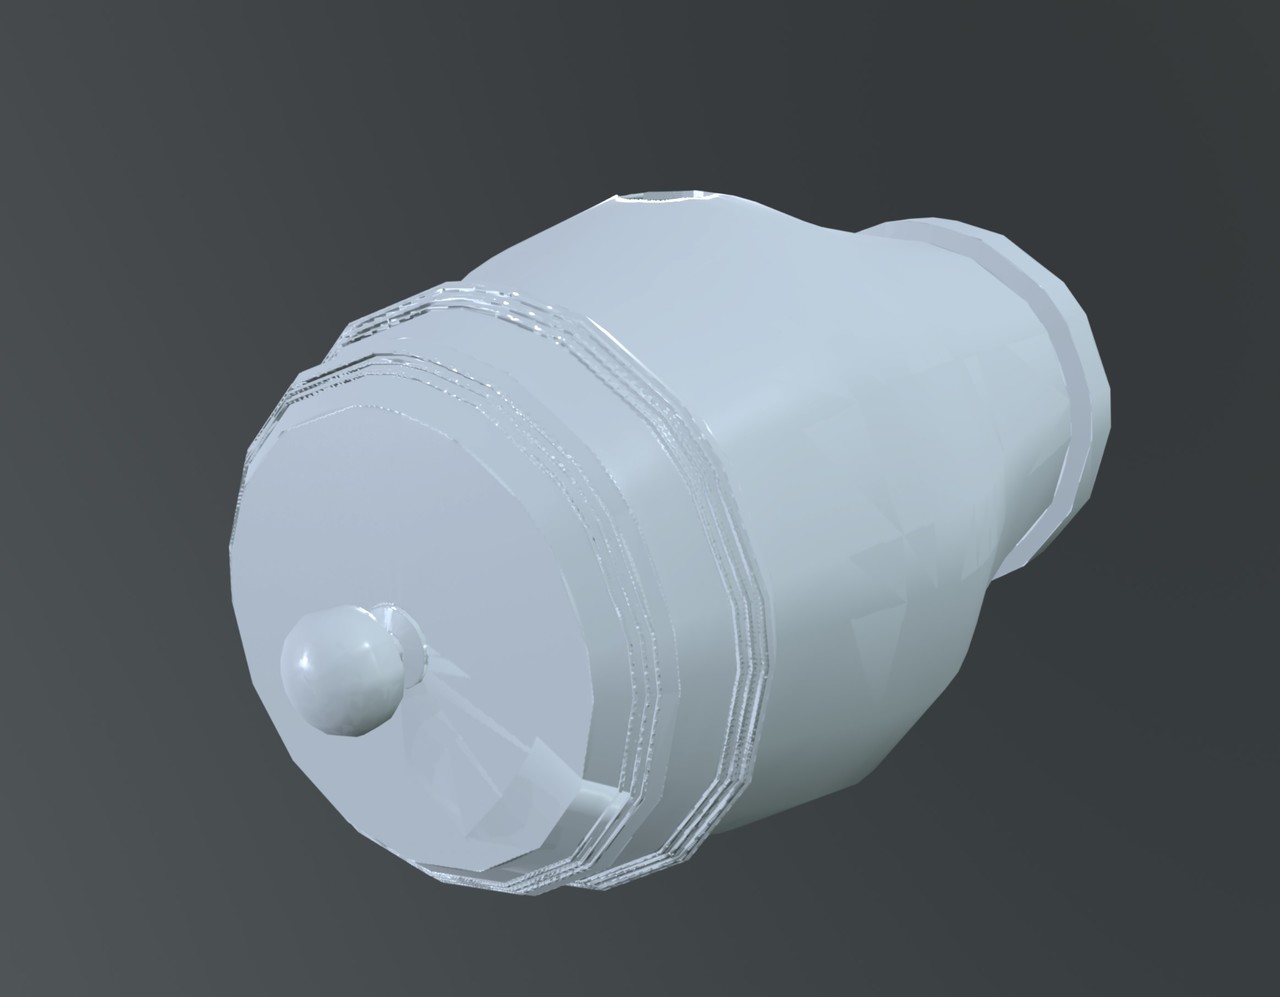
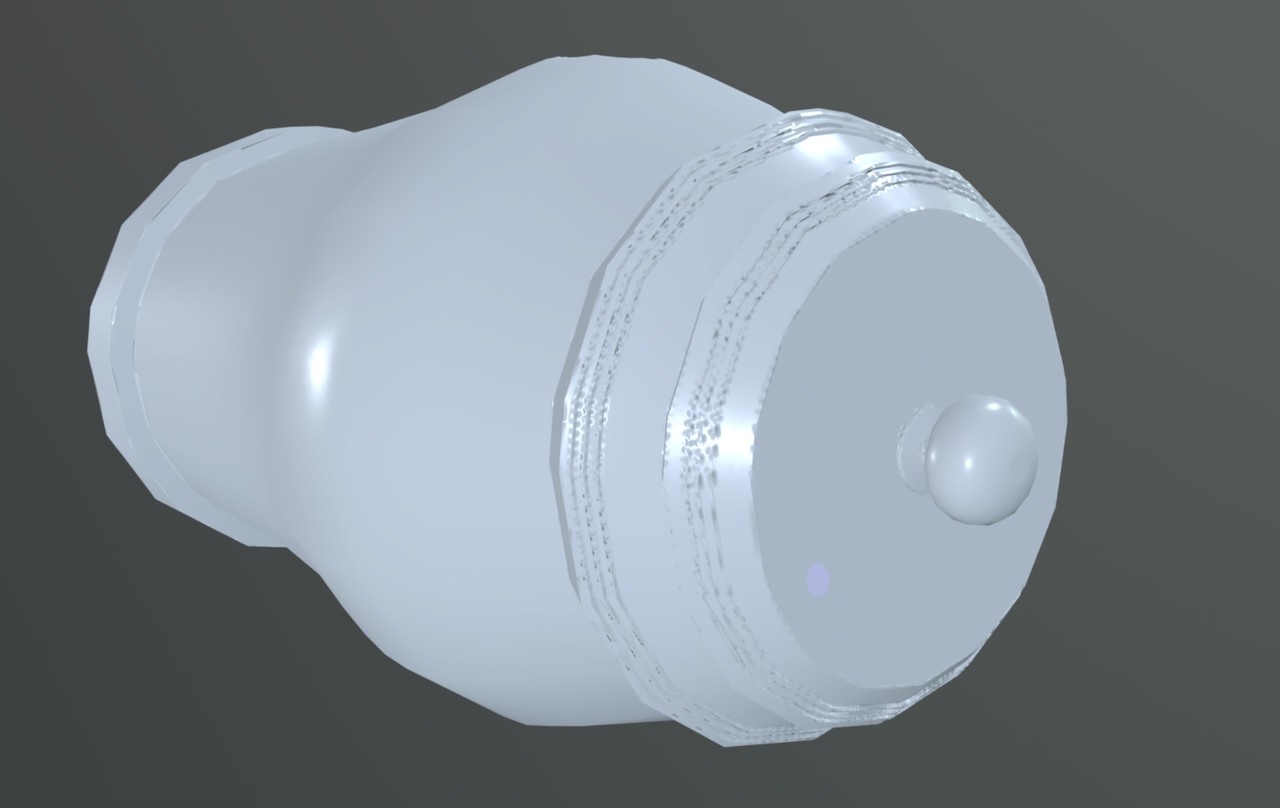
And finally we have the culprit, no priest needed, just good old scientific method. You have the UV's from the inside and out jammed one on top of the other, that is creating all the artifacts. You just have to re-arrange your UV layout and do not put them one on top of the other, have them have a space of their own, don't stack them. Test it and see if it works.
Hey, Omar! Thank you for spending the time on this.
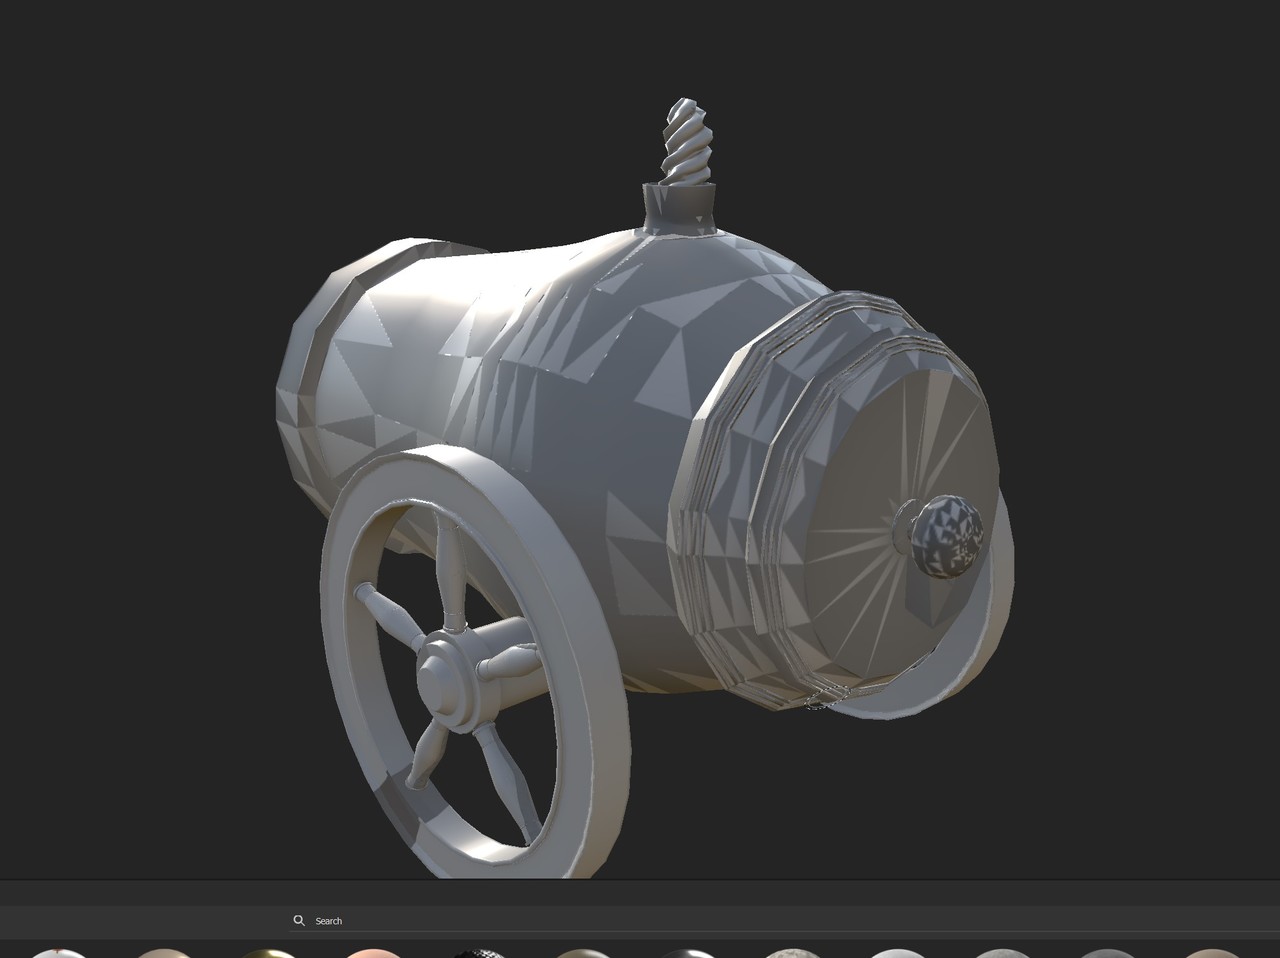
I don't know when that happened! I used UVPackMaster and checked to see if there were any overlaps and there weren't. That got rid of those werid triangles for sure. Oh man..
What do you mean when you say the surfaces are too close? Should I scale the high poly mesh?
I am stil left with some minor issues. I will try and maybe add loop cuts or use the knife tool to support those edges. Hope that won't mess up with my UV's again.
Yeah, by the surfaces being too close I mean the high poly object is very very close to the low poly object and when is scale it up a bit it gave me better results. But now that I think about it, maybe it doesn't matter as long as you fix the UV issue. Because when I tried that the UV's were still one on top of the other. If by only fixing your UV layout you get the results you want, you don't have to try anything else.
I entered Edit Mode for all of my objects at the same time -> Average Islands Scale-> checked Heuristic Search in the addon and pressed Pack. After that I checked for overlaps and there were none. I am pretty sure I did something afterwards that messed up the UVs.
