I'm new to Blender but familiar with 3D modelling apps.
I've run through the Cloud tutorial and it's creating some great looking organic clouds.
What I'm trying to develop is a cloud material that contours to the shape of an object (rather than take a square and build an organic cloud within it). I need to render hundreds of shapes as clouds so I need to avoid having to build each shape from squares.
Is it possible to do that with the material created in the tutorial? Are there any notable tweaks within the material that would assist. I've tried the scaling within the mapping but can't get it to contour to the shape in any meaningful way.
Any assistance would be great, thank you!

Make any shape (Object) into a 'cloud'.
Add an Empty Volume and add a Mesh to Volume Modifier to the Volume. Choose your Object in the Mesh field and hide the original shape (Outliner).
Play with the Volume Settings. You can even add another Modifier after that to Displace the Volume.
Thanks so much Martin, appreciate the quick response too...
There looks to be some good options for some quick cloud creation. I'd like to try and make it as realistic as possible and have the whispy organic look of the clouds from the tutorial. Here's a screenshot of the object and mesh's with different settings available in the "Mesh to Volume" box. The Resolution Mode, Voxel Size/Amount, do give me some good starting points - though I'd like to add some large/medium/small formations around the object (similar to the tutorials and I've put a cloud formation from the tutorial at the bottom of the render).
I'm not sure if that's doable but this gives me hope!
Thanks again, that moved it closer indeed :)
I could possibly layer multiple different clouds on top of each other to get the desired effect. I'll try that out.
In terms of lighting the clouds, I assume these volumes should take lighting just like the clouds formed in the tutorial? I tried an area light at an angle to get some shadow but I think I need to do bigger noise and perhaps more layering to get the desired affect.
The new cloud is on the right, looking much more organic :)
(Note: I used Clouds Texture and use the "Voronoi F2-F1" Noise Basis which aligned with the Voronoi they used in the tutorial)

Yeah, the layering might be a good idea (I was thinking of making a larger copy of each Mesh and use a stronger Displacement on that larger one...).
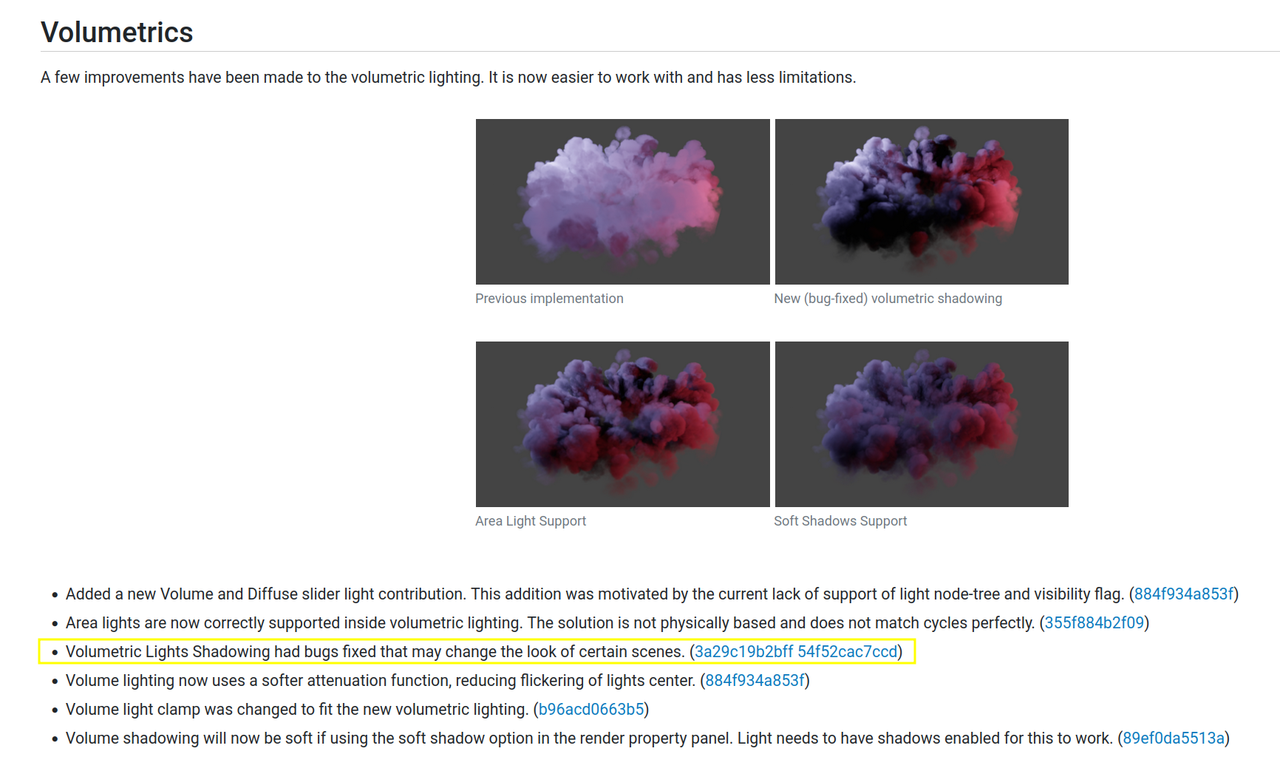
As for the lighting, if you are using Eevee, there have been significant changes made in 2.93 (that is after the tutorial):

So be aware of that.
Thanks for that info Martin - I'll try a few different things and should hopefully get there soon :)