Various things I've made so far.
I can't remember which episode of the Fundamentals of 3D Mesh Modelling in Blender course told me to make a simple house, but this is it. (There was also the snowman one and the robot one, but apparently I did not save the renders or files of those?).

Next is the sci-fi crate from the end of the Essential Modelling Tools and Operators section of the Fundamentals of 3D Mesh Modelling in Blender course. I fiddled with the colours/materials in an extremely basic way and added some bits to the locking area below the screen. My idea was that you'd want back up ways to open it in case there was something wrong with the little screen, so that is what those are meant to be.

And finally the low-poly room from the end of that course. I don't think there are enough objects for it to qualify yet, but I've sort of lost steam for now. I might come back to it and add more when I'm feeling a bit more inspired. The image is also not the right resolution for submission on the exercise part because I don't want to open up Blender right now so it's just the last test render I made to show my sisters.

I expanded the room a little outside the windows and put some fish and stuff there and some lights to sort of make the weird light pattern that water casts, so it's like the room is underwater. It's also hard to see because of the lighting, but I was very proud of figuring out how to make the little metal spirals on the notebooks on the desk. It was very much a trial and error process, and I'm not sure that I could even tell you what I ended up doing.
Added a few small things to the room and I did end up brightening the lights a little, trying to find the balance between the mood I was going for and being able to see.

I also added a screenshot of my own Blender with the file open on the laptop and was very amused by it.

A viewport shaded close-up of the desk because I thought it was cute.
For the exercise, how should I be counting items? I'm assuming the notebooks count as one item because they're the same thing but in two different colours and my first instinct was that the bed frame/loft thing counts as one item because it's one piece of furniture, but I made it as, like, five pieces? I am probably overthinking this.
Working on the lighting matching at the end of the lighting course.
But ended up playing around and making this instead. It's not based on anything, just out of my head.

Then tried copying this. I still feel like the blue lighting is not 'intense' enough, but I was getting annoyed at it so tried something different for a bit.
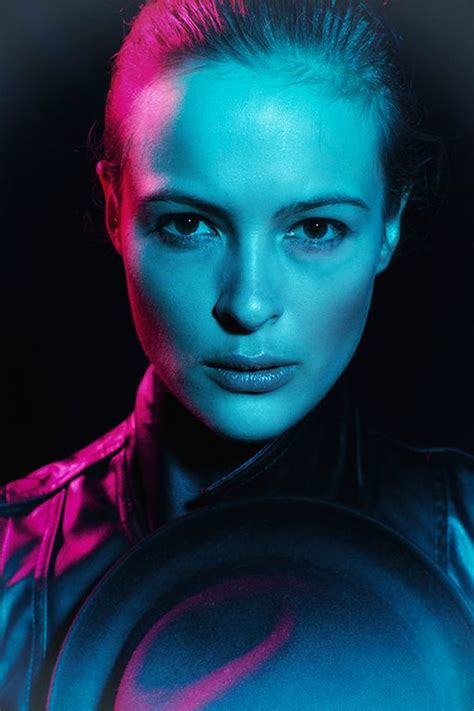
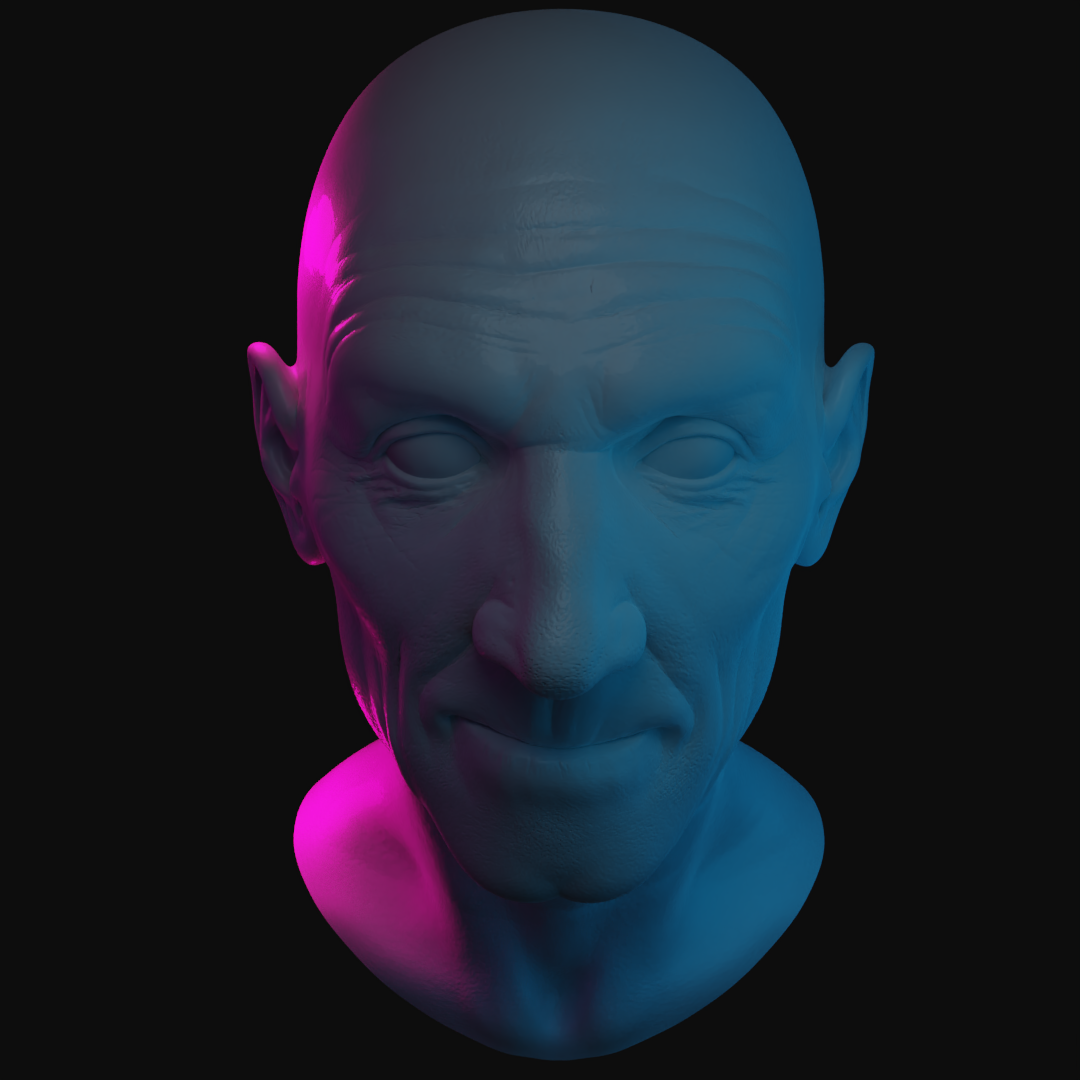


Which I'm also not sure about. On one hand, the main lighting definitely looks lighter and yellower in mine. On the other hand, I can't quite decide if the light is lighter and yellower in mine or if it's just because Mr. White Clay Material here is much, much paler than the guy in the photograph.
I was unable to find who the first photo is or who took it, I just keep getting caught in a spiral of people posting it on Pinterest, so if you find it, I'd love to know where.
The second photo I found on an article here but the photographer is Yuri Manei
That's all I've done so far.