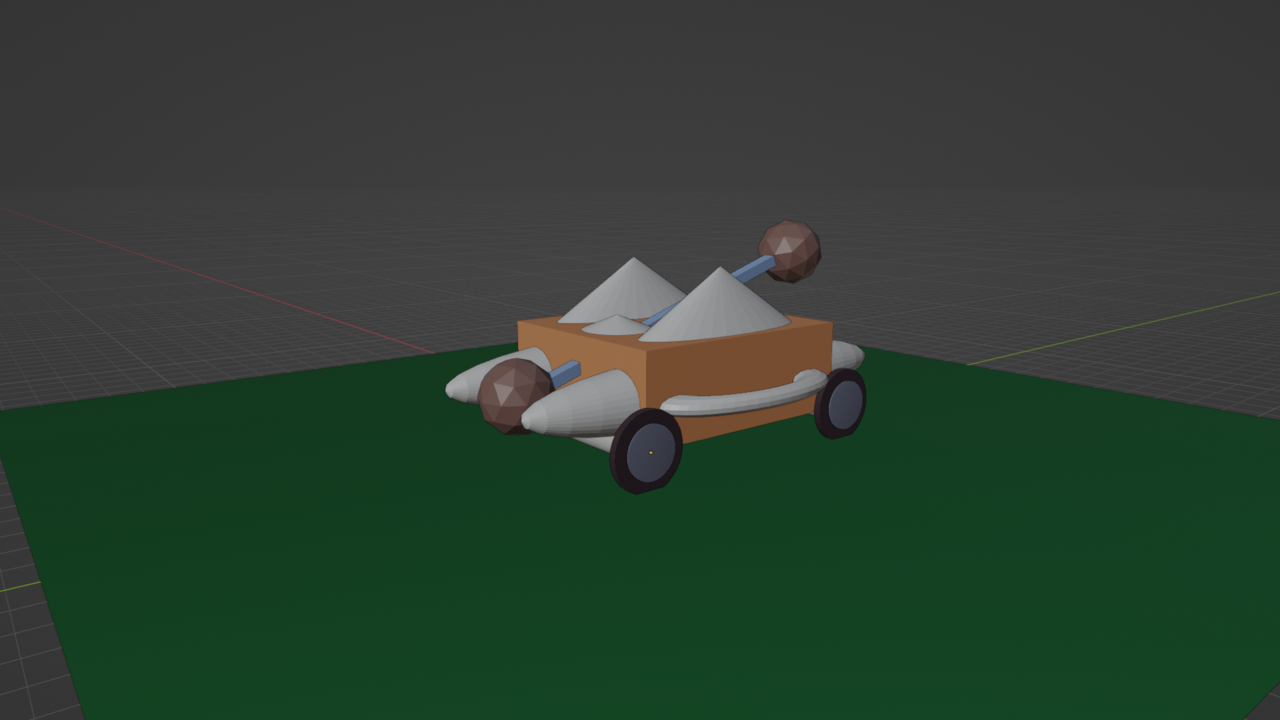
This is my 1st primitive exercise... pretty basic! (not as bad as my Shark Sculpt!)
My 1st "proper" project. Low Poly Room Task. I learned loads from doing this and played with lighting a fair bit.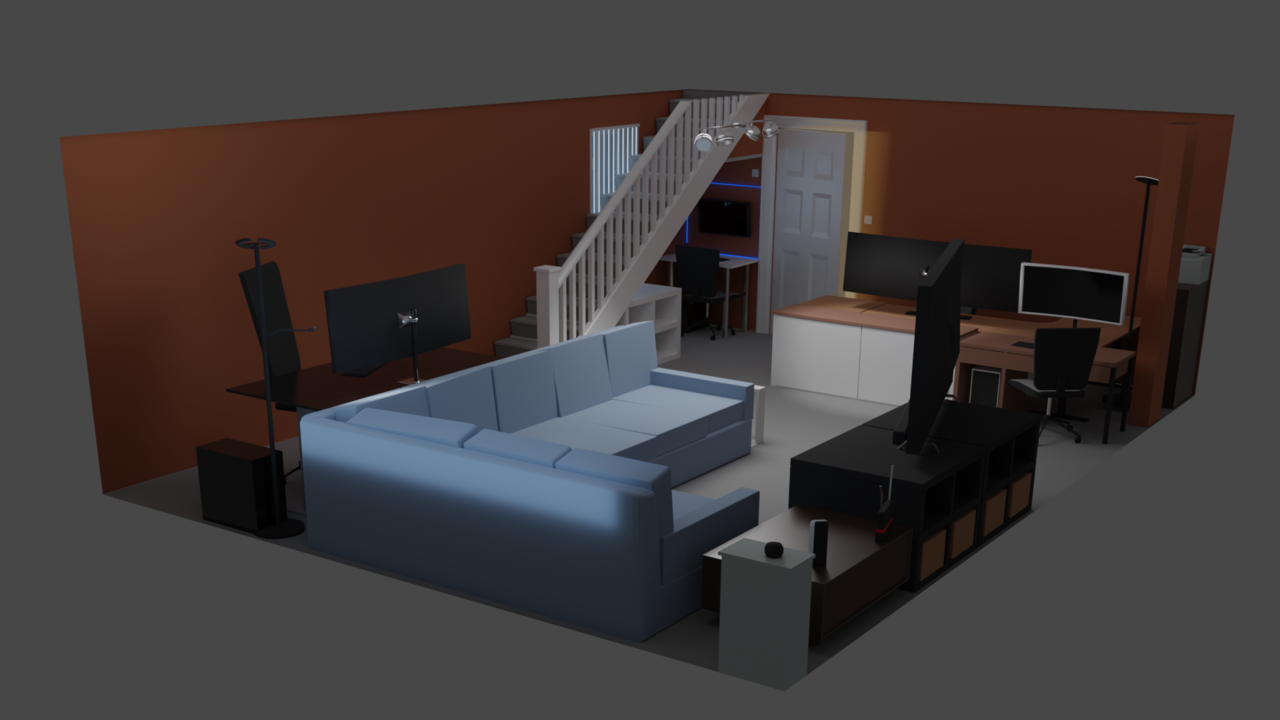
Submission for Fundamentals of Lighting:
This was my attempt at trying to recreate a similar lighting setup to:
https://www.flowersgallery.com/artists/146-nadav-kander/works/166877/
A front shot of David Attenborough.
Having the subject front on whilst still being able to cast shadows into the eye sockets and under the chin stood out as a challenge worth trying. Showing gradient whilst maintaining the shadows was a challenge for me. I used 2 spots, just above the eyebrows and 2 surface lights front and back. I found the side on, moody lighting setups easier to pull off and more impactful but this was a finer balance.
@jlampel - A really in depth course and one I will revisit as my appreciation for lighting and the value to my work builds. Thank you.

Thanks for the feedback on the lighting exercise - I played with adding rectangular area lights and removed my spots somehow it washed the detail out. This is a really great model for anyone practicing lighting.
Update on some of my mini projects, I have been working through the Fundamentals of Texturing and then the Realistic Environment in Eevee course. Some of the big courses are a slog, but really rewarding, so I find myself branching off and creating something light hearted to keep me motivated.
Low poly farm was inspired by a CG Geek video on Youtube, and the Sheep on an Iceberg was something I did in an hour and came from someone thinking the Sheep in the Low Poly Farm were Penguins! I also wanted to experiment with a water and ice texture.
The industrial is my output of the Realistic Environment Course, although caveat being I couldn't get DirtyVert Paint to work and some of the Stripes on the handrail just were not working at all so I canned those elements.
Texturing is a huge topic I am grappling with and one I will continue to build on over time.


This was also a quick animation I did just to try modelling to a reference (from a mobile game) and animating it with a simple Camera spin and non-rigged character movement. Apart from a basic spinning cube this was my 1st animation :p
All very good results Steve. And great initiative to branch into doing something for yourself to keep you interested. Only following tutorials can be dull, exploring your own creativity is a must. Also getting an appealing result from low poly is trickier than it looks, simple elements will rely heavily on good composition and lighting. And lastly I like how your industrial environment render feels creepy and like something bad is about to happen there, transmitting feelings through an image is also tricky. Good job all around.
Been really enjoying rigging and animation this week, put together a couple of unlisted playlists of my submissions:
Fundamentals of Rigging Submissions
Fundamentals of Animation Submissions
Big shout out to Wayne for these course, I have had a ball!
Loads of fun to be had ... usual beginner chaos with random stuff flying around the screen! :P
I also finished off the Materials and Shading class with the Desk shading exercise. I seem to have an allergic reaction to anything node based but I am learning to be friends with them!!!

From a technical point of view I am beginning to dial in my start-up file and my settings to compliment my workflows ... Blender begins to feel mine .... I also discovered why my PC CPU runs at 100% when rendering .... I had HIP selected instead of OptiX ... ! Cycles is actually usable now. I couldn't understand why everyone I watched had no issues with it and my PC struggled ... it really shouldn't!
Looking good, Steve! Especially for someone with a Node allergy!
Glad you figured your System settings out; it wasn't on HIP by default, was it?
And wasn't there a warning about not finding a compatible GPU, or did you just not notice it?
Since Blender 3.0 Cycles (formerly known as Cycles X), is much more dependant on GPU and it is hardly usable on CPU only.
I was using CPU rendering at the time and from 2.93 to 3.0, the rendertimes for Cycles more than quadrupled.
I don't think it was on by default ... I suspect I fiddled when I 1st opened Blender not realising that whatever you leave it on is persistent rather than choosing the best option. Now you mention it I do recall an error, which I scoffed at as I thought my GPU must be compatible :p
Whenever I rendered anything previously my PC would basically lock up and I could hardly do anything. Let this be a lesson to anyone reading this. HIP is bad sauce unless you know what you are doing.
My cycles at 50 cycles is nearly as quick as Eevee in the view port on the scene above. Quite remarkable ... and my PC fans don't suck the children in now either!
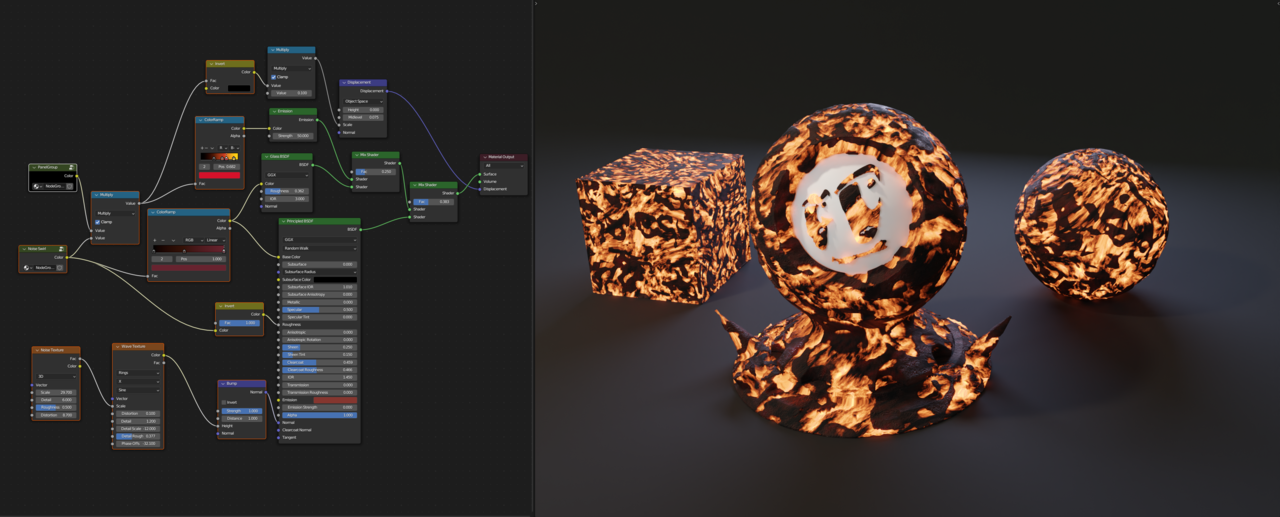
I am working through the Fundamentals of Texturing (great course! - Thank you Jonathan) and am doing the Lava exercise. I have got my shader to this point after decent run at it. I watched Kents Lava Shader forge and it was really useful I added my own twist. Adding a glass shader to the emission mix allowed some colour transparency in the solid areas which created a cool effect. I thoroughly enjoyed putting this together and one of Spikey's comments about isolating each part resonated with me.
However .... Something just feels off ... Is there something glaringly obvious I can tackle to bring it to the next level?
Any texturing/shading principles I should revisit?
I am going to submit this but would be really interested to see what others would do with my setup.
Hi Steve,
Something just feels off ... Is there something glaringly obvious
Your Displacement is not working!
There is a mistake in the Nodes (you can use the Multiply Node, but it is unnecessary...but then you still need to plug it in the Height):

and also make sure that you are not using Bump Only in the Material Setting:
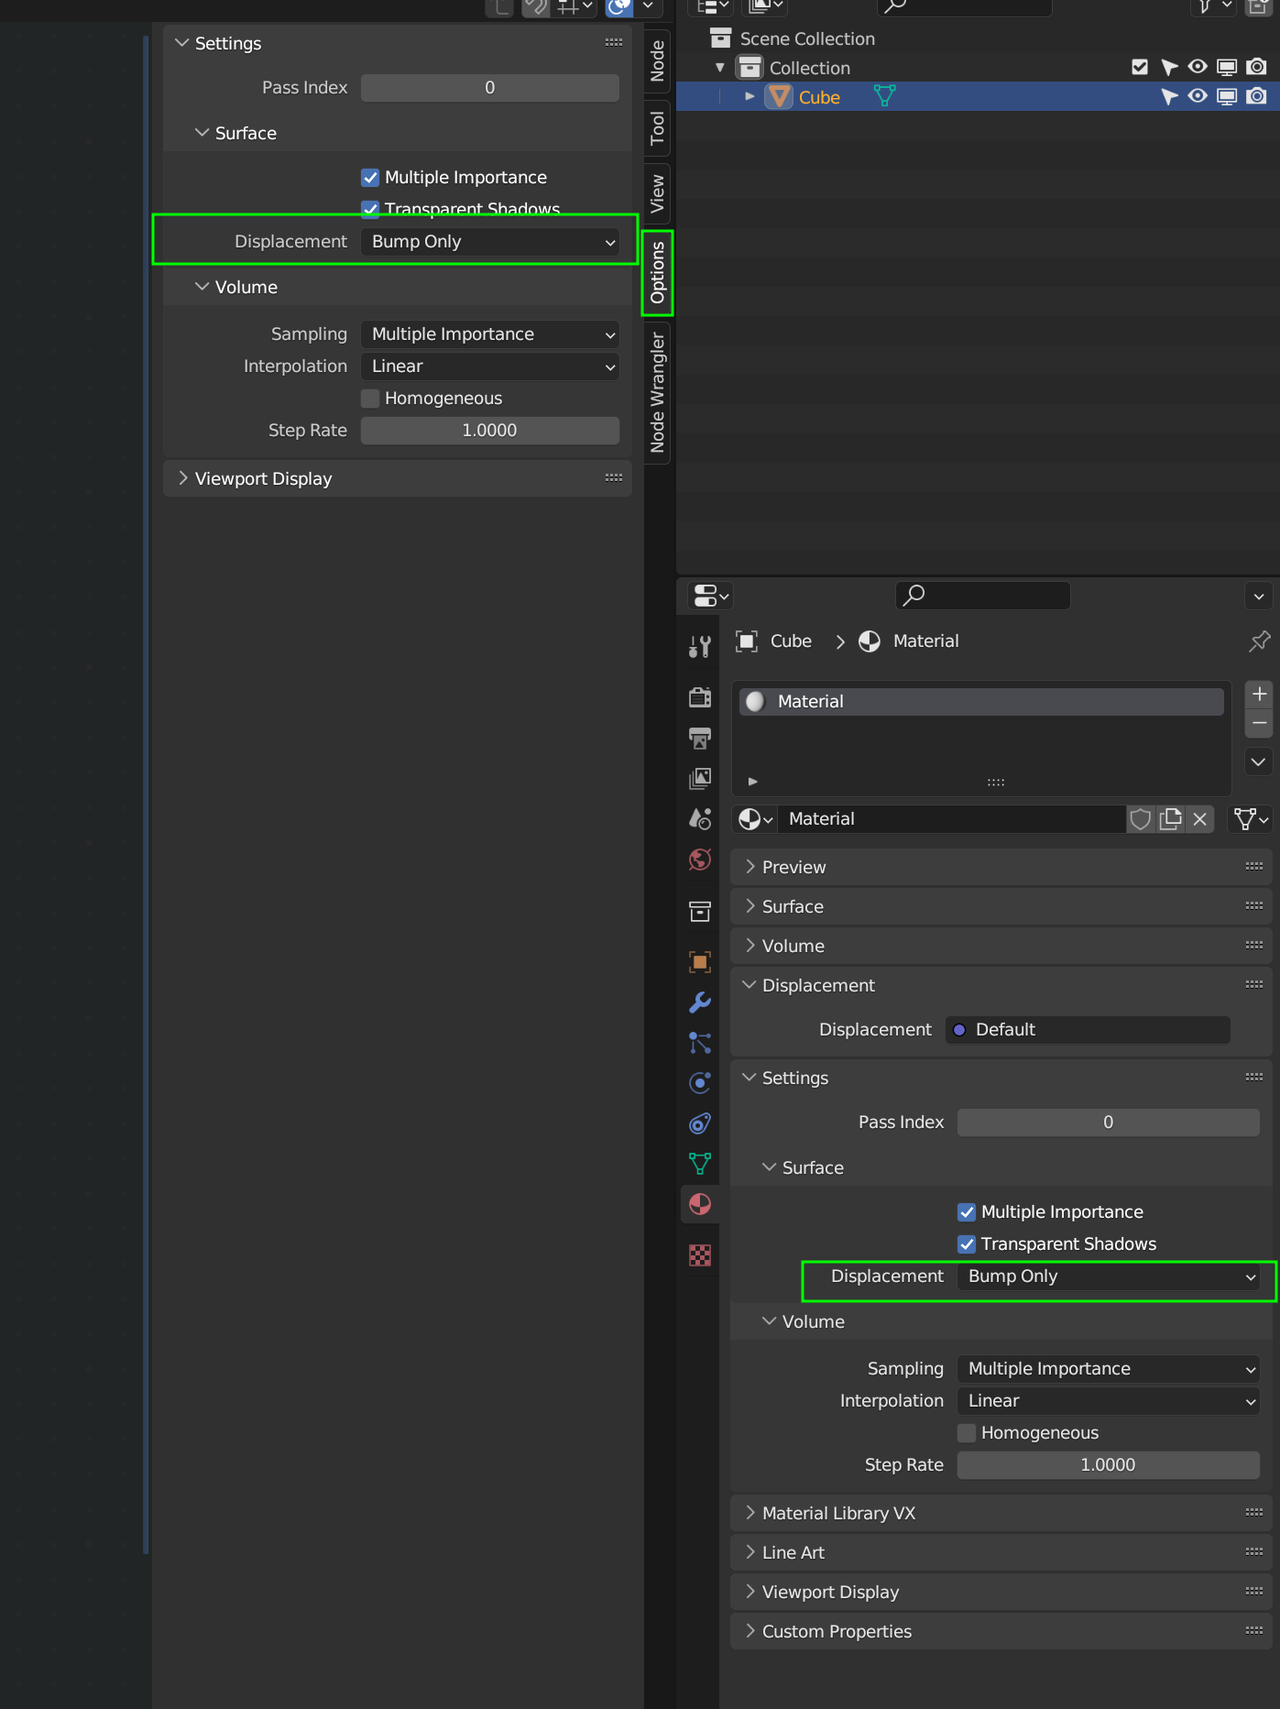
Oh, wait...There actually seems to be some Displacement going on...just, especially the Cube, doesn't have enough Geometry (only 8 (?) Vertices).
Still, I think you should plug the texture into the Height of the Displacement Node.
Also, the Invert Node is being used in a really unconventional way (the texture (through the Multiply Node) should be plugged into the Color input of the Invert Node, not in the Fac.)
But if the result is to your satisfaction, you can break all the rules and do whatever you like, of course.
The weirdest thing about the Shader (why it looks off), is probably the lack of geometry (Cube).
It's looking good man. Yes there is something off, but it's impossible to say exactly what, it's like well, it looks like lava, it feels like lava, is it ultra realistic lava? No, but it works. Kent has a good Lava Shader Forge, it's an oldie but I bet the principals still apply.
Thank you for the pointers and feedback.
I took another swipe at this and reduced some of the early noise applied to increase the solid surface. Fixing the invert and multiply was great and a tweak of the displacement gave me what I was aiming for.
As with every project I could infinitely tweak this but time to hang it up for now and move on with my learning. (I am going to resubmit this image!)
Fascinating exercise, and really brings some tangibility to the nodes as they are applied.
Thanks again.
