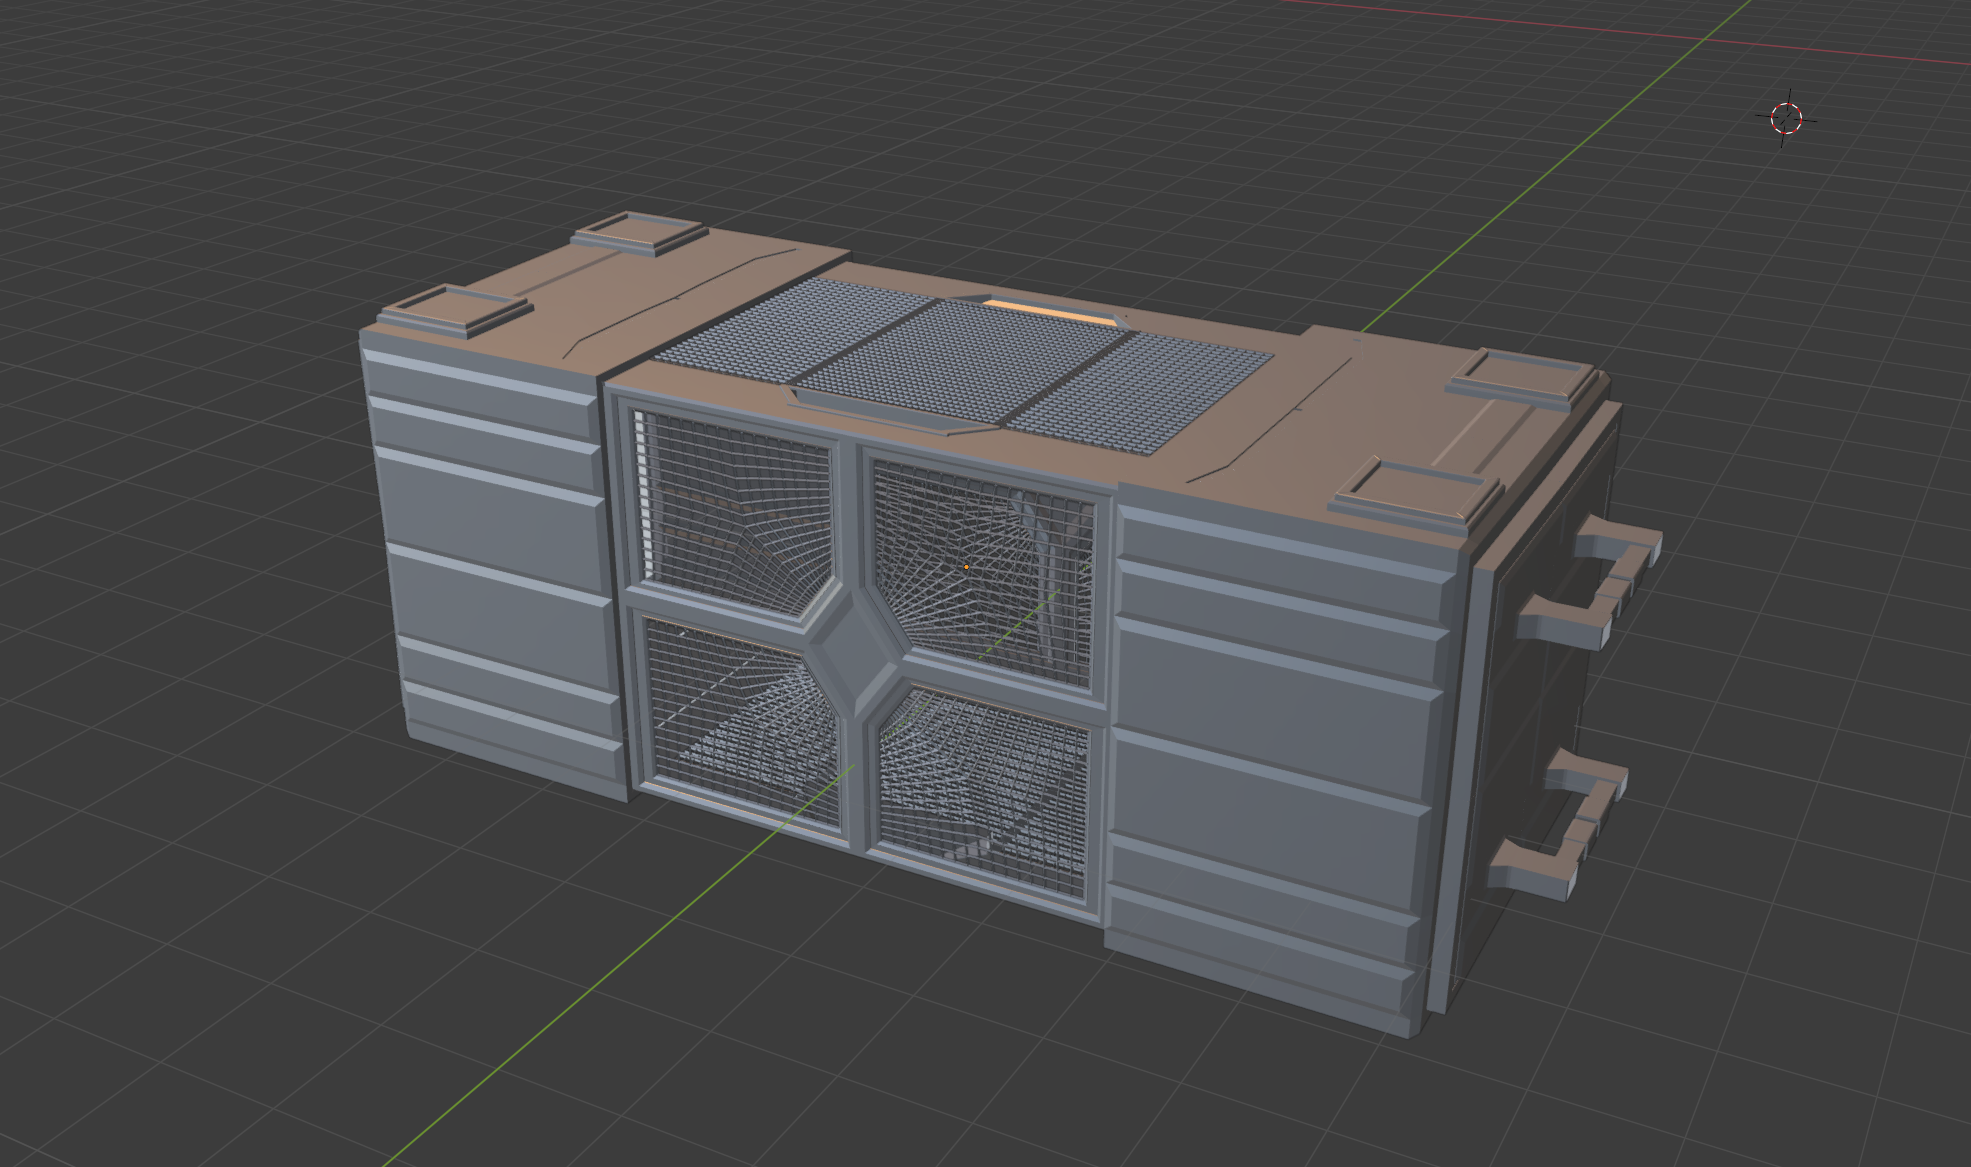
Step 1: the box (here we meet again...)
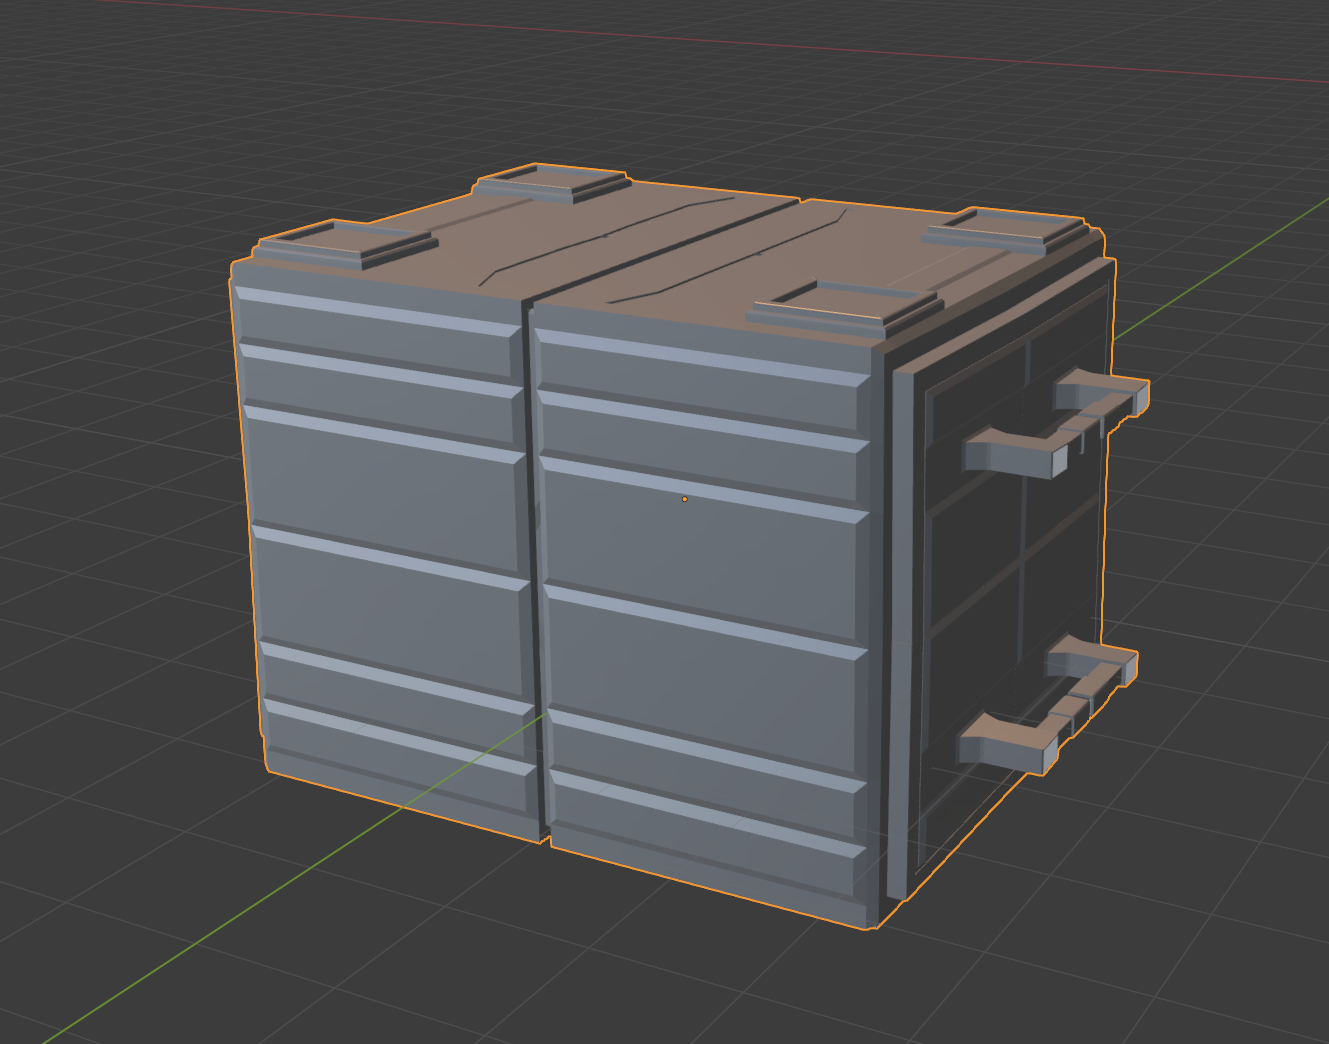
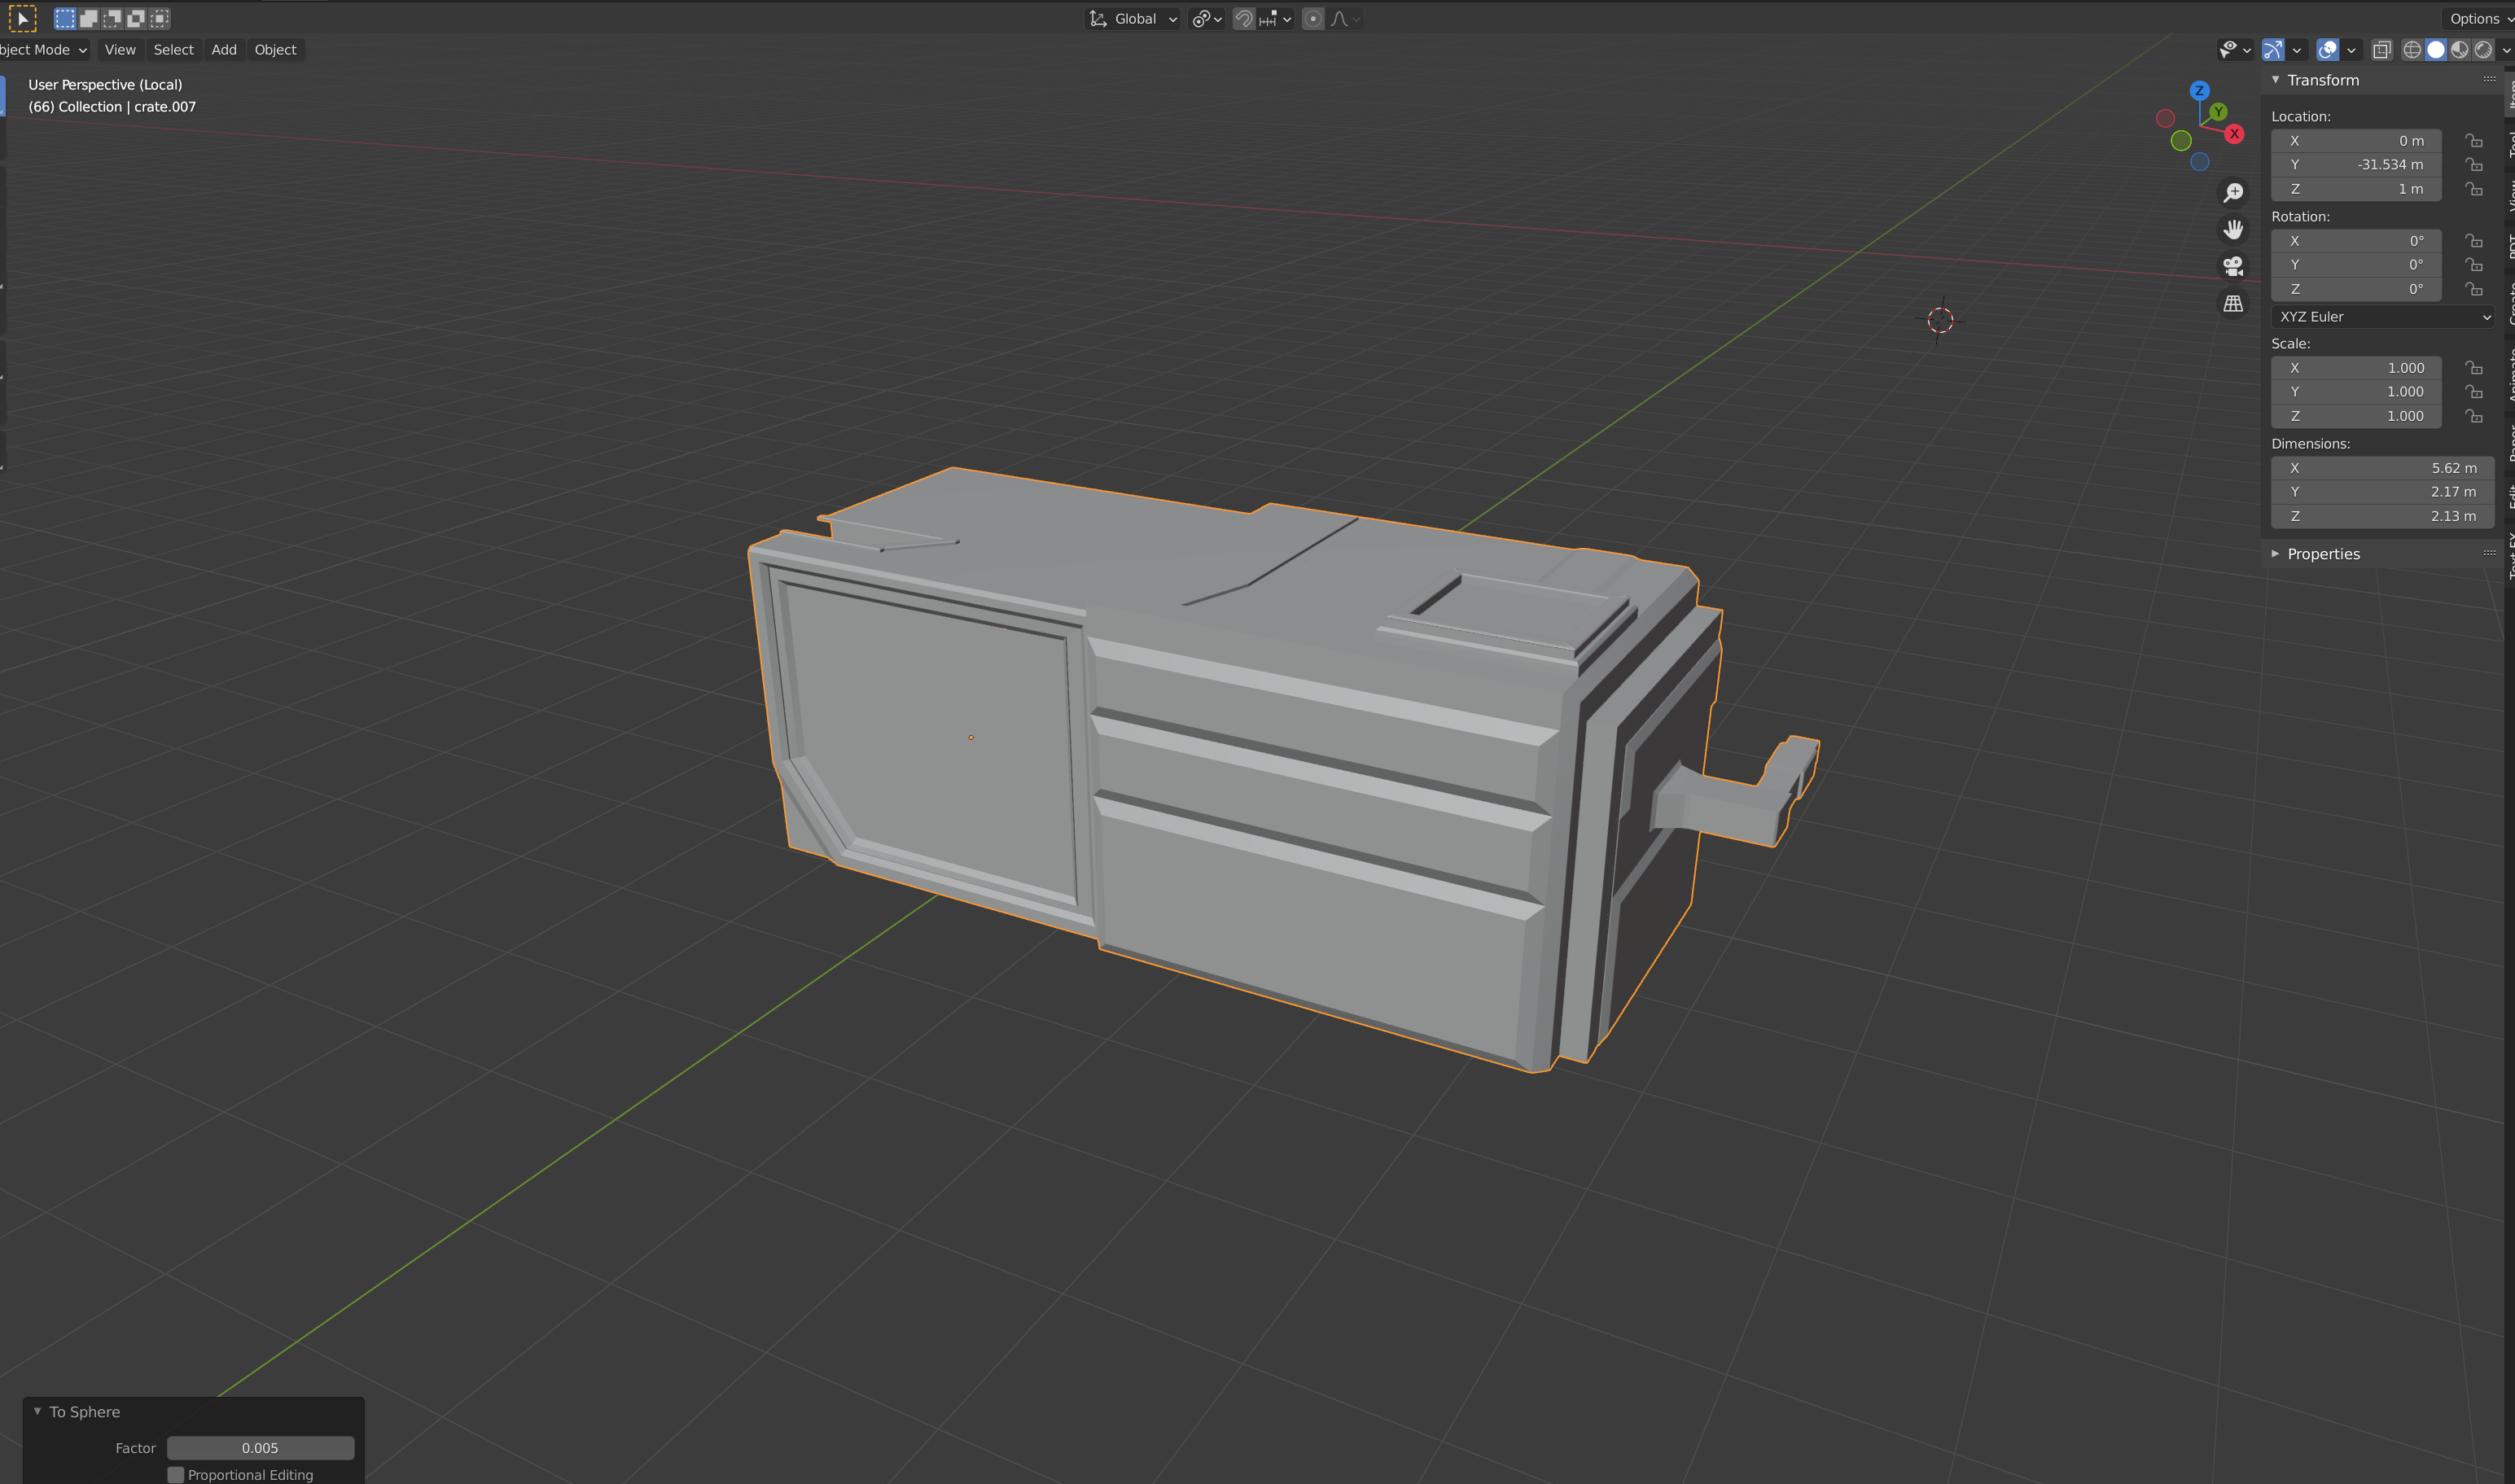 adding a mirror modifier to make it a crate:
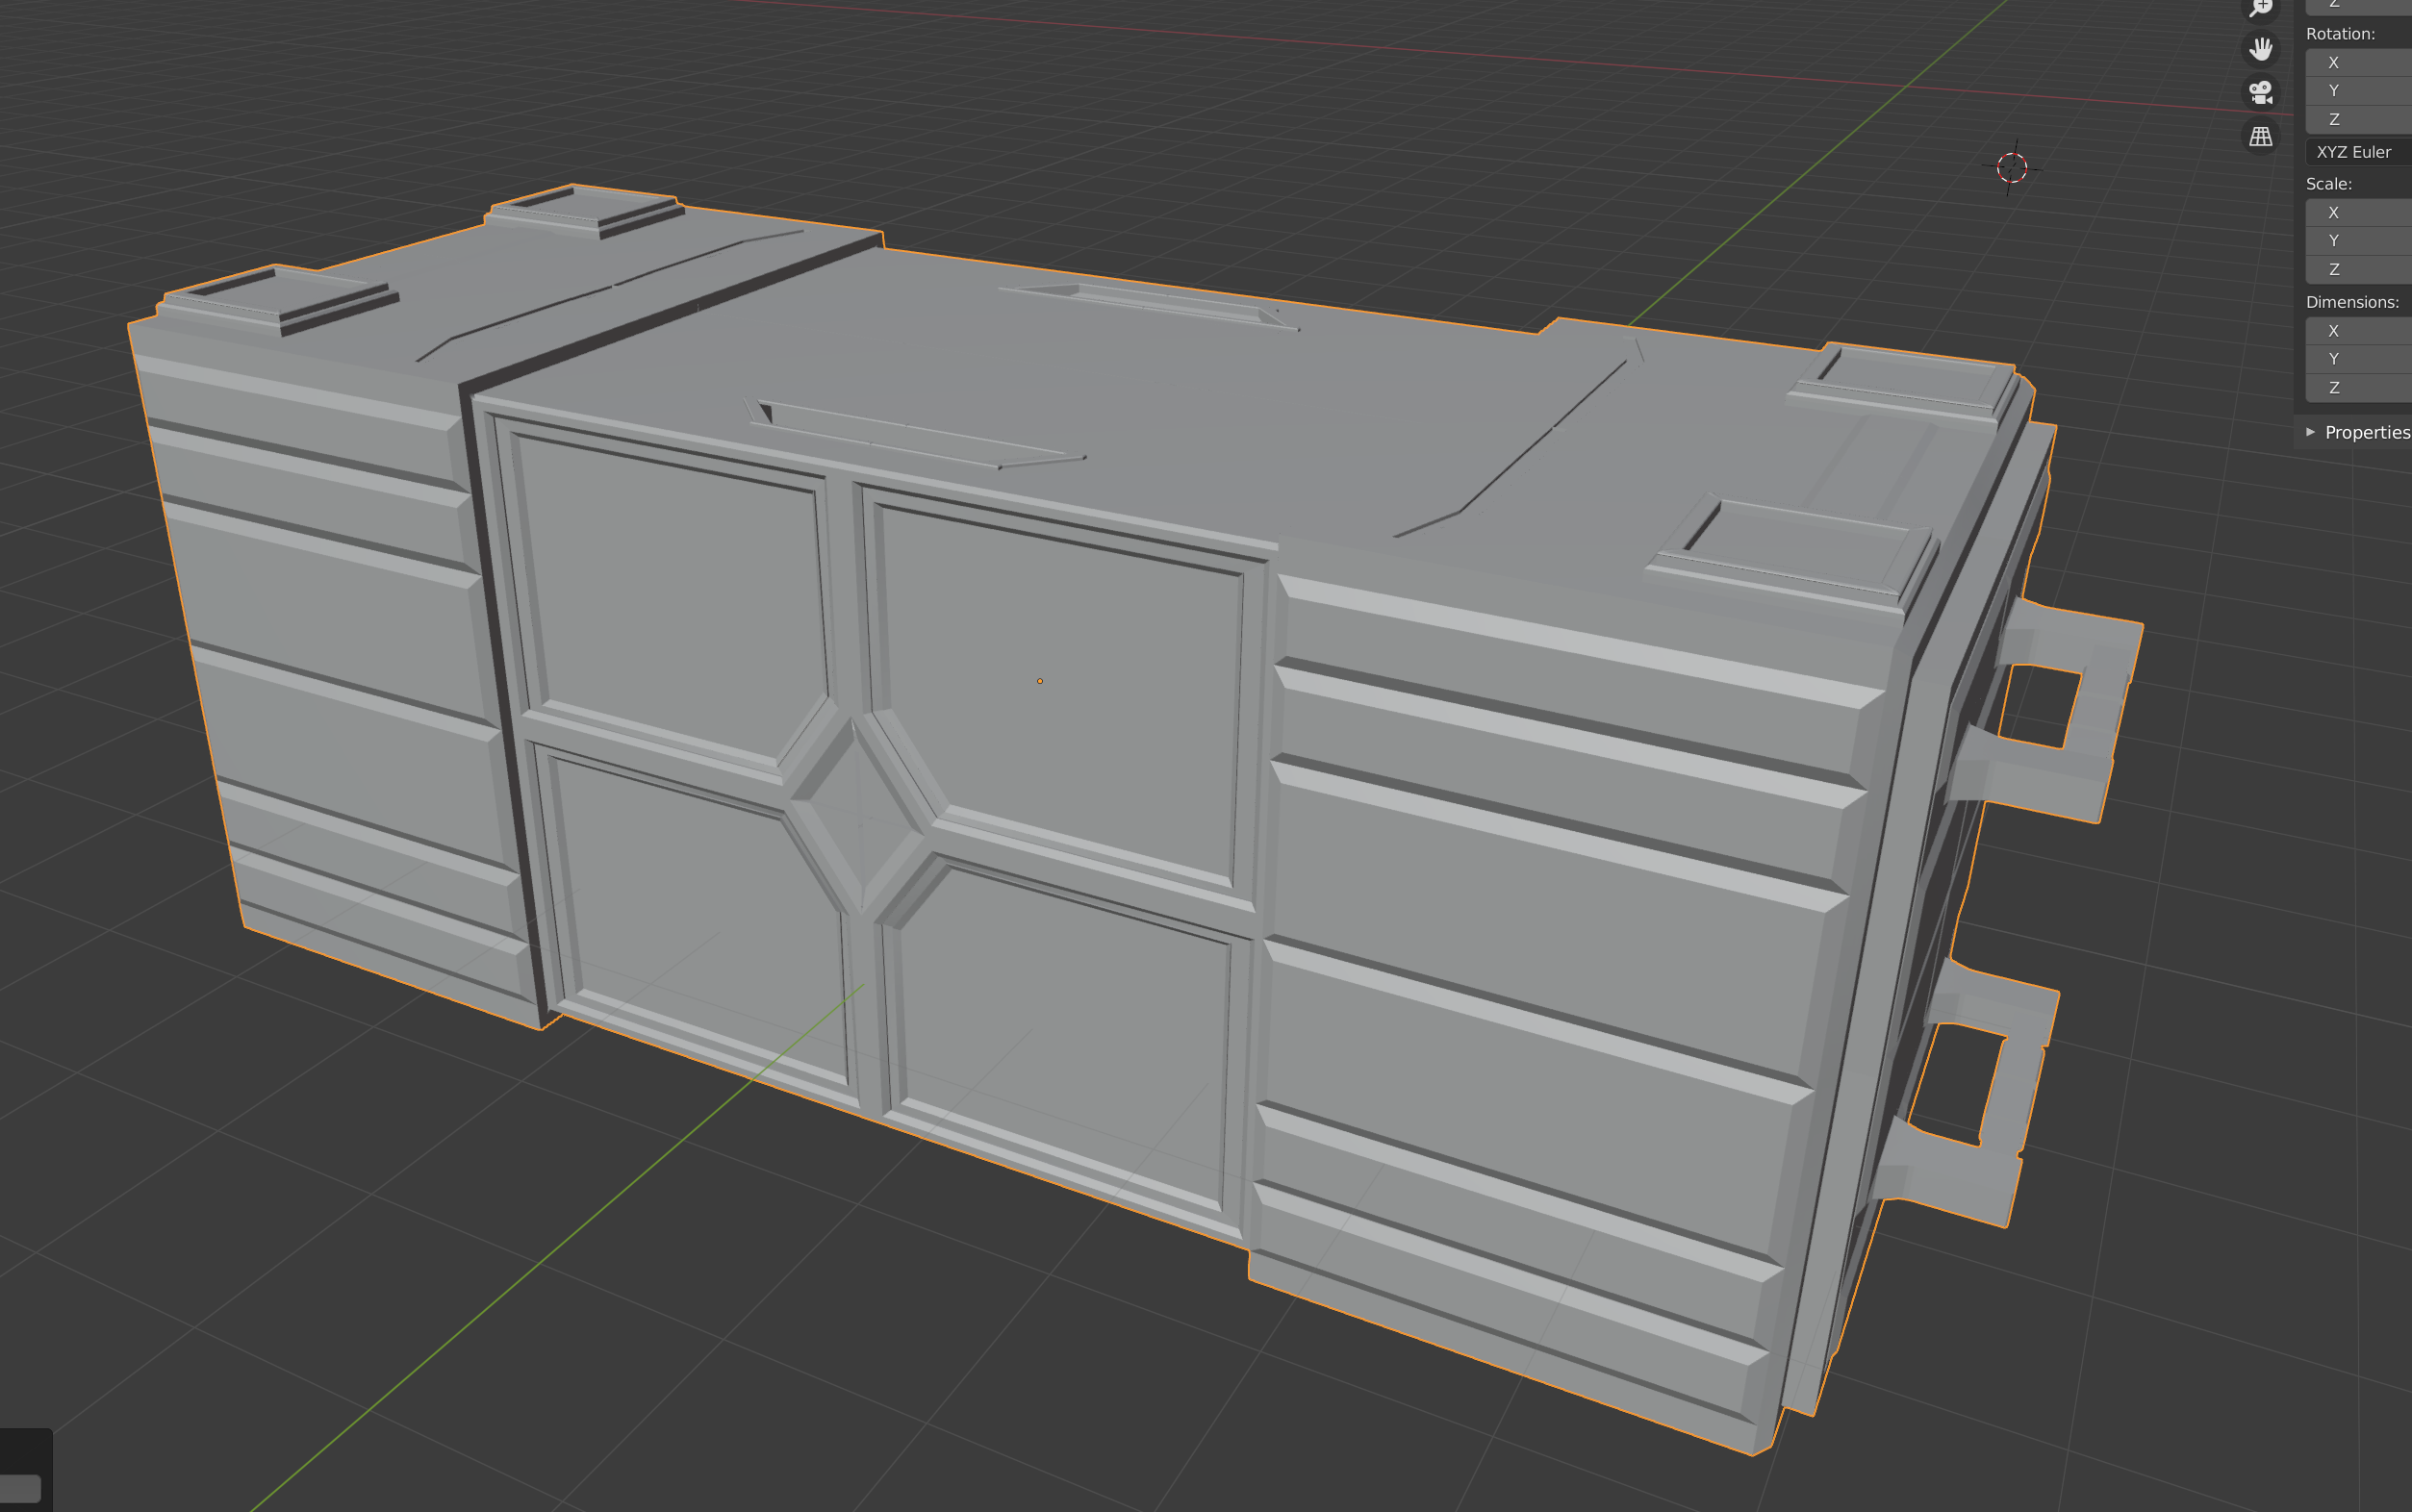
and deciding this would be the open state of the box, thus needing to separate the flat surfaces to create a grid:
beware, there is room for some dangerous animals in that crate...so we need to be able to close it:
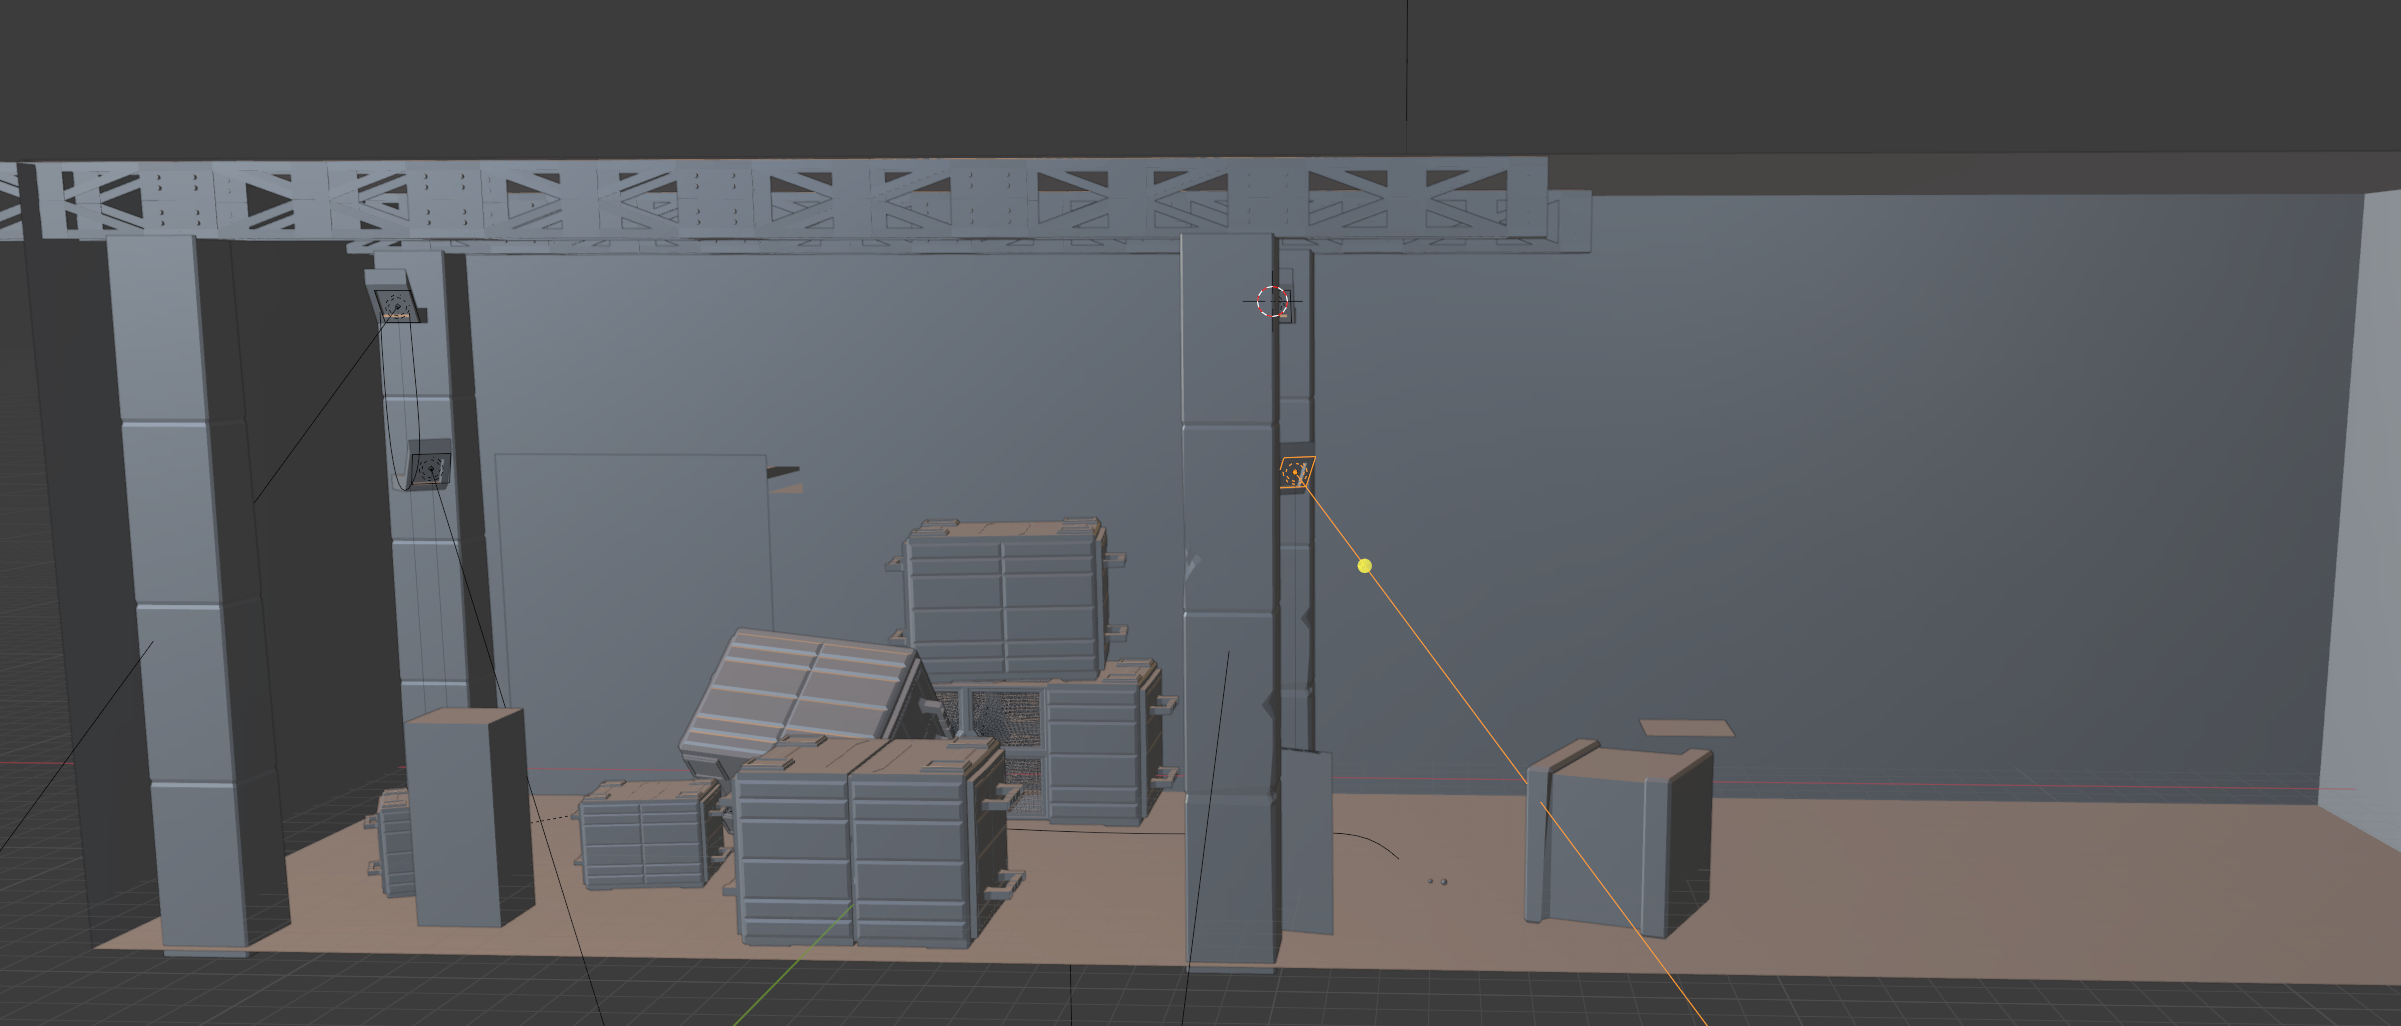
next, The environment.
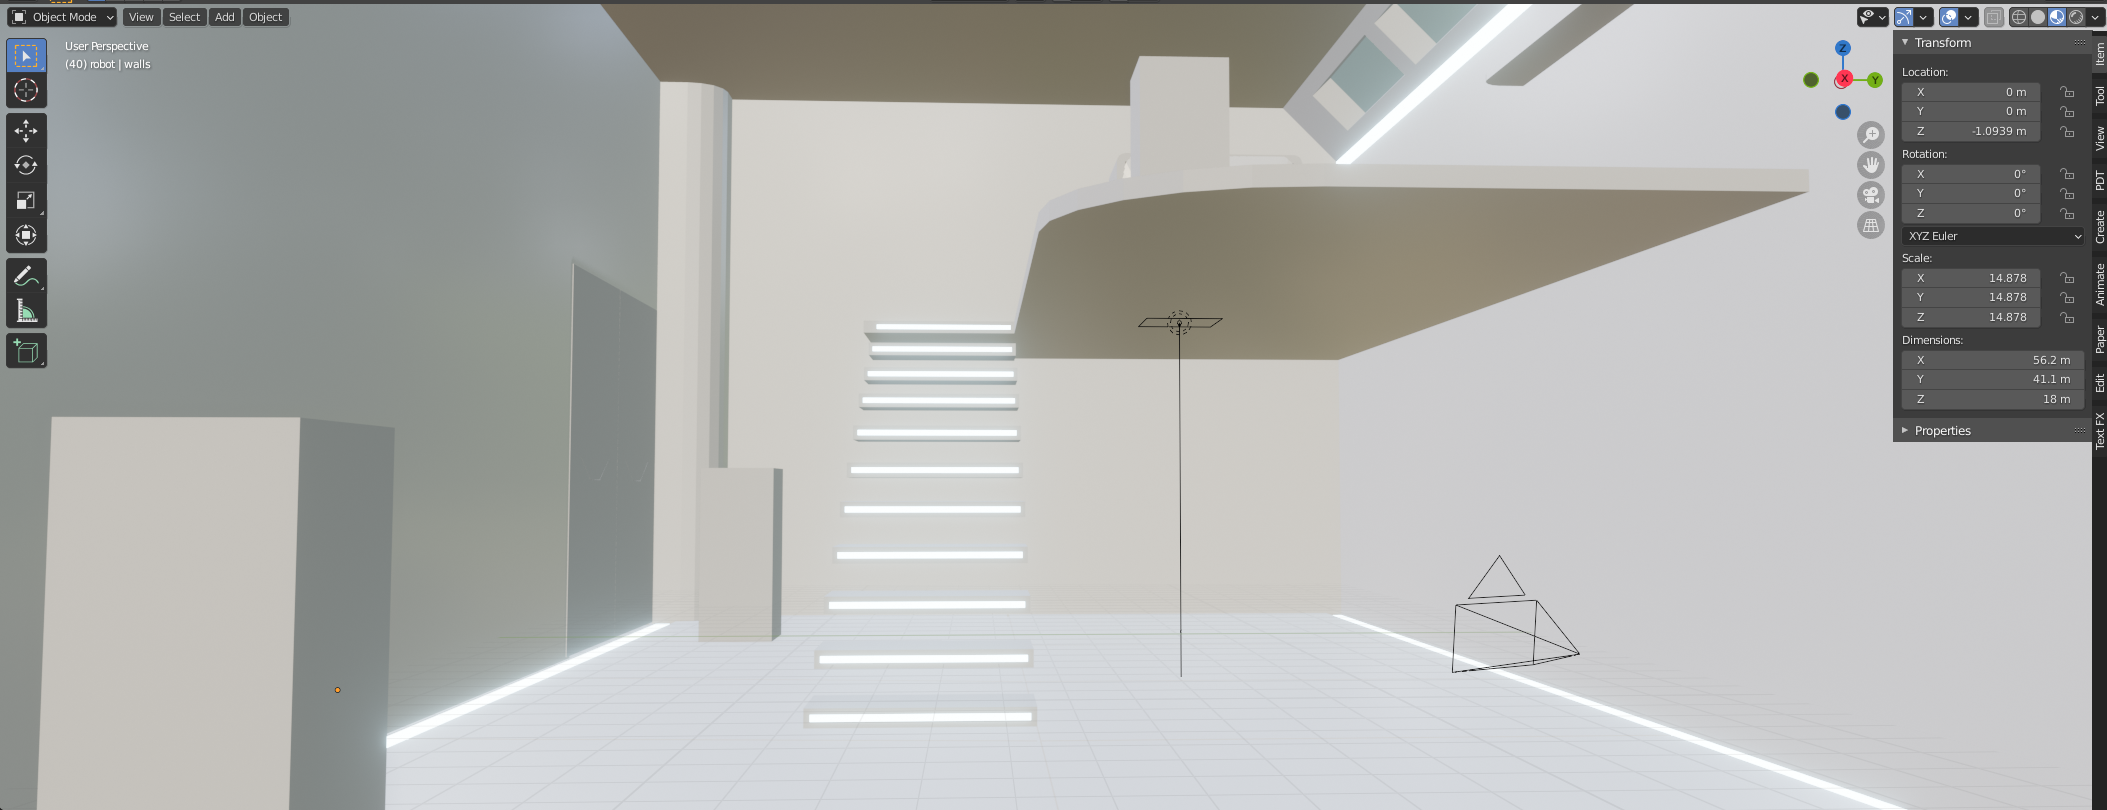
Step 2: preparing a room, here I felt like making a sci fi storage room that had some chaotic episode. a doorway is allready foreseen for the sci fi door. piled up some boxes , added a structure and added industrial lights. So far I'm in the post apocalyptic mood.
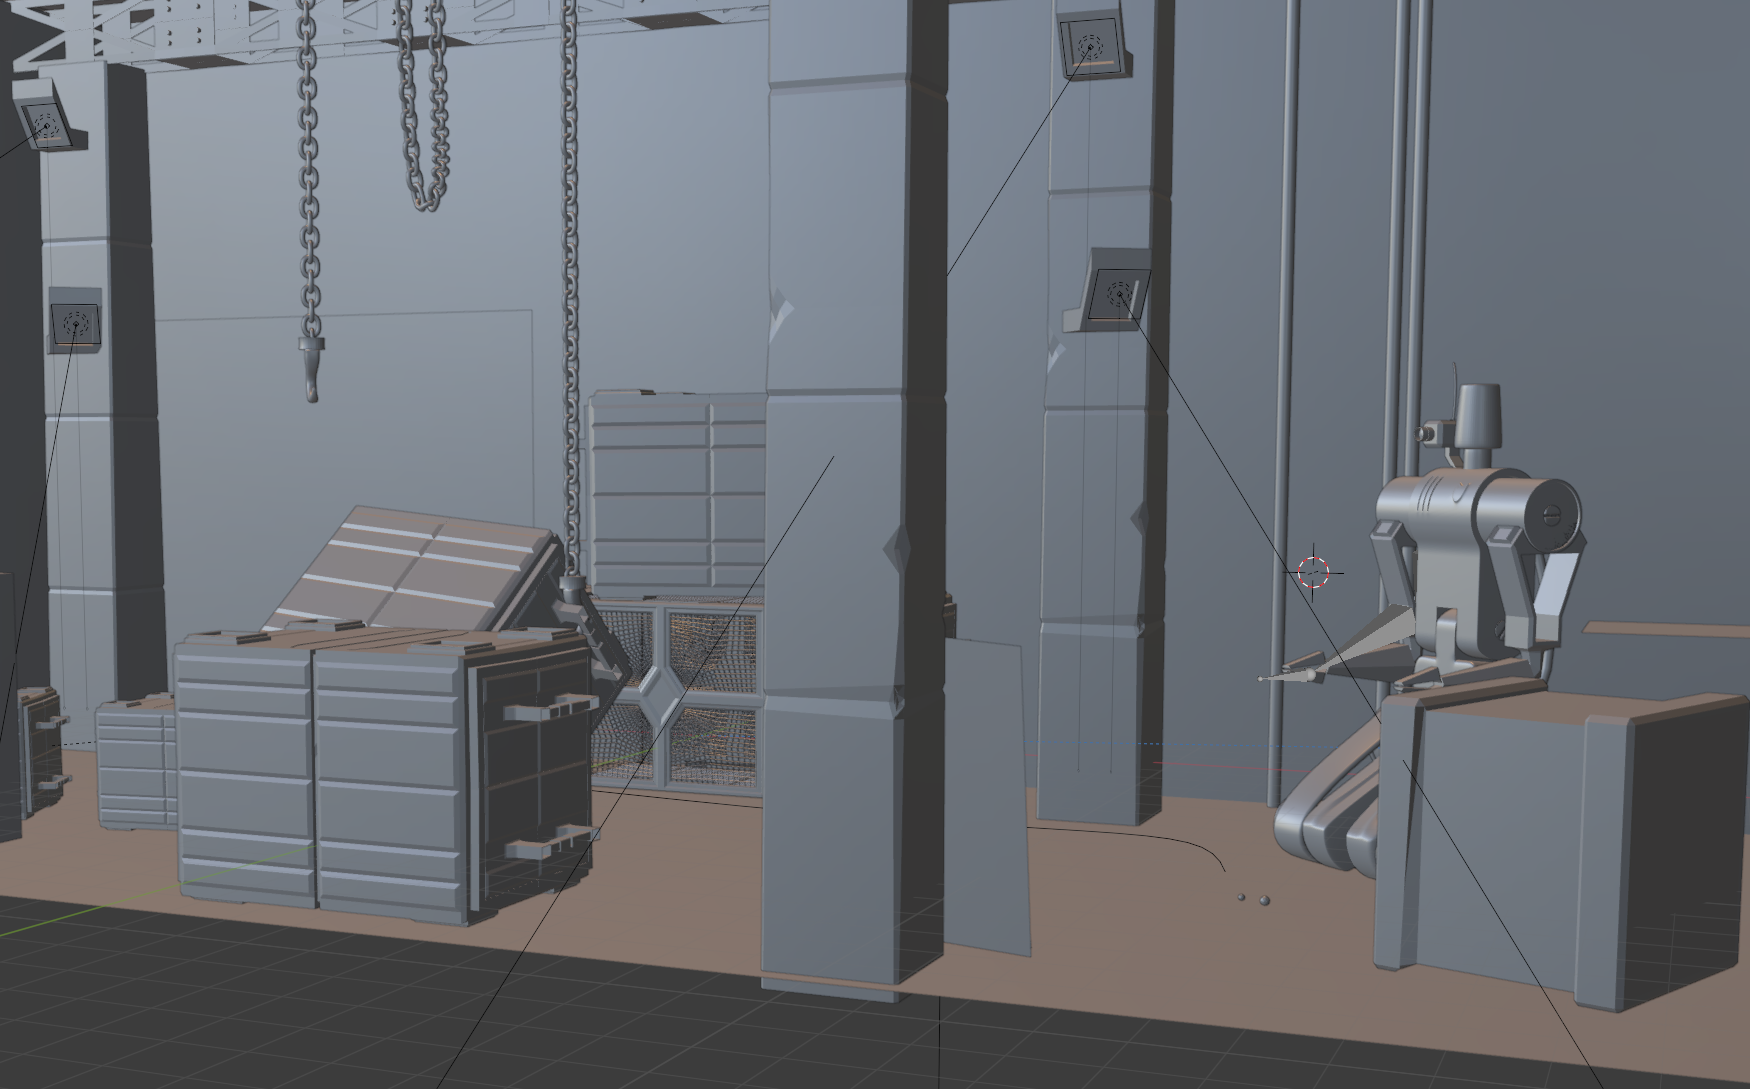
Adding some chains might make this more believable as the boxes are way too big to carry for a normal being.

and I did model a while ago some kind of robot, so i'll give him a new destination
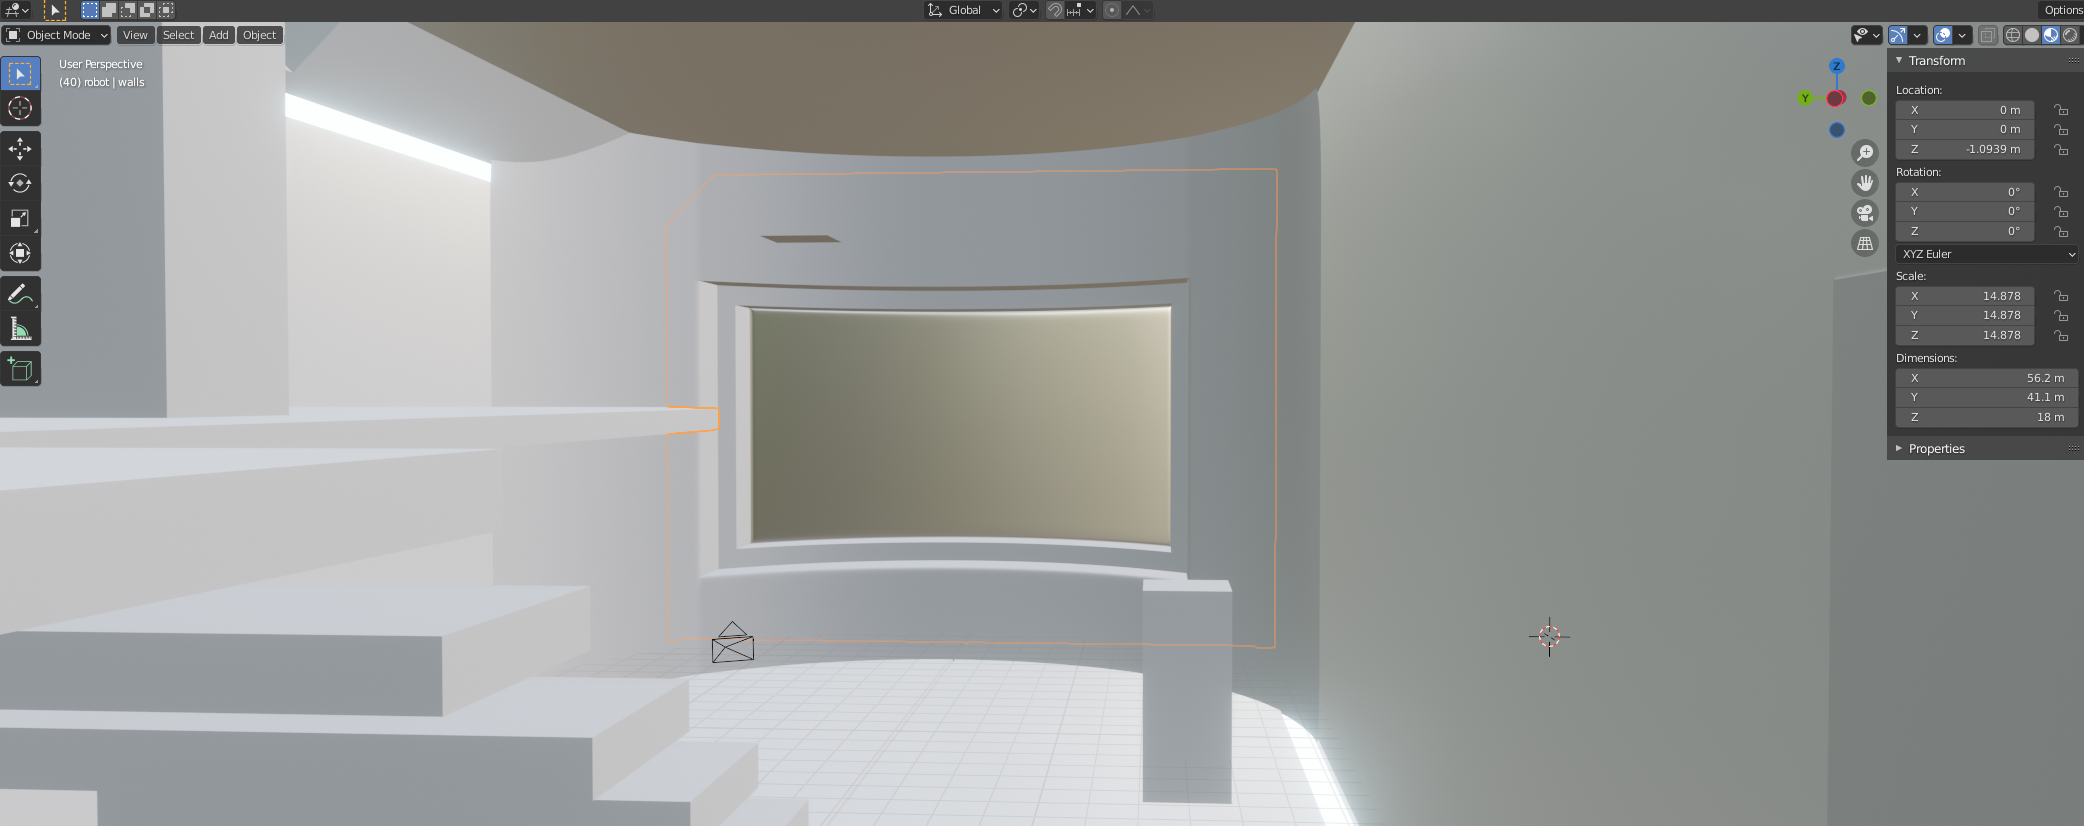
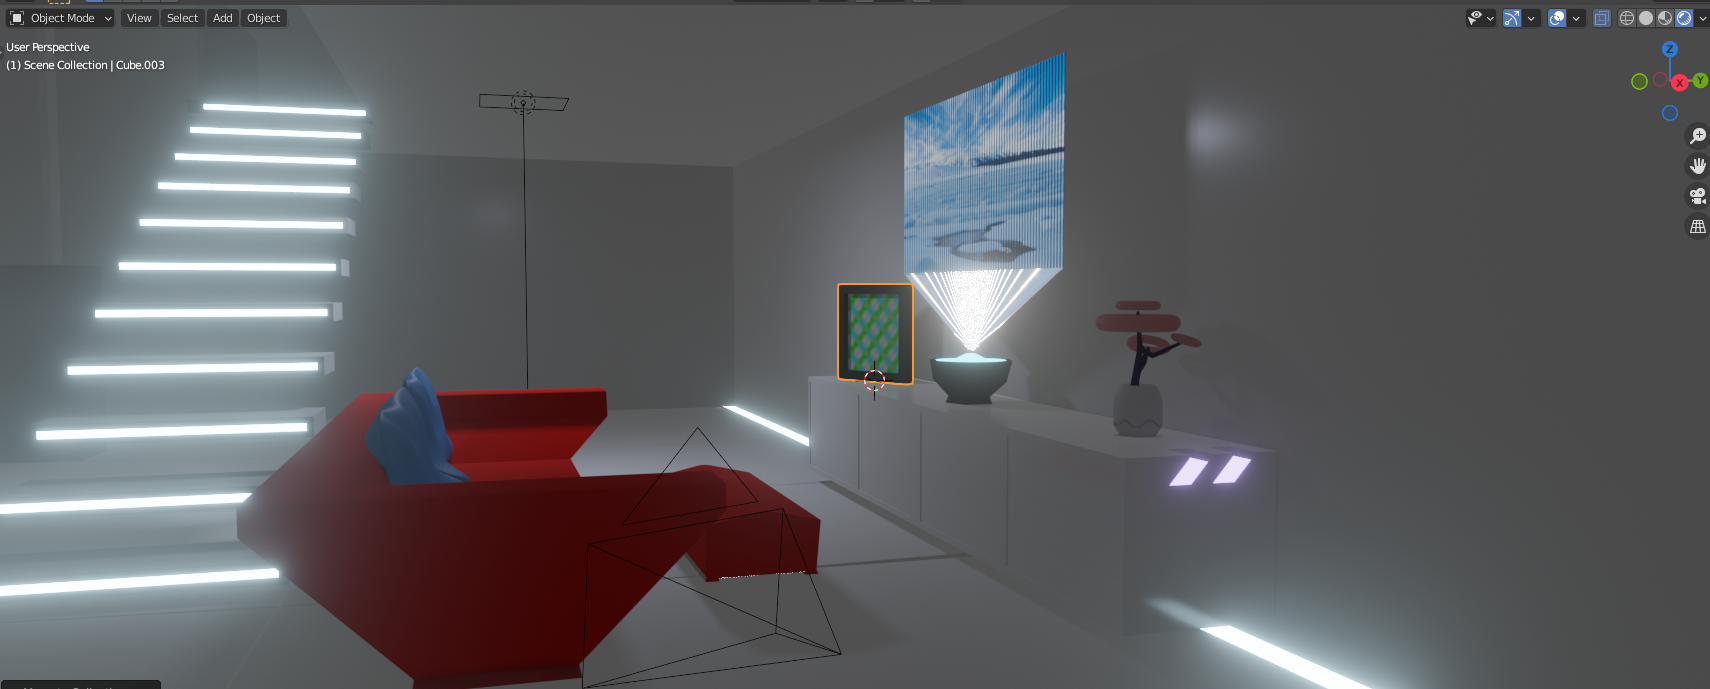
adding a lounge part to this room with a holographic tv and floating couch. I really should patent this :))))
there is no decent sci fi scene without some kind of portal: 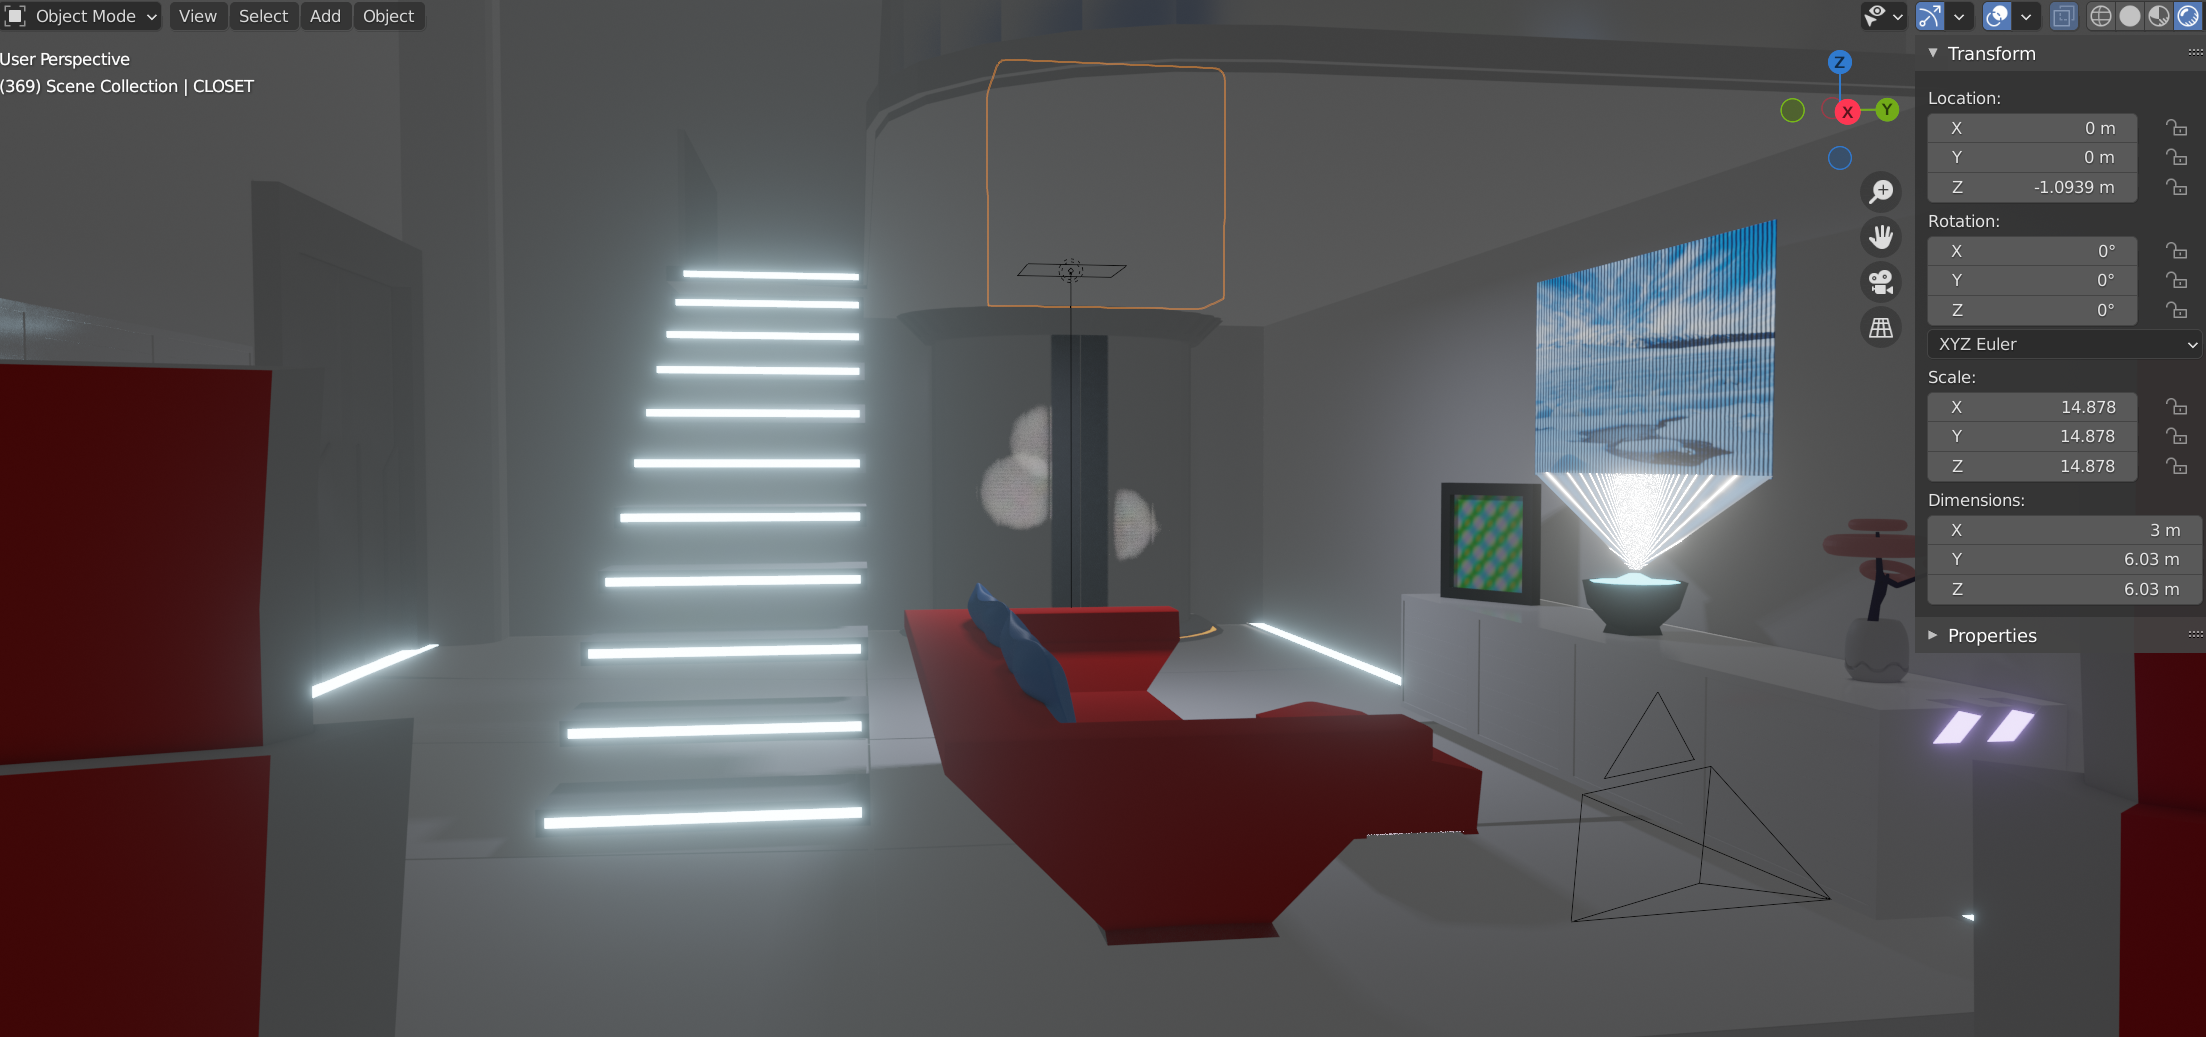
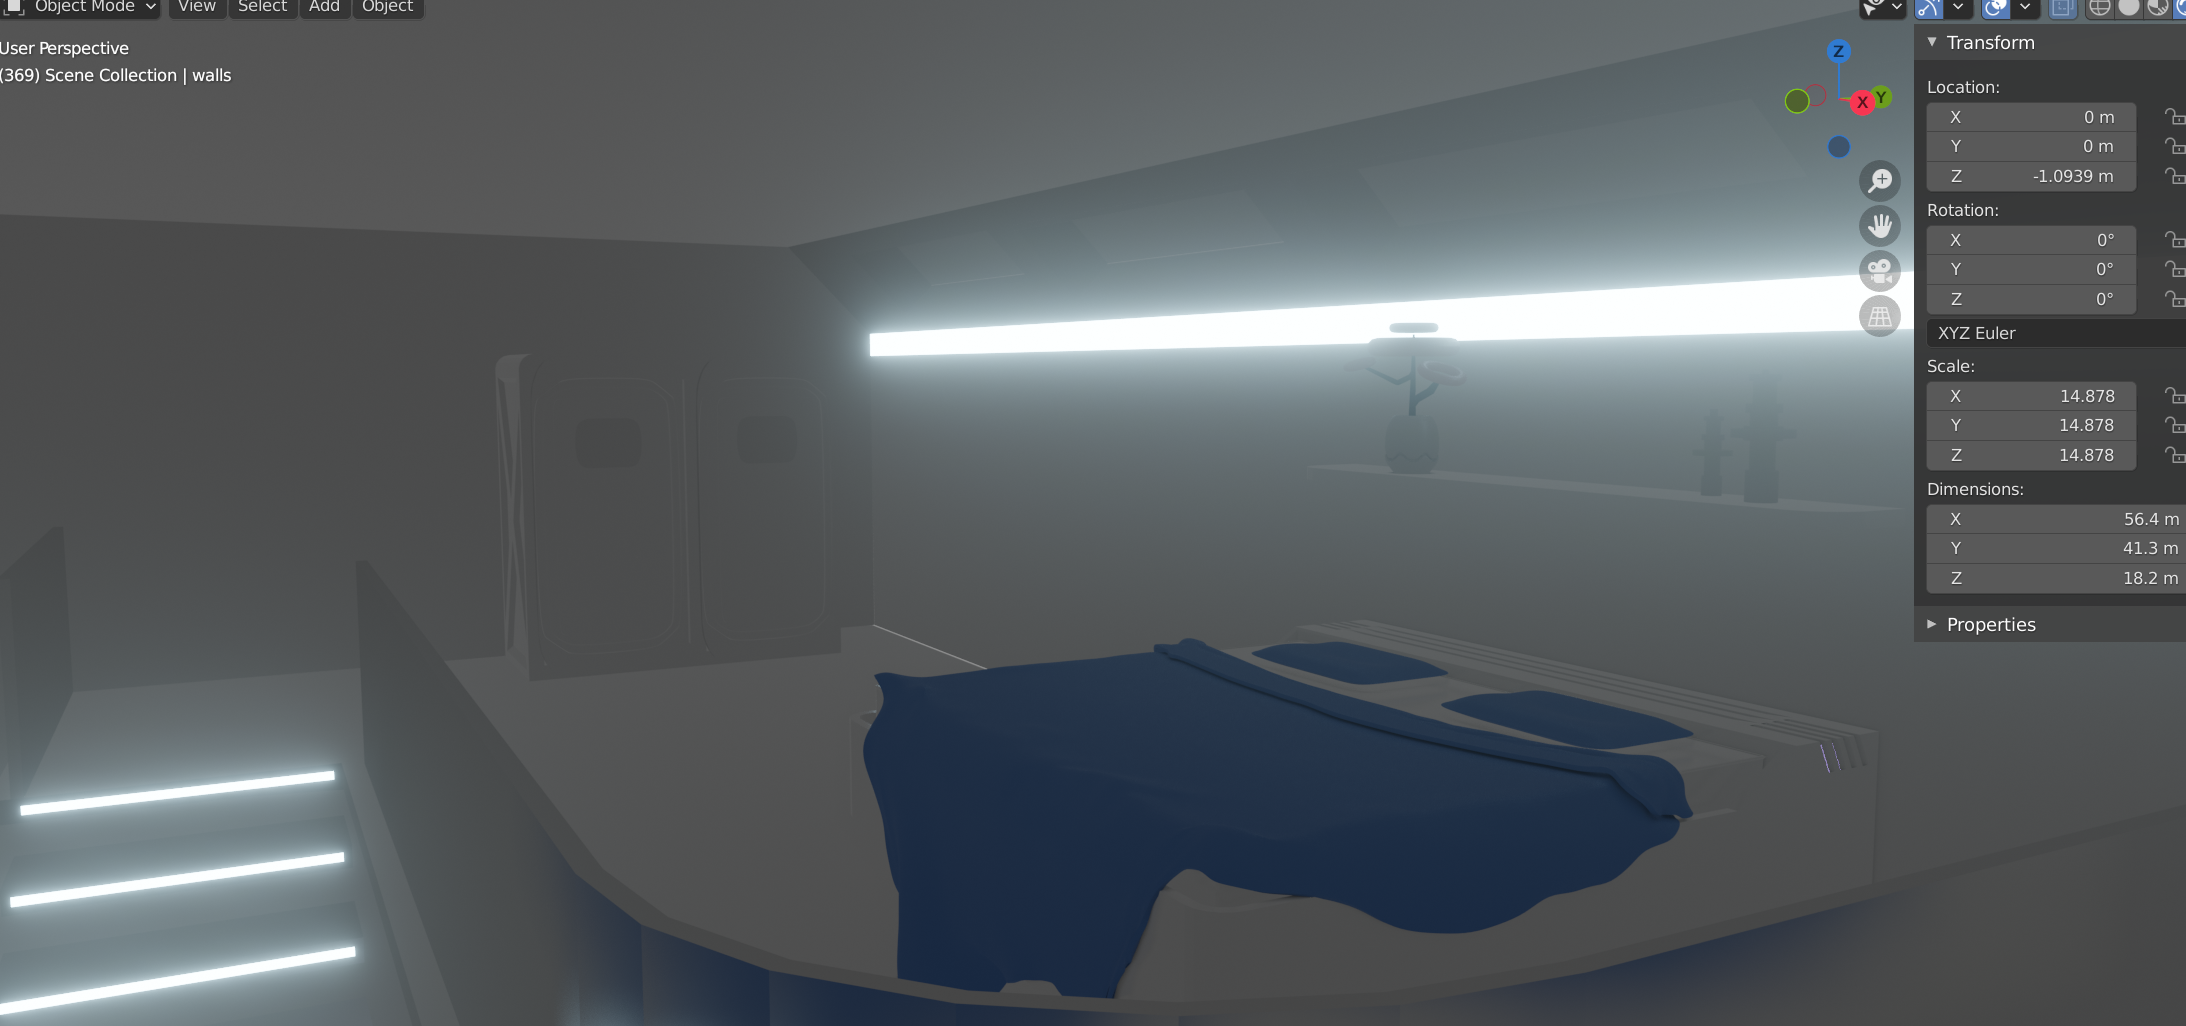
and in this future people still have to sleep (certainly after having drunk too much stirred martini's at Spikeyxxx 's space bar ;)
Looking really nice. I especially like the placement of the lights, in the stairs and walls, and the holographic TV. Very cool sci-fi feel going on here. Nice work.
So there is a first anim draft. There still is soooooo much to refine, but I got the inspiration from ttanya53 to do a first person perspective. Due to settings the "zap" where the mouse is sent to teleportation pod and becomes a humanoid like isn't showing up. The animation is way too draft and not refined, but the general idea is there aready. The lighting is not ok yet either. The door mechanism of the pod should also be visible.
Also I'm still looking for better ways to simulate the walk of the camera to give it a more natural feel (and be more efficient while creating the animation.) Any pointers would be welcome.
https://cgcookie.com/course/directing-the-camera
is the course @adrian2301 used
Thx Angela (![]() amblender)! I'll have a look at it. By now I should know, if I have a question, cgcookie has a tutorial about it 😀.
amblender)! I'll have a look at it. By now I should know, if I have a question, cgcookie has a tutorial about it 😀.
This is great, love the concept. Wayne taught the camera course, it should help with the walking motion. Parts of the course make more sense if you have taken the animation stuff, but no necessary. I don't think I'll get that far with it and hope just to have the timing work out. Looking forward to seeing how yours turns out. Good luck and have fun.
![]() amblender your correct, Chapter 3 - Hand Held Camera Exercise
amblender your correct, Chapter 3 - Hand Held Camera Exercise
An important thing to remember when directing the camera is the speed,
fast movement of the camera doesn't give the viewer enough time to focus there eyes.
Its tempting to speed it up to reduce render time of the animation.
An extra few frames where it feels a little fast can make a big difference to the final animation.
Its also a good idea to use the graph editor and adjust the handles to get a better result.
Looking good so far ![]() slenaerts
slenaerts
Thx @adrian2301, i was discovering how the graph editor gave so much more control and how you can switch from one and the other to "easily" manipulate the animations. It definitely speeds up the process.
Indeed the speed is too fast and I'll have no choice to make a longer animation I guess (my laptop won't like it 😅) .
We'll see where I end up this weekend!
Cheers!
ho man! started a test render yesterday 10 am. during night my computer went to sleep... still 800 frames to go... will have to wait tonight if it is ok, to speed it up I rendered only at 30% of default resolution and eevee as engine... So Based on this test, I think I won't be able to render it in full res before close of contest ):... But I might be able to do still some small adjustments as long as the final render can start tomorrow early on.
What a suspense!
note to self: go through the render speed optimisation courses for next project!
That is so agonising when that happens.
Top Tip:
Turn off power saving modes when rendering.
Top Tip Two:
Turn off Windows auto updates.
Top Tip Three:
Pray.
Bonus Tip:
When rendering a long animation, and I need my computer during the day, I would render as a PNG image sequence. Set the frames in the timeline to start at 1 and end at maybe 300, Render overnight, then the following night render 301 to 601 and so on until its done. I always shut down my computer for a while before I do a night render. By shutting down the computer this will clear the memory, cool down the CPU and GPU which helps to eliminate any other issues.
If rendering at the weekend I would render night and day, shutting down for a while in between.
Be sure to set a folder to save the image sequence to, DON'T leave it at the default /tmp\. This is a temporary folder and depending on your computer settings will delete the files on shutdown or after a specified period of time.
When the rendering is done, I take the image sequence in to Blender's Video Editing, add SFX and any other effects, then render MP4. This render then takes almost no time to complete.
And I mostly use the denoising node in compositing, it can speed up render times considerably.
And I would render 5 or 10 random frames from the animation so I can calculate an estimated time for the whole animation.
Hope this helps, not only for the next project but maybe this one, especially tip three.
Good luck ![]() slenaerts
slenaerts