Hi Matt.
If your bones are in the same orientation, location and have the same size as the rig in the recording, everything will match up perfectly.
However, this is probably not going to be the case for you. The important thing is the orientation of the bones in edit mode (including the bone roll).
If the size of the widgets are wrong, you can use the scale factor to adjust this.
The actual location and the orientation of the widget does not matter to the bone that is using it as a custom shape.
It looks like some of your bones might be rolled 90 degrees and the length of the bones will be different so you can adjust this with the scale factor.
There is more information about widgets in the Fundamentals of Rigging.
I use a tool which I helped develop which makes this really easy to manage.
![]() az93 I use the following technique for creating properly orientated and located "Custom Bone Shapes":
az93 I use the following technique for creating properly orientated and located "Custom Bone Shapes":
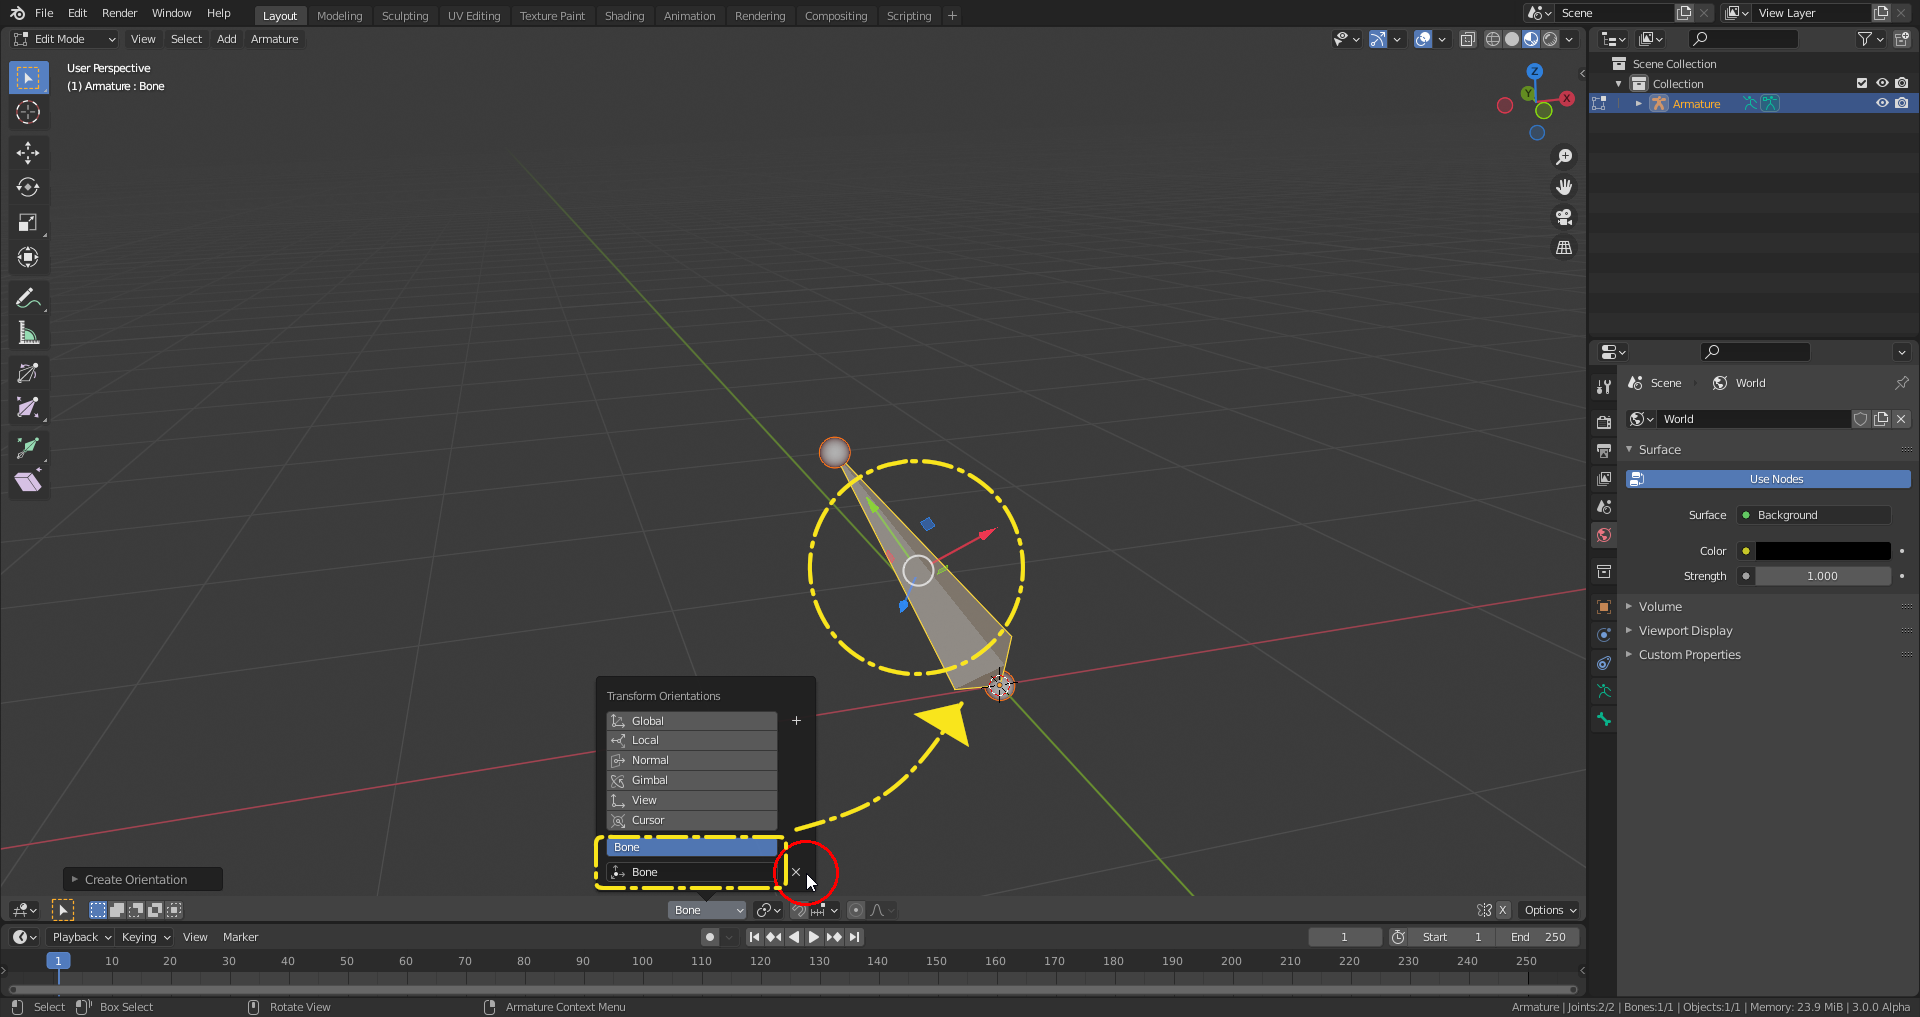
1) Select the armature, tab into "Edit Mode", select the bone for which you want to create a Custom Bone Shape" and create a "Custom Transform Orientation":
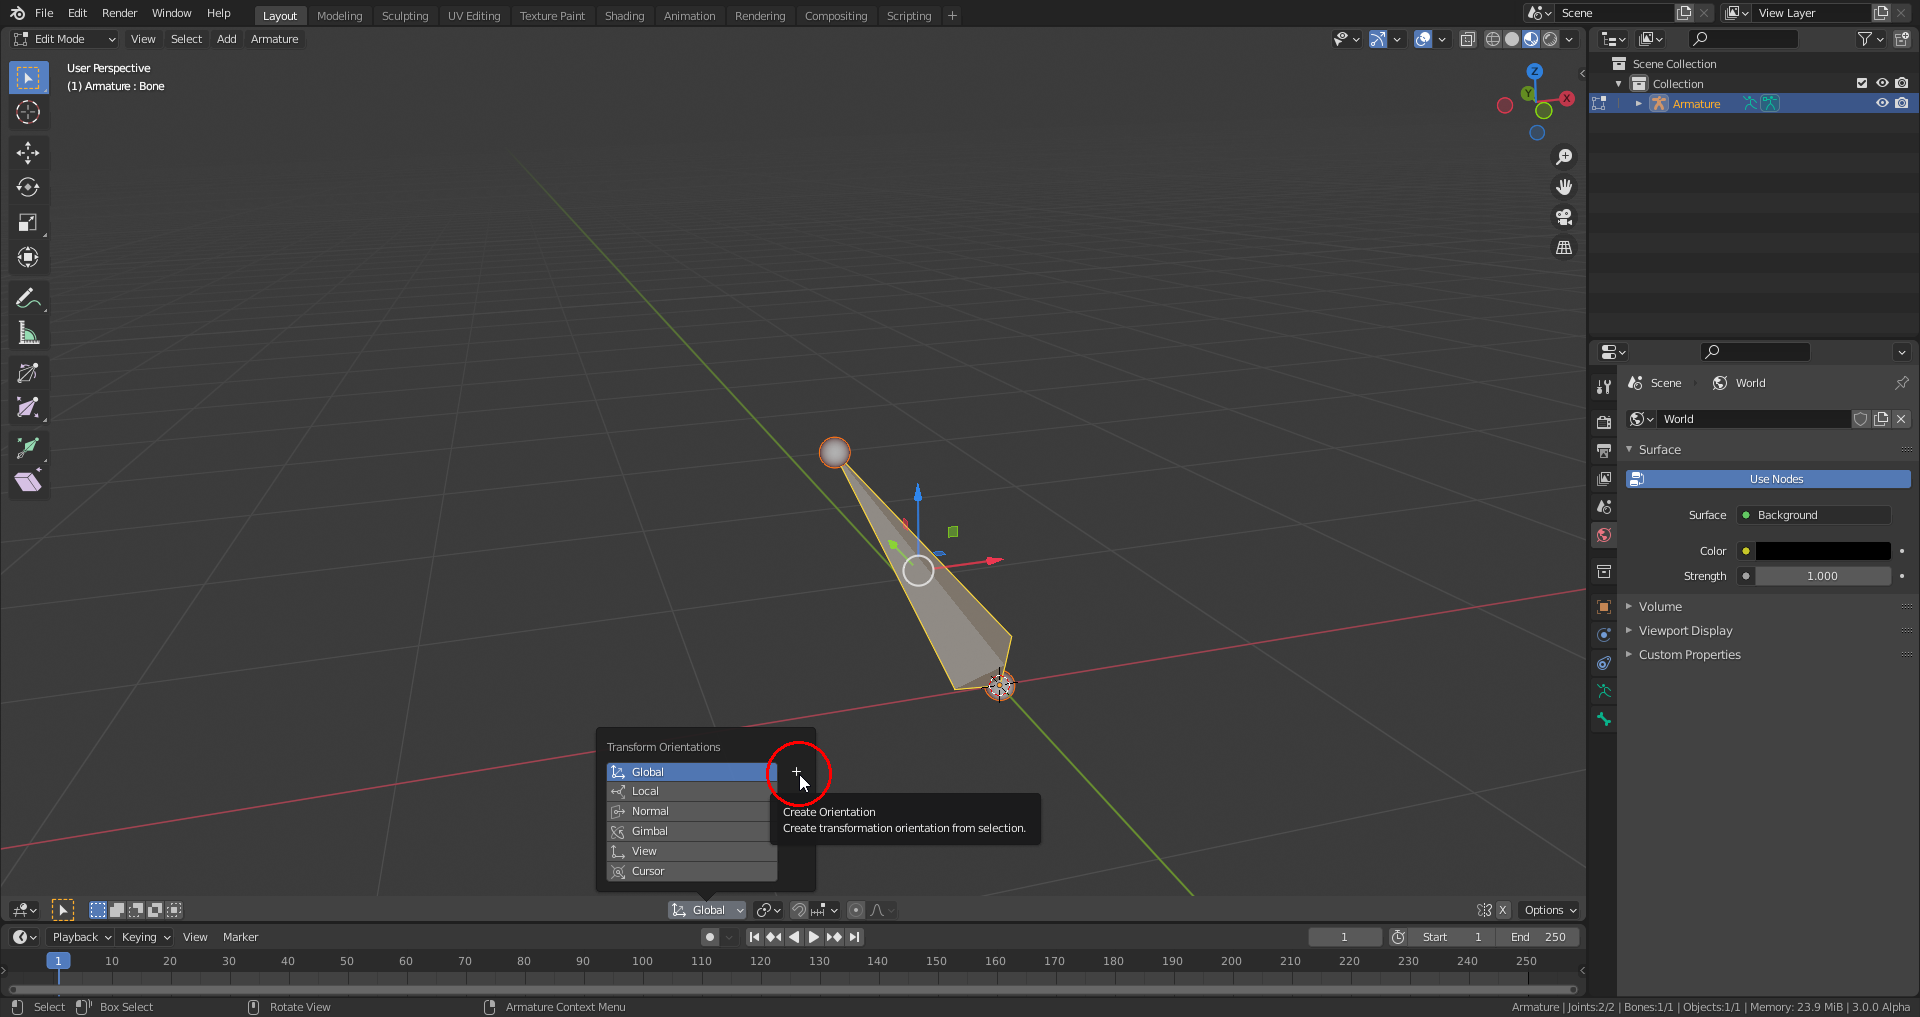
Result with the axes of the "Move" widget aligned with that new orientation:
2) With the bone still selected set the "3D Cursor" to the head of the bone using the command "Set Cursor to Active" (Shift + S + U), tab back into "Object Mode" where you add a cube (here set to "Wireframe" display) as a temporary placeholder:
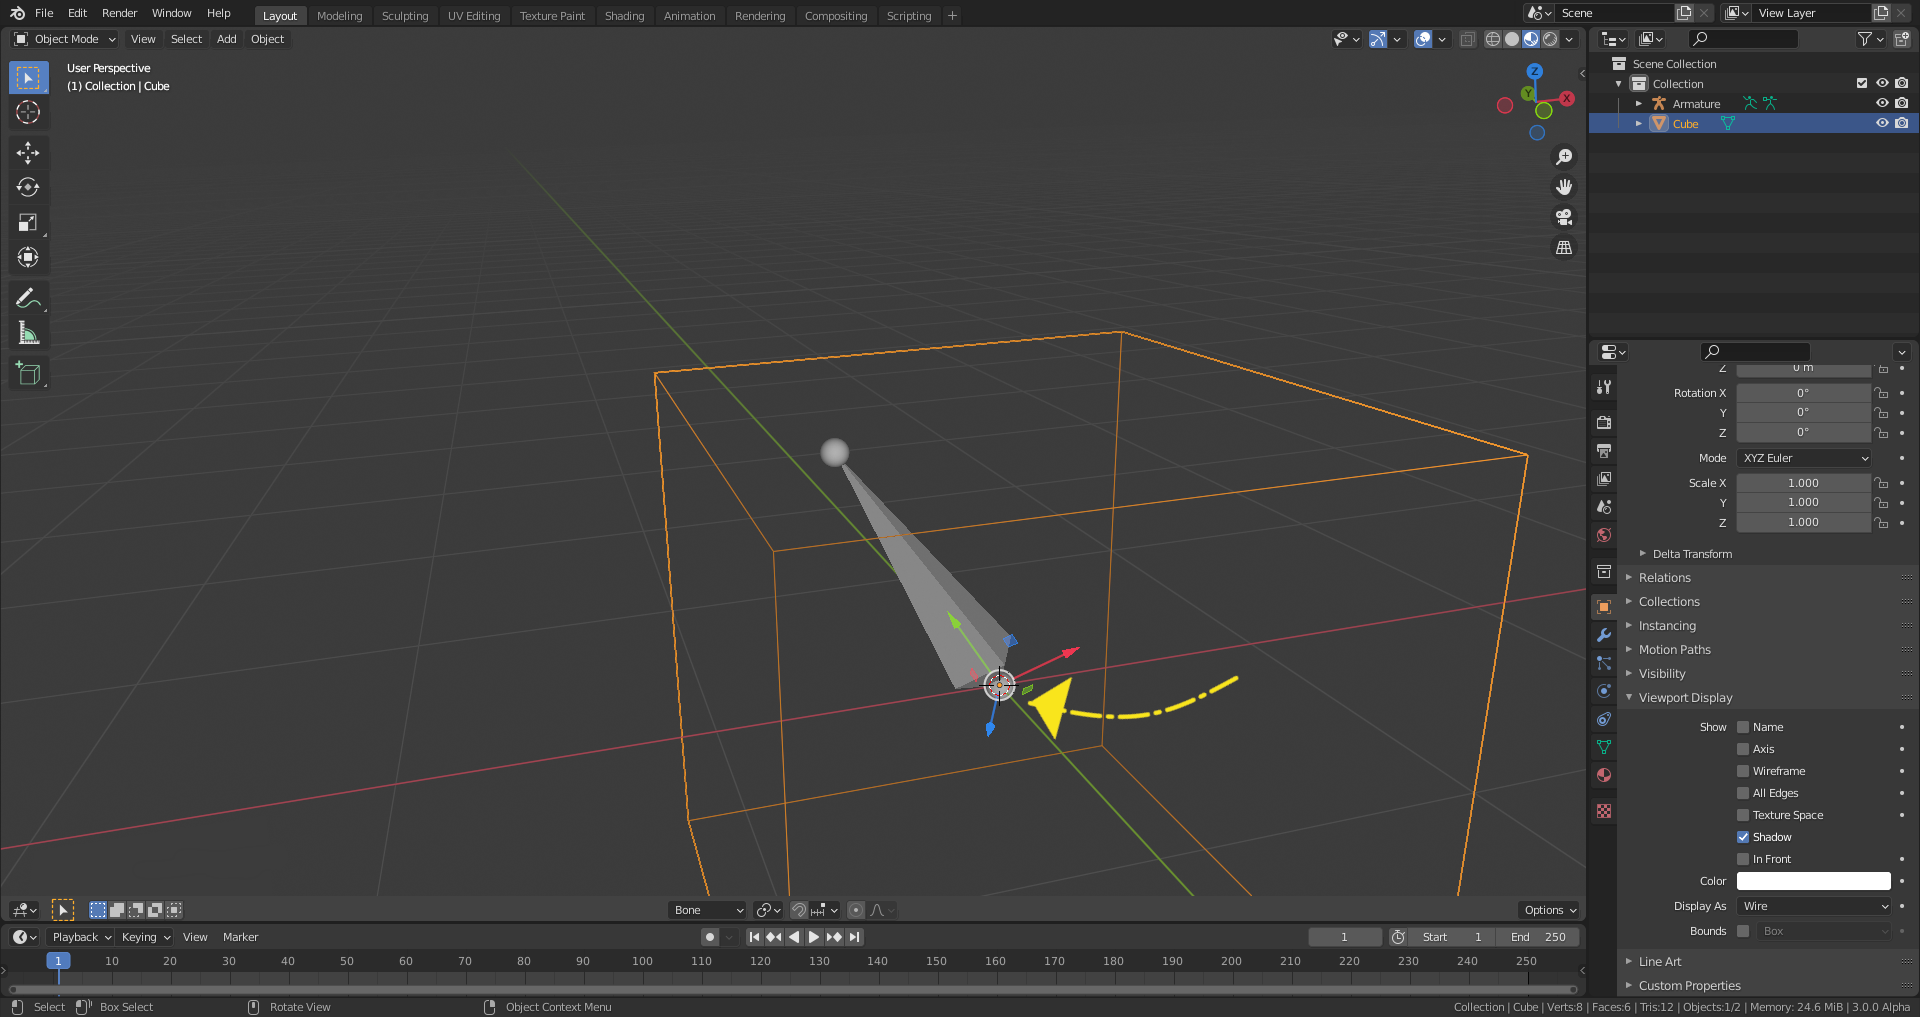
It's very important for the correct positioning of the "Custom Bone Shape" that the cube's origin is at the bone's head!
3) Align the cube with the bone's "Custom Transform Orientation" (which needs to be active!) by using the "Align to Transform Orientation" command:
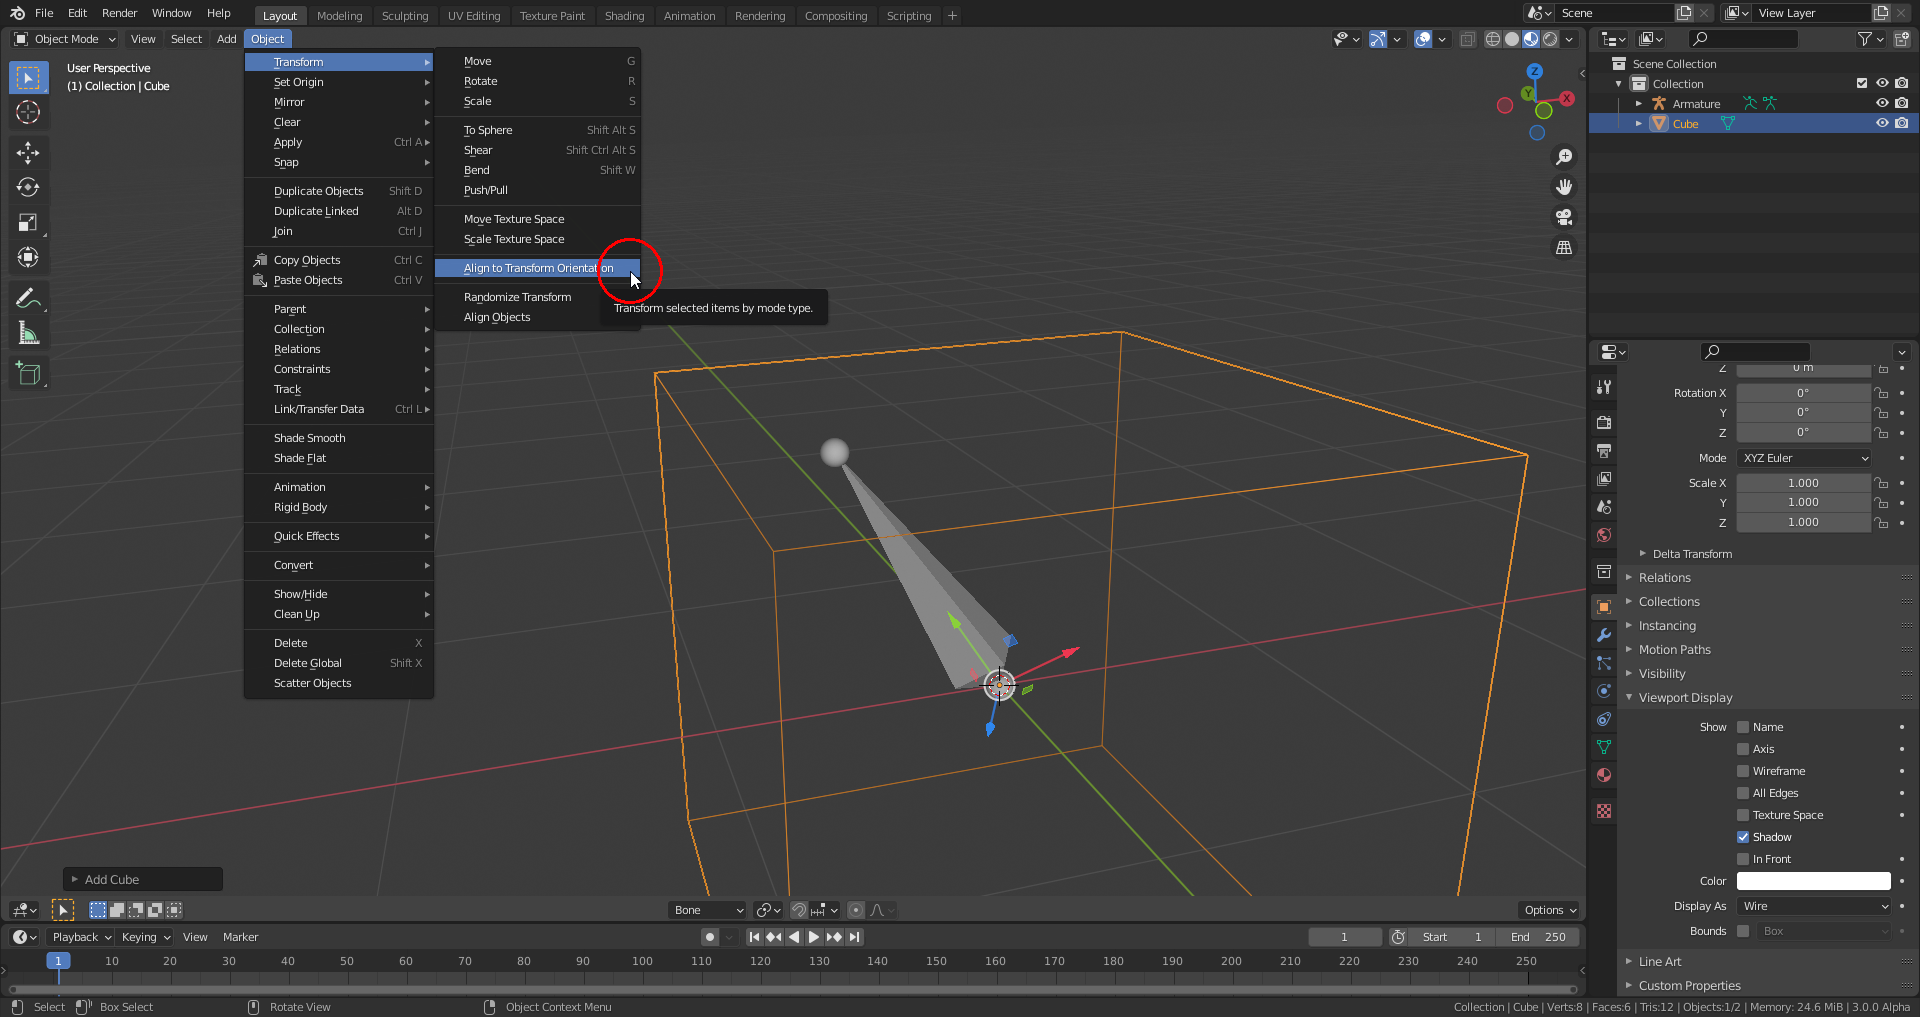
Result:
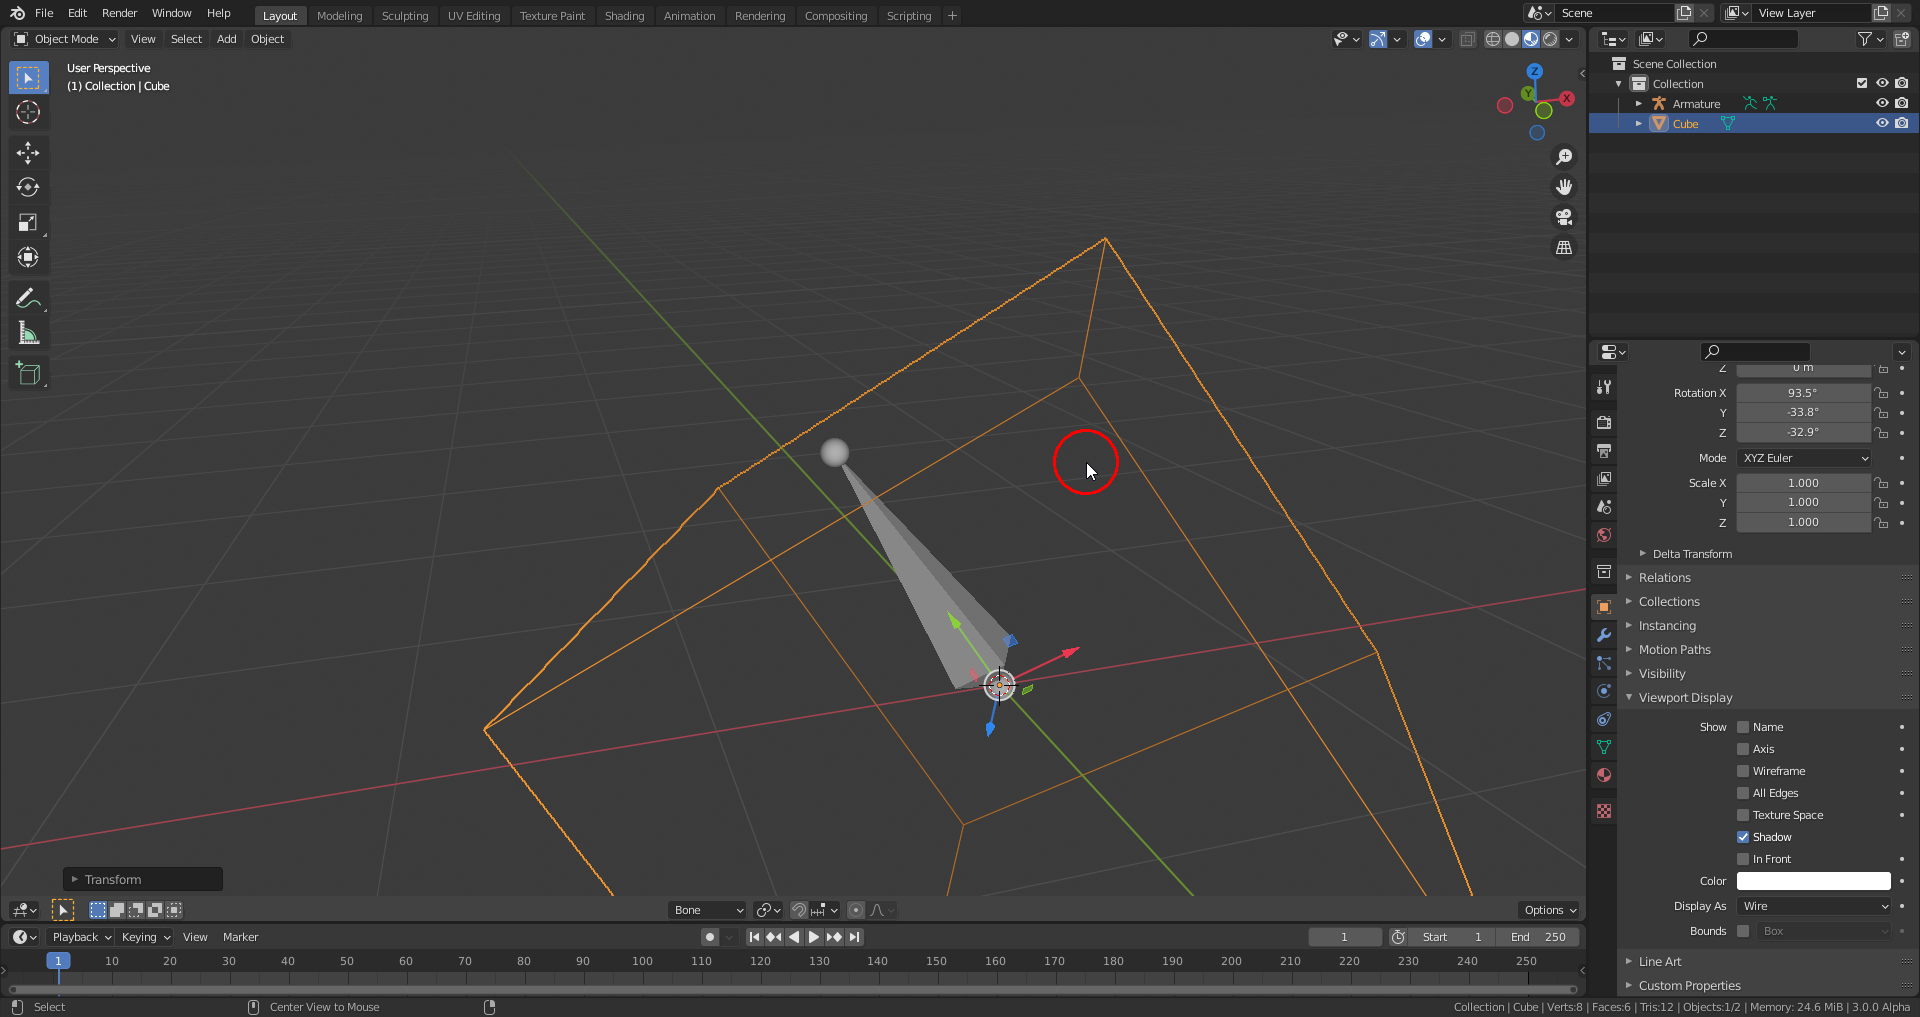
4) Now you can create another object as your "Custom Bone Shape" (here I'm using a mesh with faces for better visibility, but normally you'll try to keep this much simpler in order to avoid being distracted from the rigged object itself):
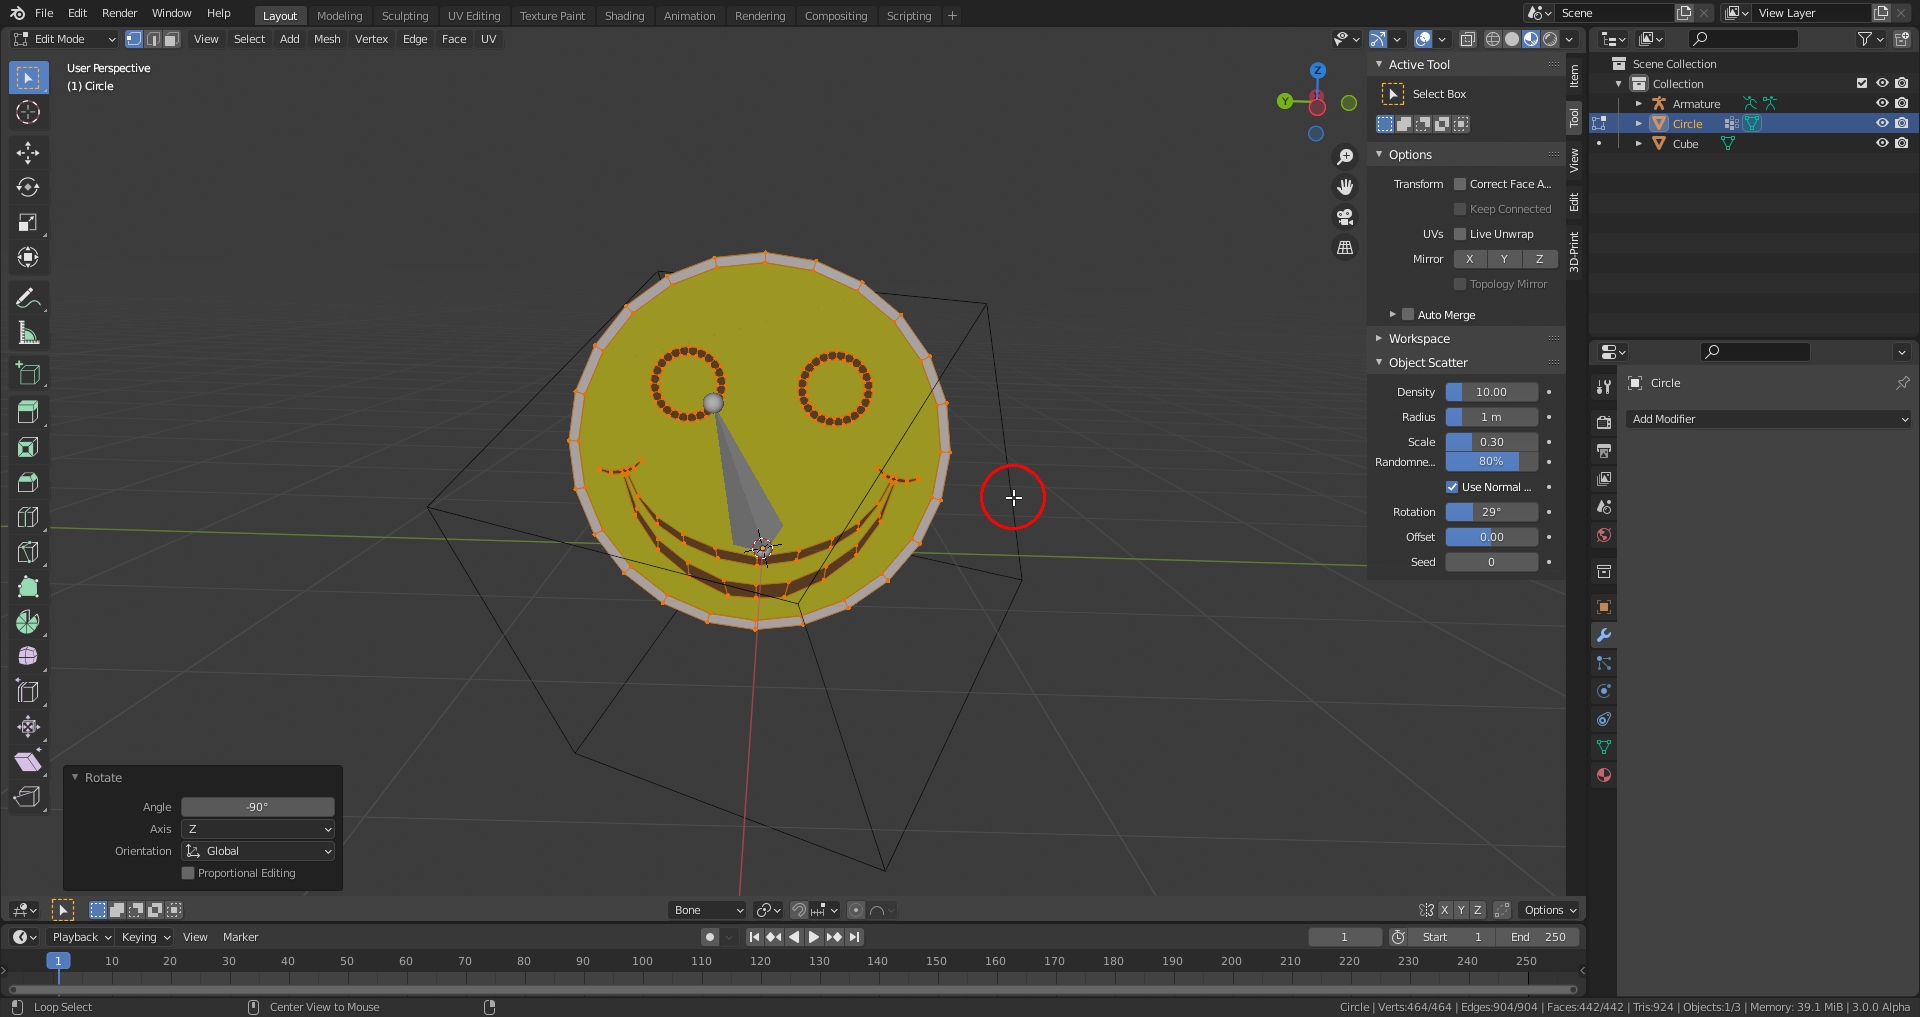
5) Position, rotate, scale and/or shape this mesh in "Edit Mode".
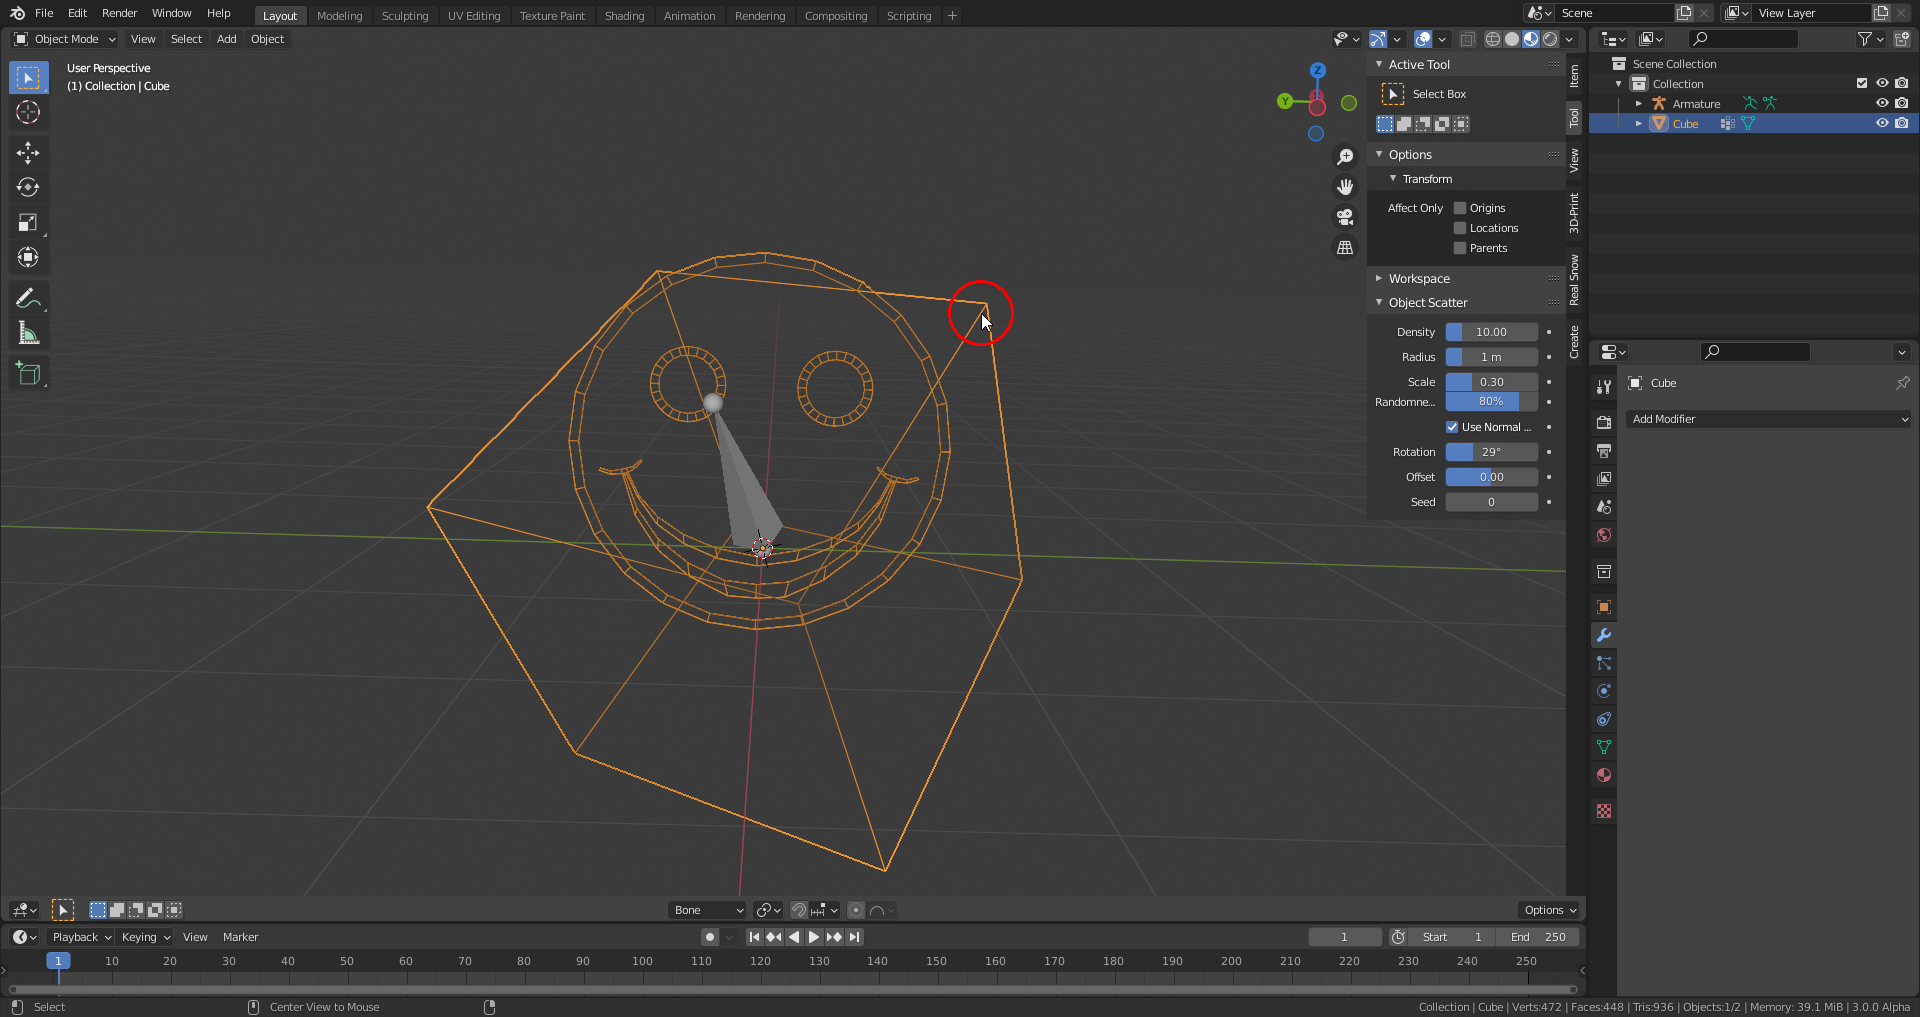
6) Back in "Object Mode" with your "Custom Bone Shape" still selected, Shift-select the aligned cube and join the "Custom Bone Shape" with that cube by pressing CTRL + J:
7 ) Tab into "Edit Mode" and delete the cube mesh:
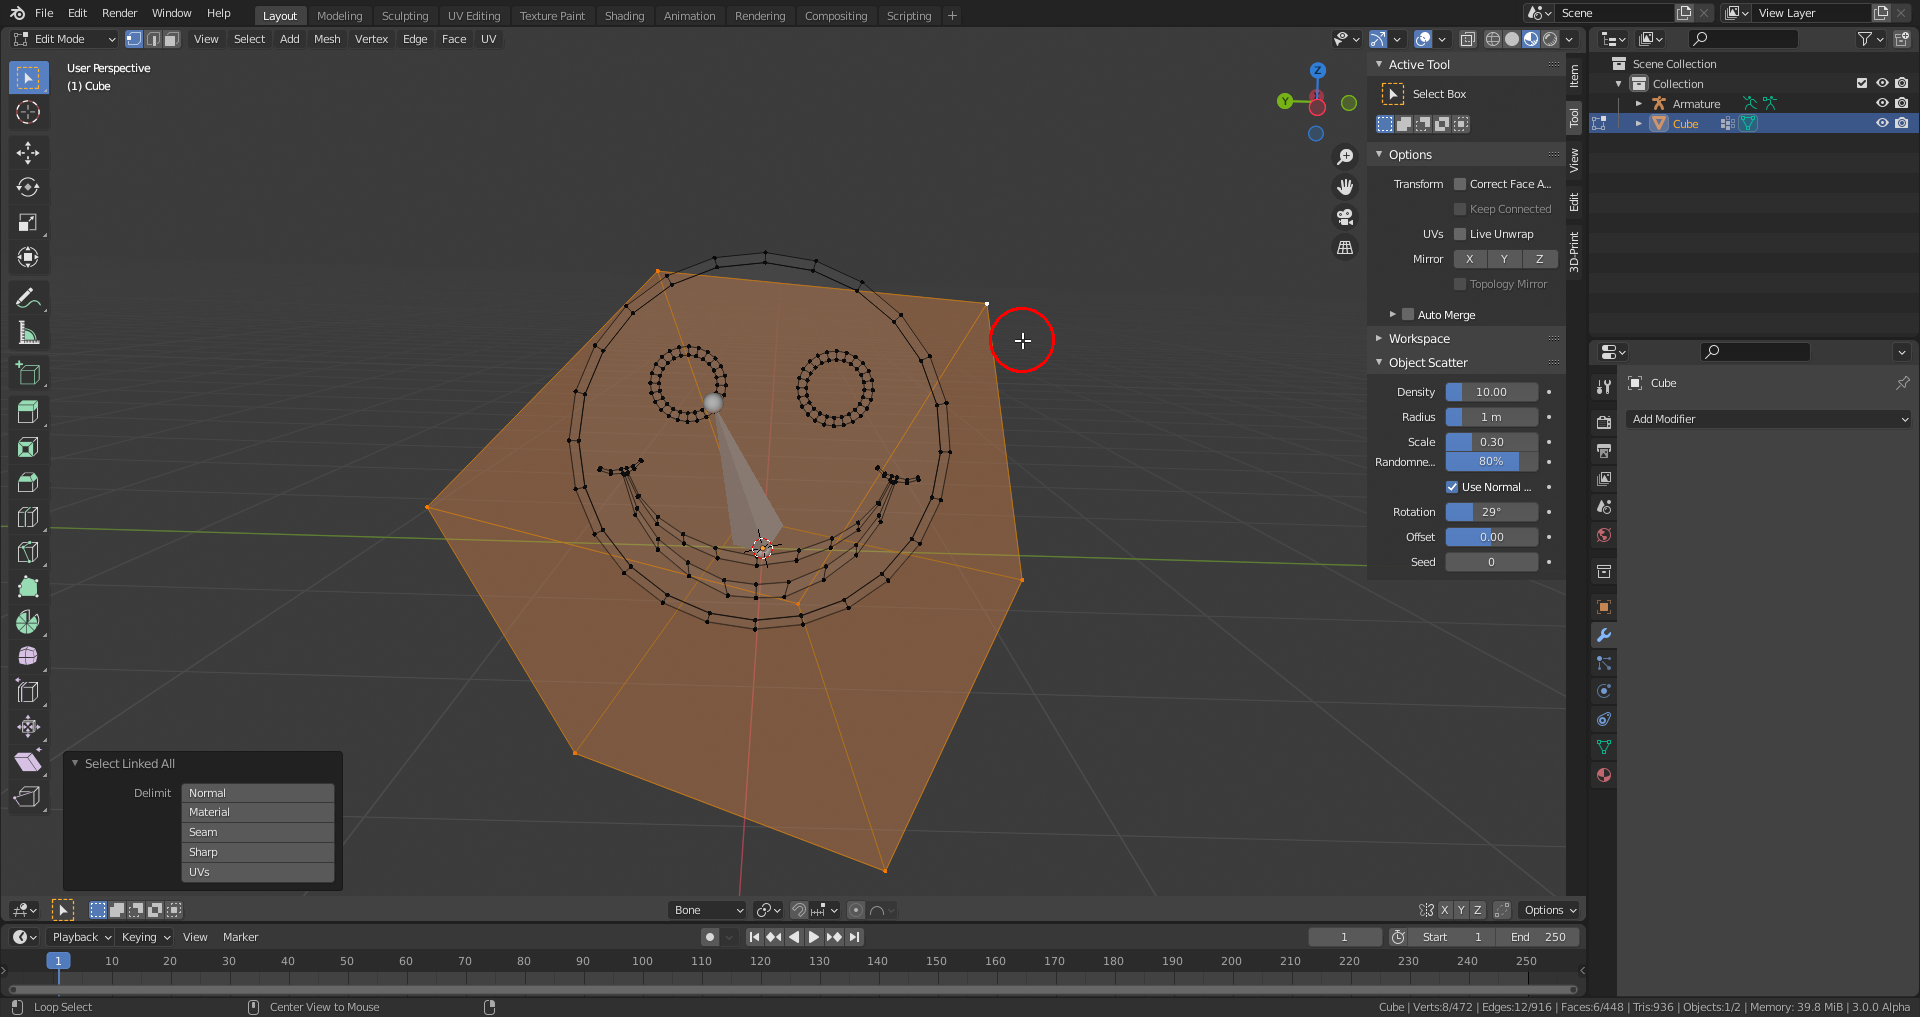
Now we have a "Custom Bone Shape" object with its "Local Coordinate System" aligned with the bone's "Local Coordinate System" and with its origin in the same place as the bone's head.
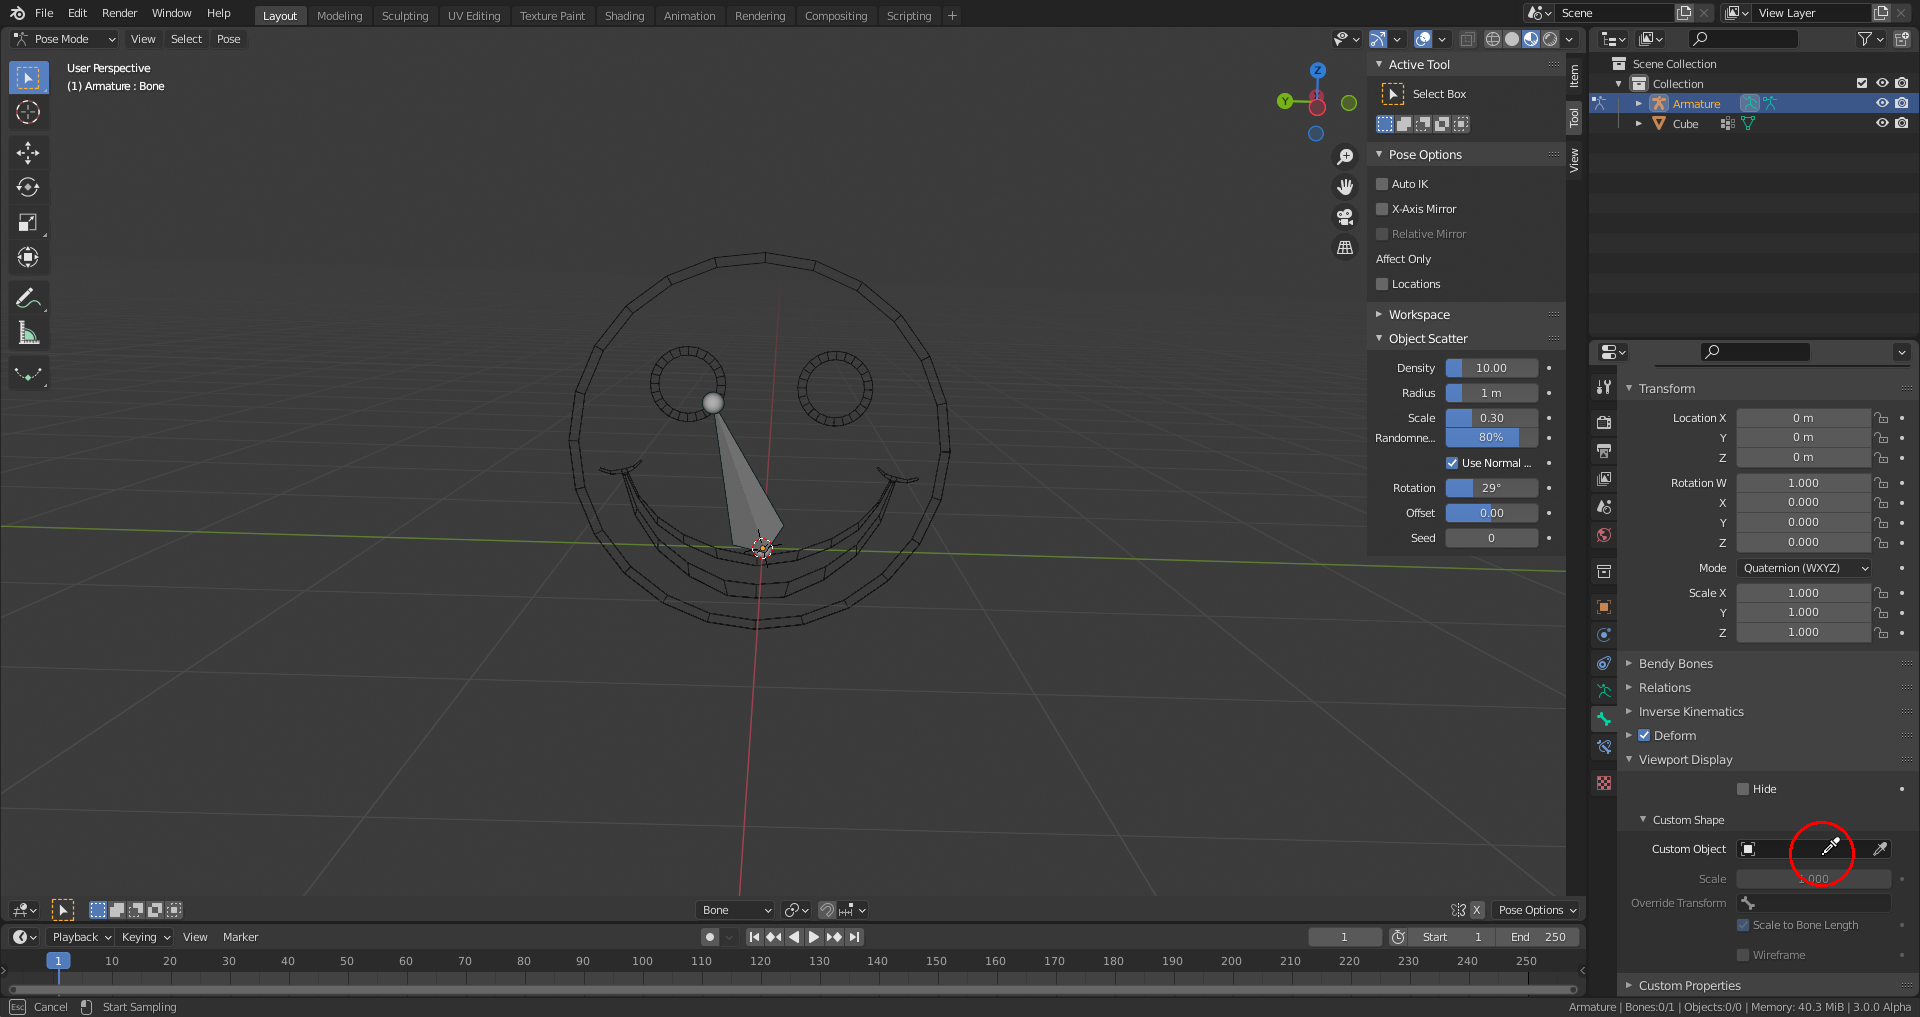
9) Finally you can assign that shape to the bone in "Pose Mode":
I haven't watched the video/series, but here is something to know. bone shapes are easiest to create when you think of it this way. Create them from top view. The origin(0, 0, 0) is the head/root(I don't know which term is used in the video) of the bone. 1 positive unit(Meter by default) on the Y axis is the tail/tip of the bone. so if you go larger than 1 unit it goes past the tail. if you go below the the X axis then it move below the head. the other axis align to the bones axis. Also note that any transforms done in object mode are not used in aligning the shape.