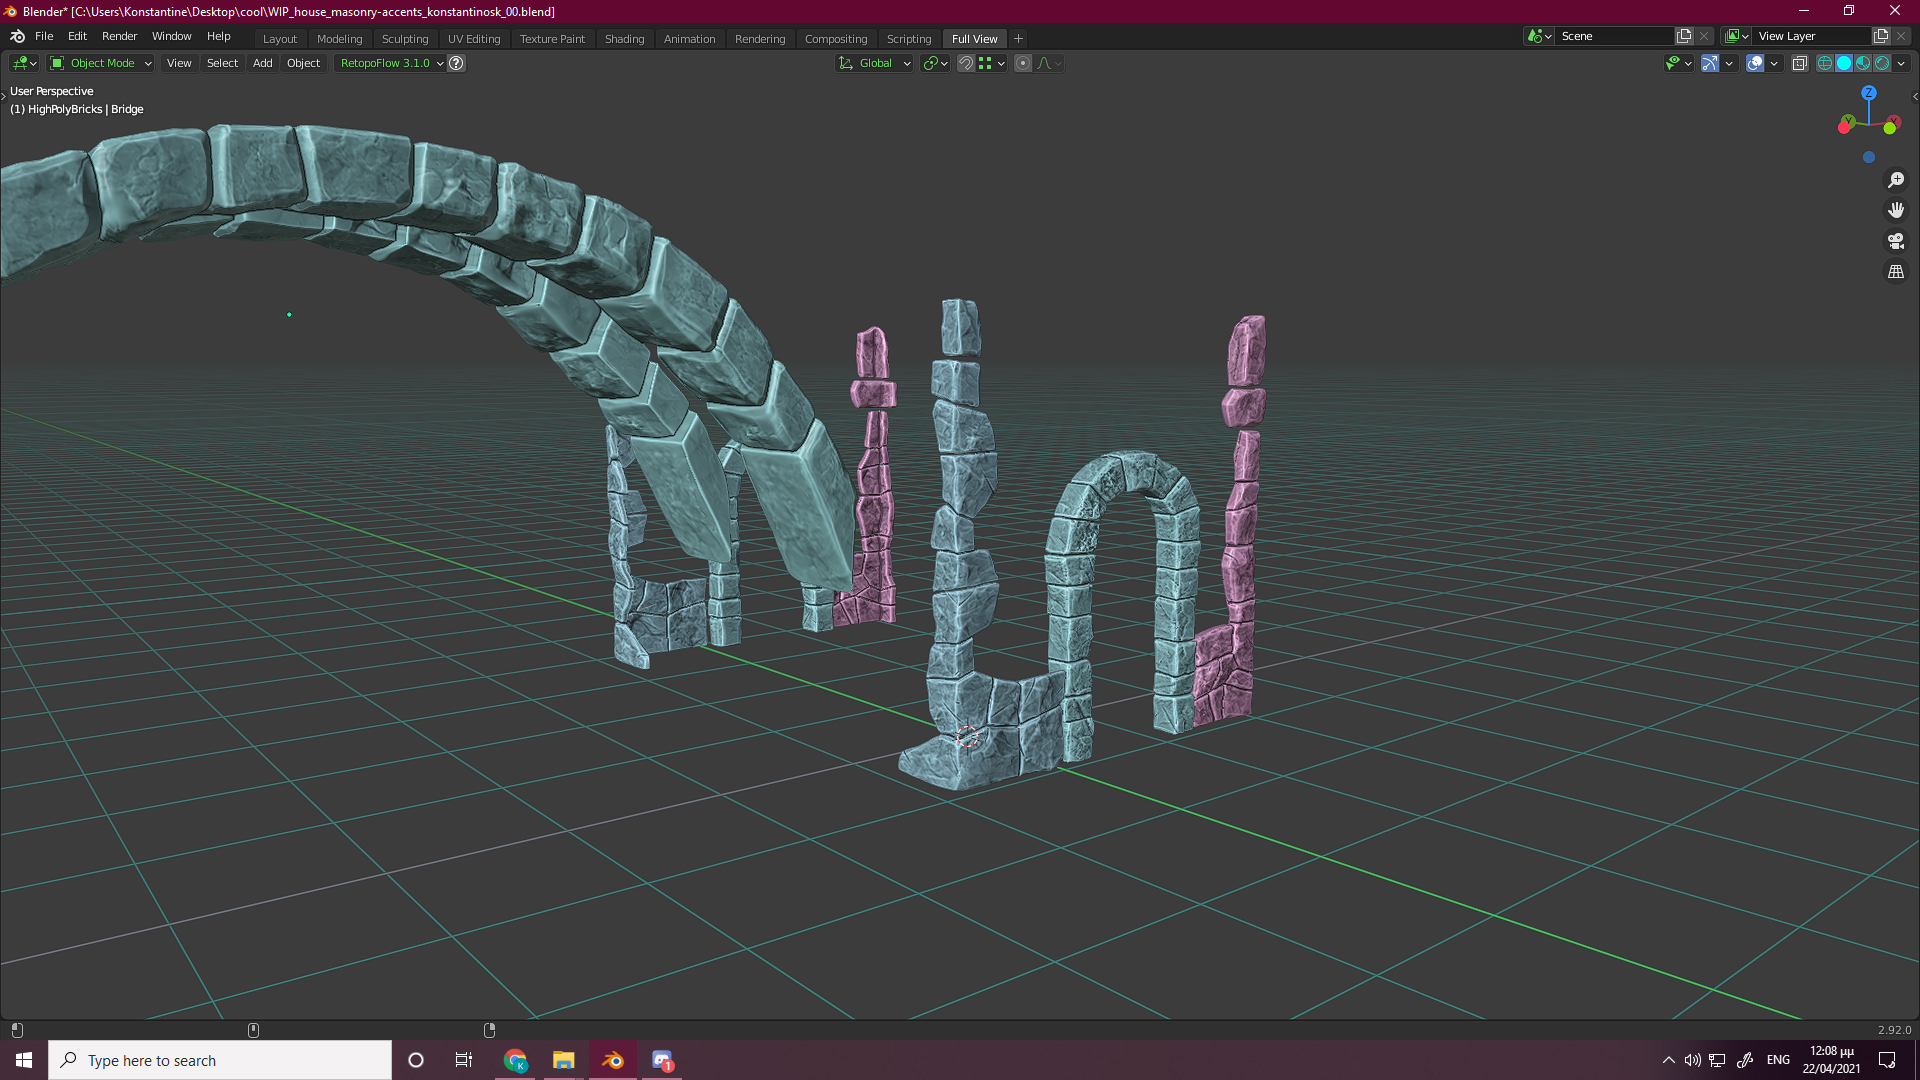
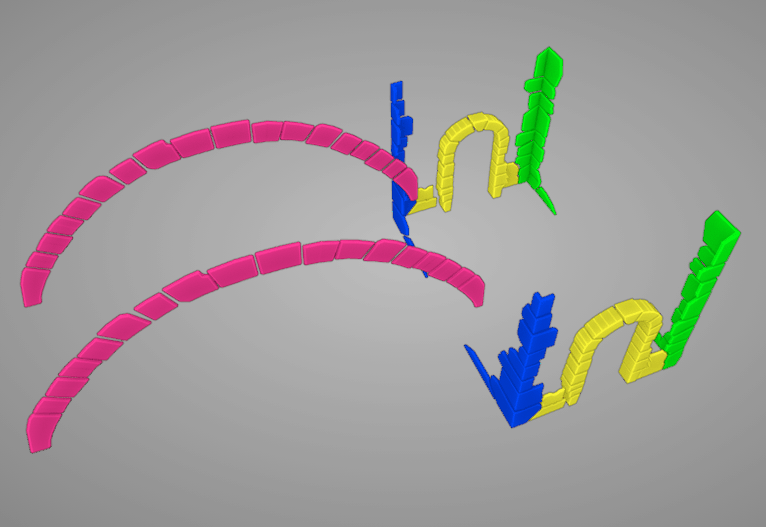
Started working on massonry accents of the house. Made the basic shape of the building and I'm working on the measurements. Here is an image in what I've worked so far. 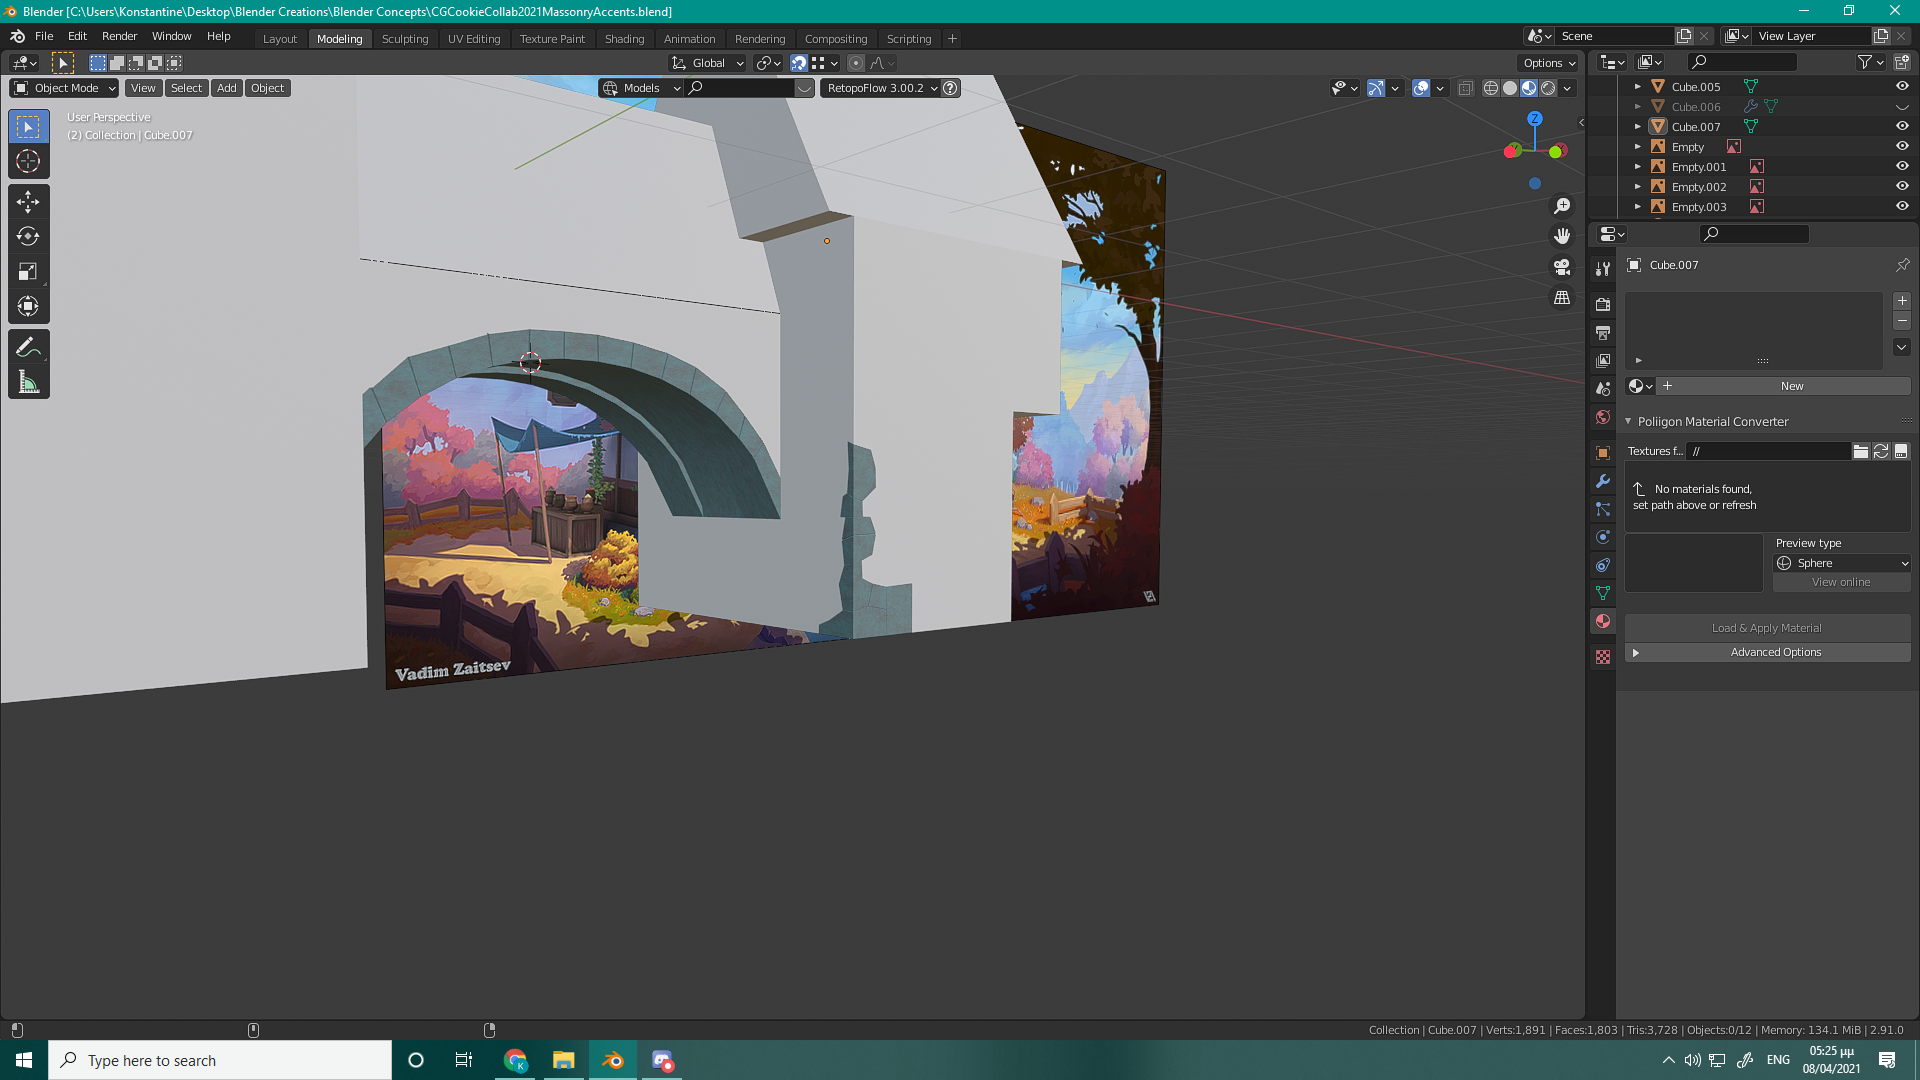
Homework Submission - Week 1 - Masonry Accents
@theluthier
Here is my progress for the first week! I started right away with the knife tool imitating the cuts the stones had in the reference image. I then extruded along the face normals and used the bevel tool to make the crevices and cuts between the stones. I then changed the volume of the rocks by moving the vertices of each stone. I tried to make the base more bulky since, well, it's the base supporting all the structure! I also added some cuts here and there again with the knife tool(top, front left corner). The next steps I want to take is adding more wear and team and make the corners of each stone more sharp. I also agree with what ![]() blanchsb suggested me on discord and find a way to add cement or something like cement between the stones. It will add more understanding on how this wall and structure was made.
blanchsb suggested me on discord and find a way to add cement or something like cement between the stones. It will add more understanding on how this wall and structure was made.
Looks like you are on the right path ![]() konstantinosk and that is a good block out.
konstantinosk and that is a good block out.
Feedbacks from me.
I like to see a little more defined Keystone myself but that is all. Maybe the stones could stick our from the house a little more?
I am loving the unevenness on the lo poly faces though for the wall.
The archway could use a little more up-down height variation I think.
Excellent work ![]() konstantinosk! These accents will work very well. You've earned full points from me this week 👍
konstantinosk! These accents will work very well. You've earned full points from me this week 👍
One thing I should clarify: Could you add the masonry accents around the door as well? I did not make this clear in the asset list, for which I apologize.
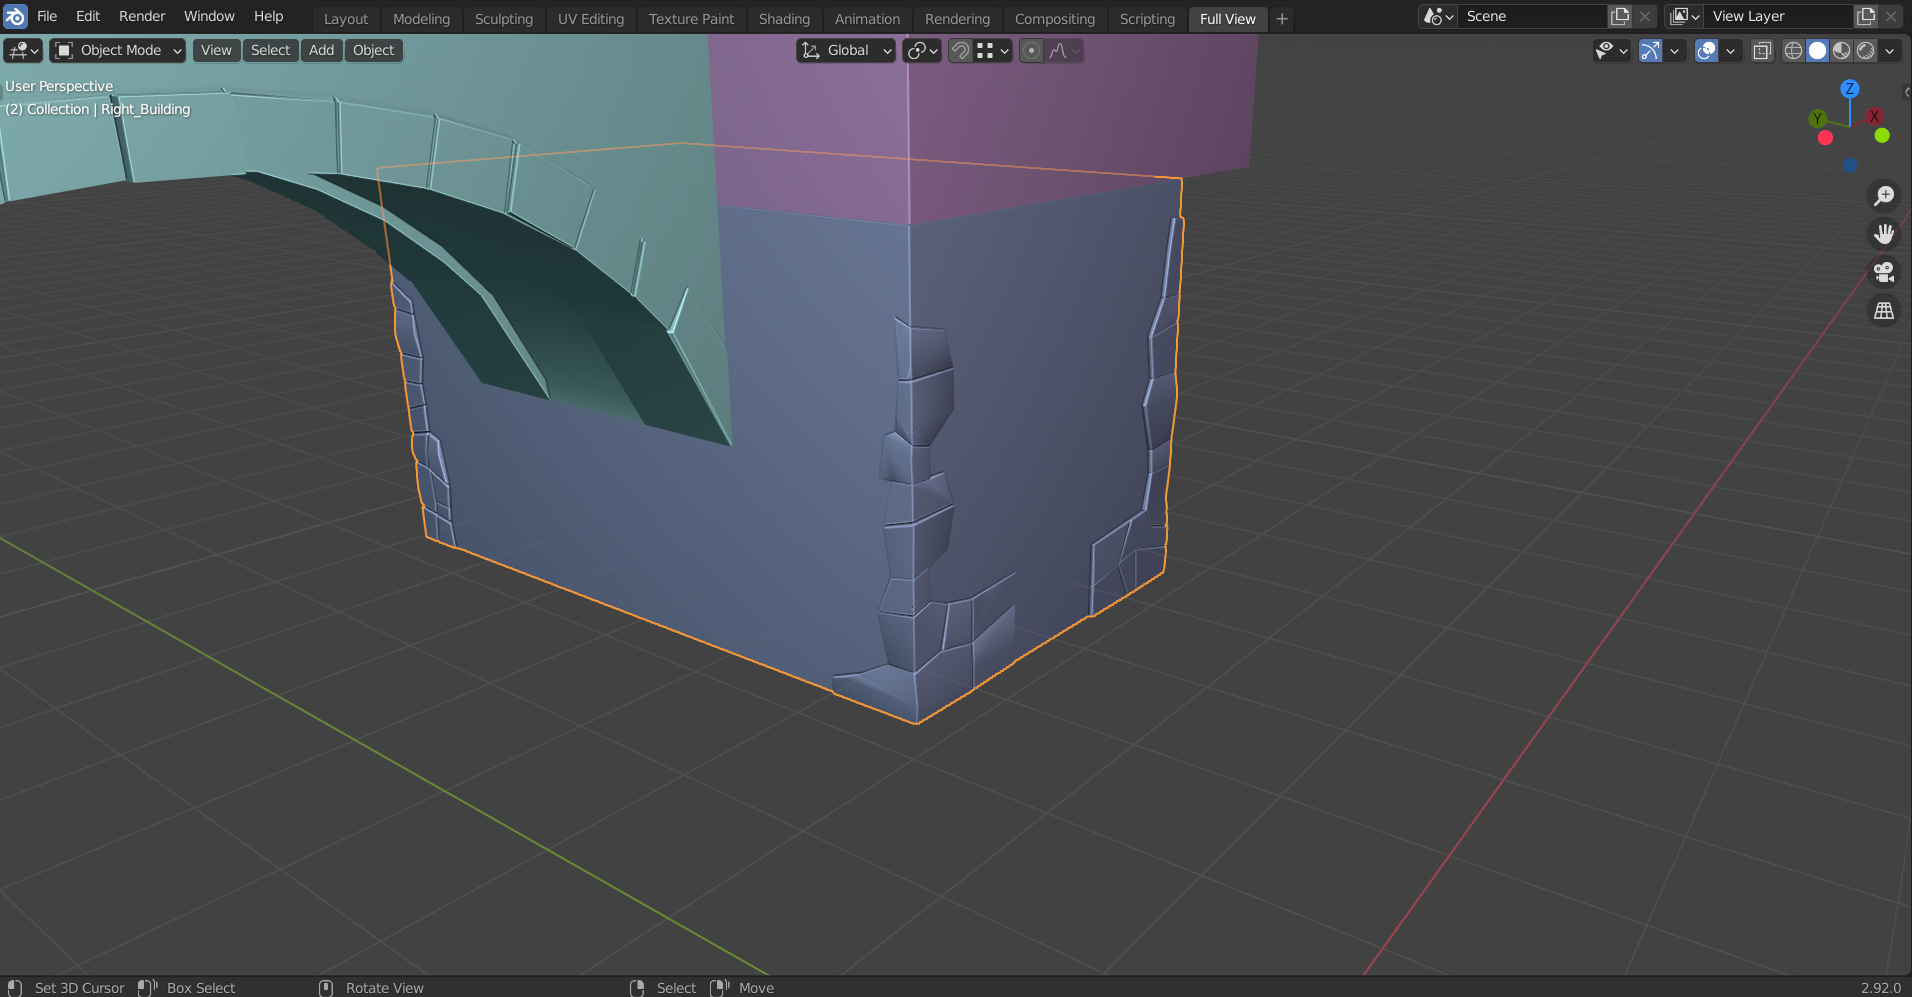
Also some advice for model organization and structure: I recommend you treat each accent "area" as a separate model that can be mirrored for easy population on the rear of the house:
Each color represents a separate model that can be mirrored to the backside. This way you won't have to model + sculpt + texture the rear side individually. And I think all 4 of these models can share the same texture if their UVs are laid out in the same texture space. But more on that for week 3.
@theluthier
Thanks for the clarification! I'm working on the seperated groups-models right now.
Homework Submission - Week 2 - Masonry Accents
@theluthier
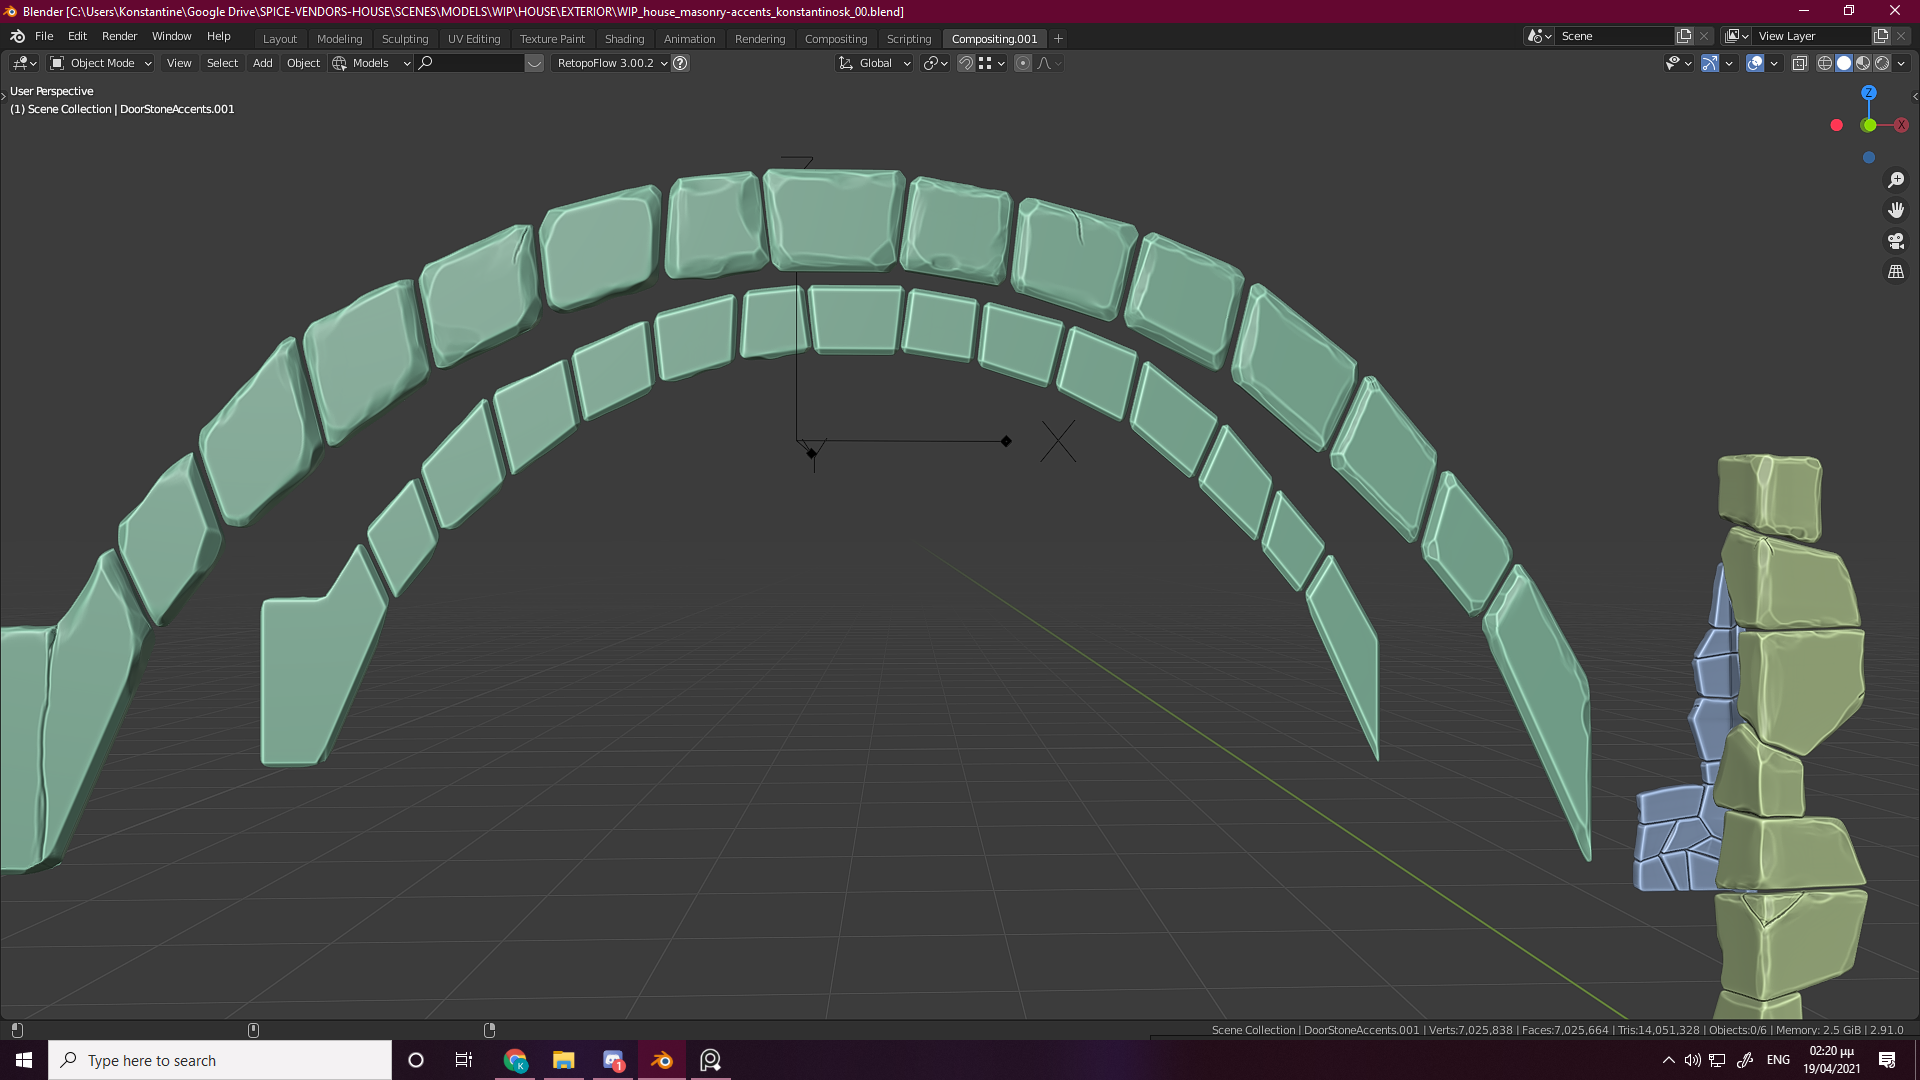
This is the homework for the second week! I had hard time to keep up with the schedule and see the streams. The sculpting was pleasing even though I did not have enough time to study as much as I wanted. I started by loop cutting more geometry to my seperated rocks that make the four seperate objects you mentioned @theluthier . I then used the multiresolution modifier to give more detail and started sculpting. I first made the rocks more rocky shape with the scrape brush and then added cuts and scratches to some of the rocks. I would love to add dirt on the cavities and cuts of the rocks in the future that will make the in between of the rocks more realistic. Here is my progress! I've updated my WIP blend file.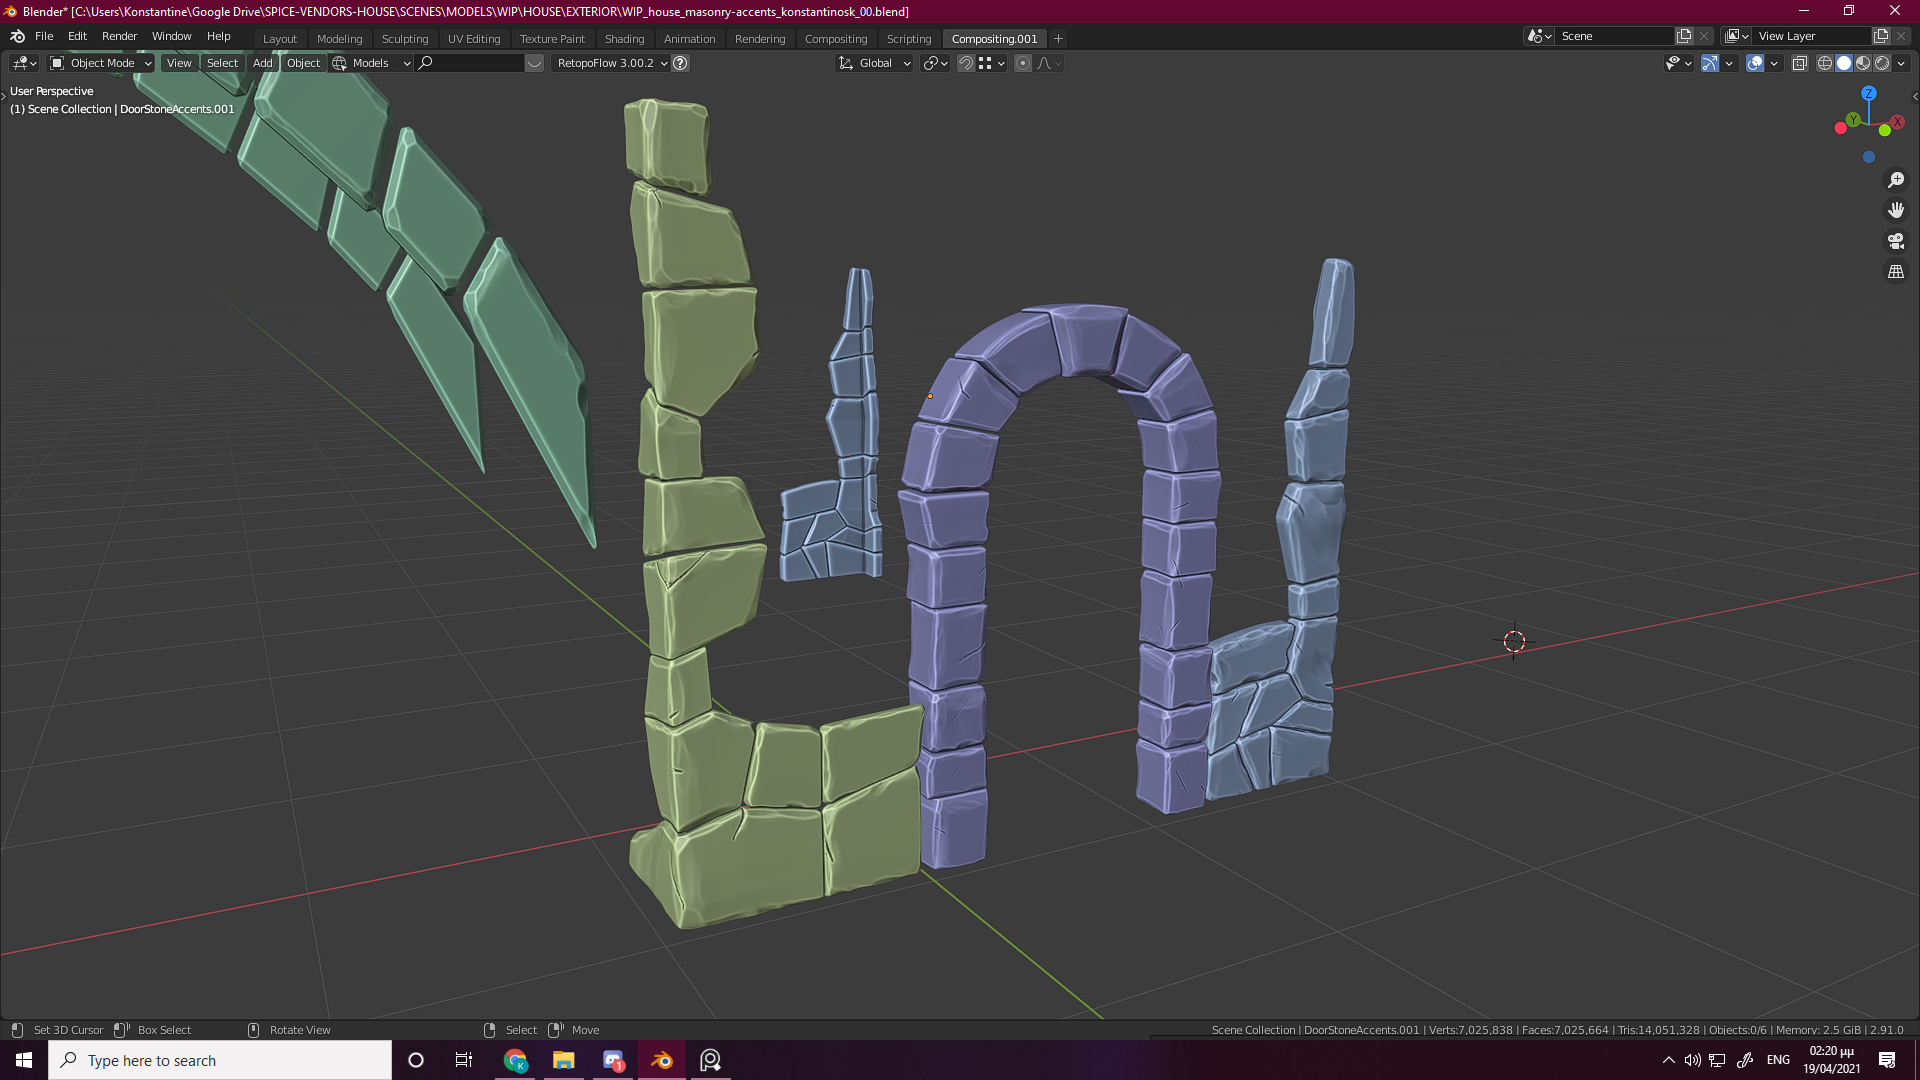
Wonderful rocky sculpting ![]() konstantinosk! They're turning out very well. I've only a couple notes:
konstantinosk! They're turning out very well. I've only a couple notes:
You might be planning to add this, but by the end I'd like to see zero perfectly flat faces on the rocks. At least a little roughing up on the flat sides will go a long way in making them feel like rocks carved into shape. Here's what I mean:
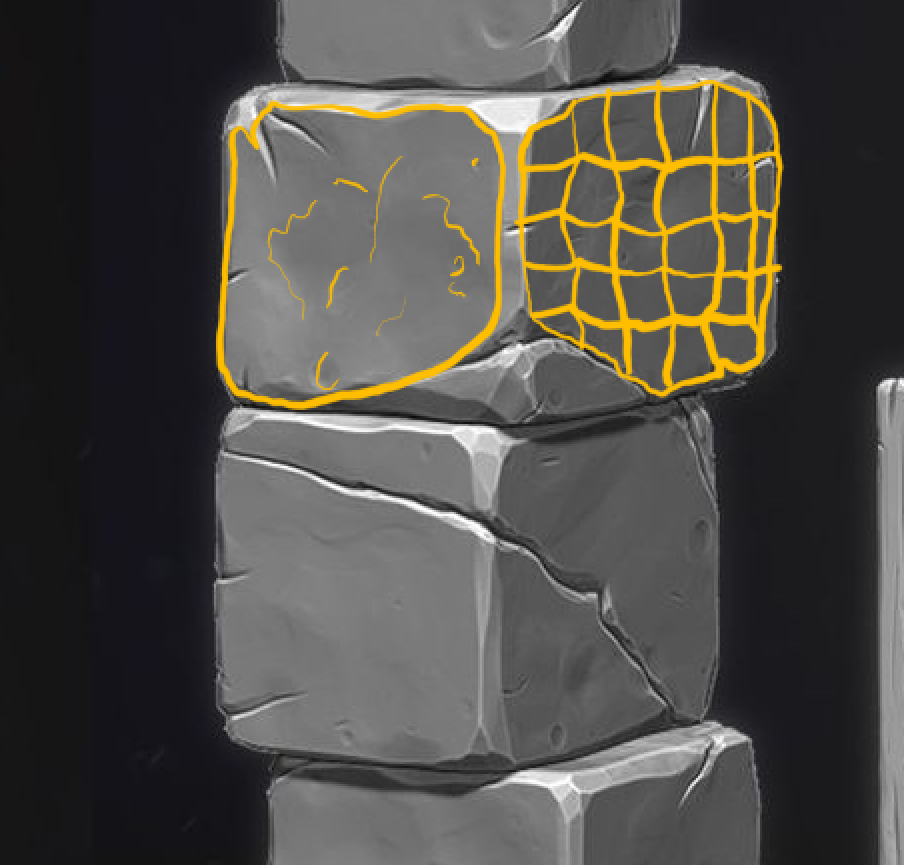
Kind of hard to explain, but I tied highlighting the subtle scallops, ridges, and divots on each flat side. The wireframe is suppose to show how it's not actually flat but subtle a lot of surface texture happening.
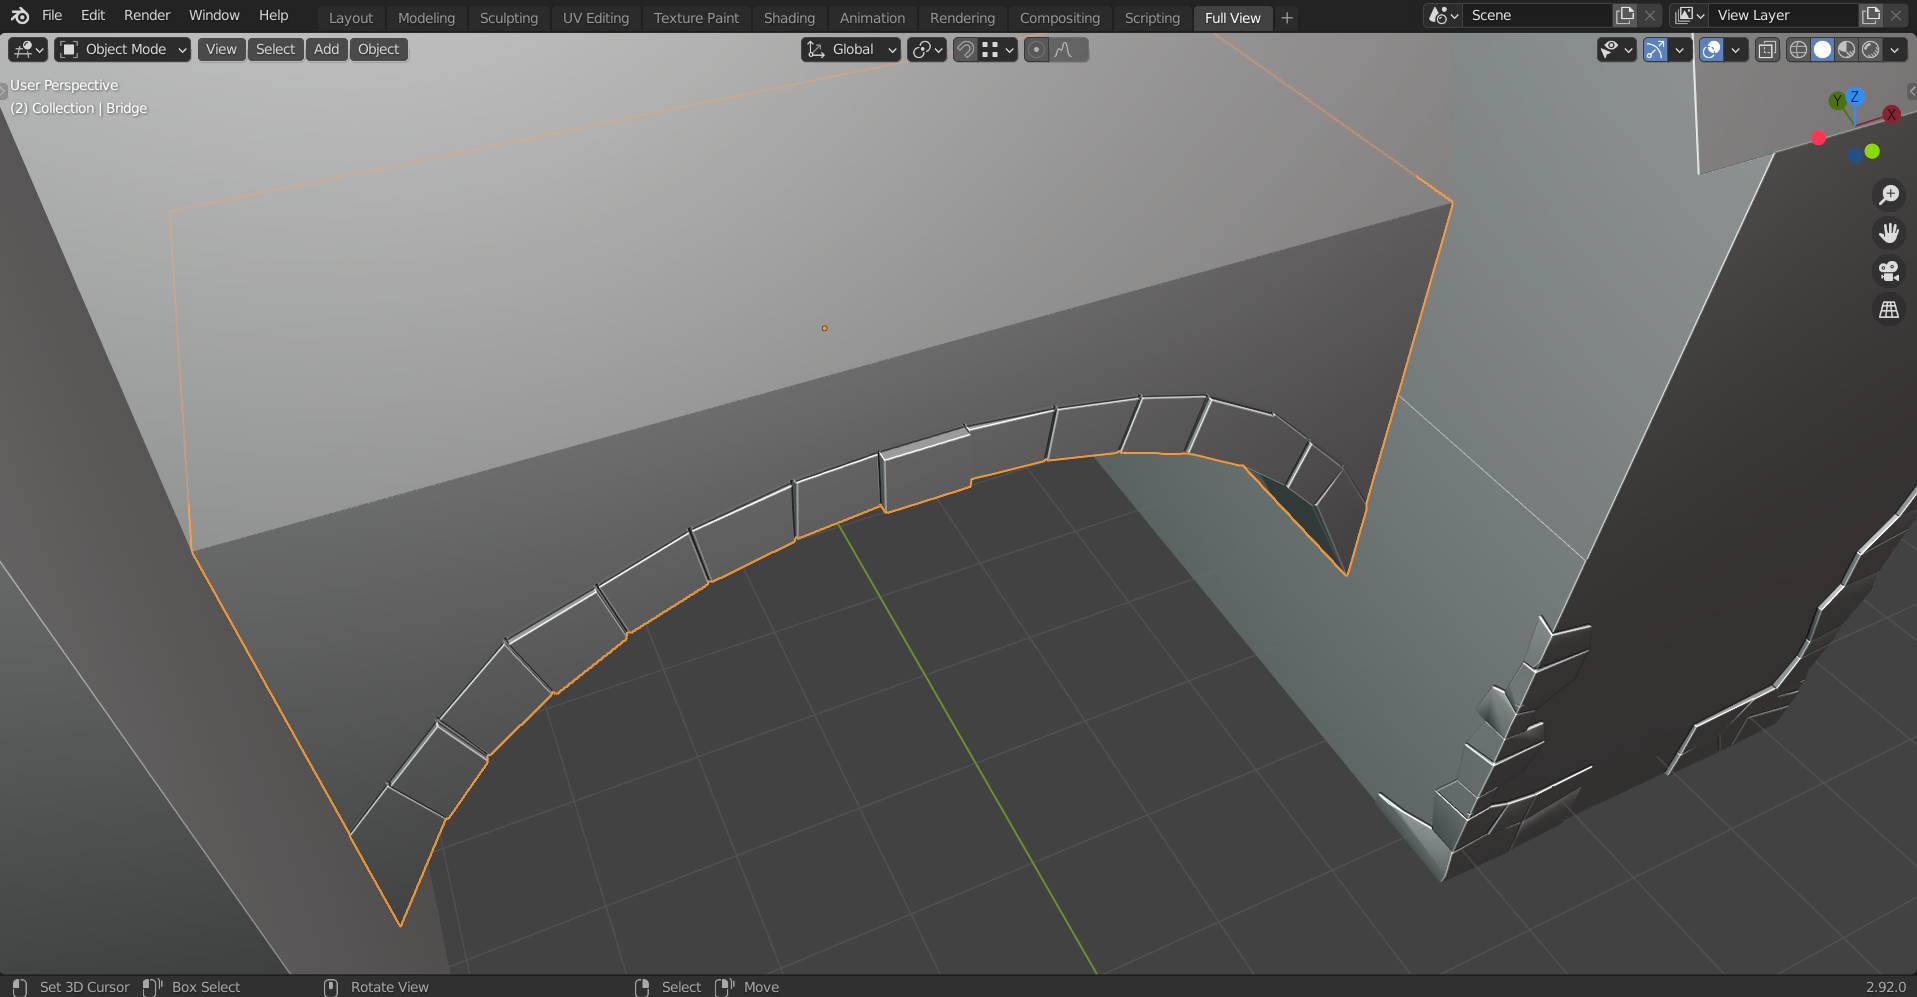
My other note is the thin arch rocks. I think they should be thick like all the other rocks. I'm not sure why Ingmar made them thinner but I can see why that would suggest to keep them thin if you were referencing those closely.
Try and fix this in edit mode by expanding the thickness and even adding an edgeloop or two for the additional thickness. I've made such changes with zero consequences before...but save your scene before doing this in case it breaks the multires mod! If it does break, just pull out the thickness and avoid adding edgeloops. That should be safe.
Thanks so much for the feedback @theluthier ! I totally understand both things you point out. I will start with fixing the flatness of my stones. I will use the brushes and techniques ![]() blanchsb and other team members shared on discord. As for the bridge stones I will follow your advice and then add more detail to them too! Good day to you!
blanchsb and other team members shared on discord. As for the bridge stones I will follow your advice and then add more detail to them too! Good day to you!
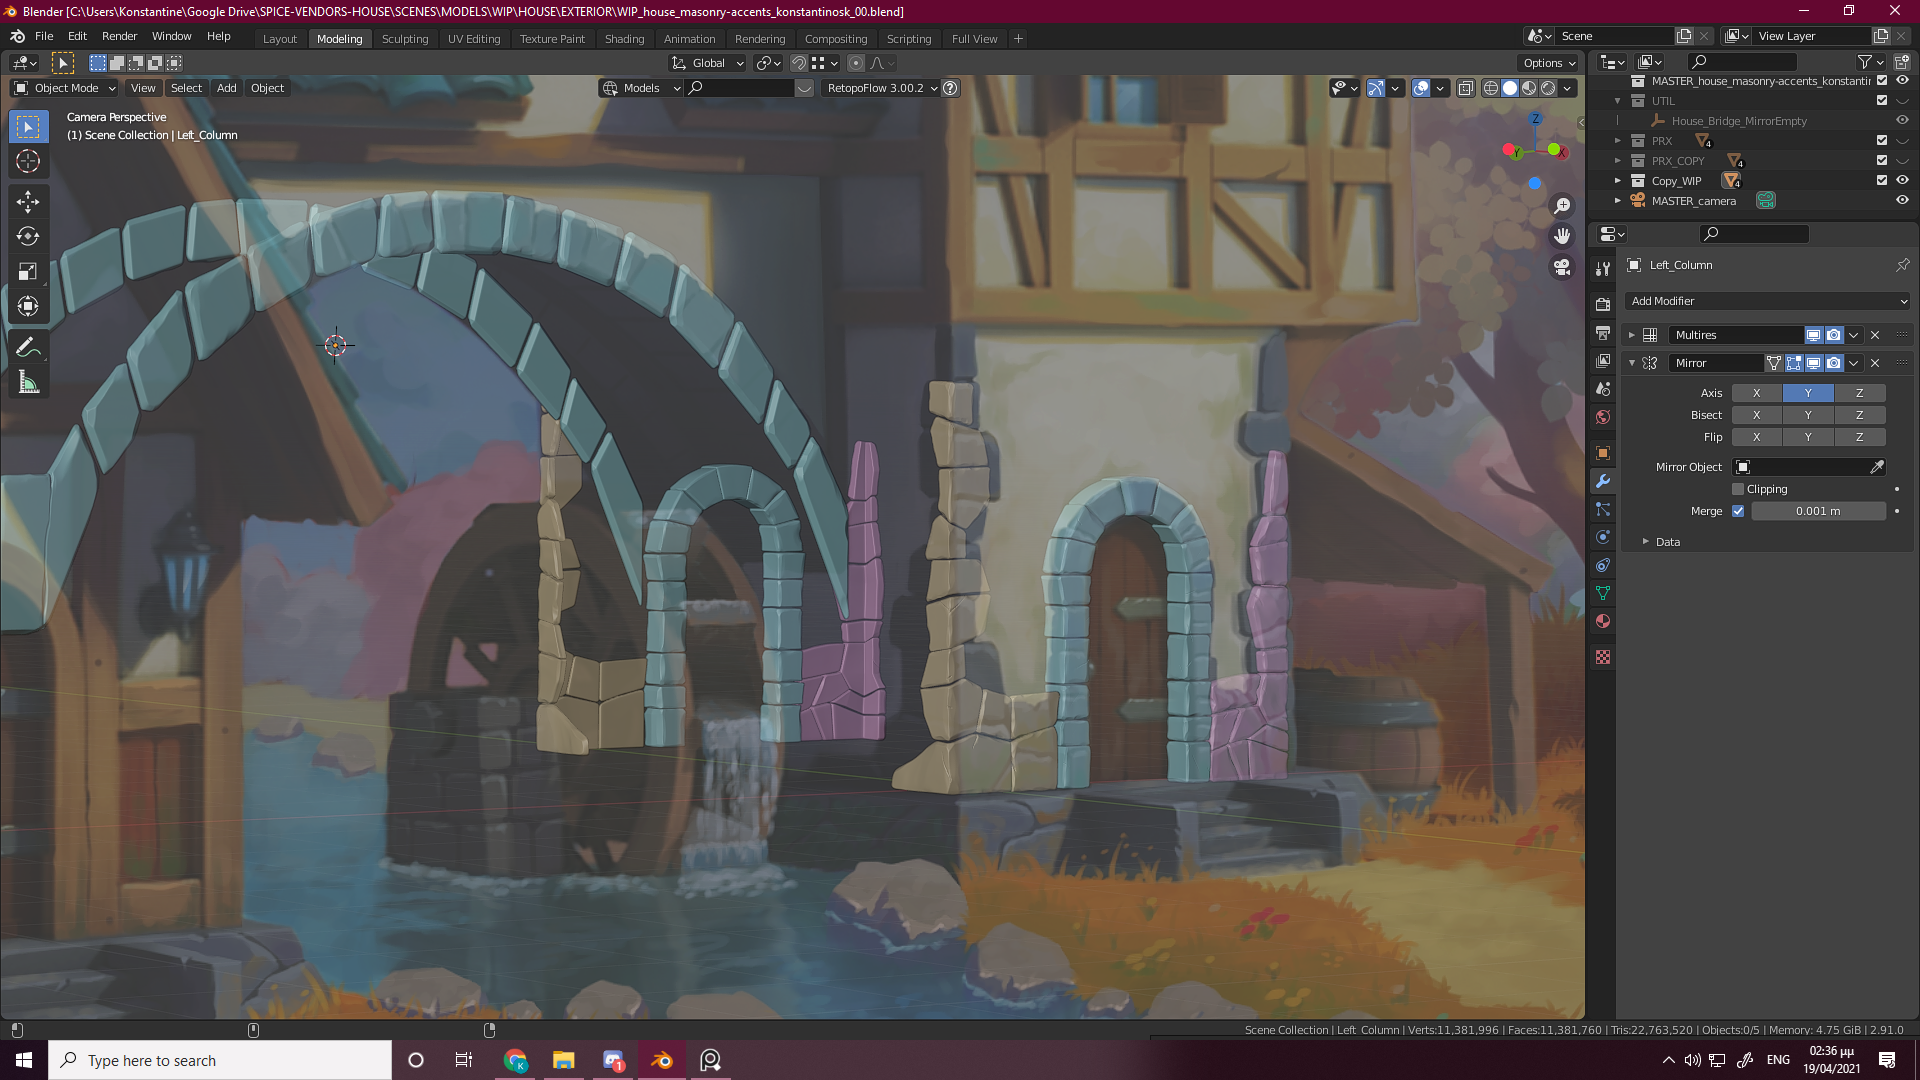
![]() konstantinosk Oh my, those look lovely. They look fantastic in the assembly! 🤩
konstantinosk Oh my, those look lovely. They look fantastic in the assembly! 🤩
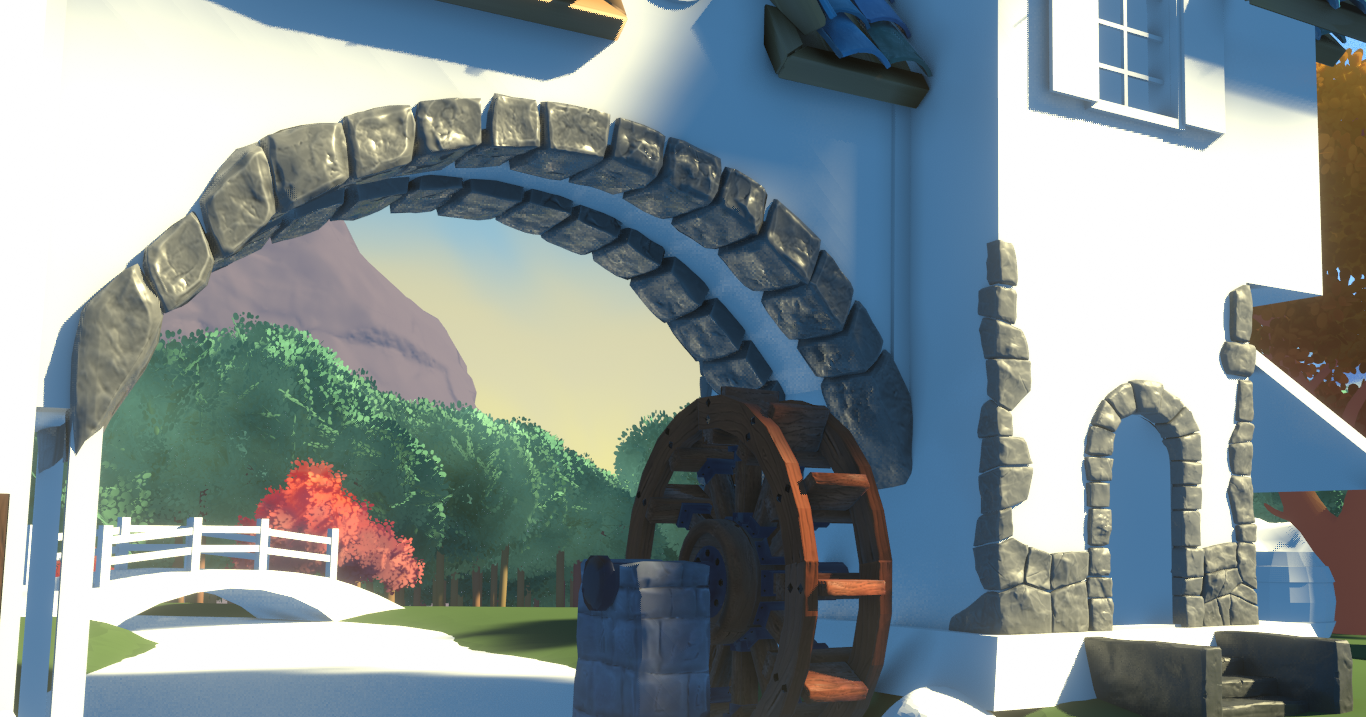
The only note I offer is that the colors of the stones are all identical. If they each had a slight variation, that'd be the cherry on top.
@theluthier Thank you so much! I'm really happy :D Took me so many hours to understand my baking problem was due to the fact each mesh was so close to each other. I had to distance each stone and then bake. Sorry but I spent so much time solving my knowledge gaps that I didn't have enough time to play with the colors and that's a shame since it's my favourite part of the process. I will use the color palette that you have prepared for us and I will just keep improving. Sorry for being late!
To close out this thread ![]() konstantinosk: You've done a wonderful job with the masonry accents! They've been in the assembly awhile and just look great.
konstantinosk: You've done a wonderful job with the masonry accents! They've been in the assembly awhile and just look great.
Thanks for contributing to Collab2021! It's been a pleasure working with you 🤝
@theluthier It was my pleasure to work with you Kent and all the good people that make CG Cookie . I learned tons! :D