Currently working on Vase B for the project, but we'll see whether I feel up to grabbing anything extra once the asset lists for the rear and (if it happens) interior of the house are finalised.
Homework submissions:
Original Post:
My thread for the project; please enjoy the vast nothingness it contains (for now).
Leaning towards the Accessories section but I haven't settled on a specific asset - I'll sleep on it for the moment and see what the interest levels are like for the different areas once I wake up.
Switched up my approach slightly today: instead of trying to apply procedural details on top of my baked normal map, I'm going to build the material on my high-poly model (through a combination of sculpting, procedural stuff and texture-painting), then bake everything (colour, normals etc.) down to a set of image textures for the low poly version.
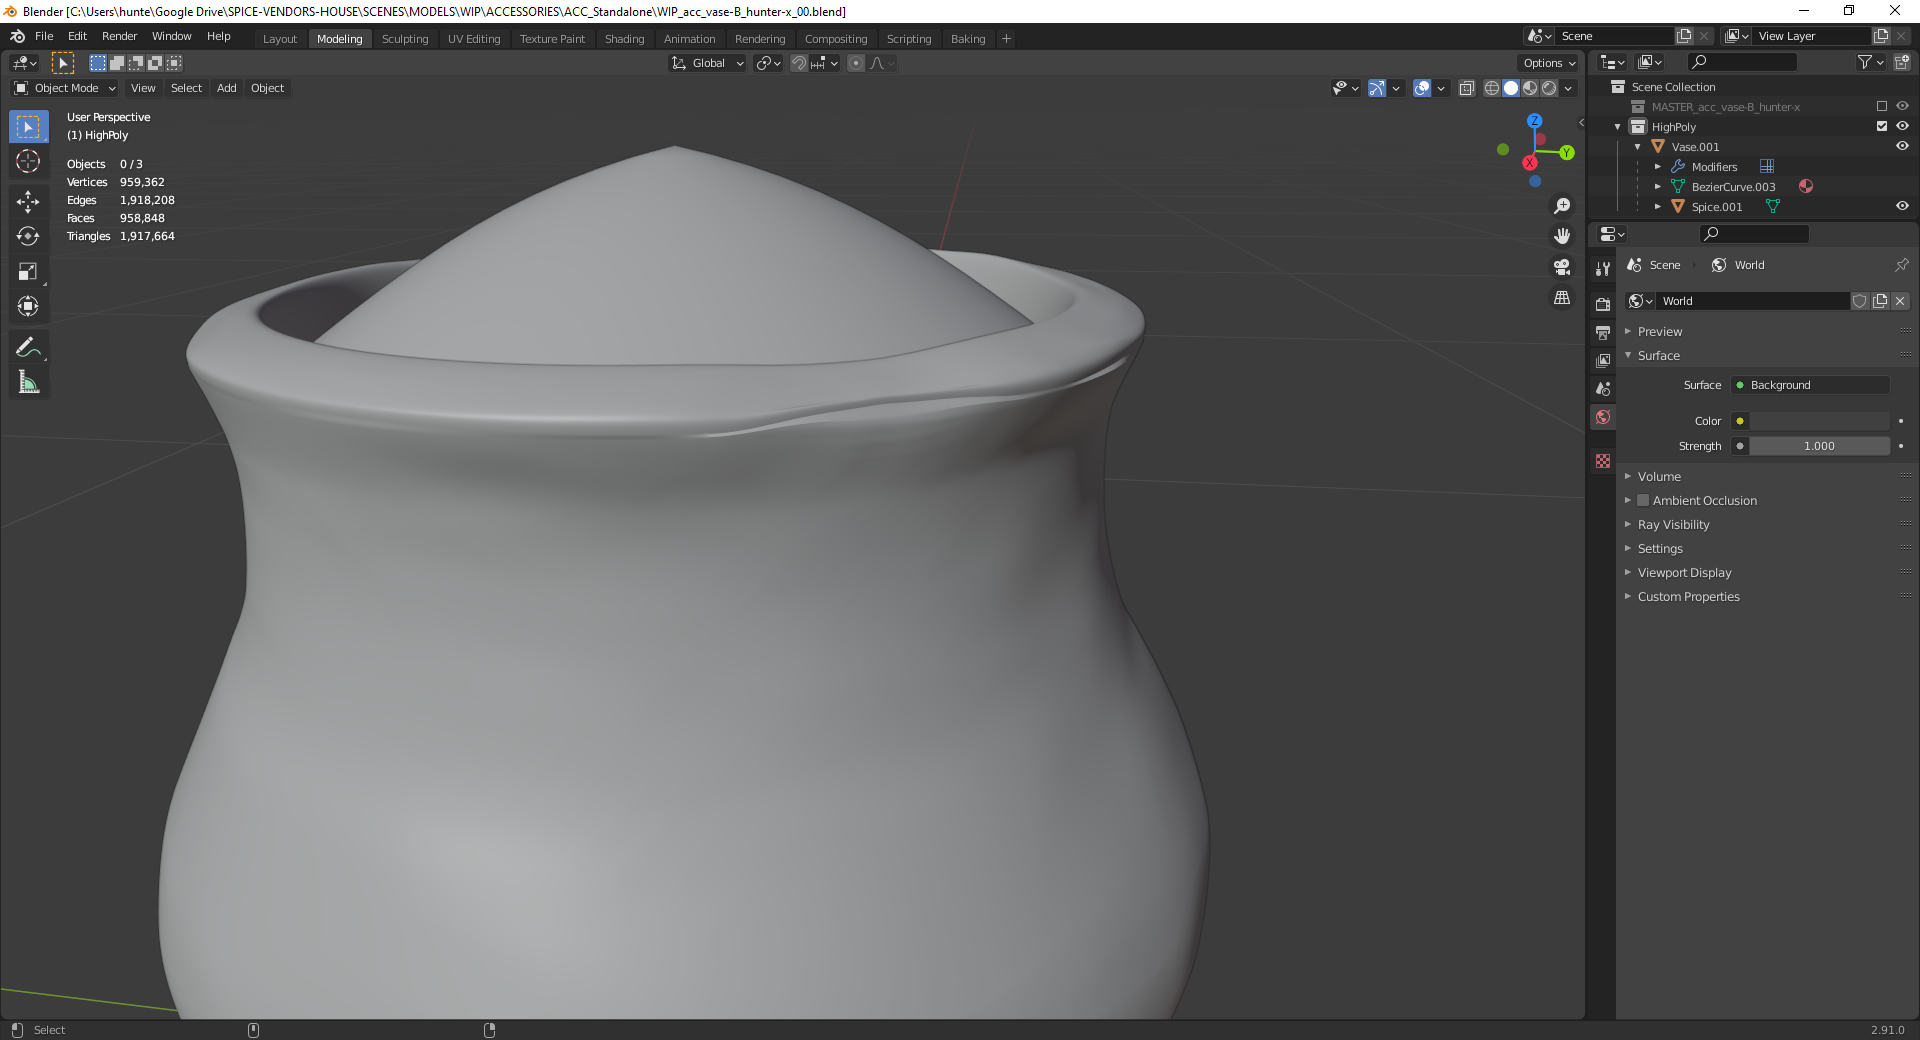 Discovered somewhere along the line my high-poly model had gotten busted and this edge was no longer displaying properly (later tests suggested this may be due to the duplicate edge from yesterday causing more issues when deleted on the high-poly model than on the low-poly model; not sure if this is at all related to the baking issues from yesterday yet though). Thankfully I keep plenty of backups and was able to revert to a previous version.
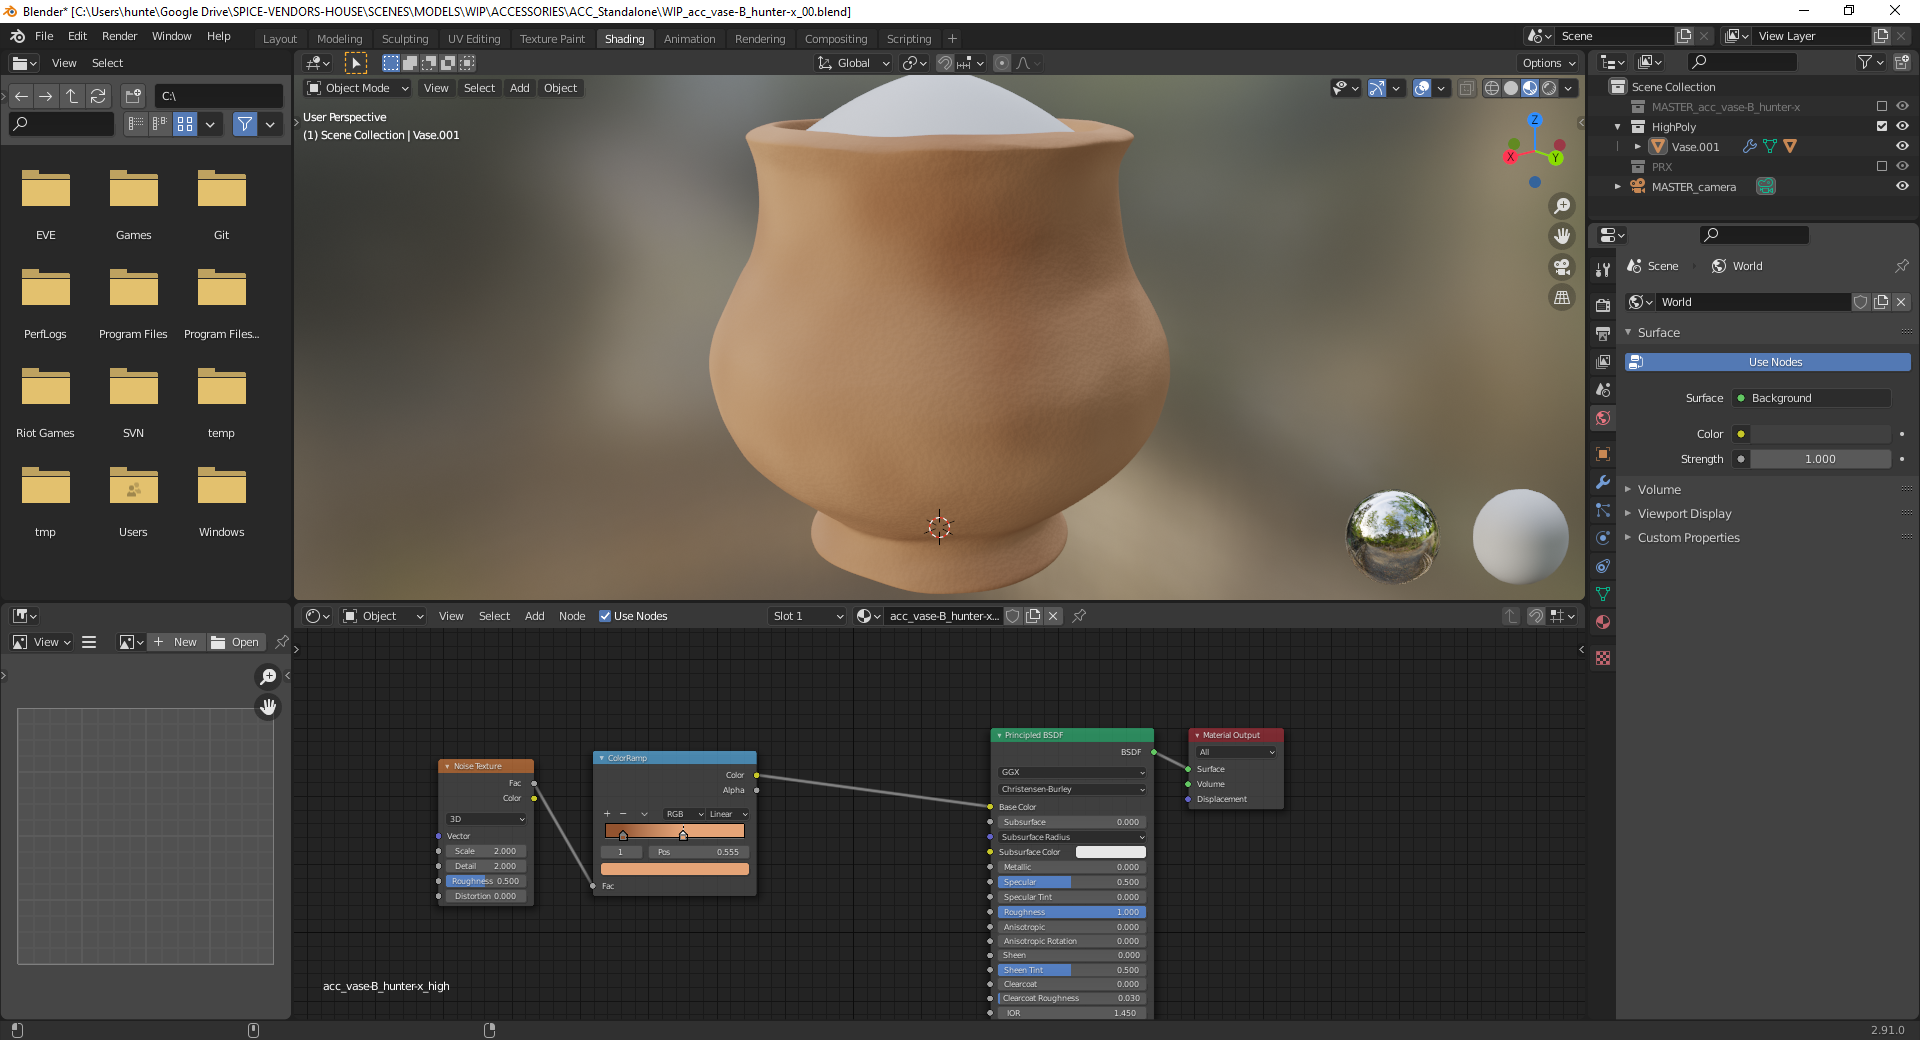 Expanding on the Noise texture bump map shader from last week's submission, I added some variation to the colour of the vase to make it less uniform.
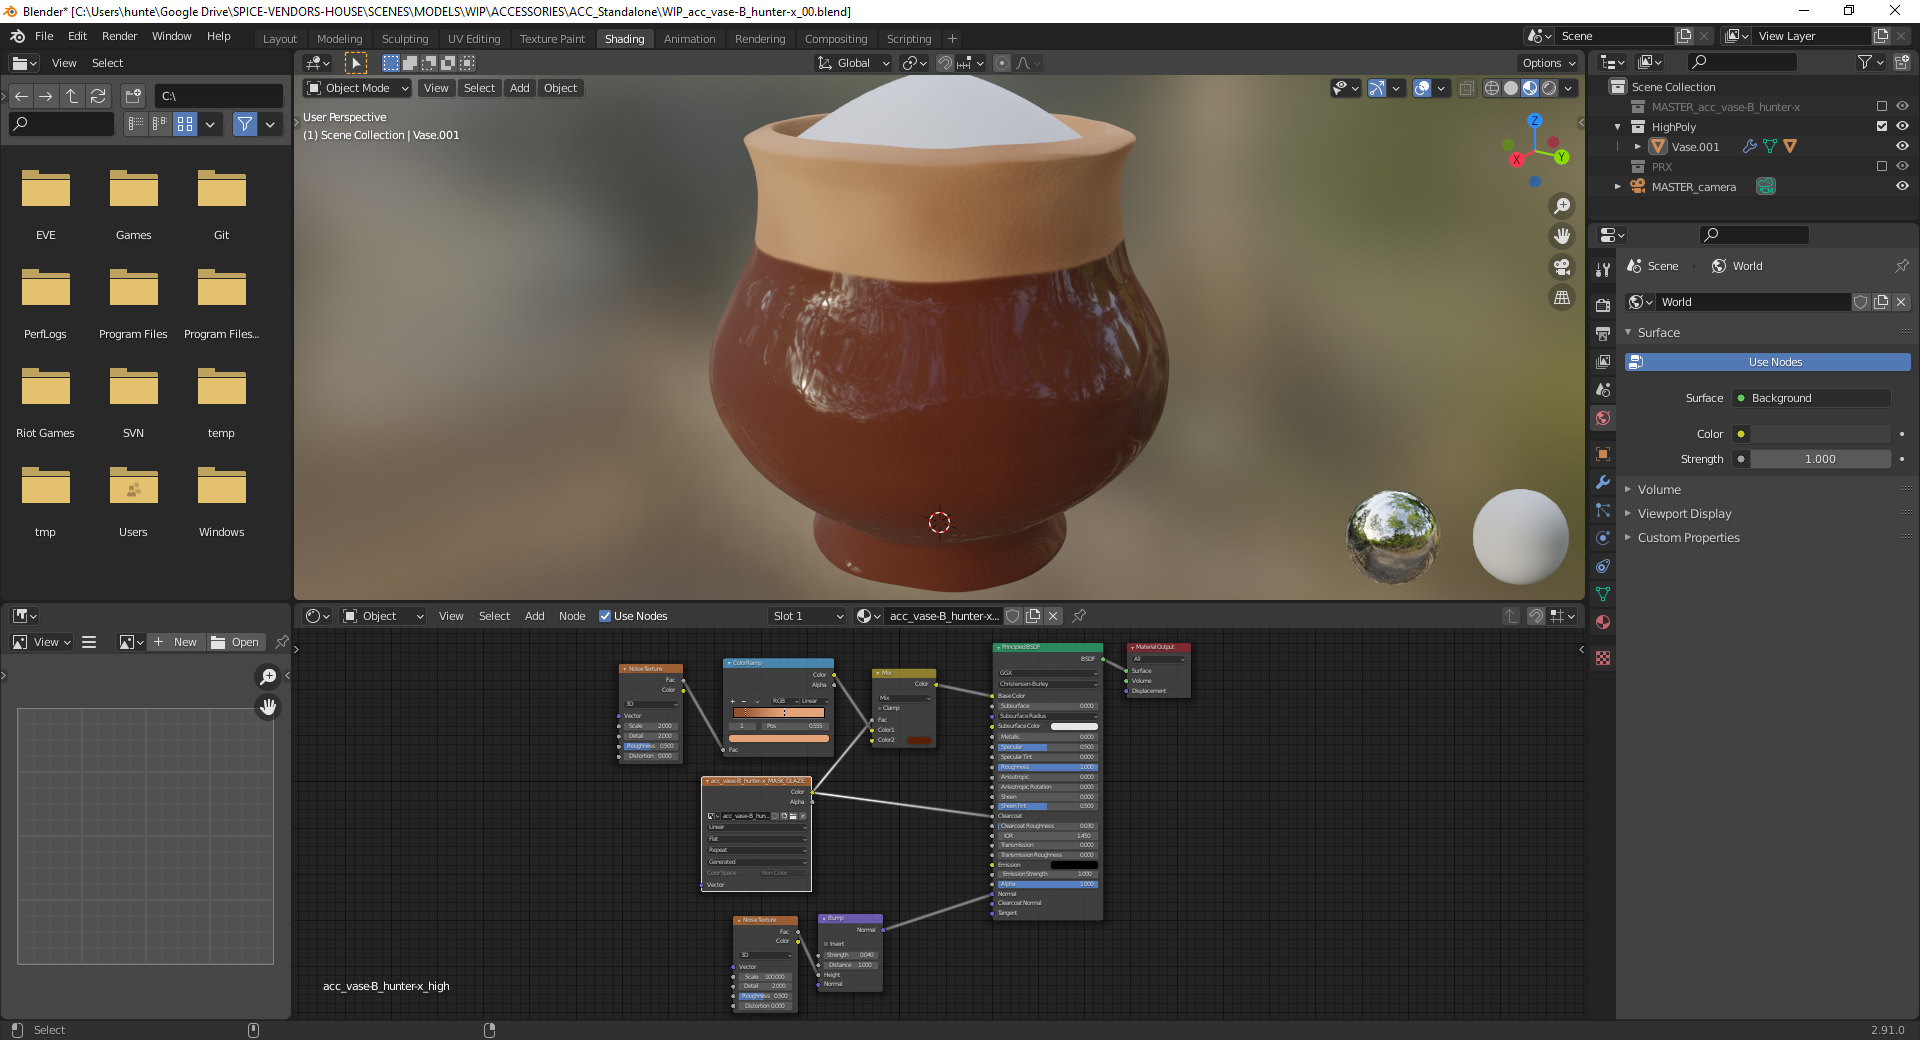 Next up I hooked up an image texture to a MixRGB node and the shader's Clearcoat value to produce a glaze effect, then texture-painted a mask to apply it to the lower half of the model.
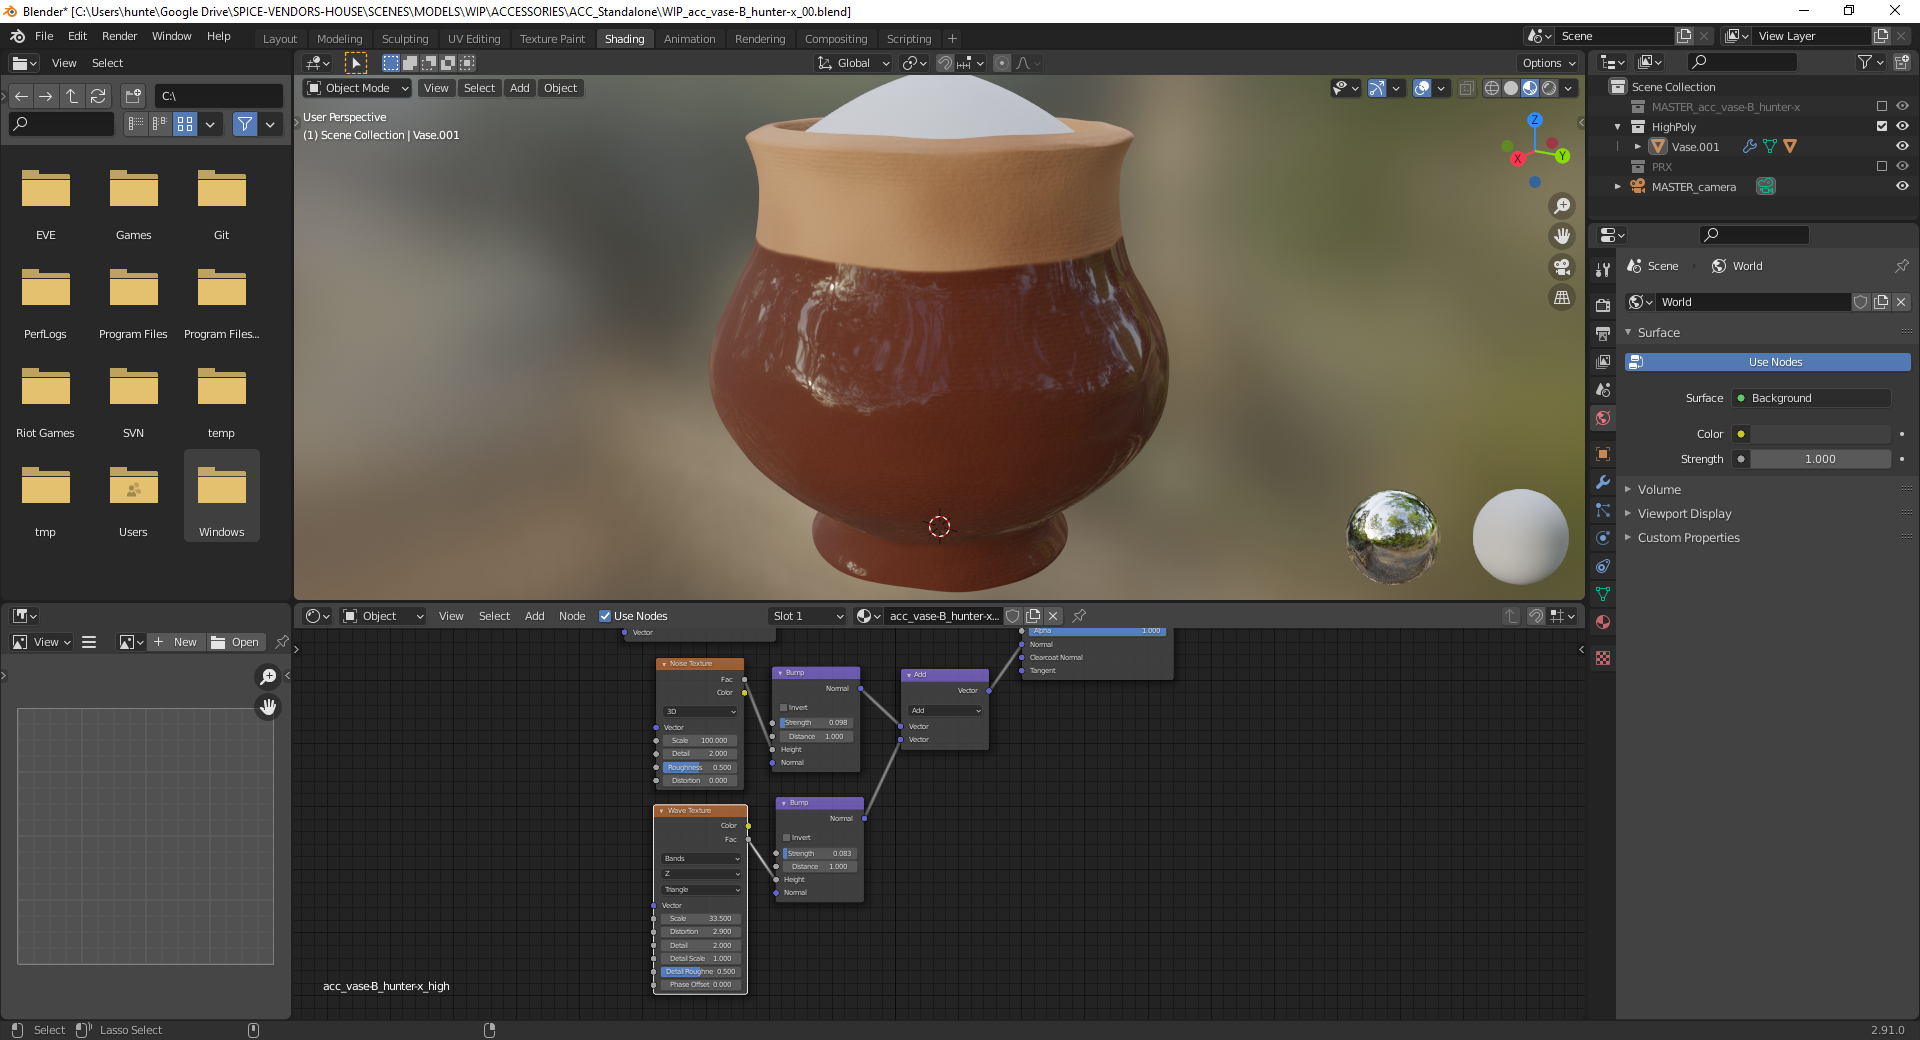 I combined the Noise texture with a Wave texture to add the horizontal bands I keep talking about to the normal map - this is almost certainly the wrong way to combine normal maps but it produced a reasonable visual proof-of-concept and I can always adjust it to use the proper method later.
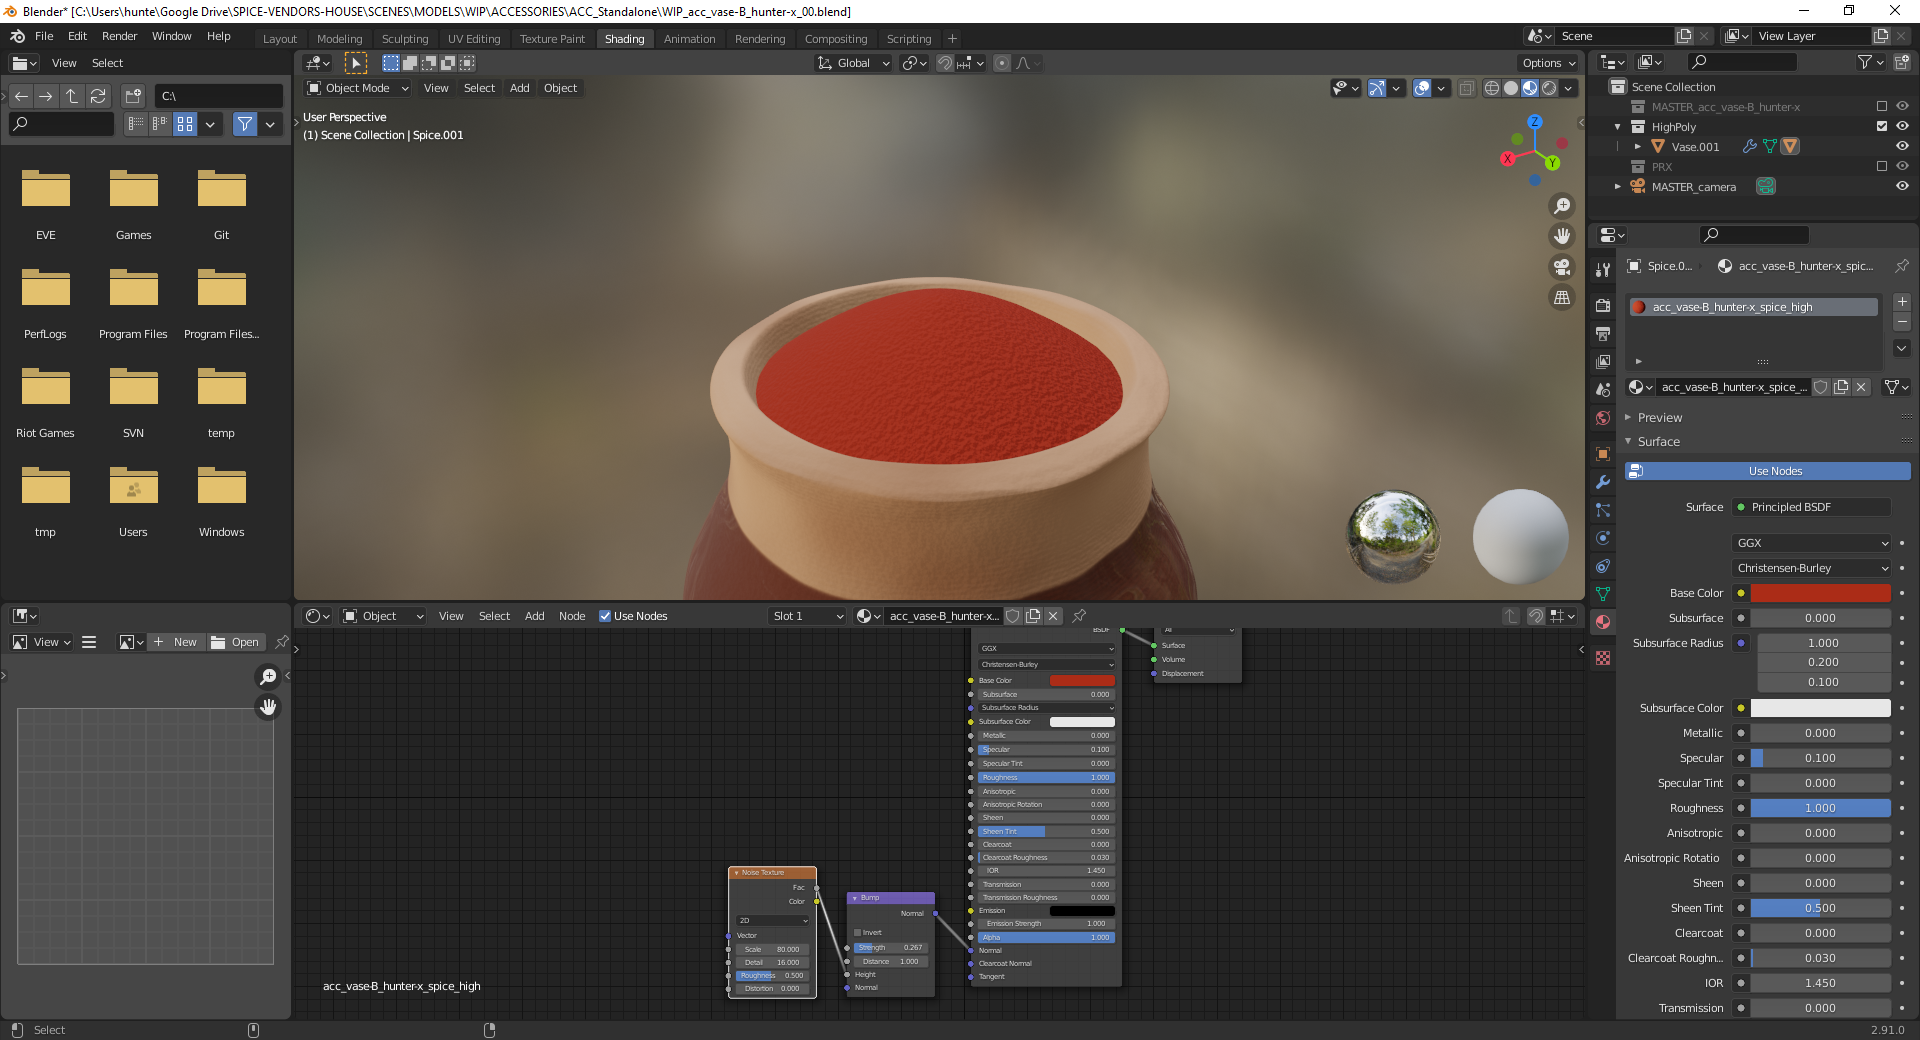 The spice material is considerably less complex and just needed some slight detail applied to the surface of the pile.
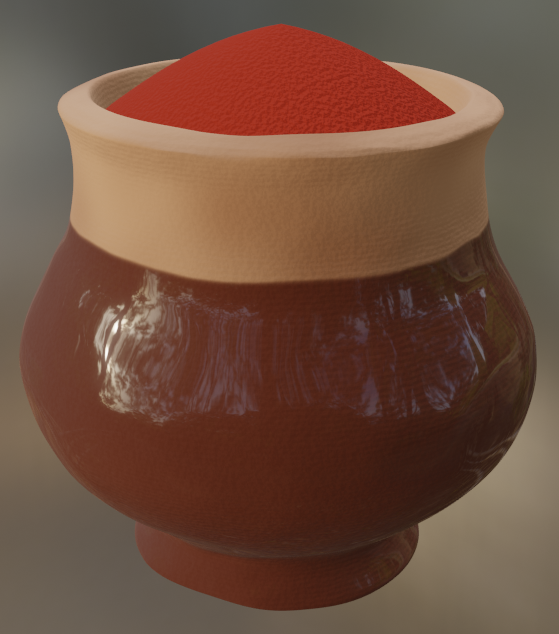 And this is where I'm at currently. There's a number of things I'd still like to work on - the bands feel a bit too uniform so I may attempt to vary the strength or shape of them across the vase, I'd like to make the edge between the glaze and non-glaze sections of the model less flat, there's potential to add cracks on the vase or scratches on the glaze using various methods, and I think the Specular value on the shader could be turned down somewhat - but it's gradually starting to look more like a viable set-piece for the scene.
Wow, that's already looking great 😀! And the ideas for improving your vase make me look forward to your next version 😀! Keep up with your good work 👍!
@theluthier
Today's work involved taking the current state of my high-poly vase and baking it onto the low poly version:
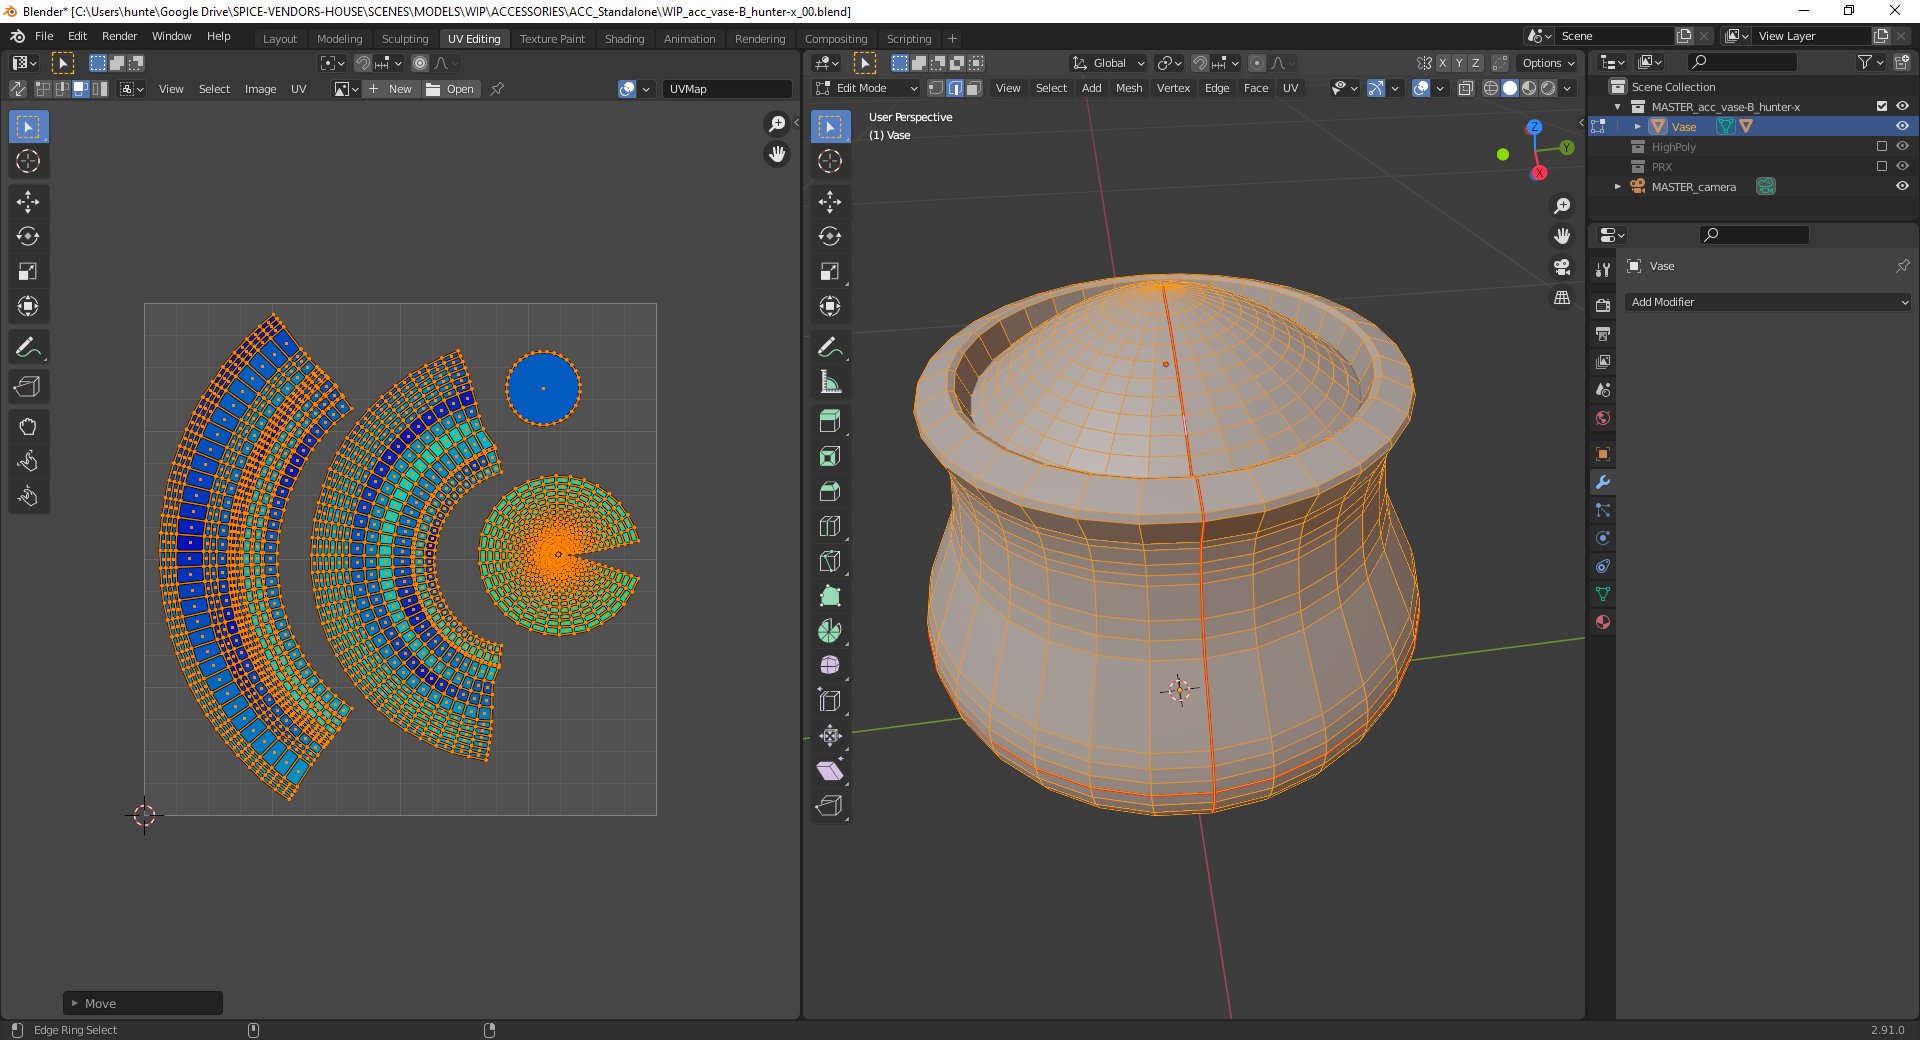 I re-did the low-poly UV maps after reverting my save in the previous update.
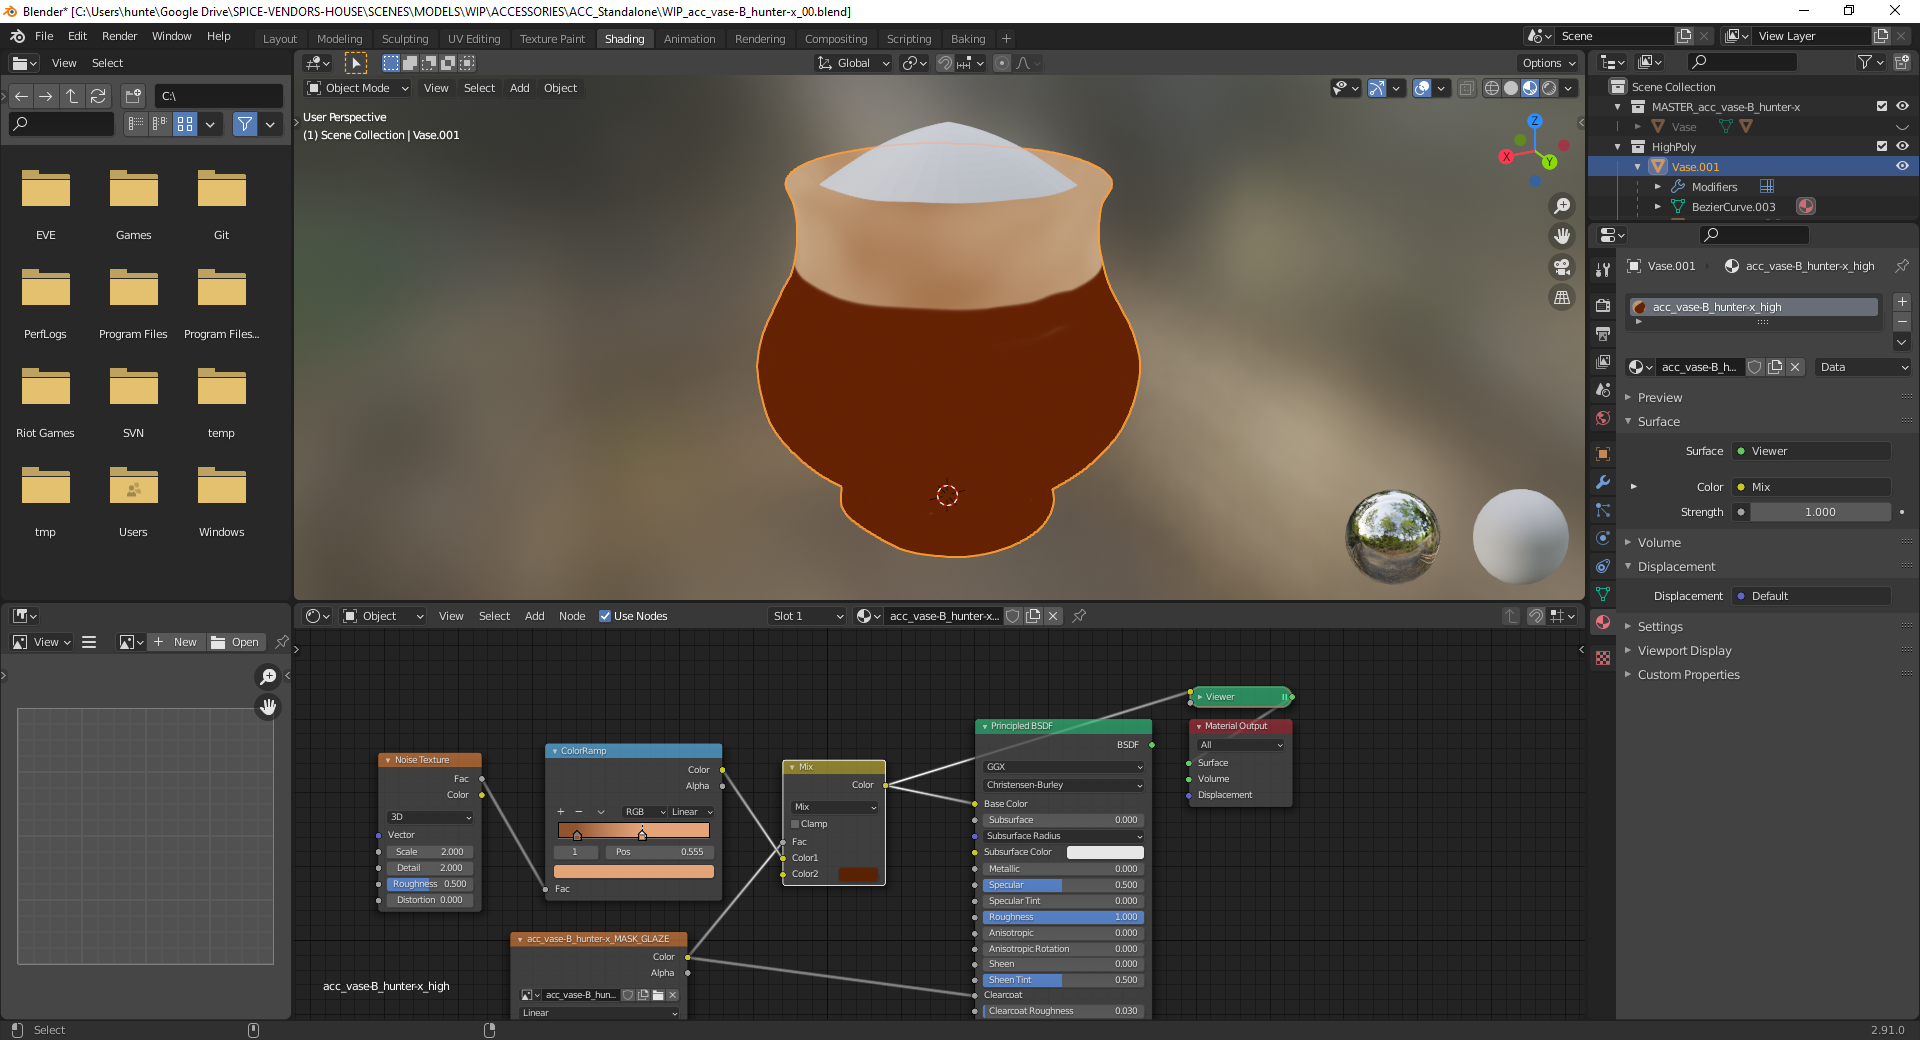 In order to bake the colour map I needed to bypass the shader and hook the colour node directly to the output, otherwise the bake would be affected by lighting which isn't what I'm after.
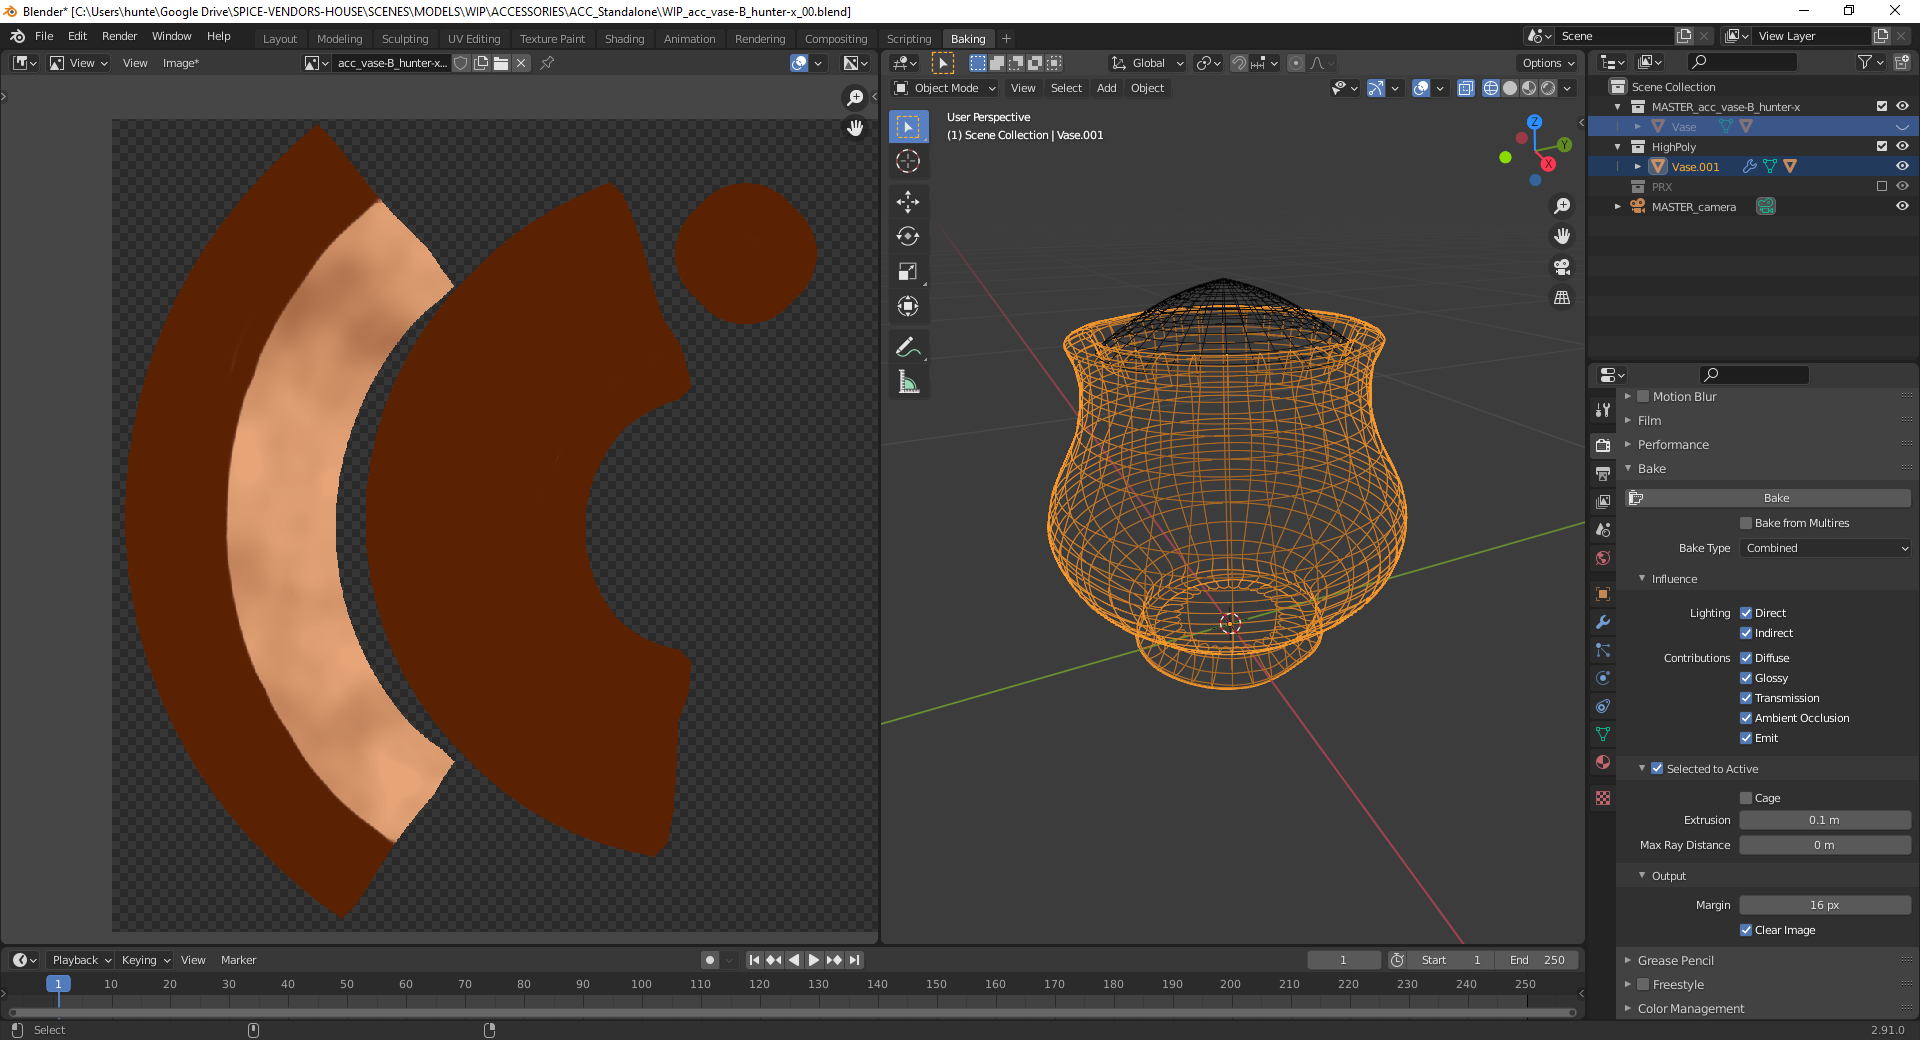 The vase colour gets baked down...
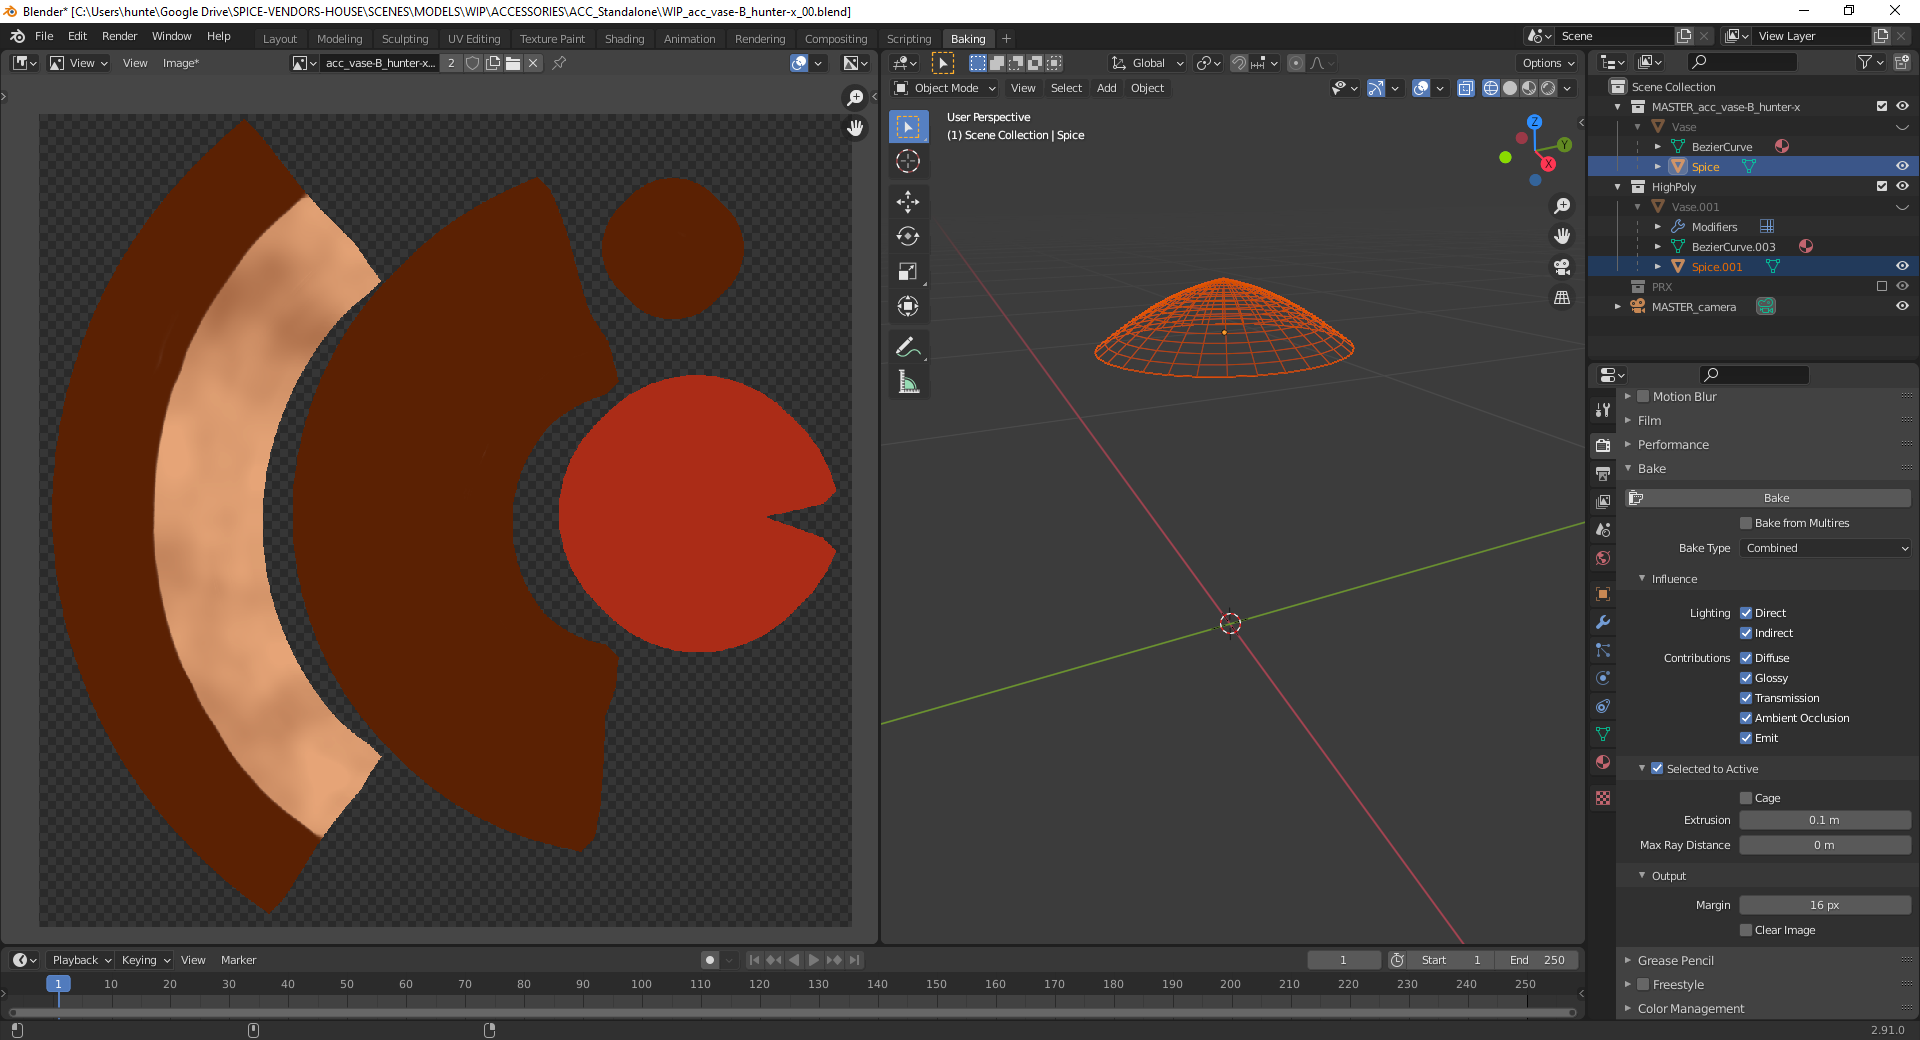 ...and so did the spice using the same method.
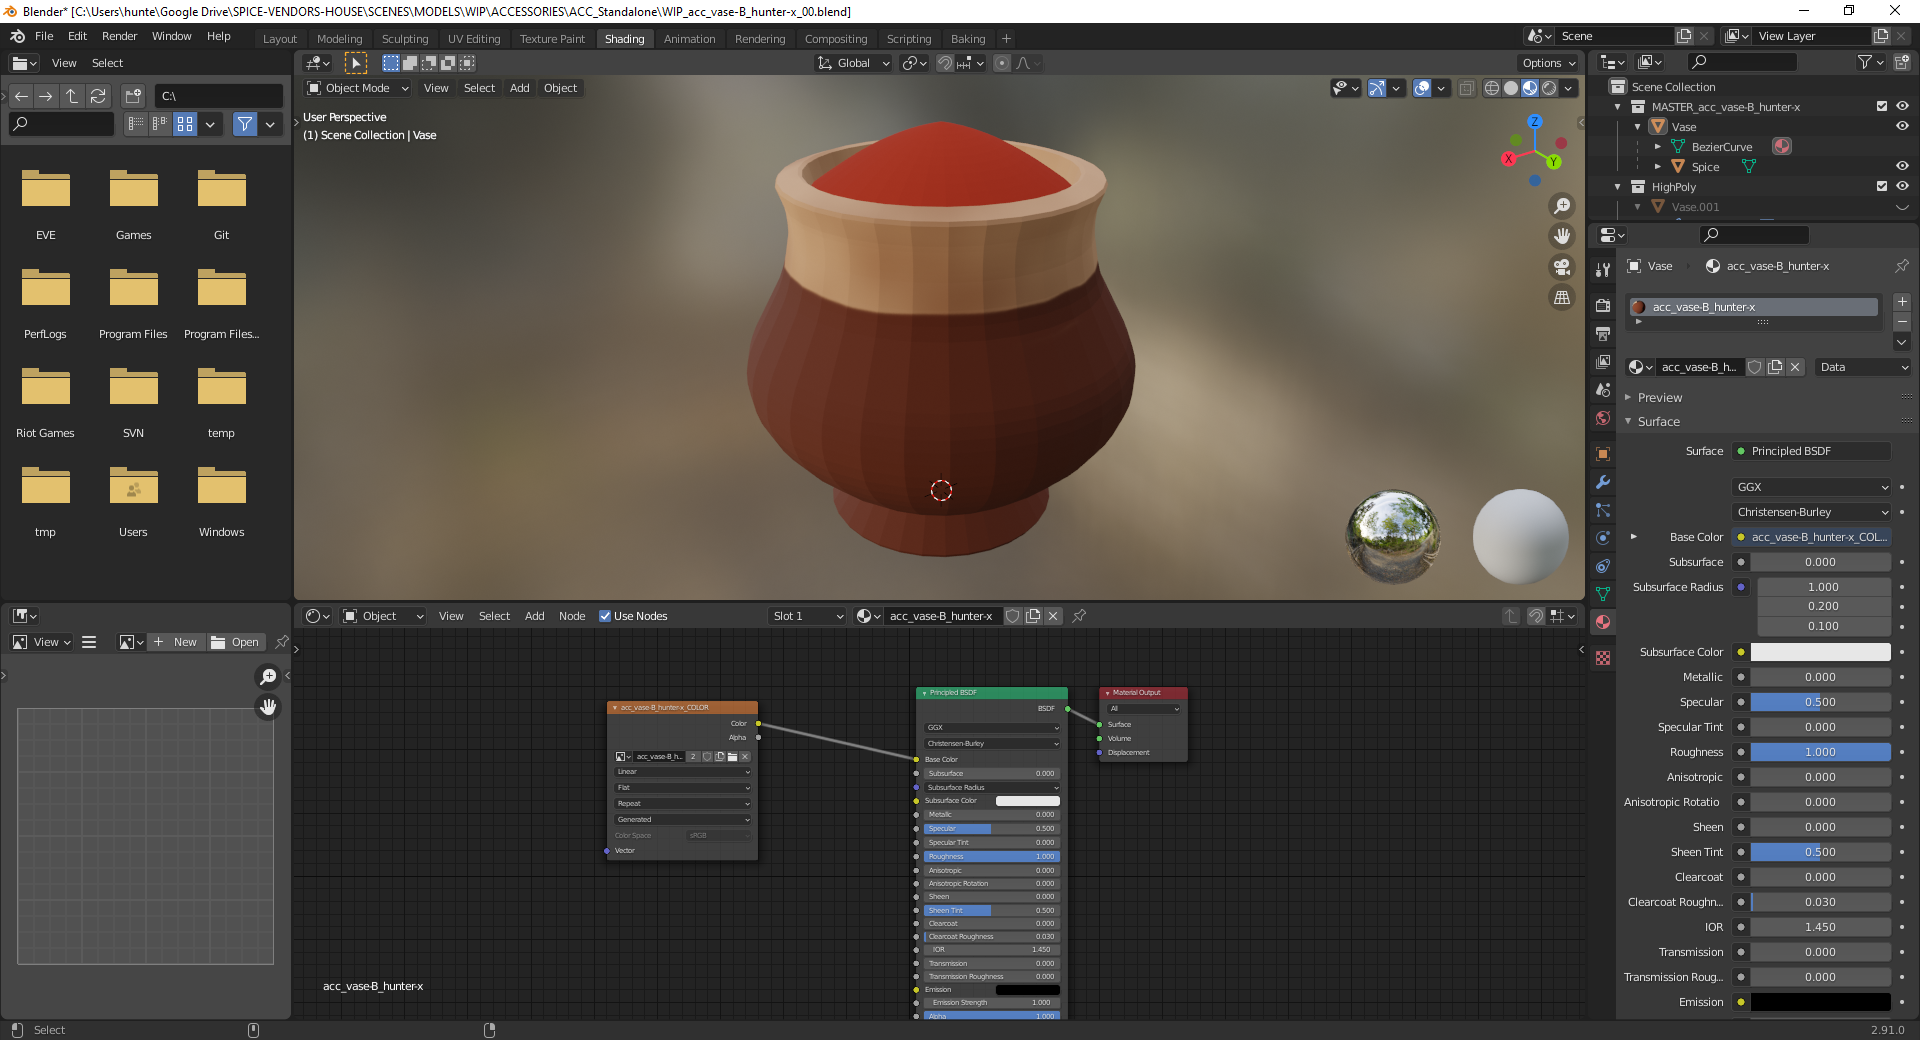 Hooked the texture up to both materials and now the low-poly model is the correct colour.
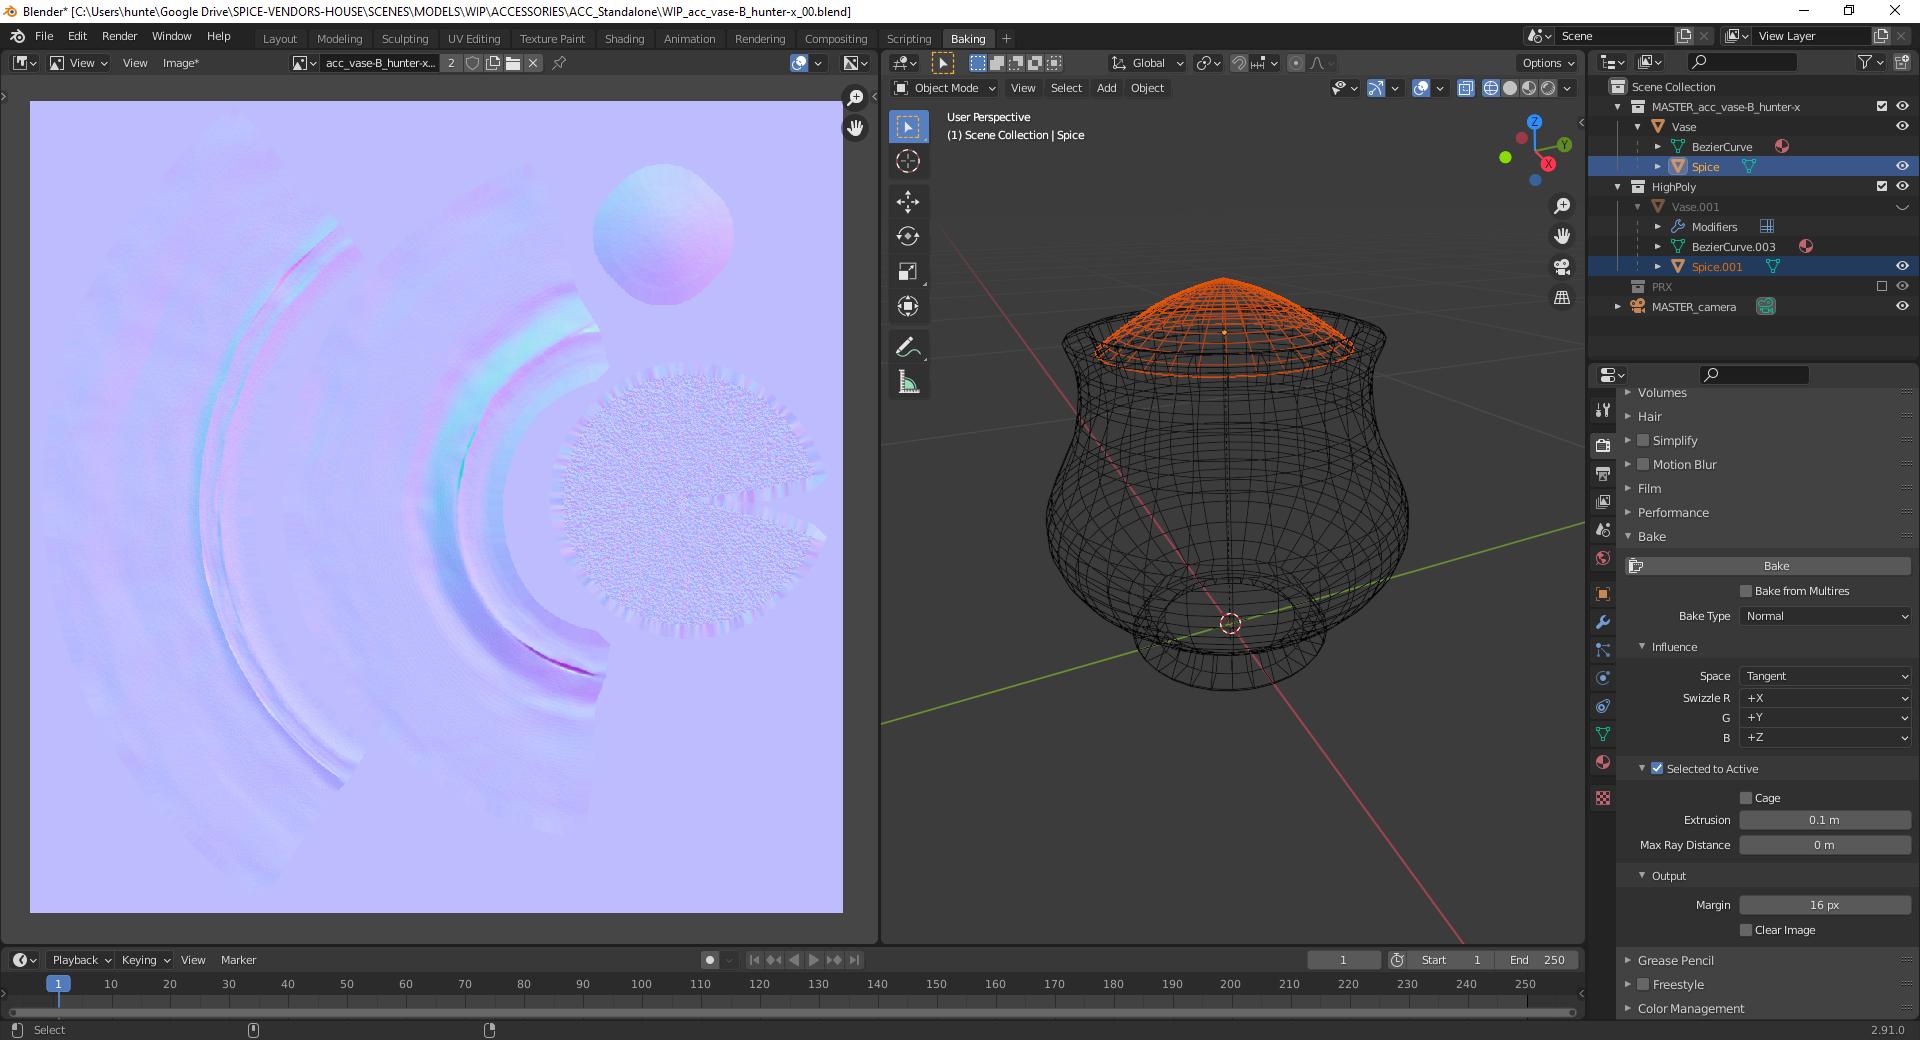 Next up was the normal map, now containing both my sculpted shape and procedural fine details.
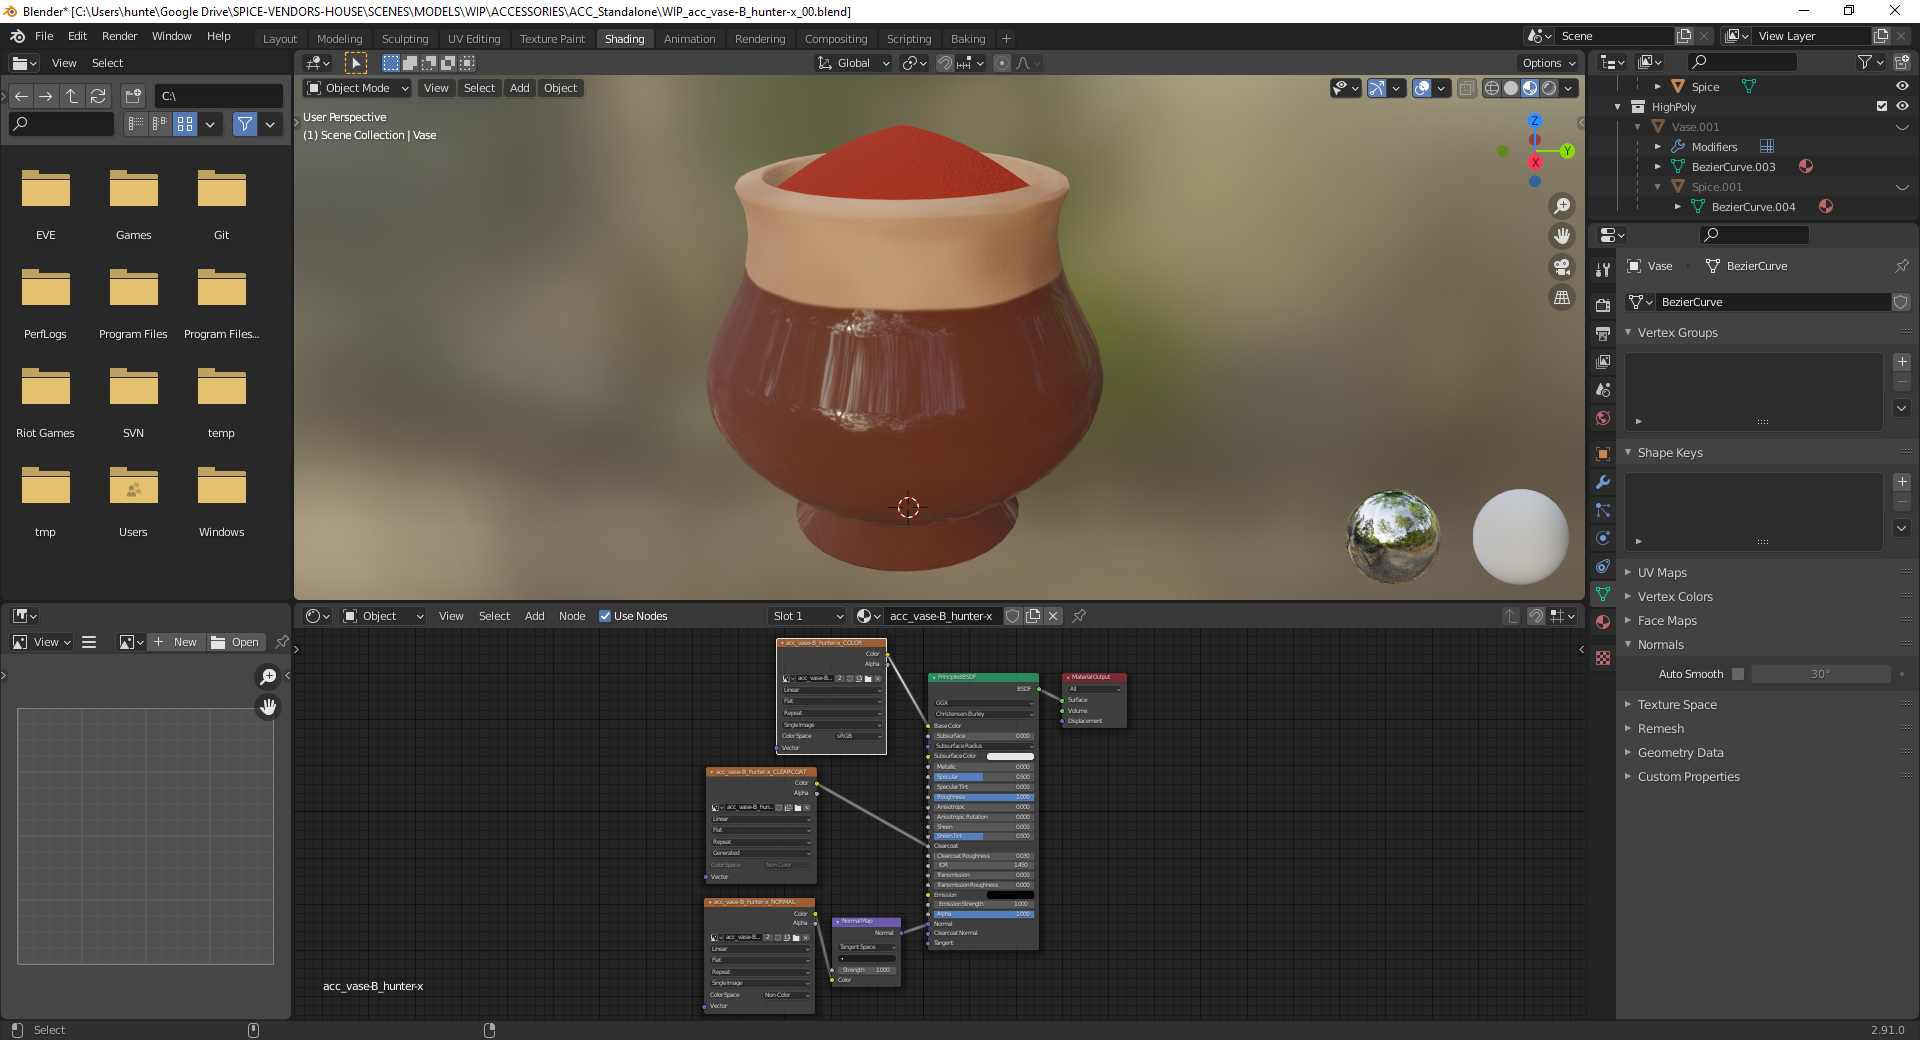 Interestingly I had few issues with applying the normal map this time, even in regards to that dent from the previous updates - the settings that ended up working for me were Shade Smooth enabled and Auto-Smooth disabled for both the low-poly and high-poly models. Also featured is a third map for the Clearcoat value (mostly the same as the texture-painted version but applied to a slightly different UV map).
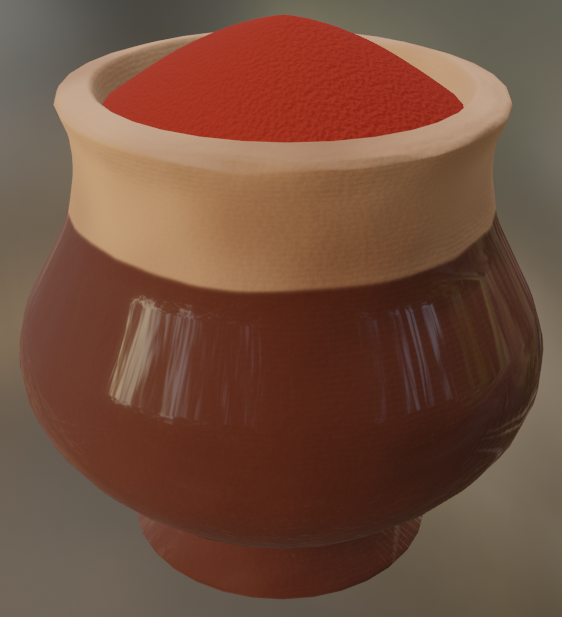 Which brings the state of my low-poly model to this. Overall I'm fairly pleased with how it's gone so far, though the high-poly model showed deformation on the clearcoat from the sculpted detail while the low-poly normals don't produce the same effect, so I'll be looking into that soon. Week 4 is probably going to consist of working further on the details and generally improving the overall quality of the material, following my thoughts as described in the previous update.
Looks amazing and the baking files came out great too. Looking forward to seeing your final model
@theluthier
Not too much different from last week, but with a few added details and polish:
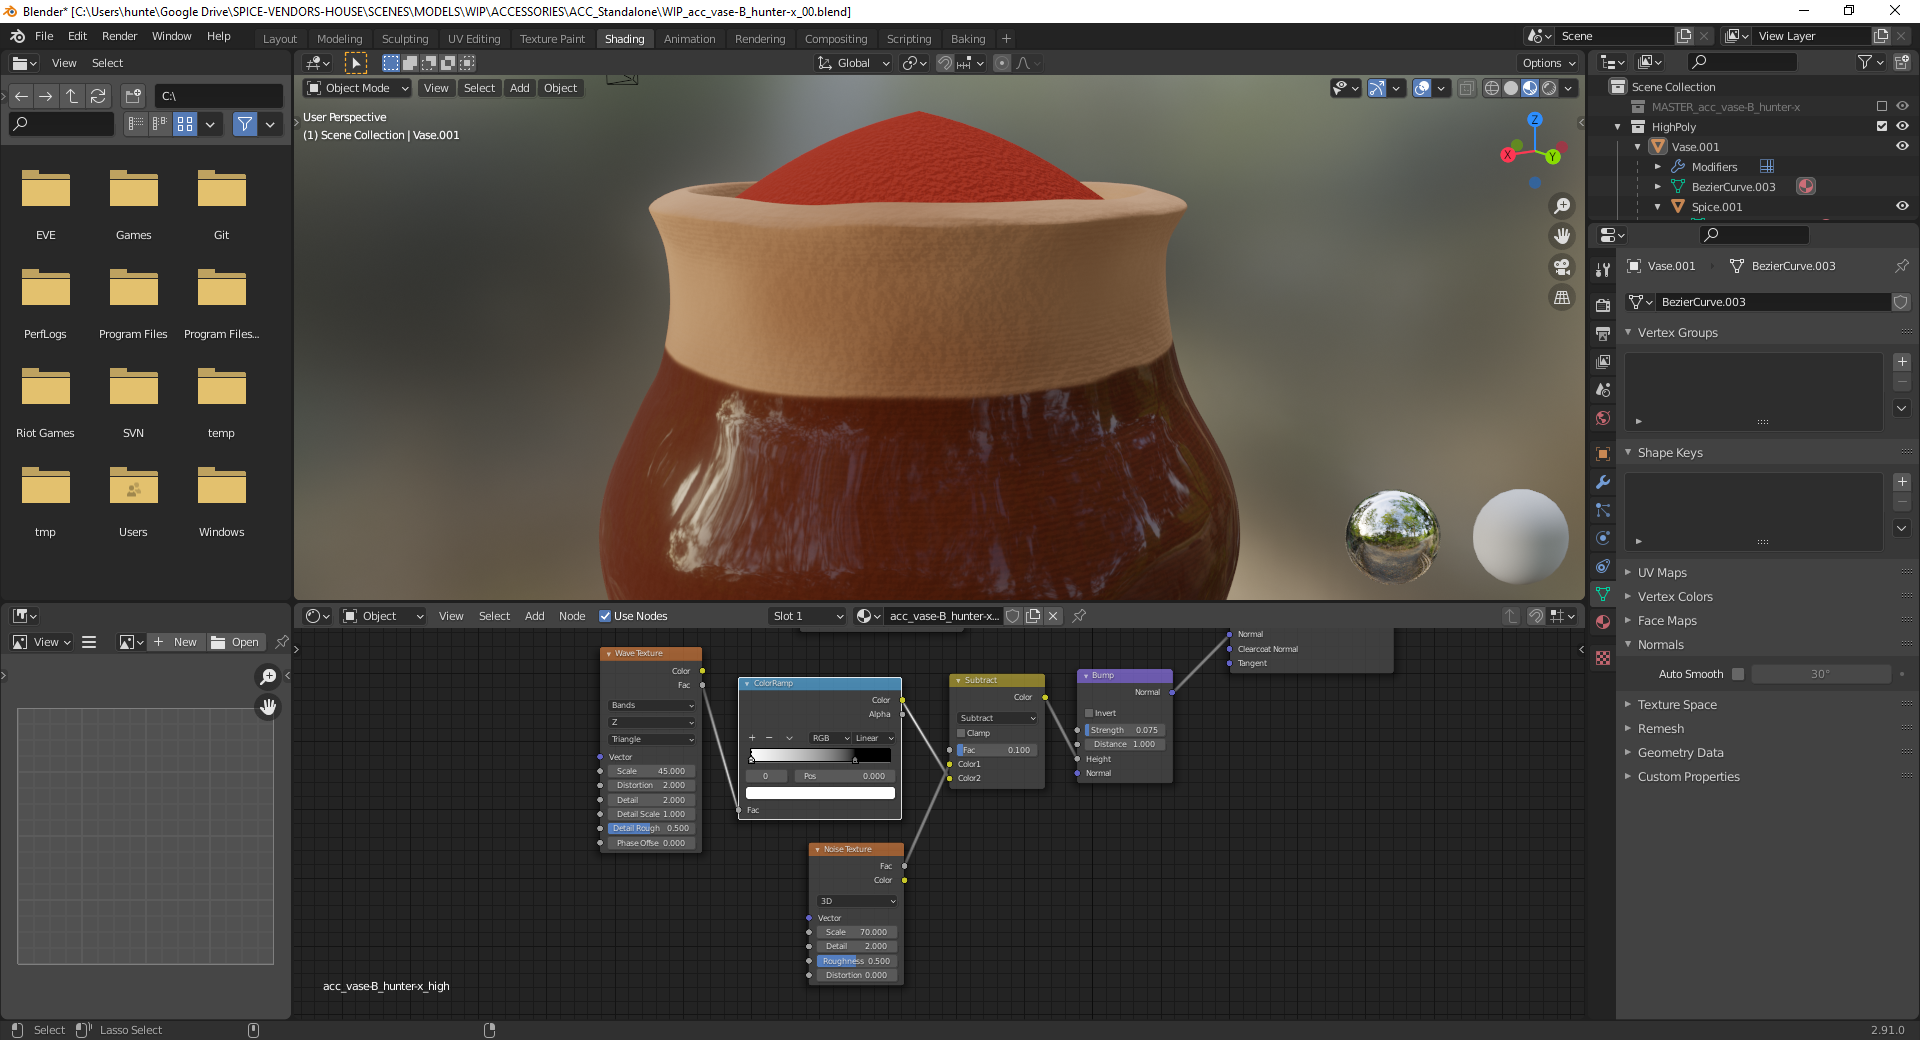 I started by tweaking the normal map for the high-poly model; sharpening the horizontal bands slightly and adjusting their scale, as well as reworking it to only use a single Bump Map node instead of some kind of vector math abomination. Also featured is the change in the Specular value of the shader to a better, lower number.
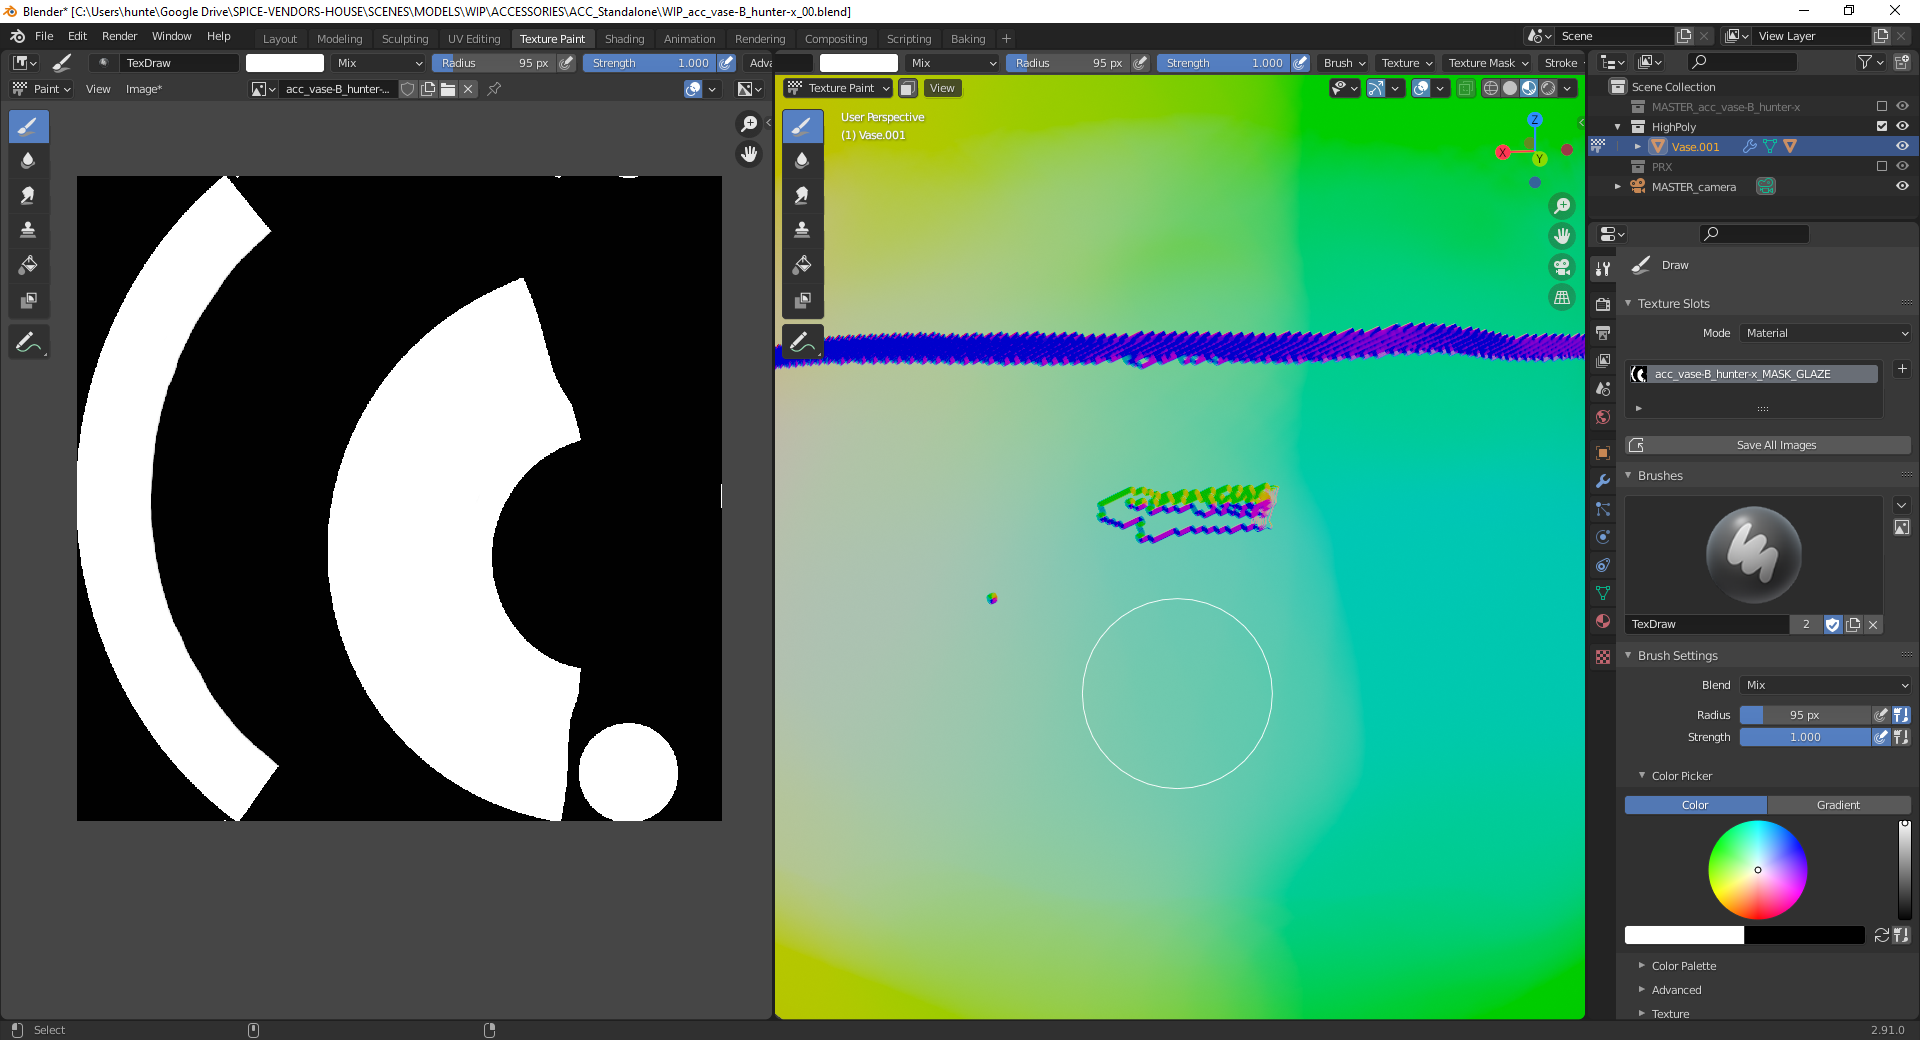 I also noticed that my glaze mask had a few patches that weren't entirely white from the texture painting process. They didn't have any serious impact on the current materials, but I figured I'd take the opportunity to fix them while I remembered.
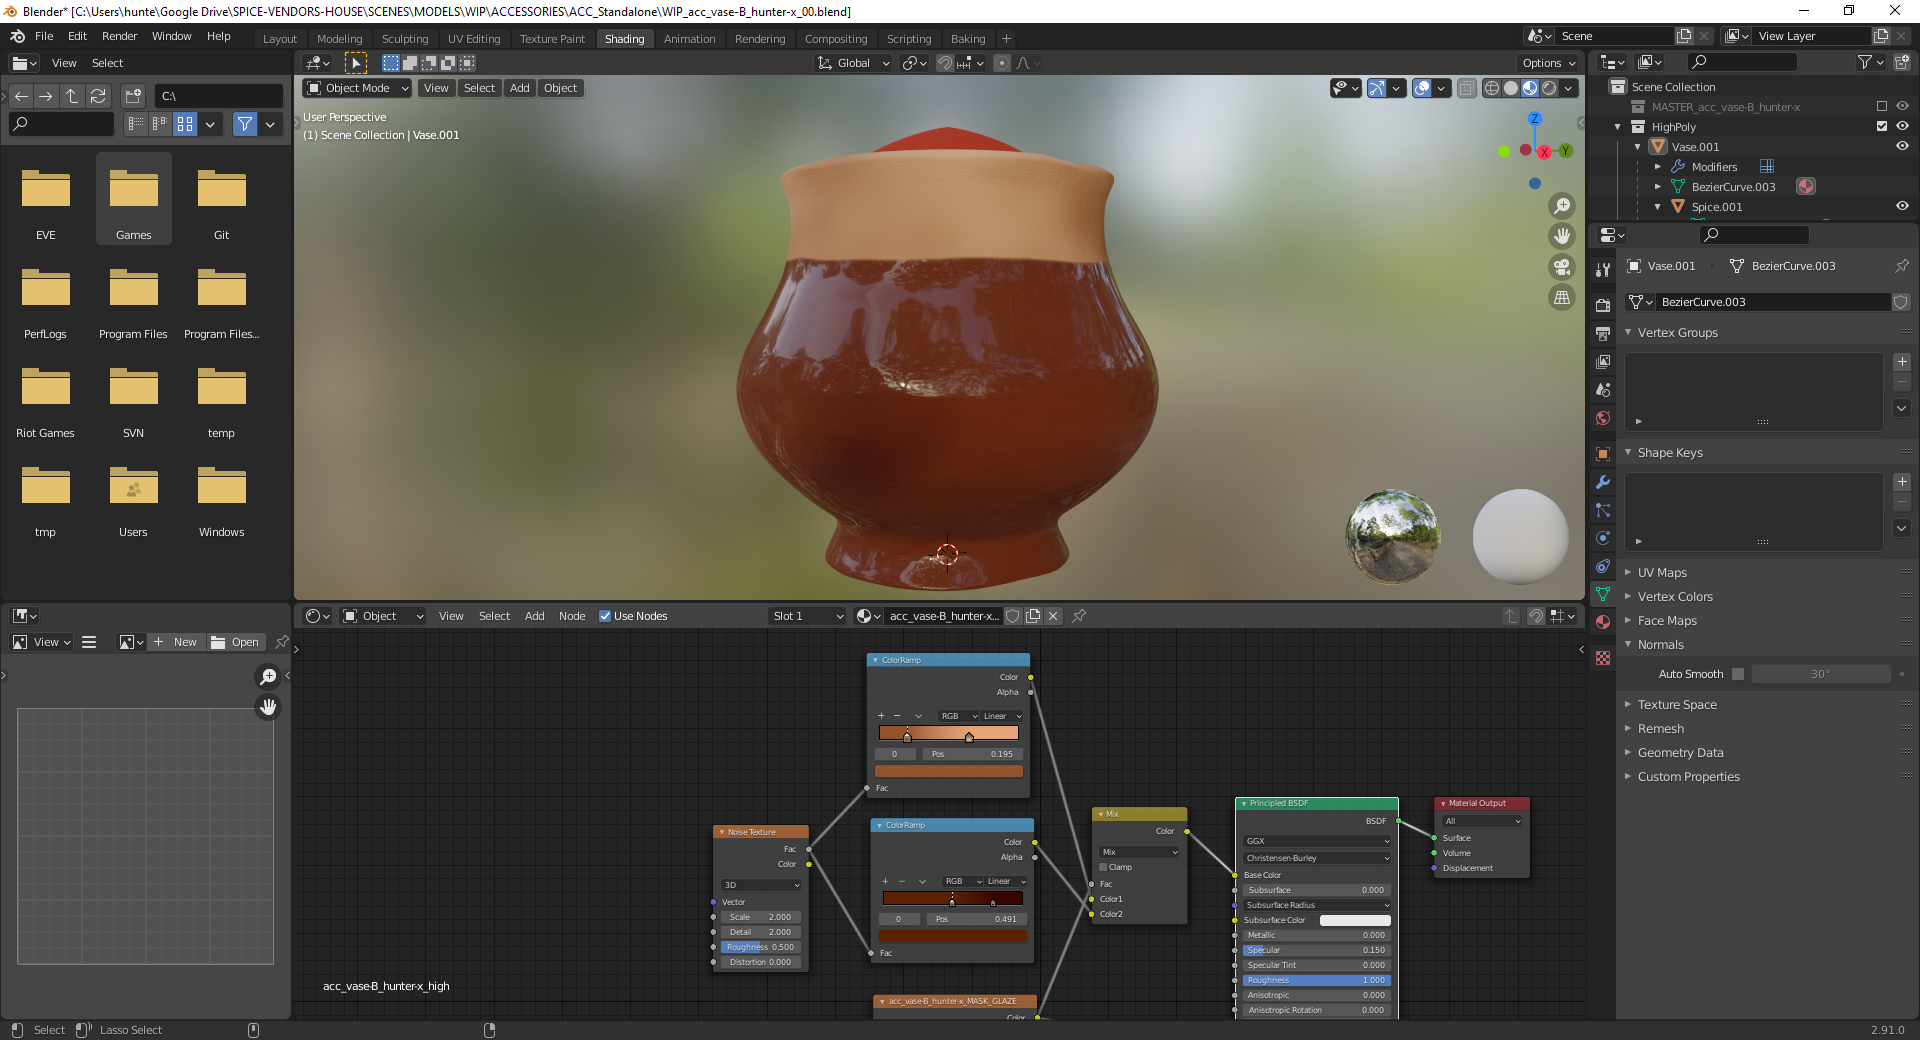 I adjusted the colour slightly to add some variation to the glazed portion in addition to the non-glazed areas.
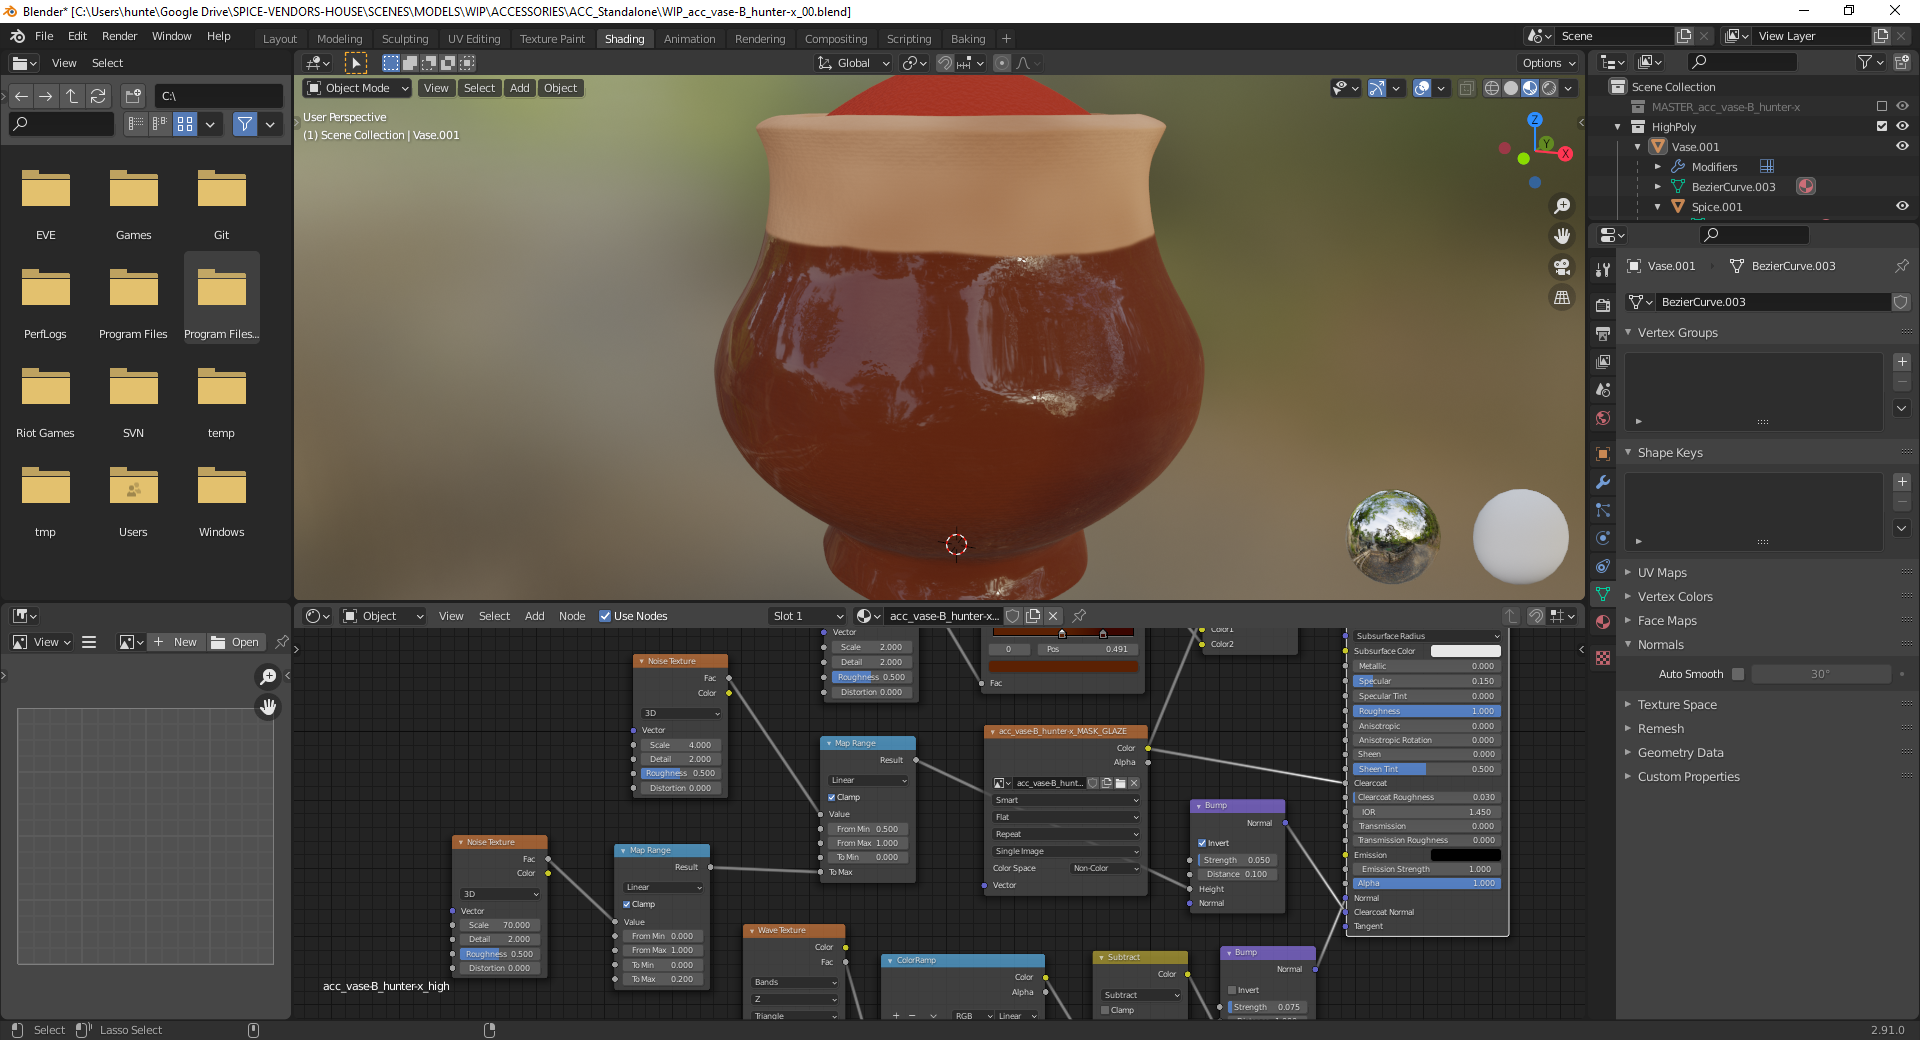 After some experimentation I came up with a passable system for adding some roughness to the surface of the glaze. I'm not 100% sure whether I think it's the best way of doing it just yet, but I'm curious what other people's opinions are!
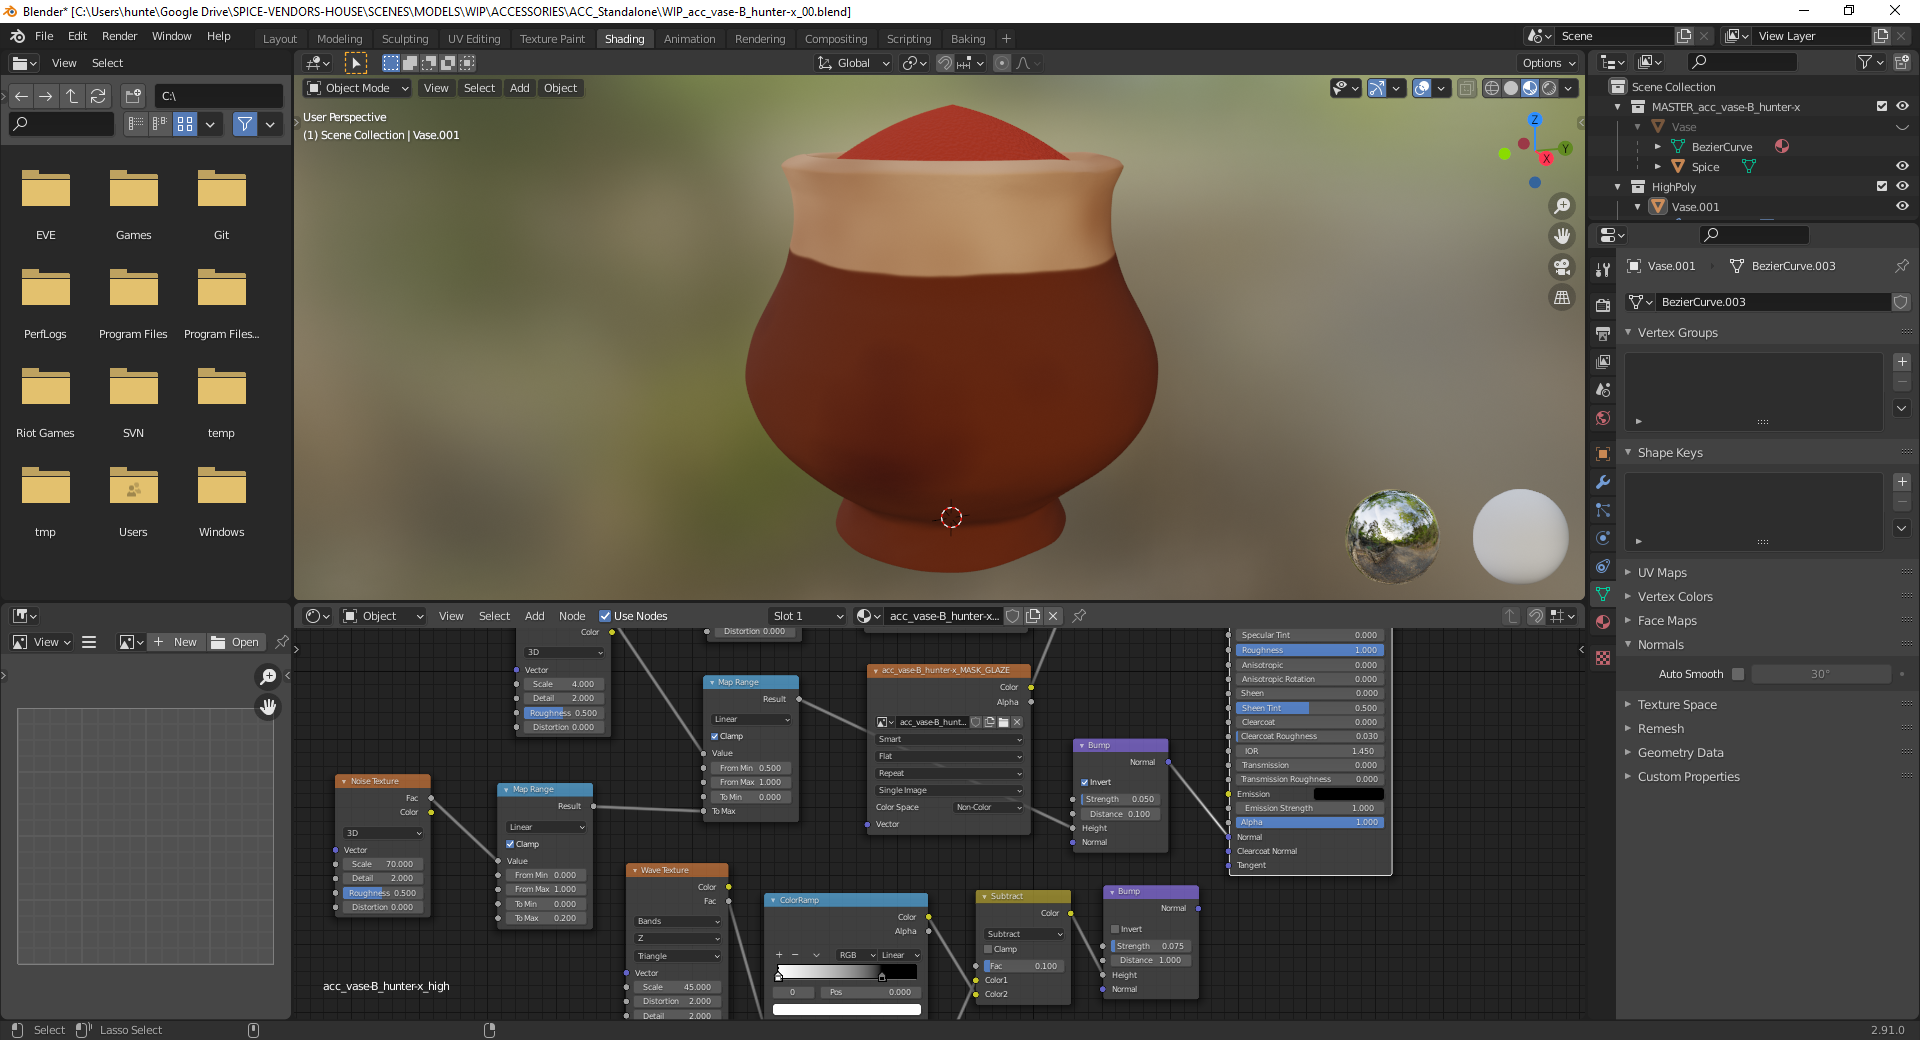 At this point I began re-baking my changes onto the low-poly model. For the normal map I had to make sure to disconnect the clearcoat normal nodes so that only the vase itself would be baked to that particular layer.
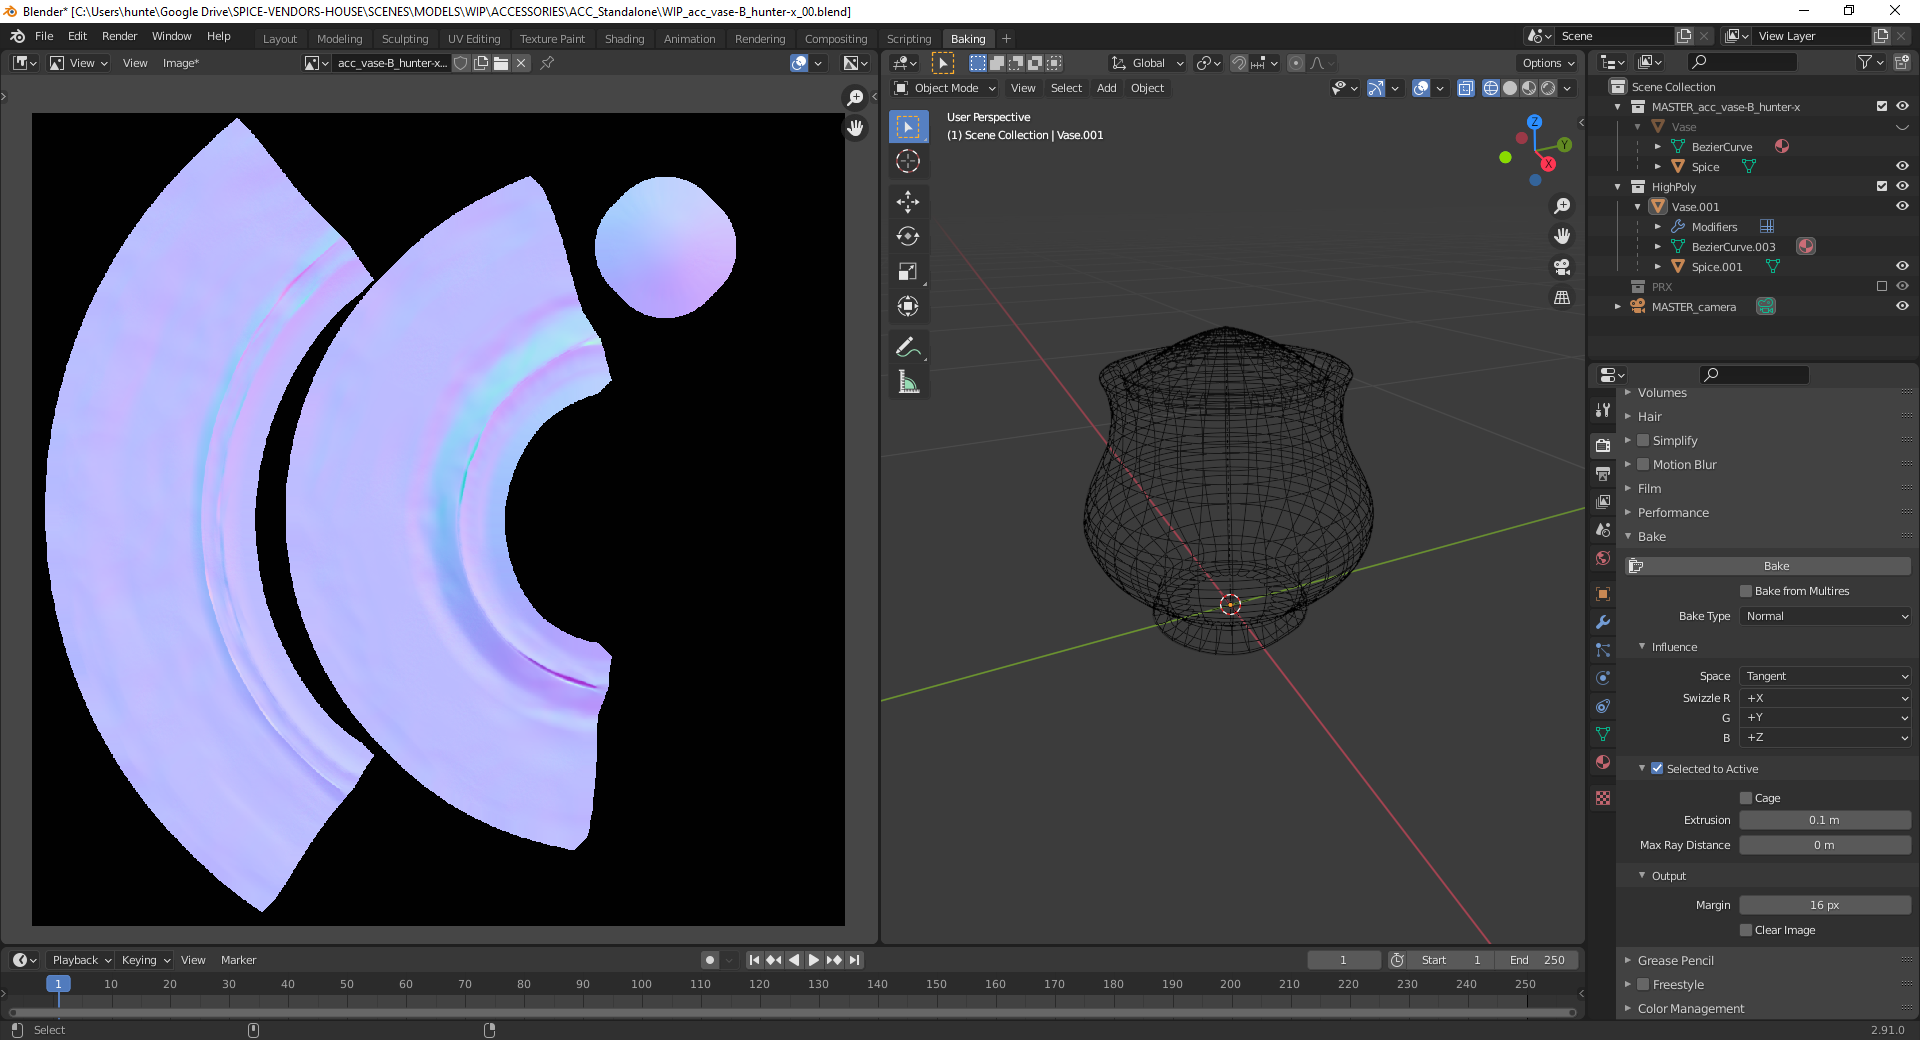 I was also able to solve the issue of the low-poly clearcoat not matching the sculpted shape of the vase by doing a second normal bake with the high-poly normal nodes disconnected and the clearcoat normal nodes connected to the standard normal input, producing a second map which I hooked into the low-poly shader. The majority of the texture is black here because I forgot to switch off Clear Image in the bake settings, but the current version in the Google Drive doesn't have this issue.
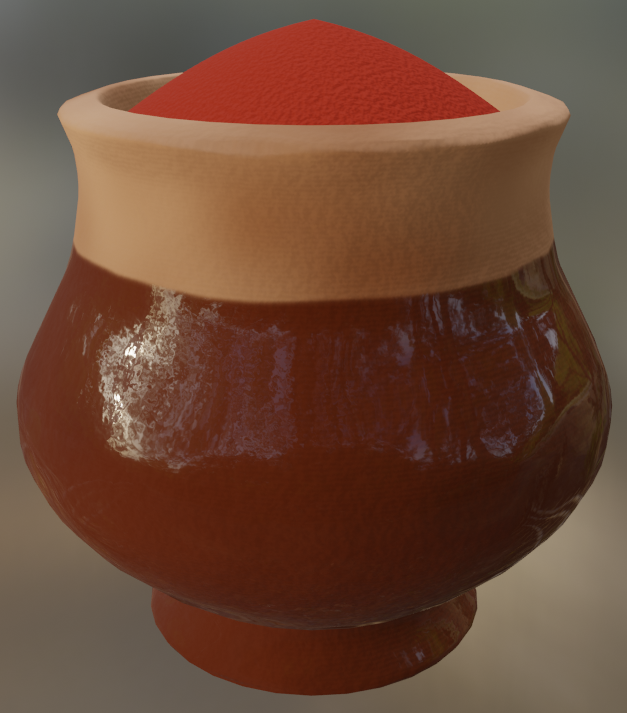 All of which produces this as my 'final' submission! On the whole I'm quite pleased with how it turned out, though I might go back to it in the next week or two in my own time and see if I can add any more scratches or imperfections to the surface.
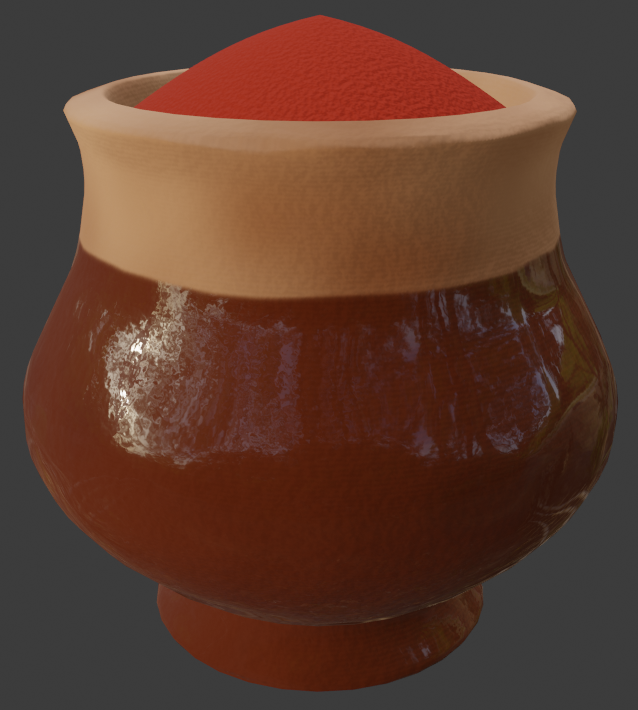 Here's the same image with a blank background for
 ![]() splat21 - I'm also planning a proper render/video in the near future, but that requires me to set up something a little more permanent than the Blender studio light so I don't quite have the time to do it tonight.
splat21 - I'm also planning a proper render/video in the near future, but that requires me to set up something a little more permanent than the Blender studio light so I don't quite have the time to do it tonight.
![]() hunter-x Your vase is a real eyecatchter 😀! Congratulations to successfully finishing your asset 👍👏!
hunter-x Your vase is a real eyecatchter 😀! Congratulations to successfully finishing your asset 👍👏!
Great work ![]() hunter-x! You finished strong with your vase. Looks good in the assembly:
hunter-x! You finished strong with your vase. Looks good in the assembly:
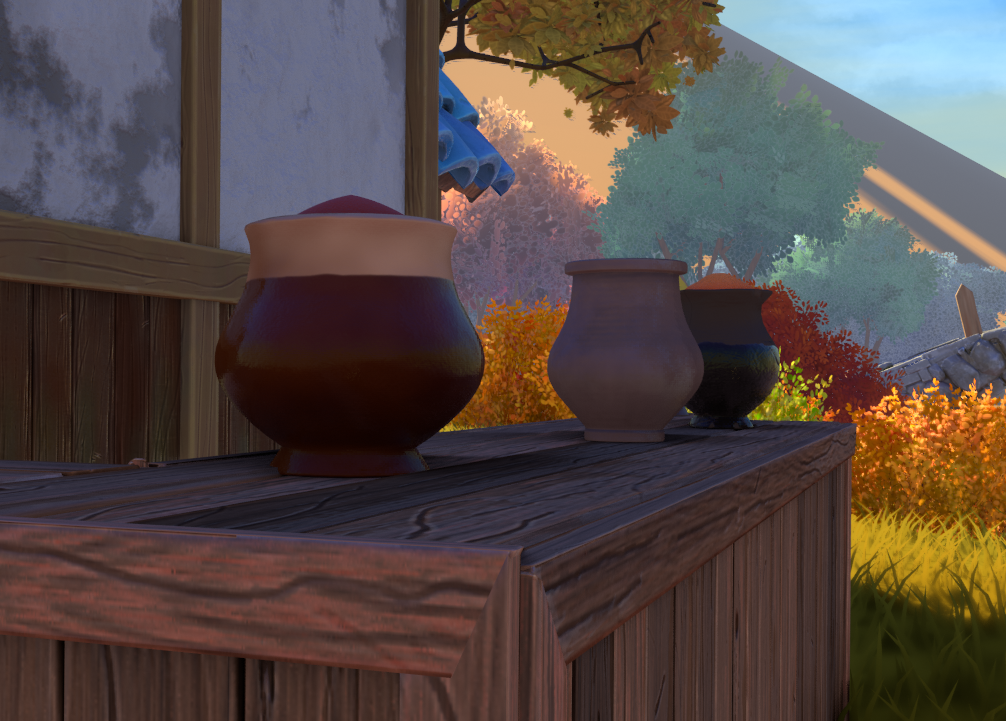
I tweaked the reflections a bit and also added a subtle gradient + sheen to the spice pile:
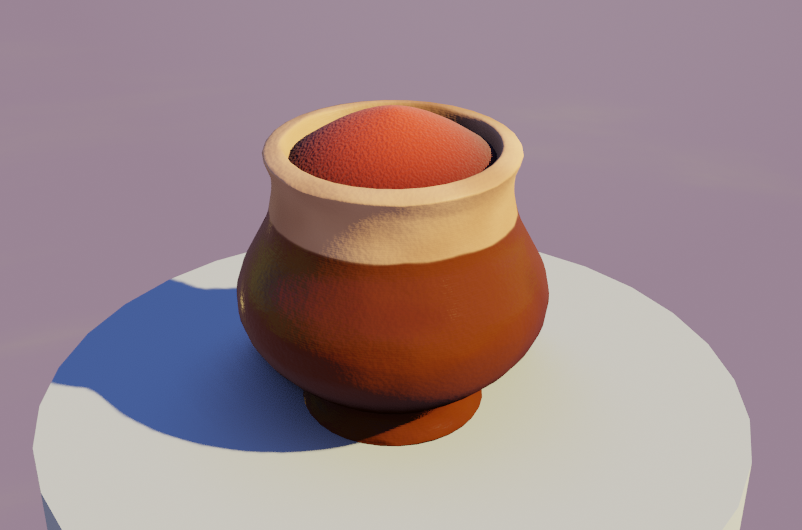
Thanks for joining Collab2021! It's been a pleasure working together 🤝
@theluthier Thanks for having me!
I had a look through your tweaks to the model; I'd experimented with using Roughness for the glaze after seeing a couple of the other vases use it but decided I preferred the way Clearcoat produced a smooth layer on top of the rough surface of the clay (with Roughness it clings a bit too tightly to the surface of the vase for my taste if that makes sense). That said, as project lead you of course have final say on the way the models are presented in the scene itself :) Out of curiosity, was the change more of a stylistic thing or are there performance considerations when using Clearcoat? The changes to the spice look good though and help make the edges stand out a bit more.
I'll probably combine elements of your version and mine for my personal renders (and stick them in a third WIP file on the Drive for anyone who wants them). Would it be better for me to start from WIP_acc_vase-B_hunter-x_01.blend or MASTER_acc_vase-B_hunter-x.blend in the event that you want to bring anything from that version into the scene model?