This thread is where the magic happens! The specific magic I am responsible for, at least.
So far, I will be making the exterior walls of the house, not including the wood beams, windows, and other accoutrements. I may take on more assets over the course of the project.

How's it coming Free Crayson ![]() jakeblended ? Is this still your go to WIP page for the house exterior stuff?
jakeblended ? Is this still your go to WIP page for the house exterior stuff?
It is! I'm just a little late. Unfashionably, it seems.
The walls are completely blocked out:
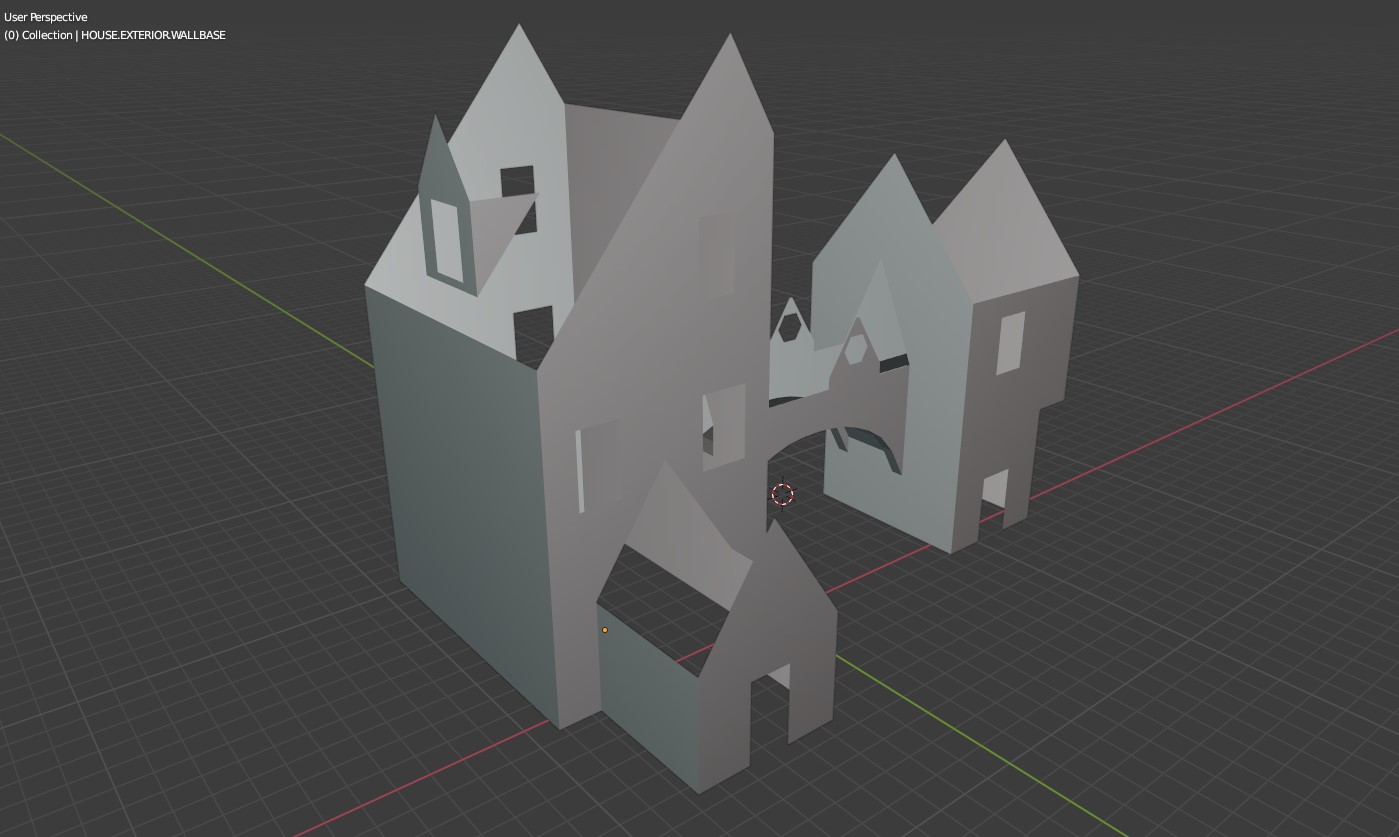
Save for the rear-facing windows, because I don't believe those details are QUITE settled yet; but placing them will be trivial.
This week I'll be giving the walls thickness and....I guess...breaking out the sculpting brush for a little realism? But, I'm conflicted about that.
I'm having a little trouble envisioning what really needs to be added to these base walls, in terms of high frequency detail. I can see the point of sculpting details like dents and chips and cracks into the wood beams, roof shingles, and masonry accents that will be covering this wall; but the wall itself? Not so sure, outside of perhaps rounding the corners a little bit. Looking at the concept art, the walls seem to be more or less flat white, adobe-style or perhaps stucco plaster? There's no stacked stones or bricks. I'm certainly going to be painting some color imperfections into the texture and such. But does anybody have any ideas in terms of what I'd need to actually sculpt on them?
I know it probably feels like I've abandoned you ![]() jakeblended - But I have not!
jakeblended - But I have not!
I've worked with you enough to know that I'm always going to get quality results from you and your walls are no different. Regarding sculpted wall detail, I too have been conflicted about whether it's needed. But then your skills are kinda beyond these simple walls - can I be frank??
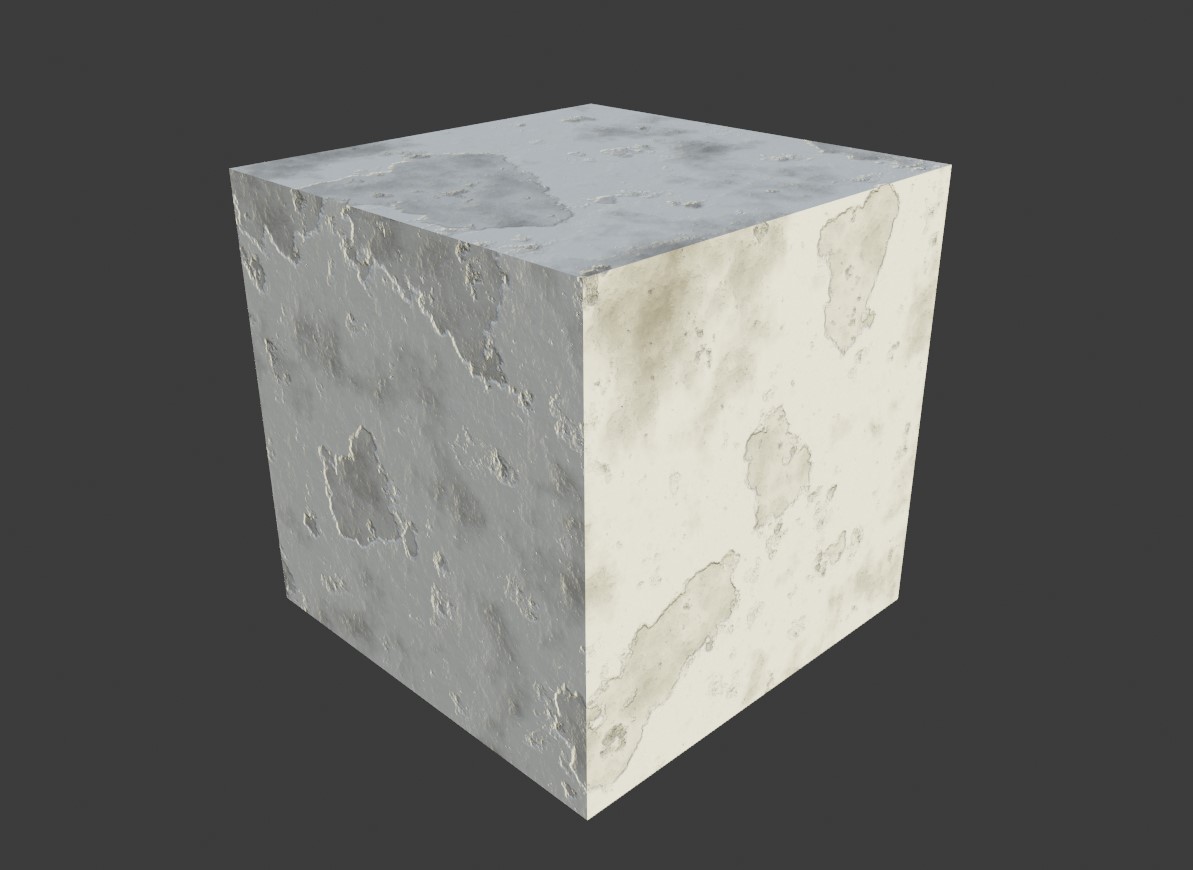
If you're willing, I'd like to see you give sculpted wall accents a shot in the form of a tiled trimsheet approach like I demonstrated during yesterday's stream. Just for an hour or so, see what you come up with. We could ditch it ultimately if we felt it didn't benefit the final result. Something like this texture is what I would try for:
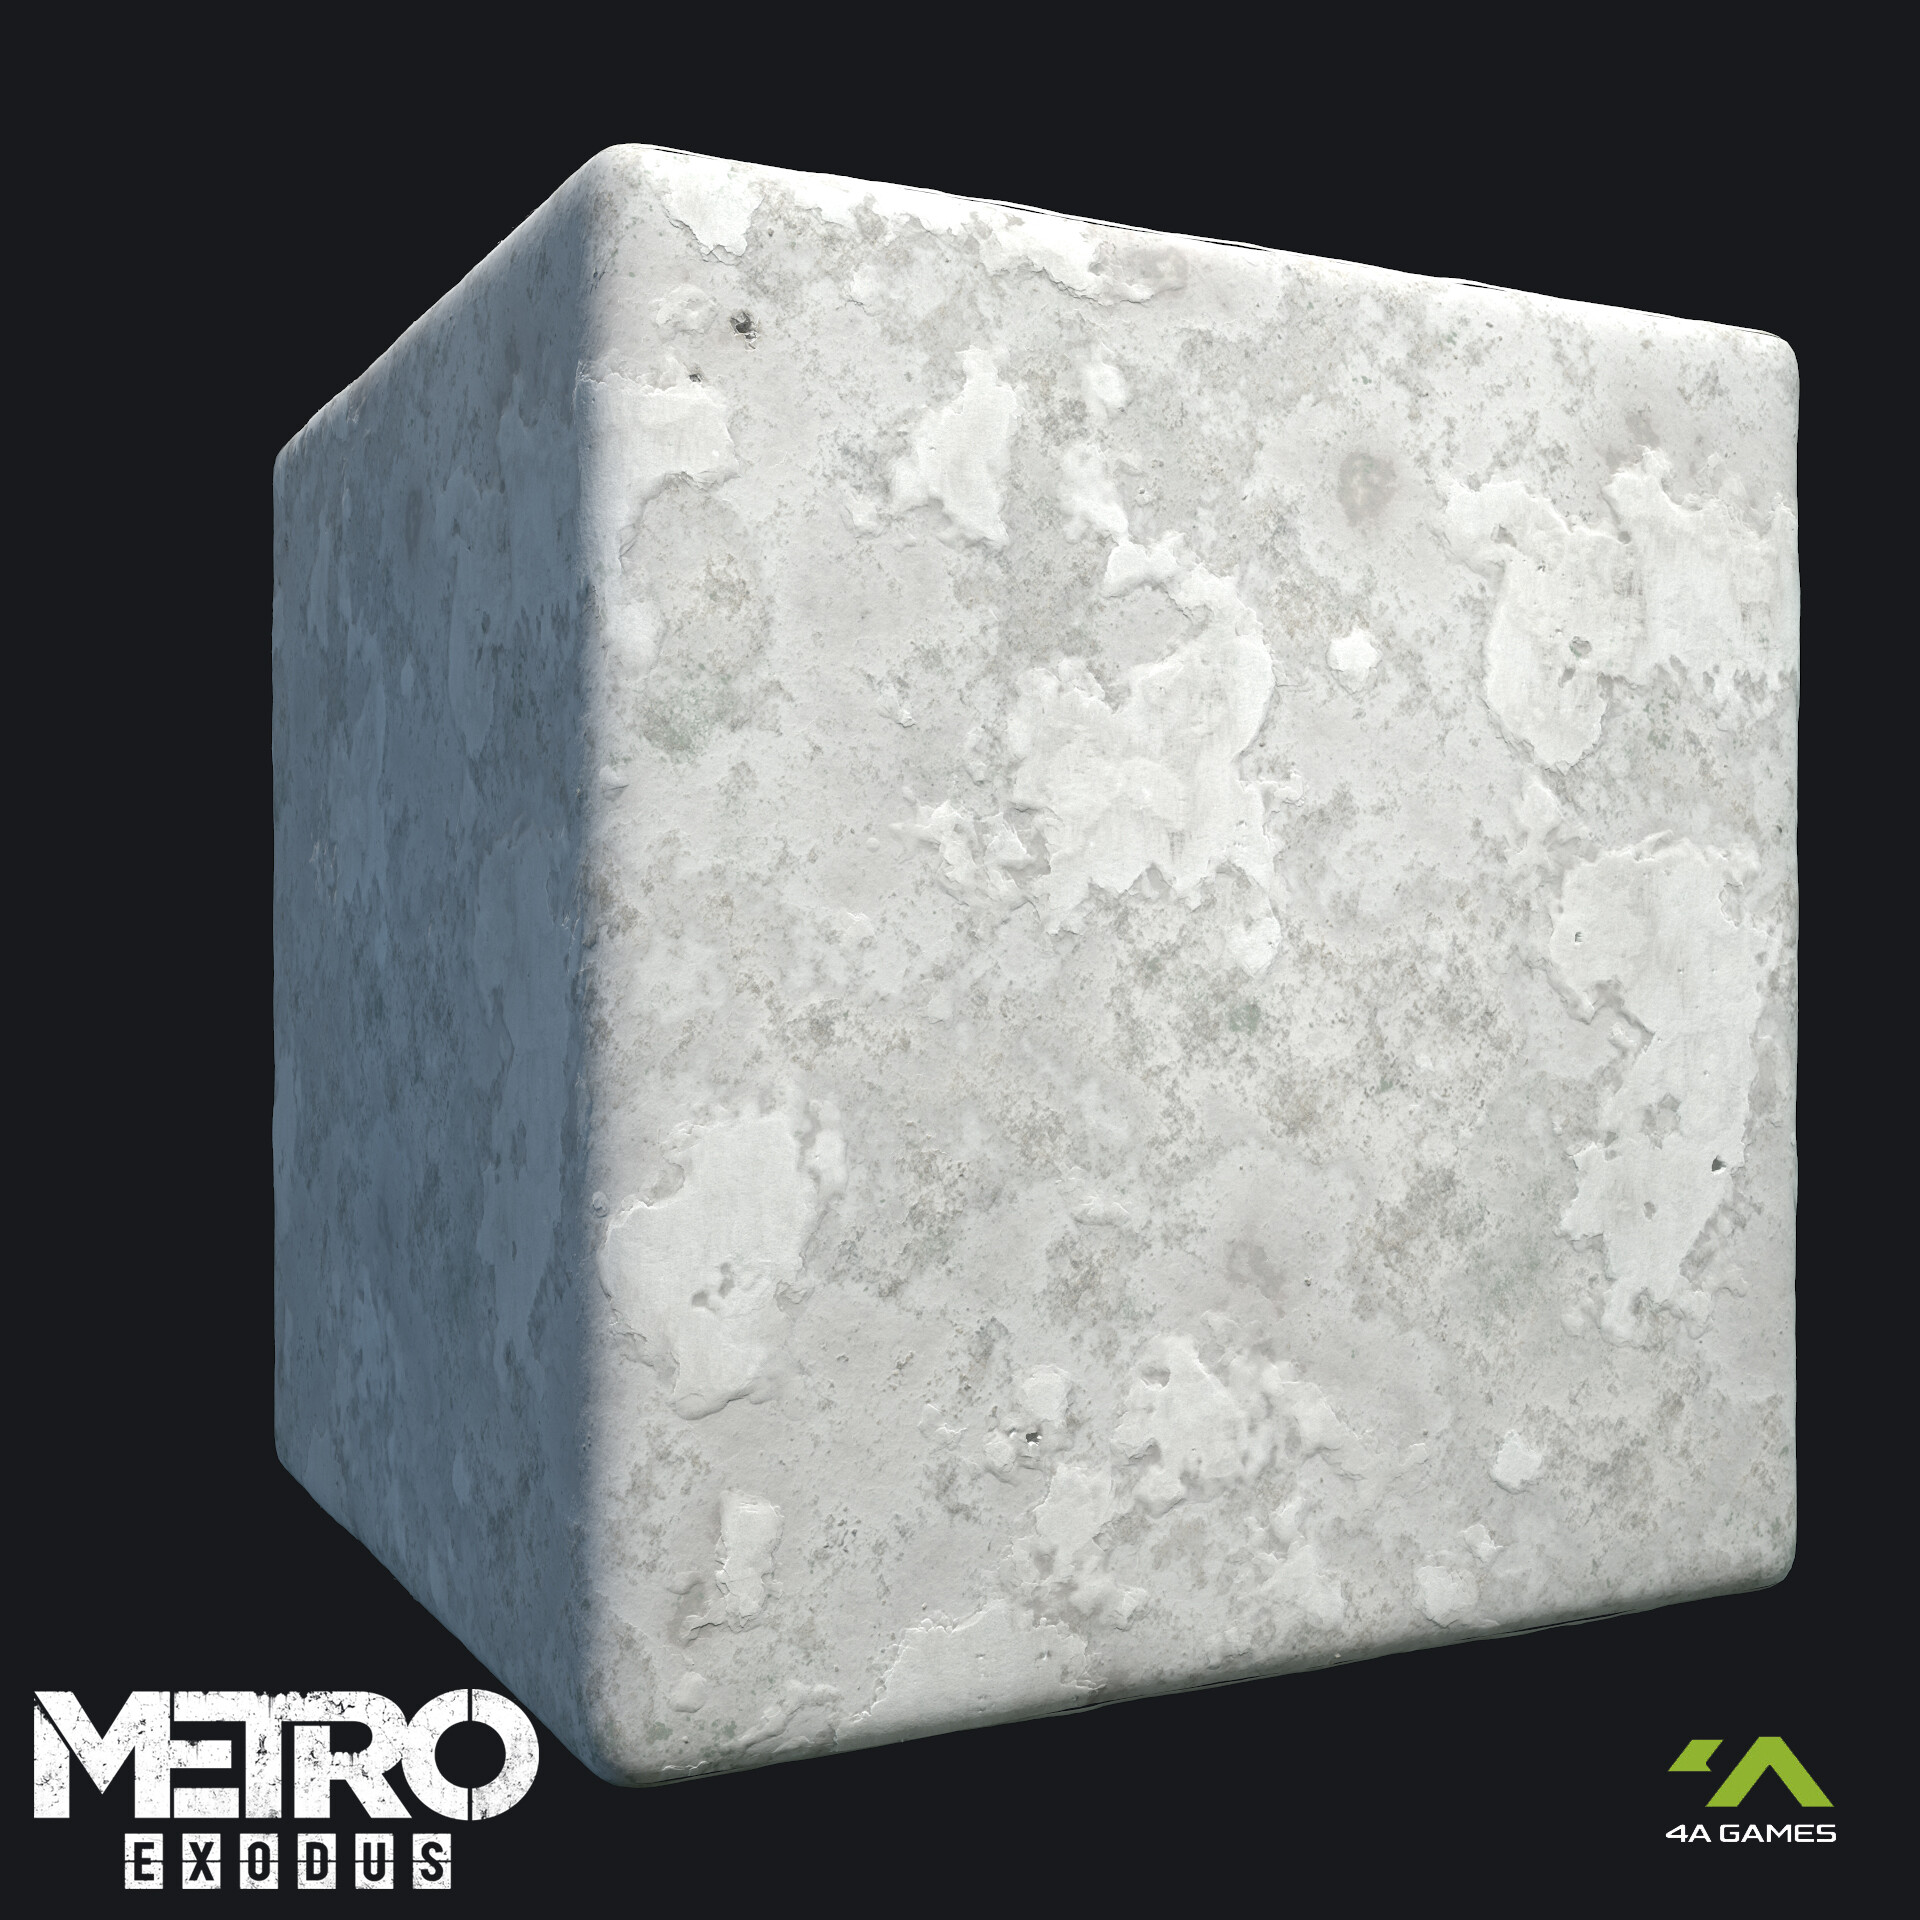
Though whenever I look at this I immediately lean toward procedural bump map as the better approach. So I would respect that being your decision. To sculpt it by hand would mostly be for the experience and clout of saying you did so 😅
BTW I went ahead and combined the "walls" task with "wall boards" in the asset sheet. You were signed up for both anyway and I don't know why I separated them in the first place. Also please copy and paste your models into the WIP placeholder so I can get my grimy paws on your work:
SPICE-VENDORS-HOUSE/SCENES/MODELS/WIP/HOUSE/EXTERIOR/WIP_house_walls_jakeblended_00.blend
@theluthier I see - interesting! Yes I think that will definitely be worth a shot. I had already been looking at some textures for these types of walls, just to see what they ought to end up looking like (in a general sense); I found these examples:


At first I thought the damage - areas where there are chunks of missing plaster - would make for interesting details to sculpt; but then it occurred to me that these are very old buildings in various states of preservation; we're making a building that's lived-in and set in its own time (presumably), so it would in theory be maintained and wouldn't be showing these kinds of damage.
But ignoring the damaged areas, you can see that there is definitely a surface texture to this kind of mud or plaster wall cladding, and I think you're spot on - it looks like exactly the kind of thing that can benefit from a trimsheet with a seamless texture.
The fun part is....I don't know how to make a trimsheet. Maybe it's a little embarrassing, but I don't think I've even heard the term very often or at all, before I started hearing some of my fellow collaborators talking about them in relation to this project - ha! Luckily for me, Lampel's brand new Texturing course contains a lesson on making trimsheets, so I'll avail myself of that. Once again, things were learned. Or shall be, at least!
Thanks also for combining the wall-beams. Those shouldn't take too long to block out, and then once I finish a little finer detail on my walls I'll get started on the sculpting and we can see where this goes.
Progress report: Wall beams incorporated, to about 90% completion. Tomorrow I'll fit the rest, and I'm also in the middle of replacing some wall sections to simplify topology and fix some finicky alignment issues against the artwork. I'm pretty sure that by tomorrow this will be finished and I'll be able to get to the sculpting.
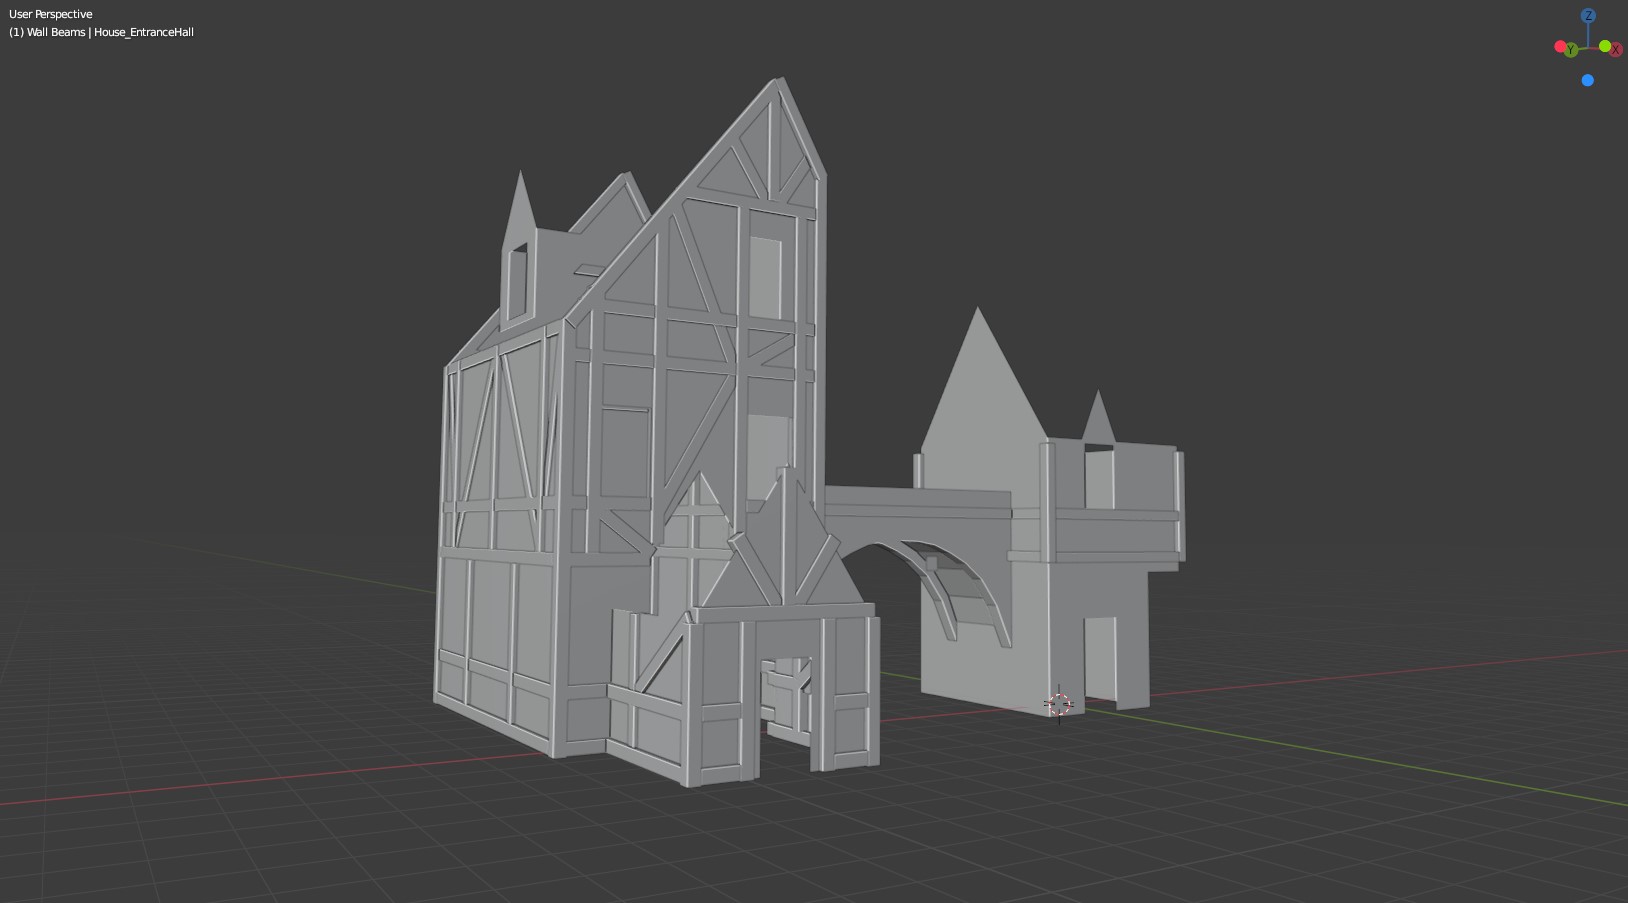
If anyone wonders, I've been deliberately leaving off any "roof" components, for one because they'd be redundant and hidden by the actual tiled roof in exterior views; and for another, because if we do end up doing some interior shots of this house, the rafters and roof supports ought to be visible rather than flat "ceiling" planes.
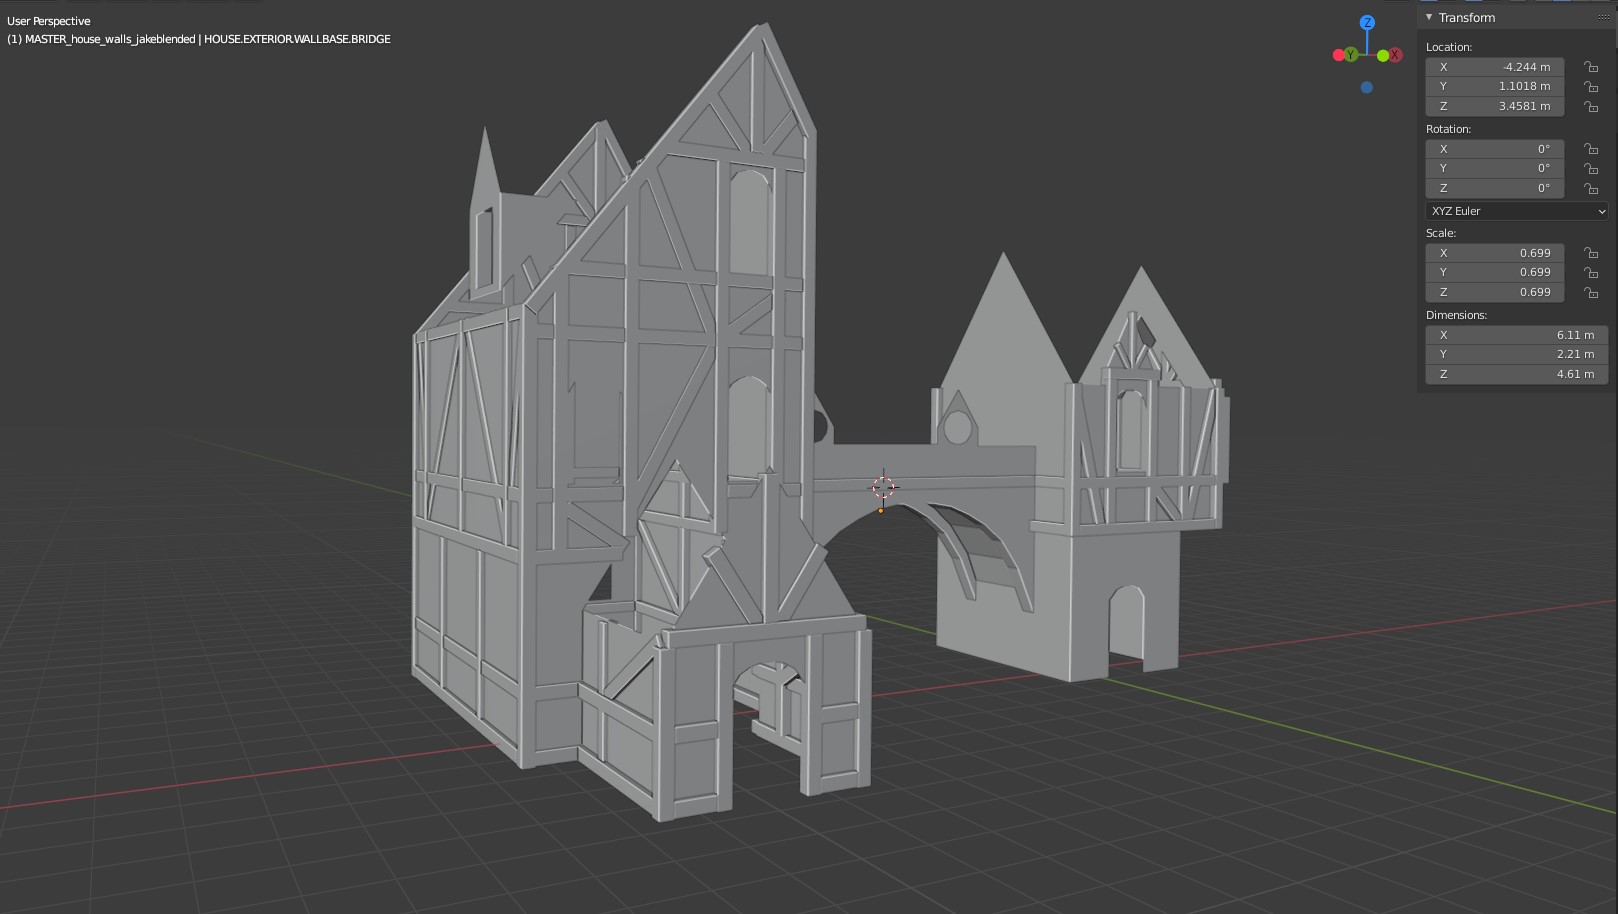
Finished wood-beam modeling and topology refinement; reconciled general component alignment with artwork. Added rear-side features according to Vadim's image from the Collab thread; some of these features created some new alignment conflicts and I reconciled those as well, but chances are that the finally assembly of the house will require some of us to adjust our mesh to make everything fit. In my (admittedly limited) experience, this imperfect match between 2D source art and 3D modeling is just a common feature of 2D-to-3D translation and can't really be avoided. The differences really are minor, and I don't think that somebody watching a video walkthrough, for instance, would be able to tell really.
This afternoon and evening is going to be all about setting up that trimsheet. I'll try sculpting at first but if it looks like I'm not achieving the results I want, I start making the texture procedurally. I do not know if I'll have this process done by tonight; but if not, it should be finished by tomorrow, and certainly in time for Tuesday's stream.
I'm going to be concentrating on the wall texture only, really. Prior to Kent's adding the wall-beams to the wall component, it looks like a couple of other collaborators had already been focusing on the beams and have already produced some really good results in terms of the sculpting and texturing for those; so I'm not going to strain myself to get the texturing work on those done; I want to spend all the time I can turning out some quality textures for the walls themselves.
All right, been working on some wall textures. The new sculpting tools are great, but I'm not practiced enough with them to produce anything that looks better than Baby's First Sculpt, so I decided to go with procedural after all. I whipped up this texture; what do you think, @theluthier ?

Or do we want something that looks a little more like this maybe?
Fantastic wall details ![]() jakeblended! The first version is the way to go imo:
jakeblended! The first version is the way to go imo:
My only question is how a procedural texture at this scale will perform next to a baked image-texture version..ideally tiled to keep texture resolution lower. I wonder if ![]() spikeyxxx has any insight about this or would be willing to test?
spikeyxxx has any insight about this or would be willing to test?
Thanks @theluthier - yeah that's my own concern as well. The walls ARE divided into roughly-square UV islands, which can be stacked, rotated etc on top of an image texture; but I don't know how much detail would be lost or how noticeable repeats with a tileable texture would be. Today I'll try playing around at making one and see how it goes, but if ![]() spikeyxxx has more expertise in this area I'd welcome any advice he had to give.
spikeyxxx has more expertise in this area I'd welcome any advice he had to give.
What size image texture are we thinking about, for this? 1024, 2048? Bigger, smaller?
I am not sure, but I think especially Eevee has problems with larger procedural textures.
There probably is a point where Image Textures are more perfomant then Procedural ones, but that depends on the size of the Image Texture and of the Node Tree...So, probably no general black and white answer as to which is better... Do some tests with this specific case to see if there is a big difference and which is better, although you'd probably need to differentiate between speed and memory...
But these are all just guesses from me.
Also, when it comes to texture resolution... if I remember correctly:
One 2K image texture is better ('cheaper, more performant) than four 1K image textures! And they both can have the same amount of information!
And similarly; one 4K is a lot better than sixteen 1K textures....
What I am wondering is if you could make a basic 1 or 2K texture and then make linked duplicates and perhaps do what the guy did on Announcement #3 somehow?
Add some shader/ mask details to each? I wonder the performance impact doing things that way. You would want a simple shader layer/mask setup on the single wall panel (maybe two separate textures on each layer that compliment each other like you have shown there) but then you could paint the mask or make a procedural mask for each physical tile with use of global coordinates or similar??
Am I talking Cray Cray here or am I leading the Free Crayson in a good direction of feedback?
Okay, so - as painful as it was - I baked the wall material to a single texture. For experimentation, I made both 1K and 2K color and normal maps, and then I brought these into GIMP and made them tileable. Because the wall is a flat surface and meant to be tilable, I did not bother with an AO map.
I know that Kent said in the last stream that he wanted to aim for 1K (1024x1024) textures, but I the wall is....honestly a larger feature than most of the other objects in the scene, even when divided into sections, so I figured it was worth seeing if going 2K with this texture was worth the overhead.
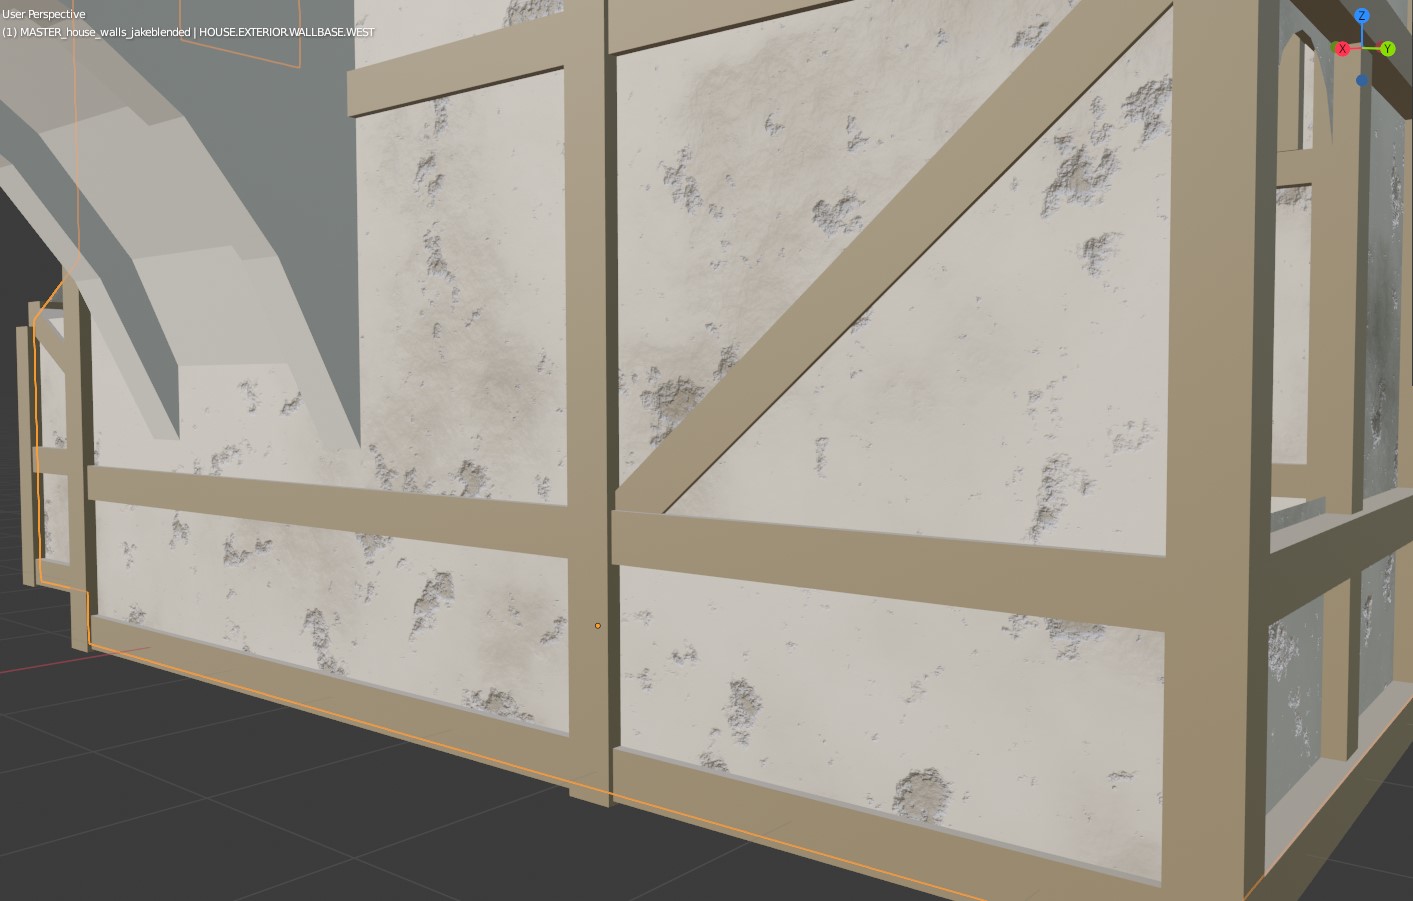
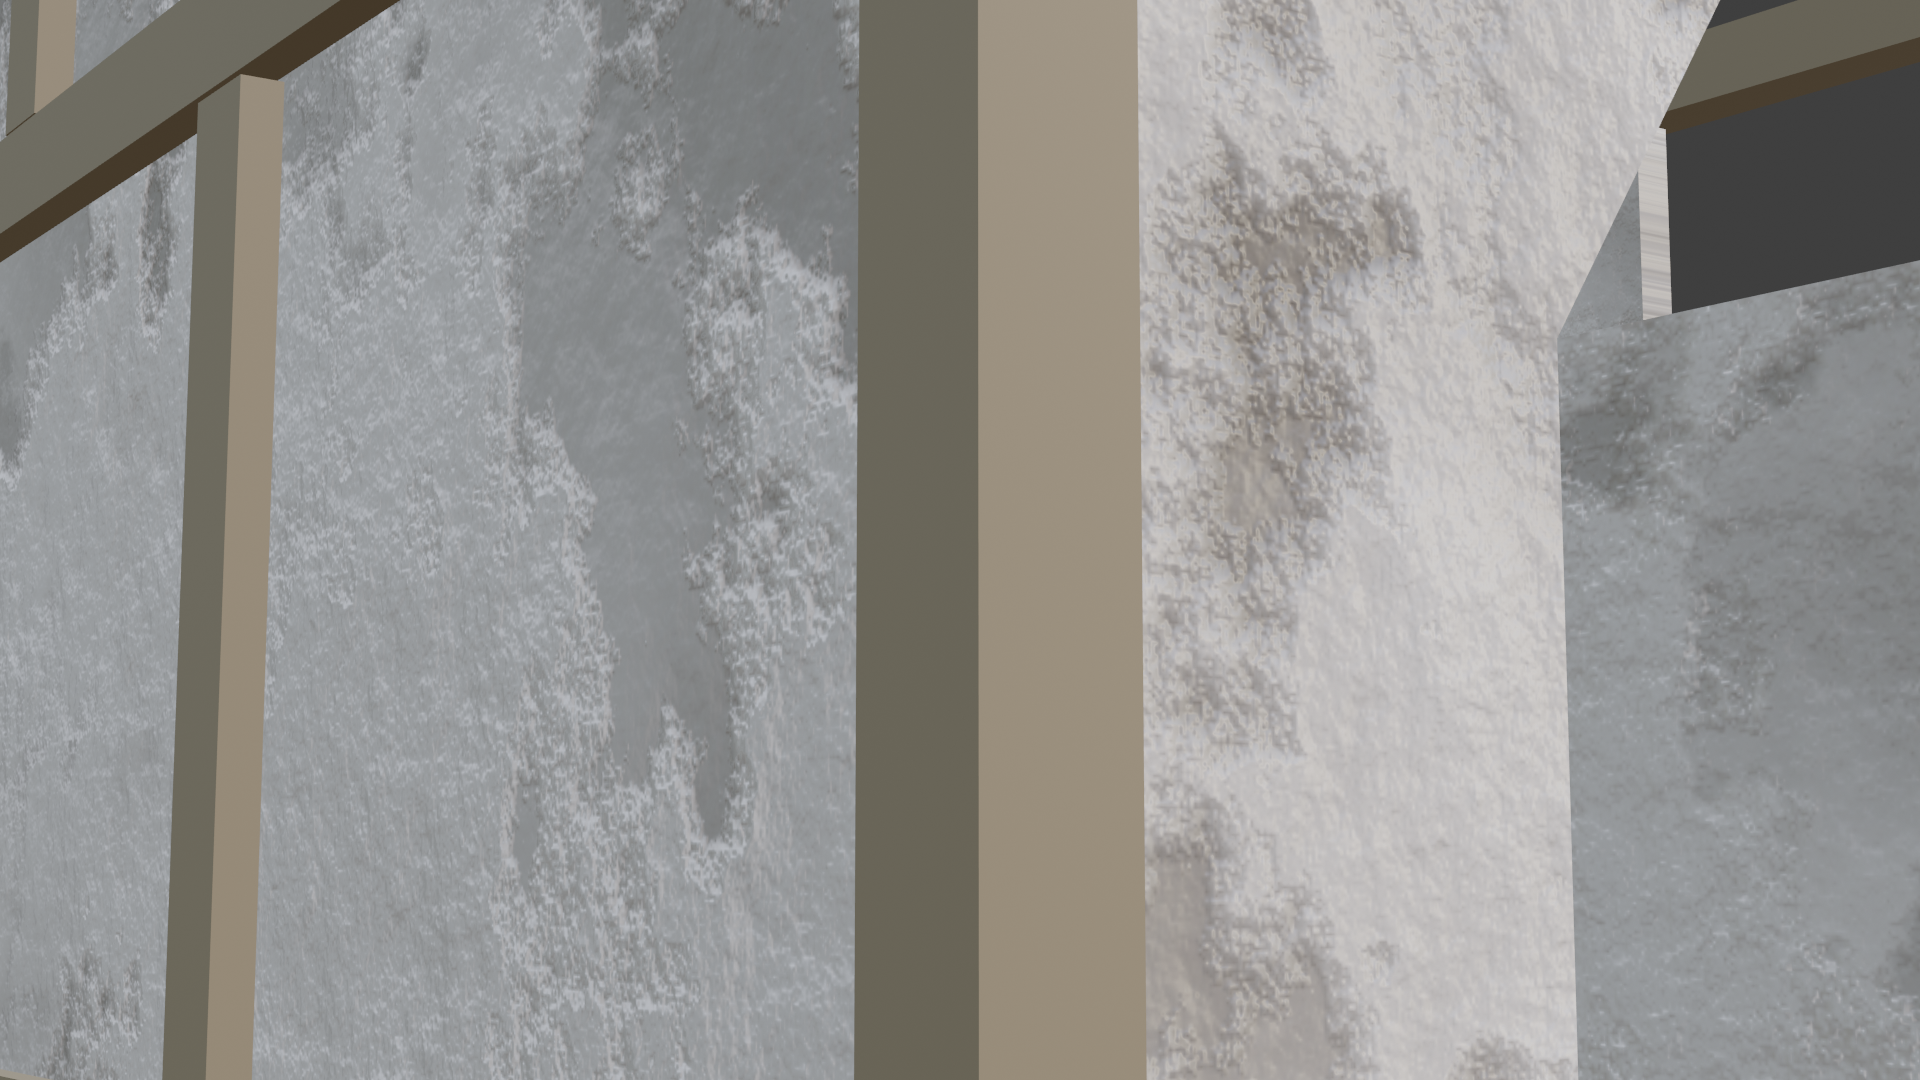
As you can see (you may need to view these in their own tabs), there is the expected visible quality difference between 1K (first image) and 2K (second image) when viewed up close:
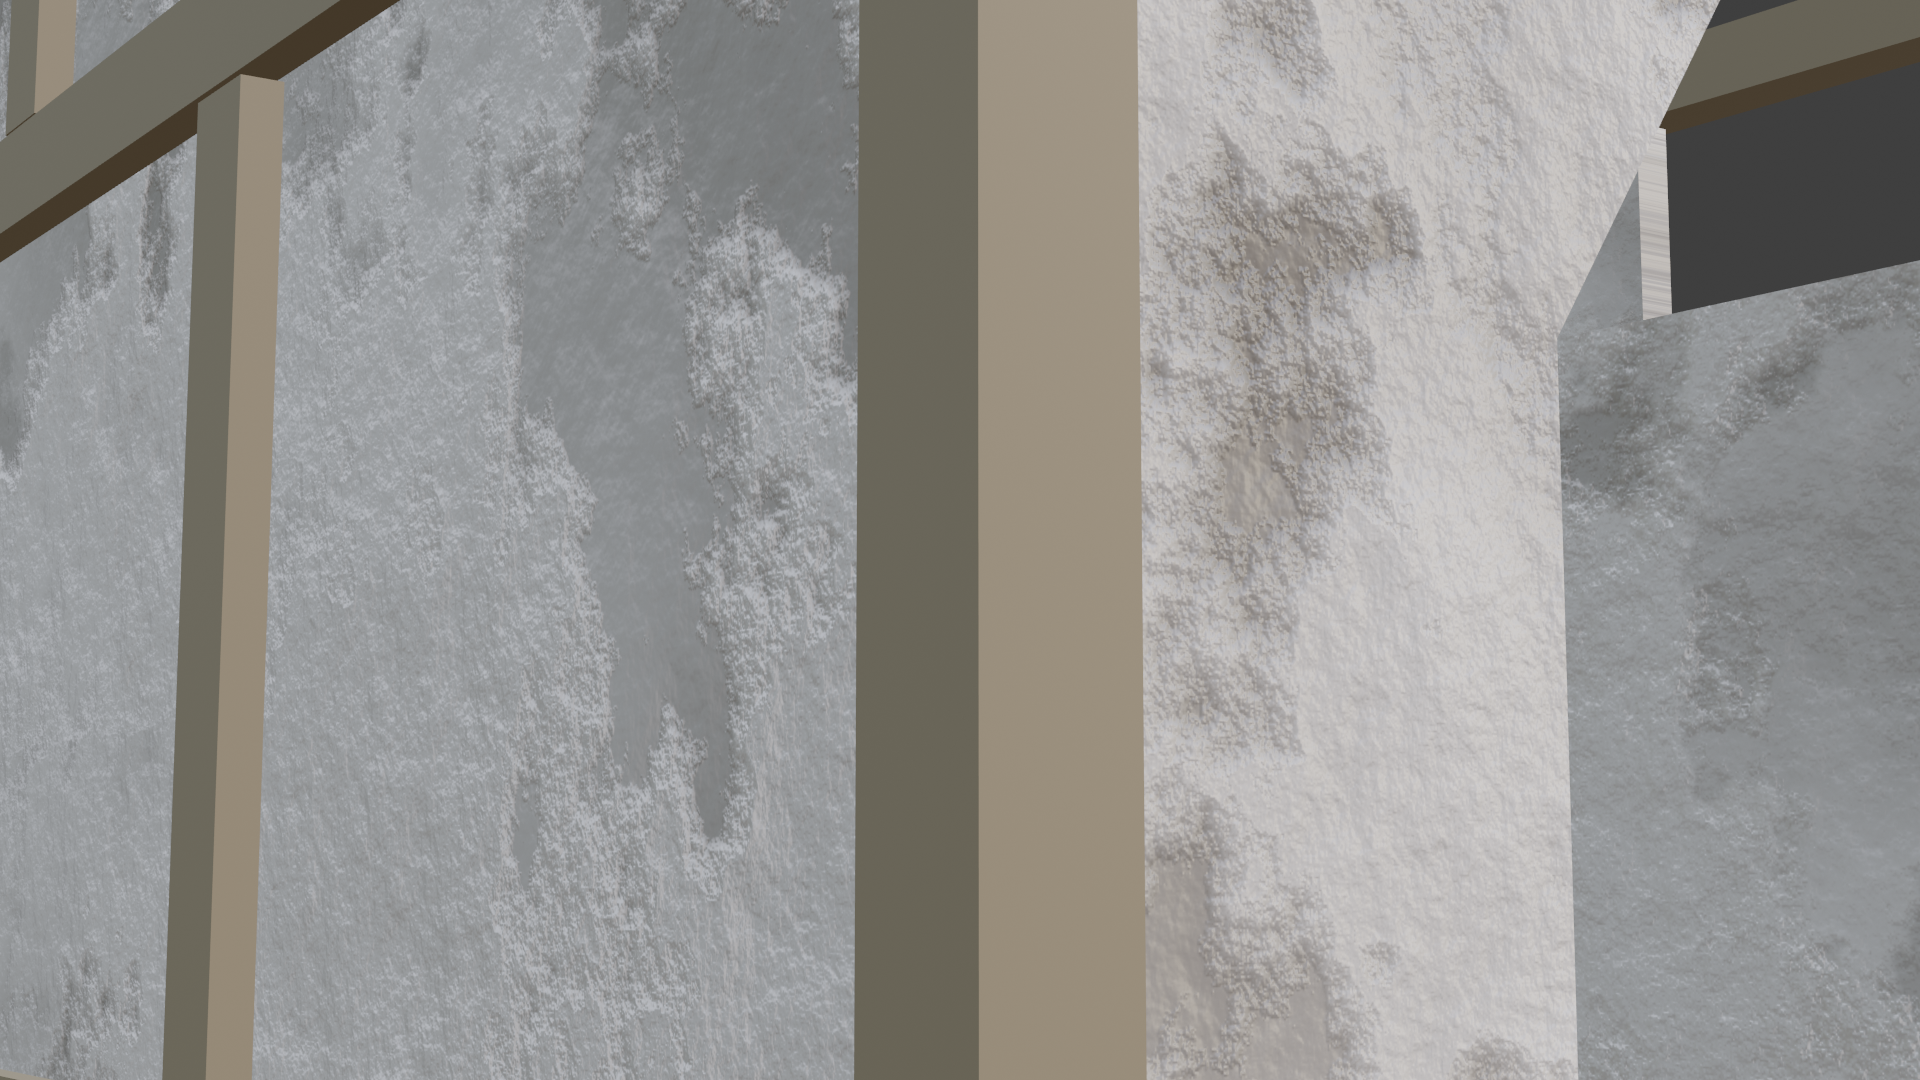
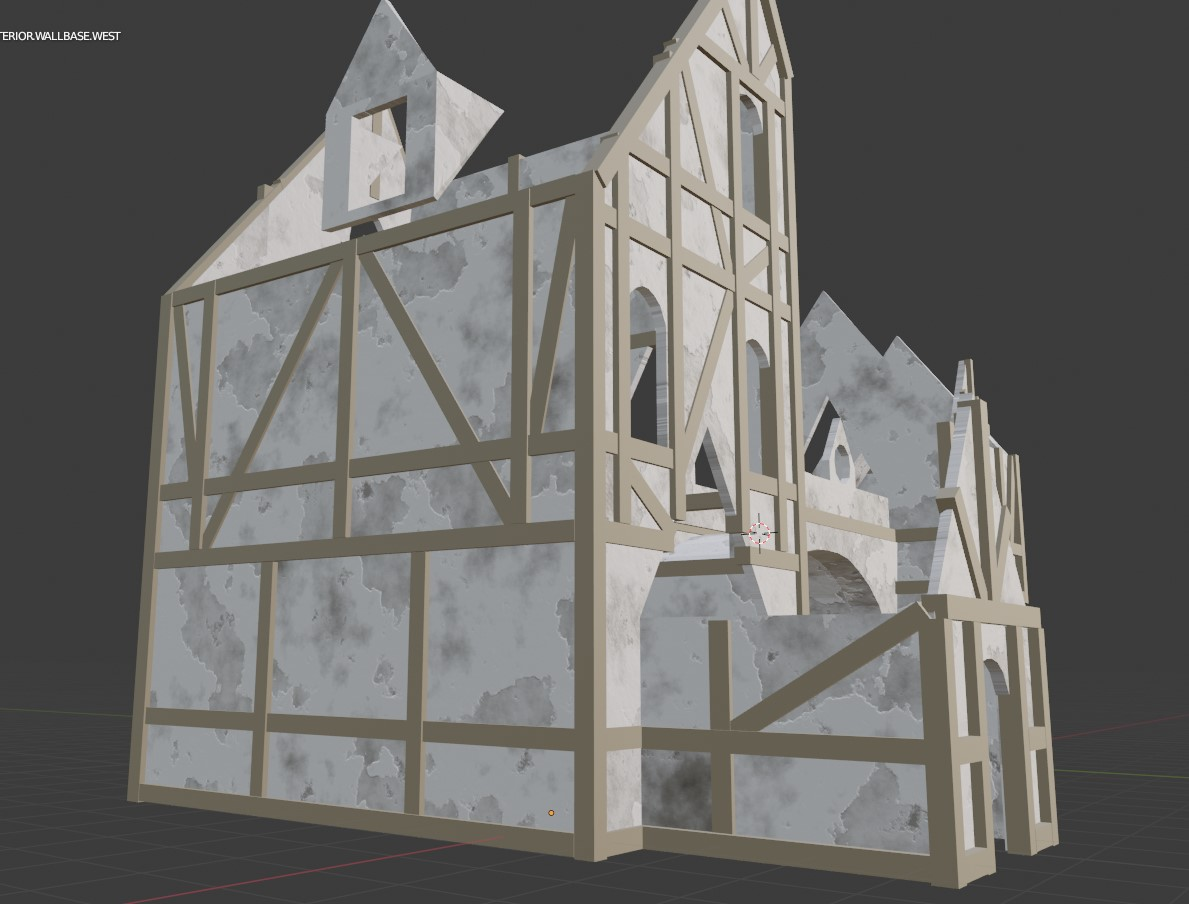
However, when viewing the whole house, the difference is only marginally-perceptible: (same order)
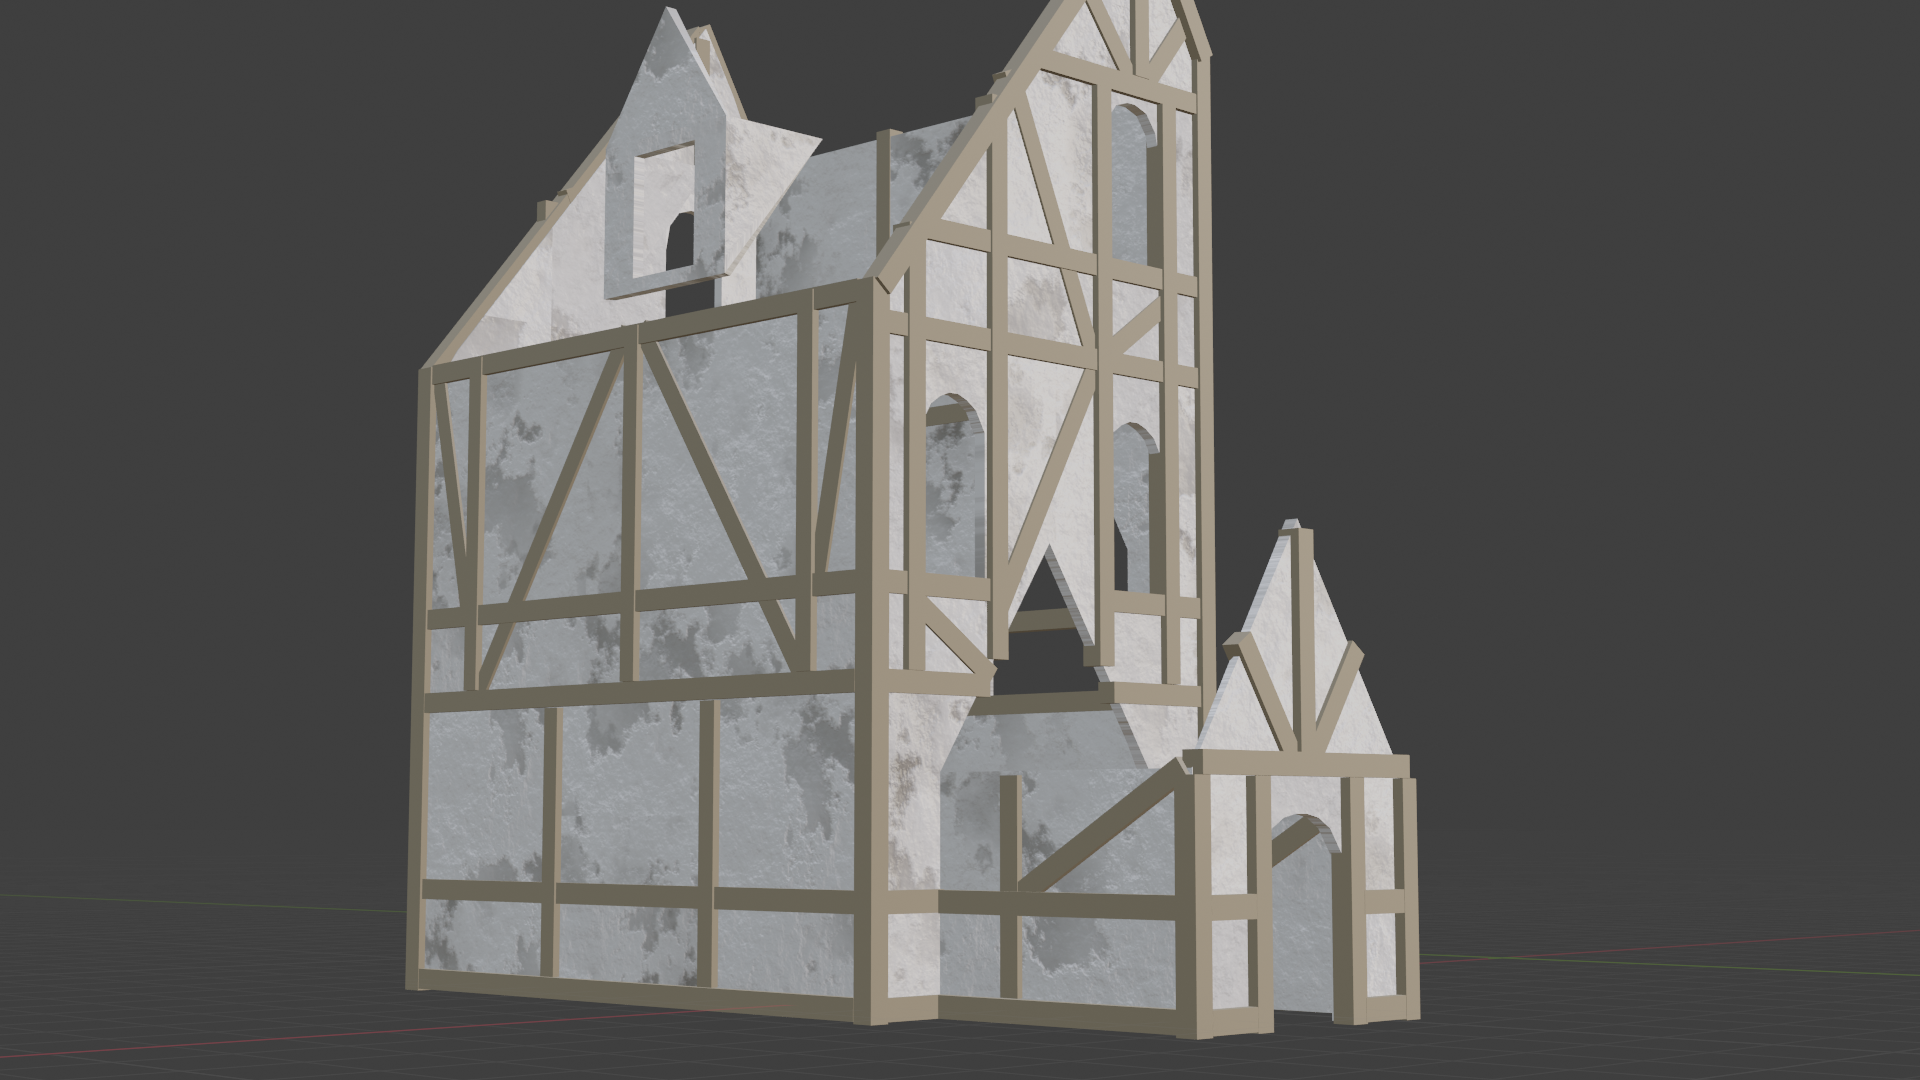

Unfortunately I lack either the tools or the technical competence to be able to tell the difference in memory usage between the 1K and 2K tilable textures and just using the raw procedural material. The memory display in Blender's info bar did not register a difference between them. The texture sizes are:
1K color map: 555KB
1K normal map: 5,762KB
2K color map: 8,886 KB
2K normal map: 23,054KB
So, @theluthier and ![]() blanchsb, what is the final verdict? Whichever one Kent gives the go-ahead on, I'll apply the textures to the rest of the walls and adjust the UVs a little more to get what I think is the best look.
blanchsb, what is the final verdict? Whichever one Kent gives the go-ahead on, I'll apply the textures to the rest of the walls and adjust the UVs a little more to get what I think is the best look.
First of all, fantastic work with the wall material. It's going to work so well in the final!
I expect I will go with 1024 for the final scene. But feel free to leave the 2048 version in the textures folder as an option. Please sync your latest .blend + textures! I'm dying to get this into the assembly.
![]() jakeblended Sorry - I realized my google drive app stopped syncing. I fixed that and see your updated file 👌
jakeblended Sorry - I realized my google drive app stopped syncing. I fixed that and see your updated file 👌
@theluthier awesome! This afternoon I will clean up all the test objects from the blend file and upload the 2K textures just to have on hand as you said - although I'm really with you, I think the 1K textures will probably do just fine after all.
I'll also double-check all of my naming to make sure everything matches the conventions, and we should be set.
Once you've got the updated file this afternoon, if the walls need any kind of adjustment versus other components, just let me know!
Okay @theluthier and ![]() blanchsb , I've cleaned up the project, fixed the file associations to reference the textures I uploaded to the collab drive, and saved the .blend into the MASTER list. I've also saved a material for the 2K textures with a fake user, so you can quickly switch to it if you'd like to see it, and it also has the correct associations.
blanchsb , I've cleaned up the project, fixed the file associations to reference the textures I uploaded to the collab drive, and saved the .blend into the MASTER list. I've also saved a material for the 2K textures with a fake user, so you can quickly switch to it if you'd like to see it, and it also has the correct associations.
I've moved the wood beams in my project out of the MASTER collection and into a utility collection, since I didn't do any material work with them and am expecting you'll use ![]() matbev's or qqpola's work for those.
matbev's or qqpola's work for those.
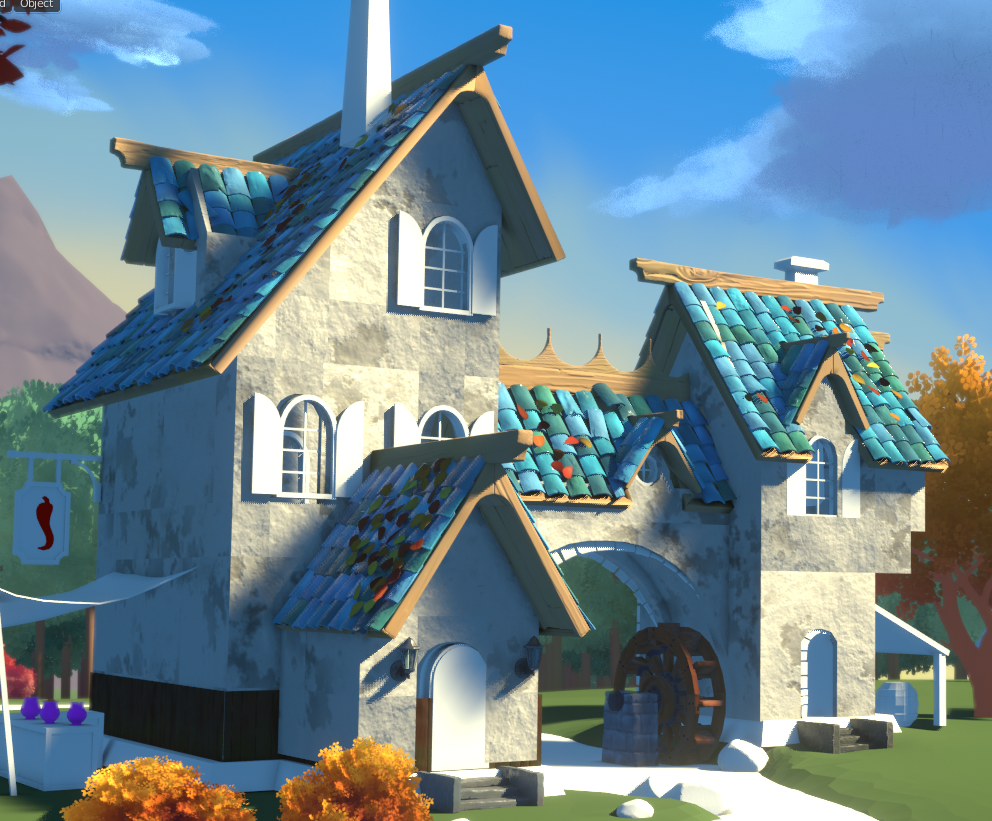
Thanks for finalizing your file ![]() jakeblended! Your walls look great in the assembly 🤩
jakeblended! Your walls look great in the assembly 🤩
One request: Could you make sure your walls match the Guide Block I put in your file? All the roofs, wainscoting and wall beams are matched to that and yours are misaligned in various places:

Sorry I wasn't clear about matching the guide block. Luckily it should be fairly simple with snapping