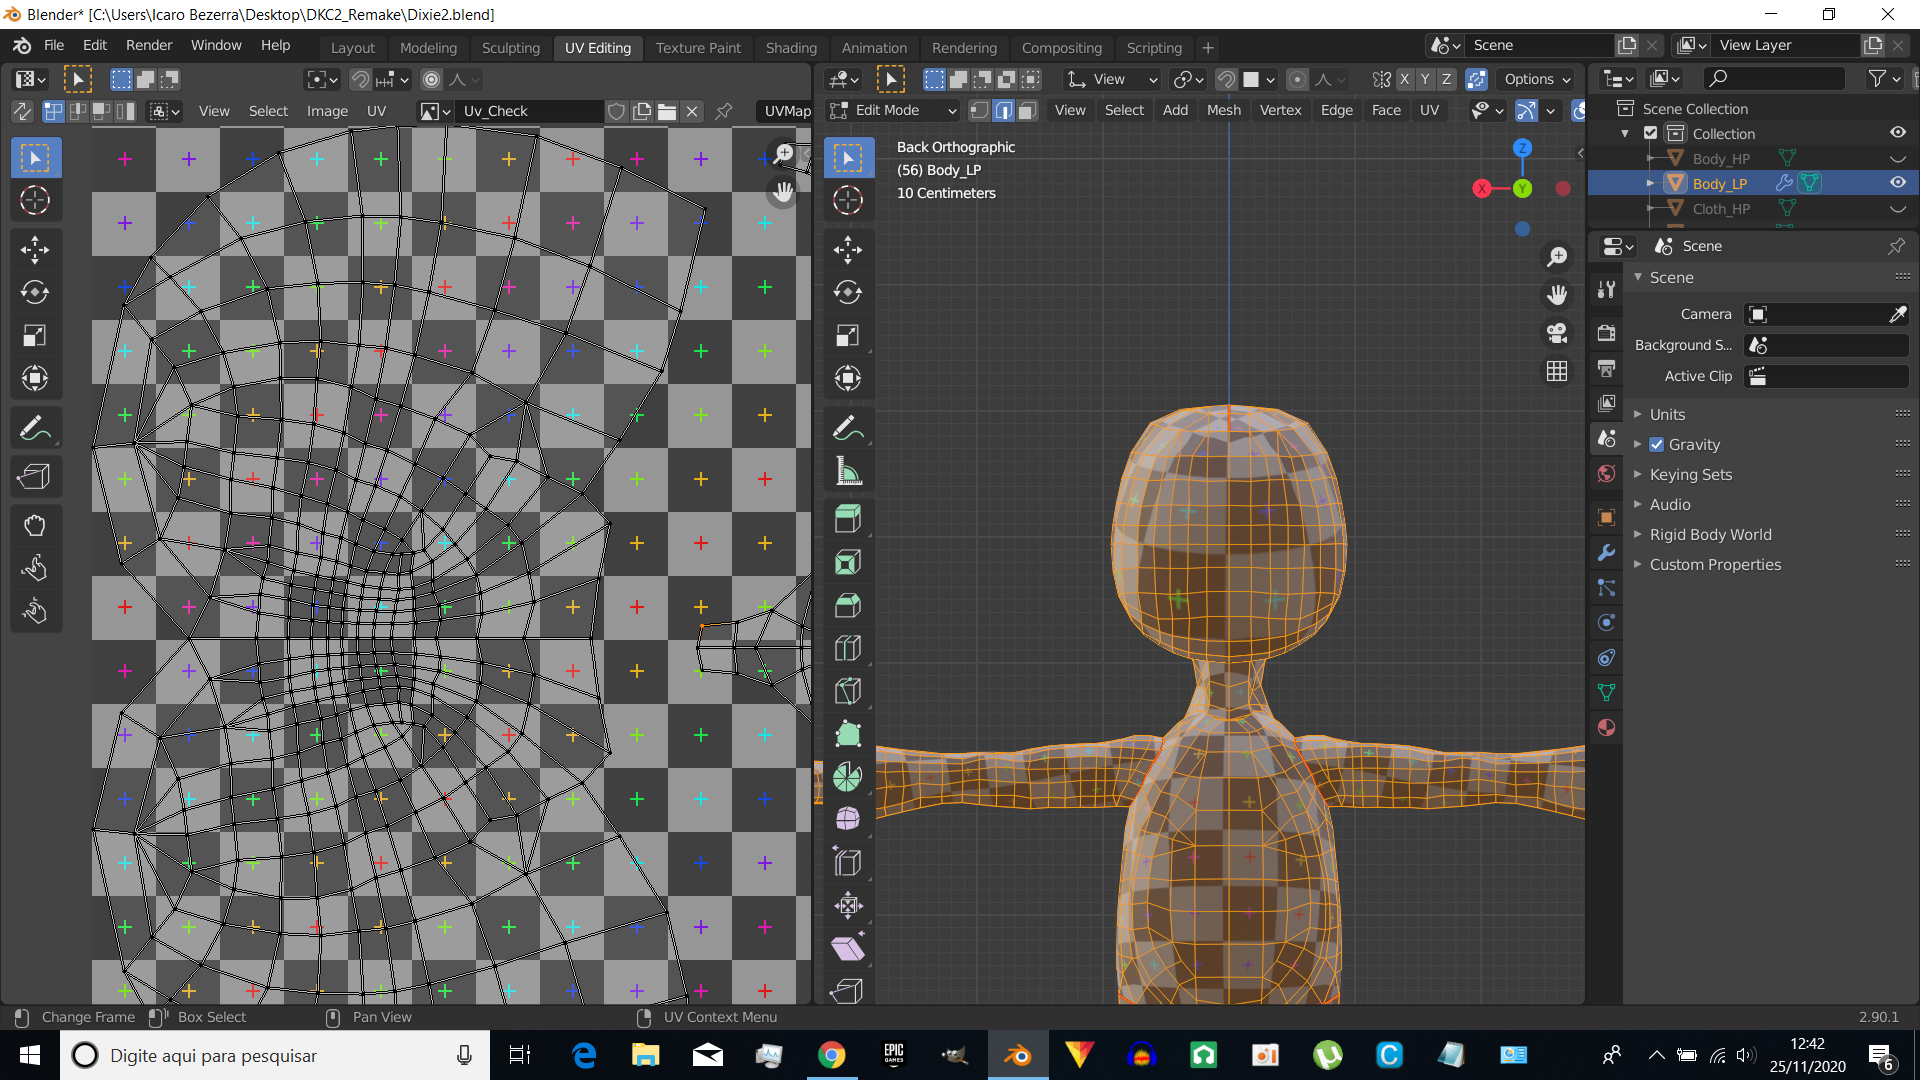
Hi, someone know why when i duplicate some faces and separate from the main mesh(to create a cloth) he ends follow the main mesh evem separated. Thanks
That is because you have Proportional Editing enabled. Maybe you accidentally hit the O key (happens sometimes when you want a 0...).
I had to watch a few times before I noticed that ;)
That is under Stroke > Stabilize Stroke:

There is no keyboard shortcut for that setting.
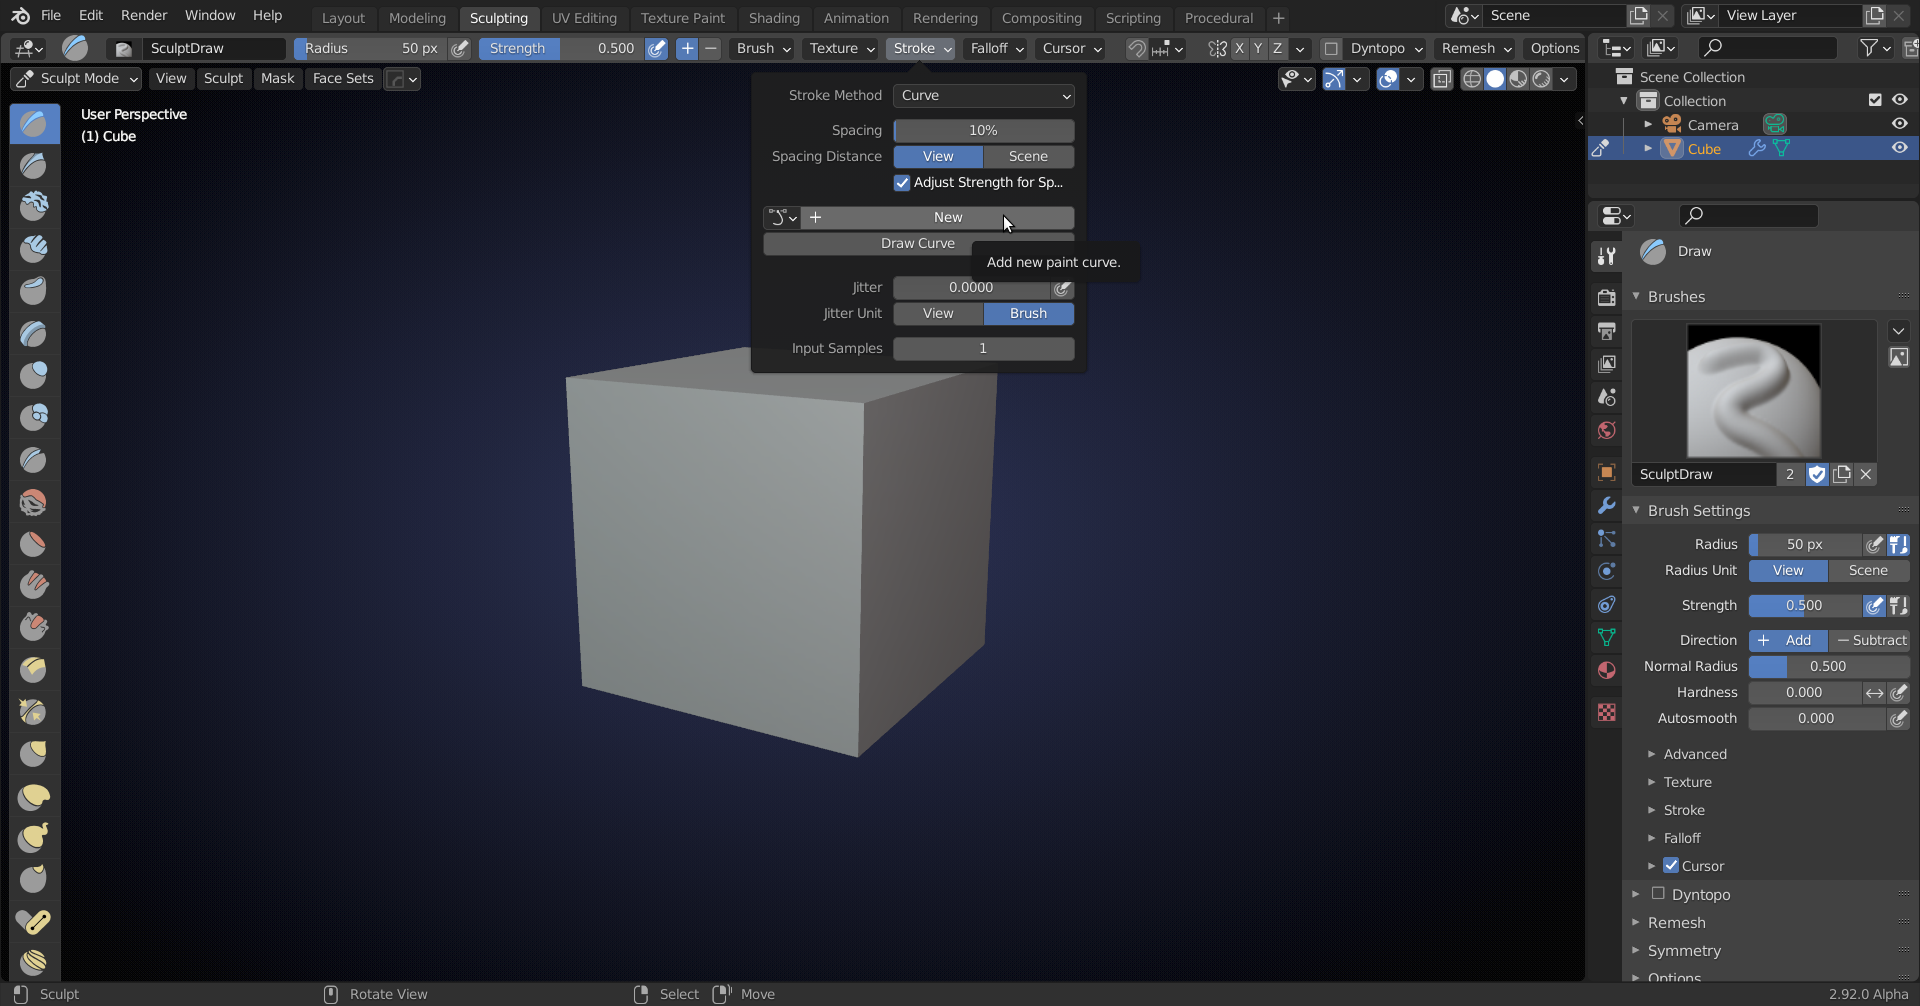
There is another way to make smooth curves when sculpting and that is to set your Stroke Method to Curve:

and add a new paint curve.
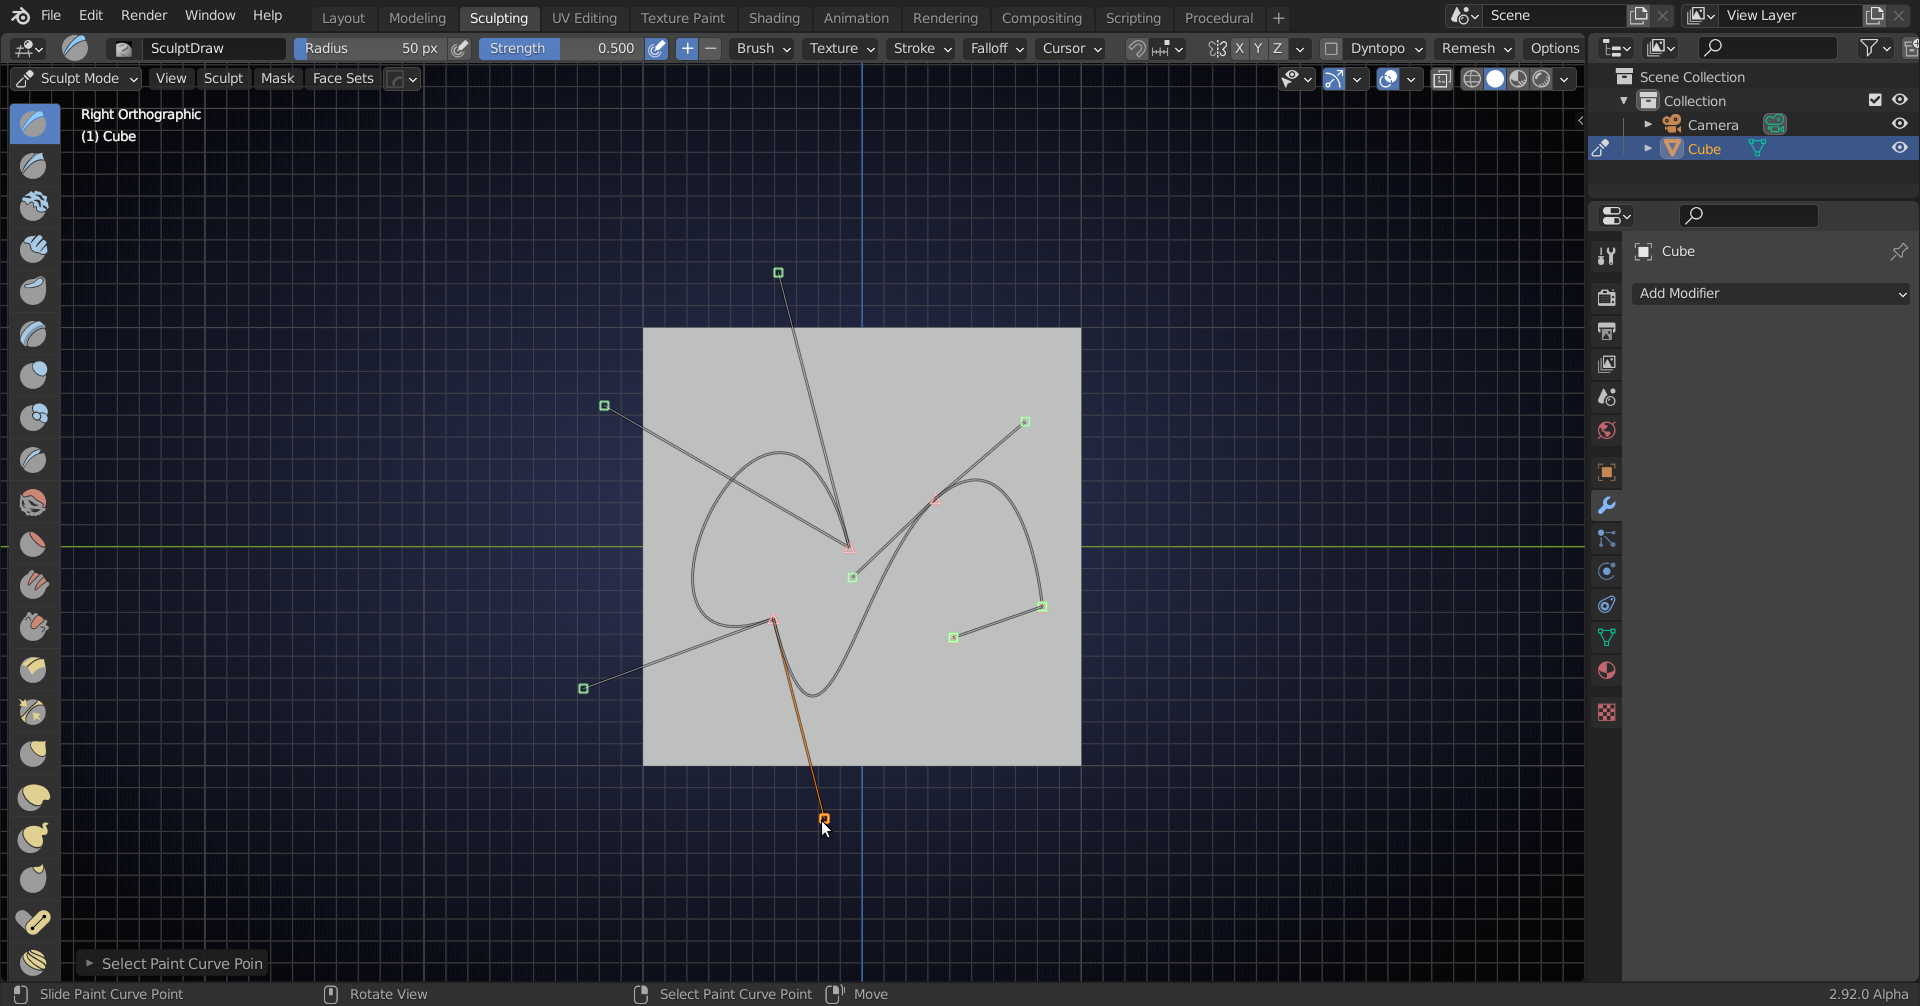
Then you can make a curve point with CTRL clicking and with CTRL click and drag you get a point with handles. You can adjust the Curve untill you are happy with it:

and then press enter to sculpt that curve with your selected Brush:

Especially handy when making repeating curved ornaments.
Another one. This week im intense: i unwrap the body model and unfornutly they show me sobe big squares on the front of the head and the back part consequently becomes smart. There is a smooth brush or other way to make this squares more relax (i remember that on 3ds max or Maya, the comand is "Relax") Thanks
I'm not too familiar with the UV Tools, you can sculpt the Uvs, pin some verts, you can try using different seams, or a different algorithm to unwrap (Conformal or Angle Based).
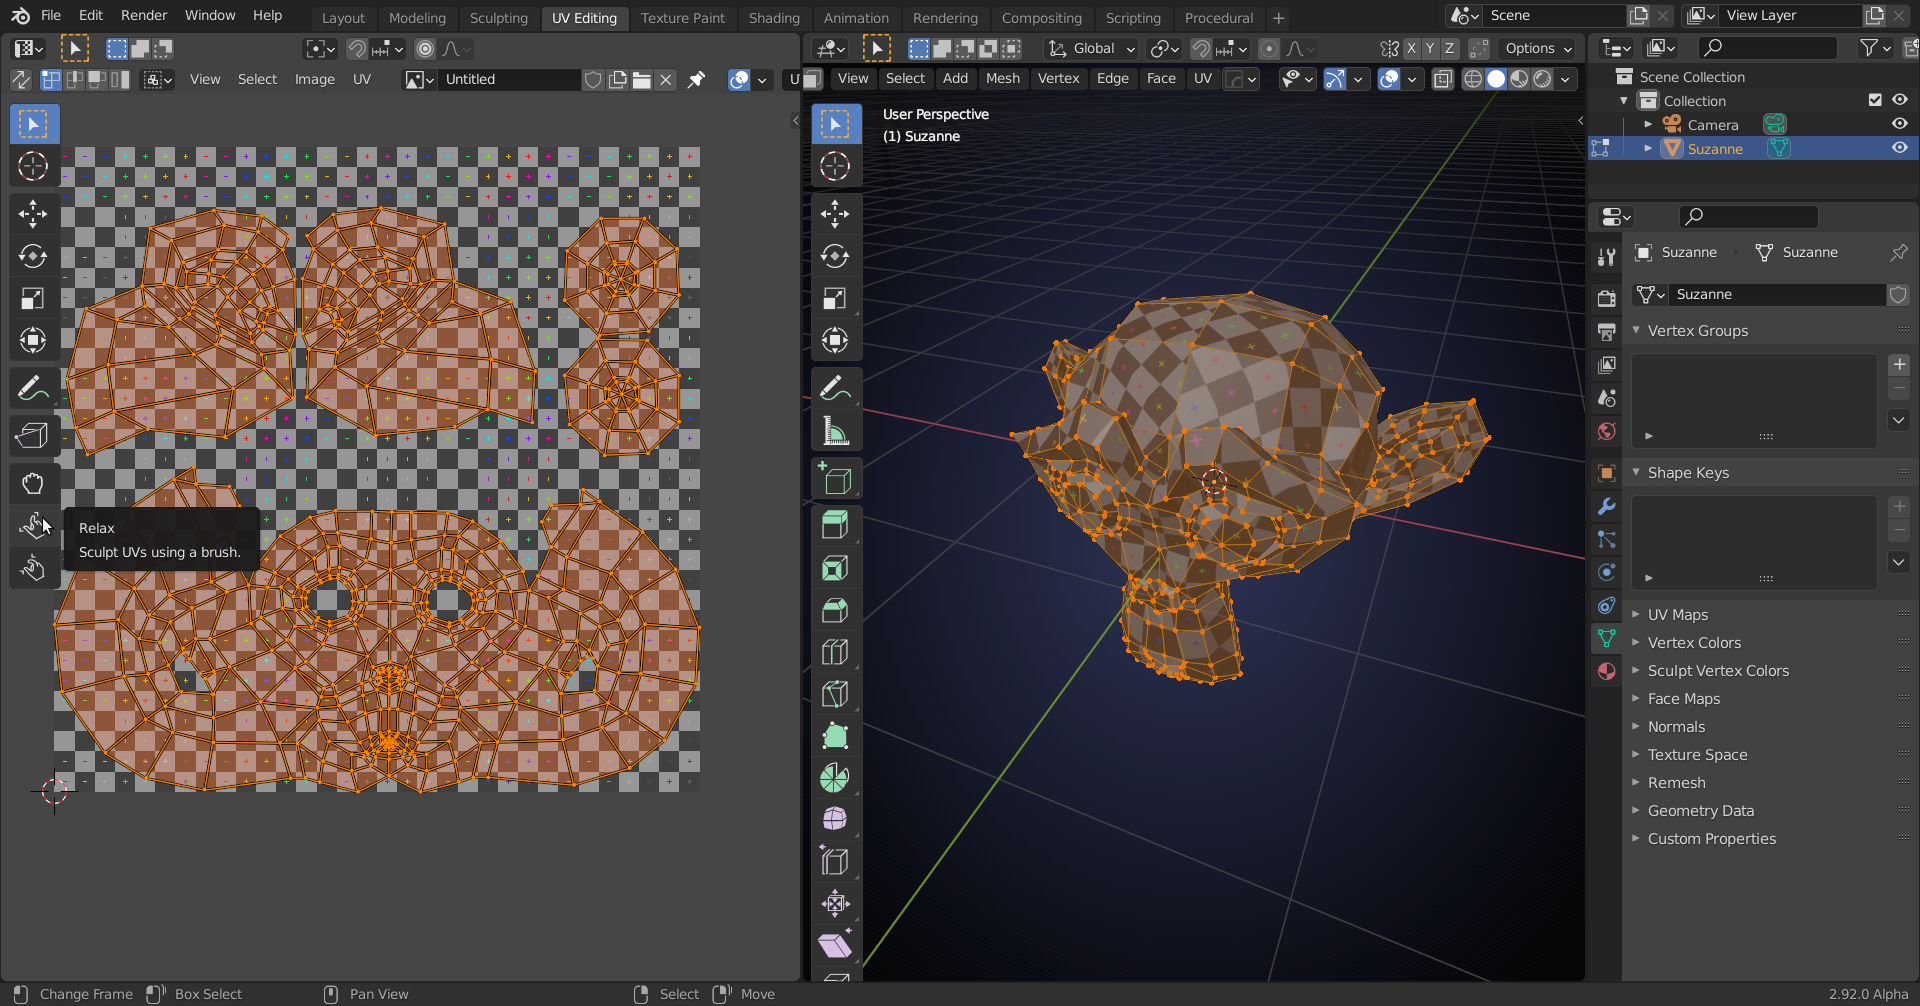
Maybe the Relax brush will do what you want:
