Hola hhochelf ! Looking nice! You got more out of your virtual clay than I did when I just tried to get a bit of an idea of it.
As for your cramping. I did a fair share of Digital Painting in the past. (as a matter of fact I recently plugged in my old Intuos3 to try the sculpting).
While it is true that a little endurance is required, cramping is mostly just too firm a grip on the pen and trying to push too hard on the tablet trying to get the maximum out of its pressure sensitivity. Try going to the tablet settings and see how quickly your pressure will reach its maximum. You'll see even the default settings will reach that point much faster than you'll remember once you're in the flow of creating something. Taking it easy in that department and it will already increase your endurance much more. Its better to learn how to press as little as possible than teach yourself to press too hard. Maybe even increase its sensitivity to practice that.
Also, try to not sculpt or draw from the wrist, but from the elbow and shoulder. It automatically reduces the tension in your muscles that causes the cramps, like @somebaldviking already pointed out. Think of the pen as a little bird, if you hold it too tight you will squeeze it to death and if you hold it too loose, it will fly away :)
while I'm still watching the videos I attempt to familiarize myself more with the brushes.
I also tried to to make sure to not use my wrist all the time, with the pen and tried to be more careful about the pressure I use. Another thing I did differently was, I didn't hold the pen like a pen. Instead, I tried to hold it upwards in a 90° degree angle. This time I could do a longer session. :)
I hope the general idea I had in mind for the shape is understandable.
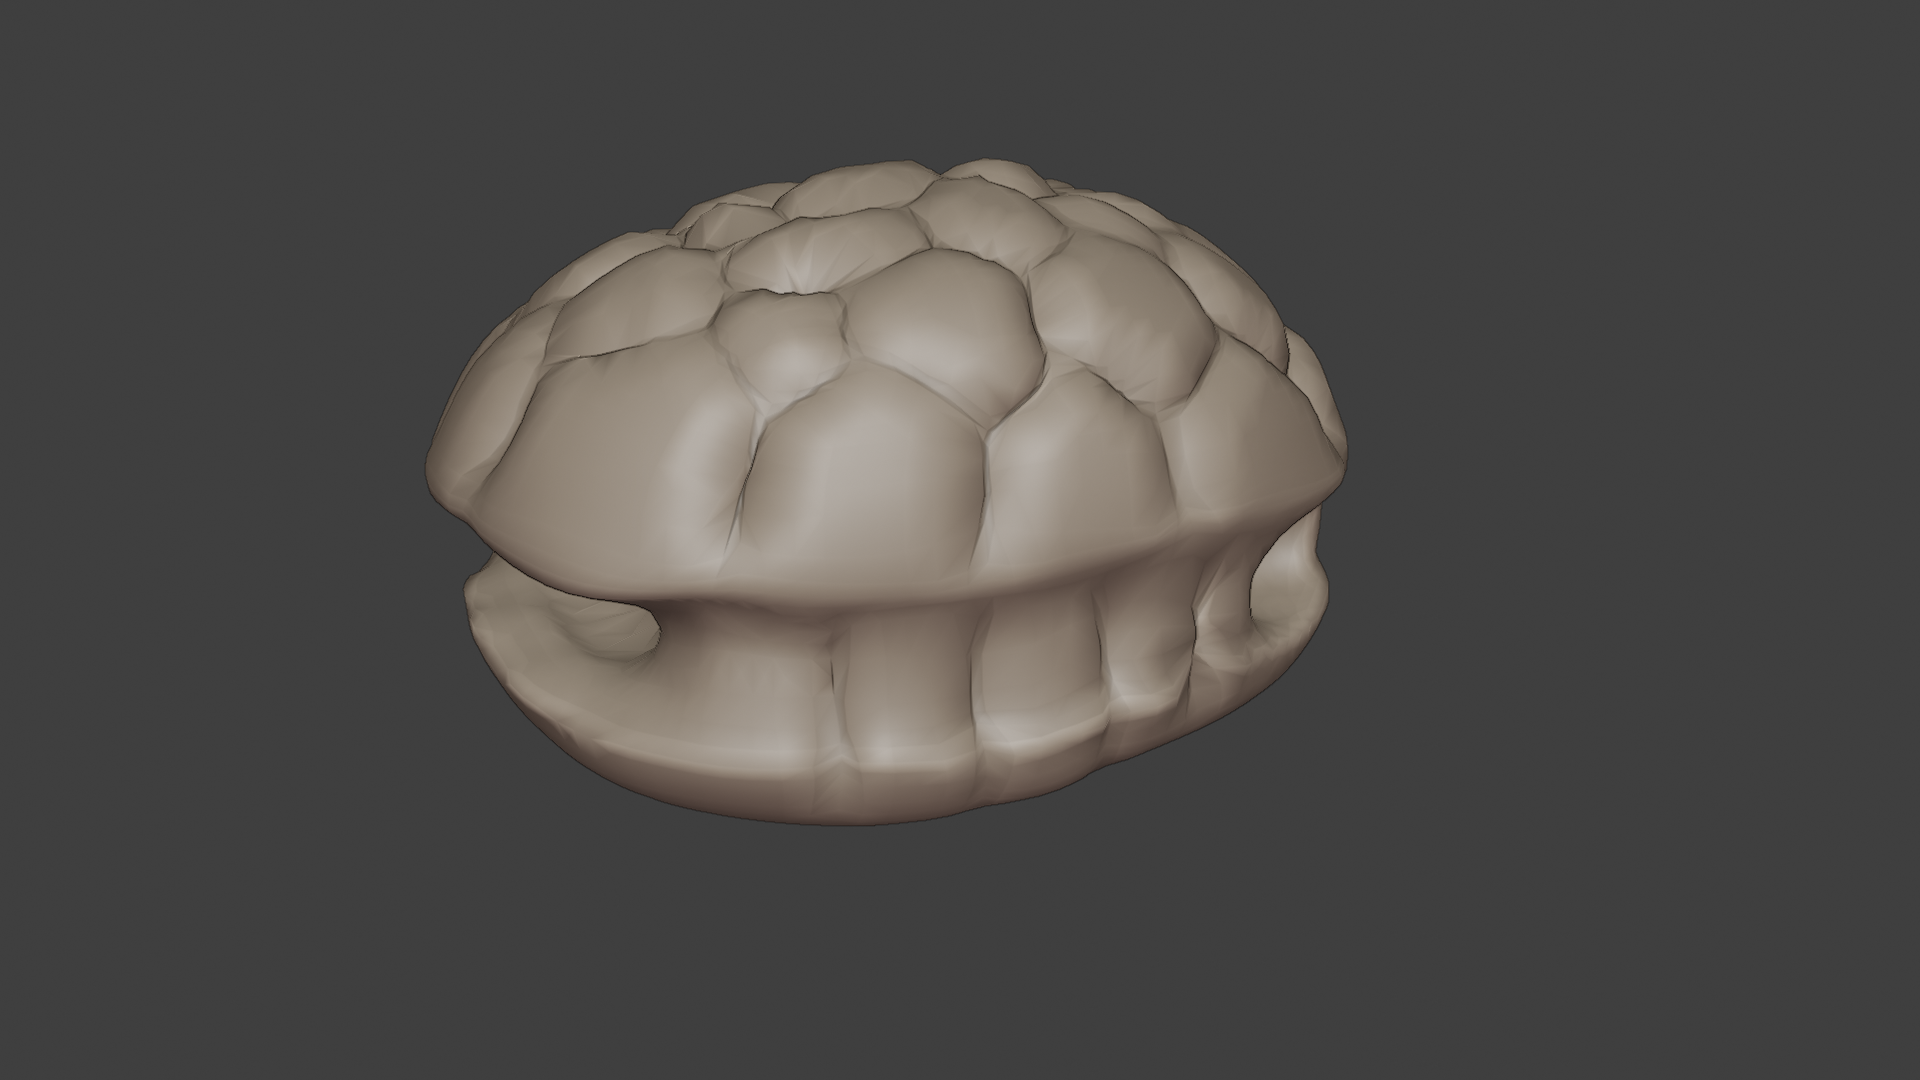
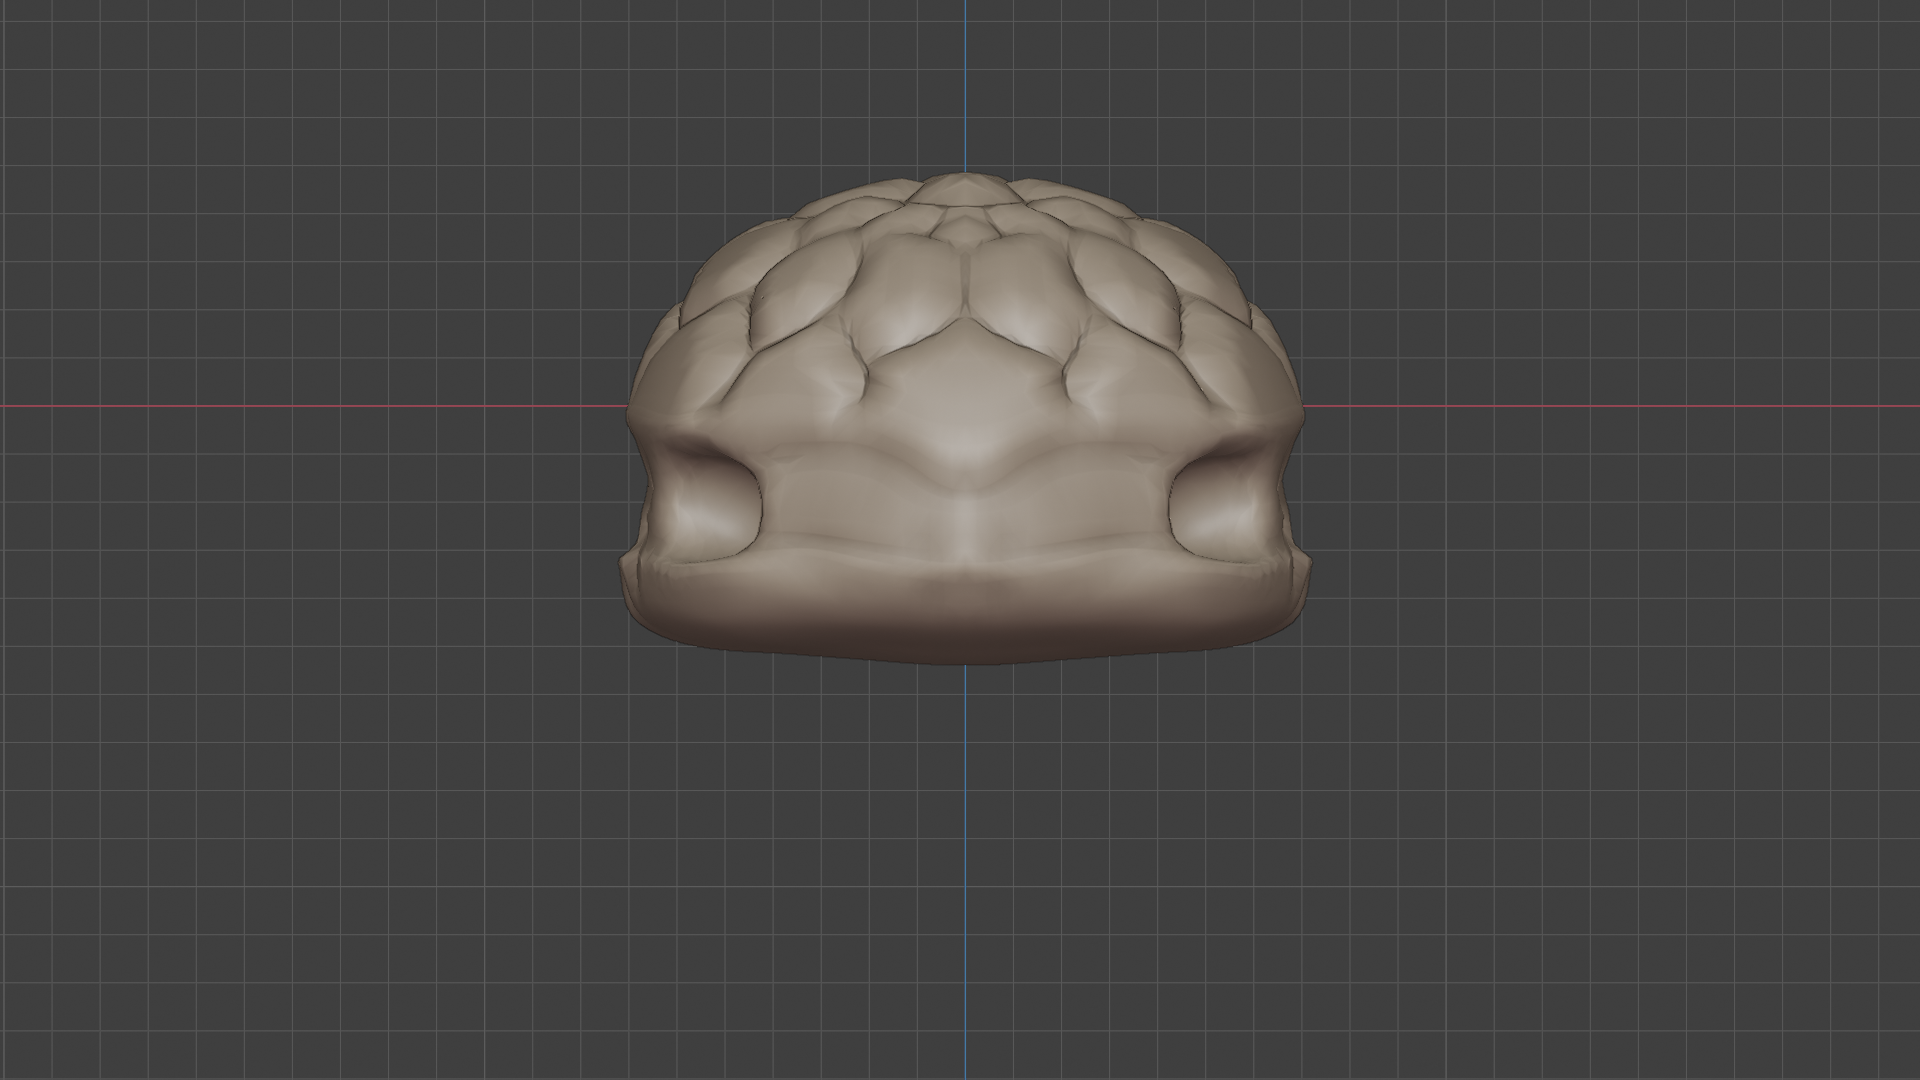
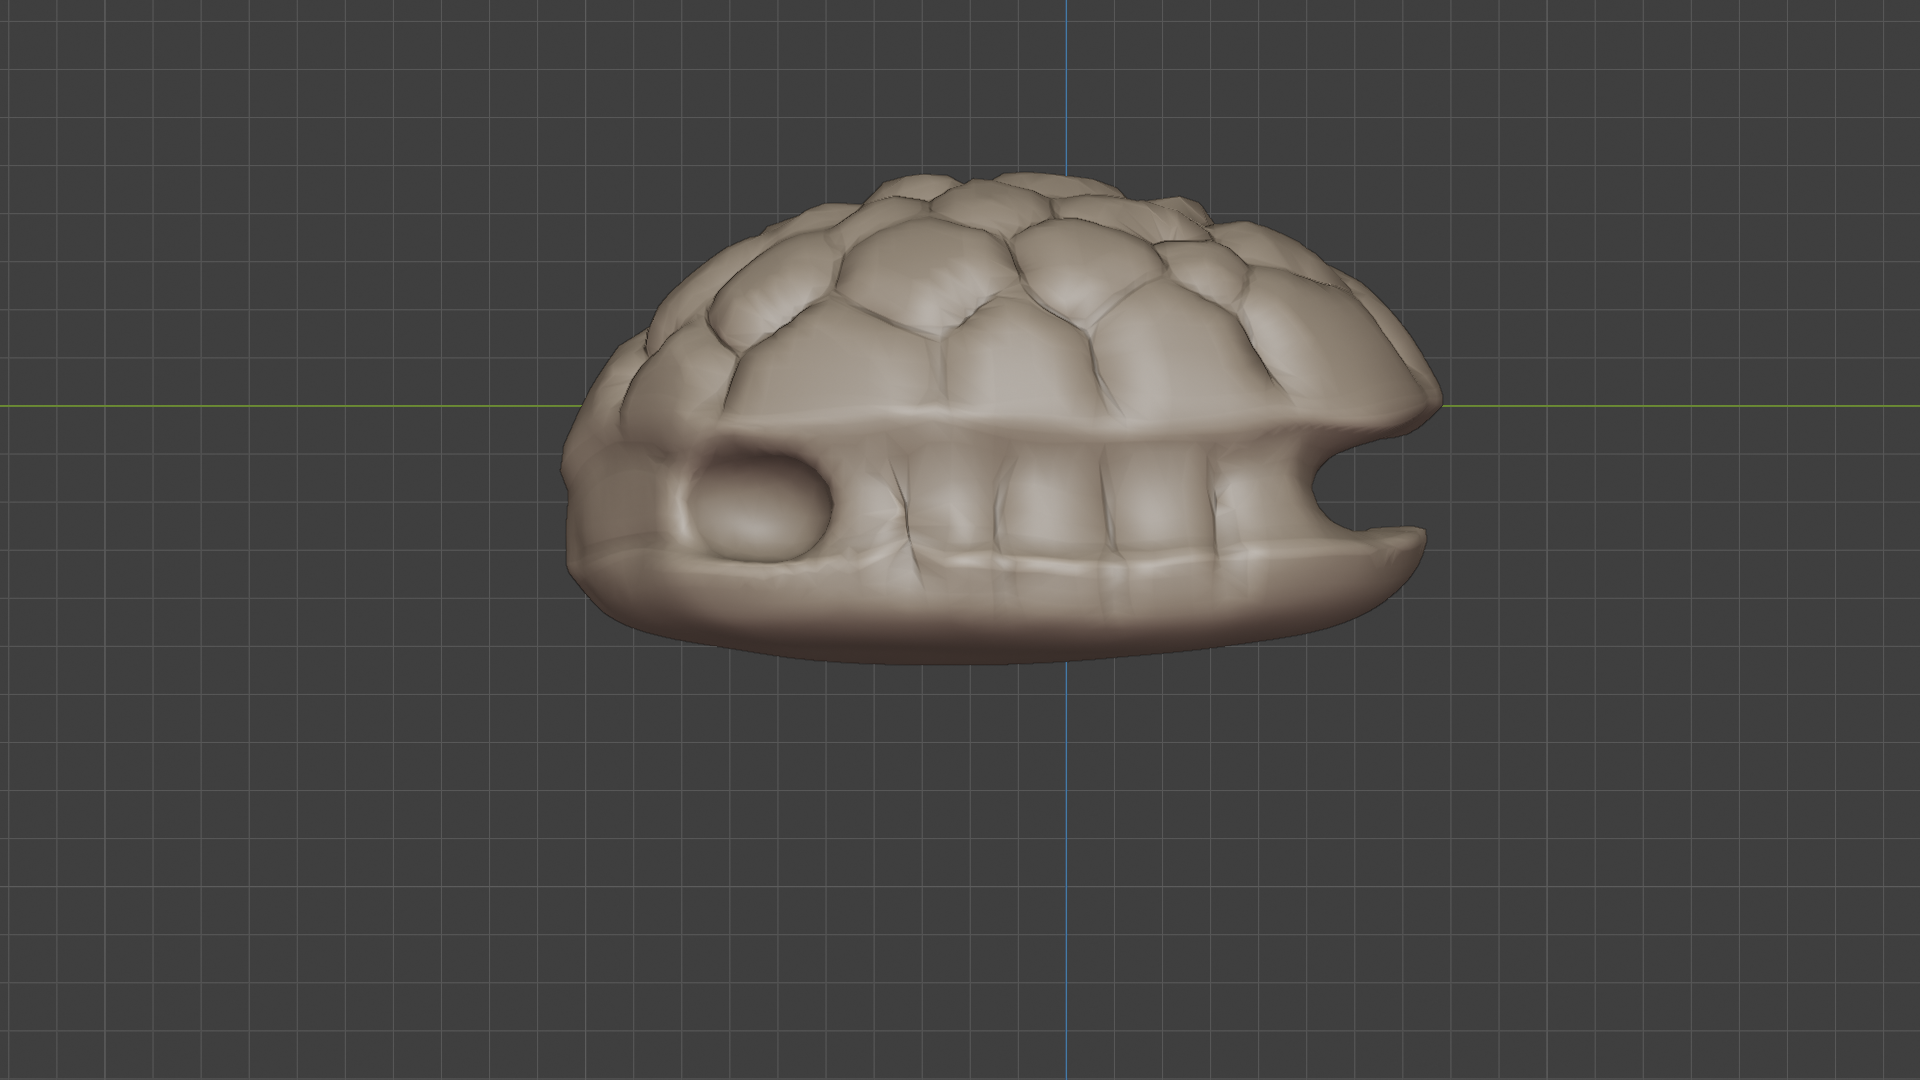
I'm thinking it is the remnant home of a well known reptile, long since deceased.
Face Part 2
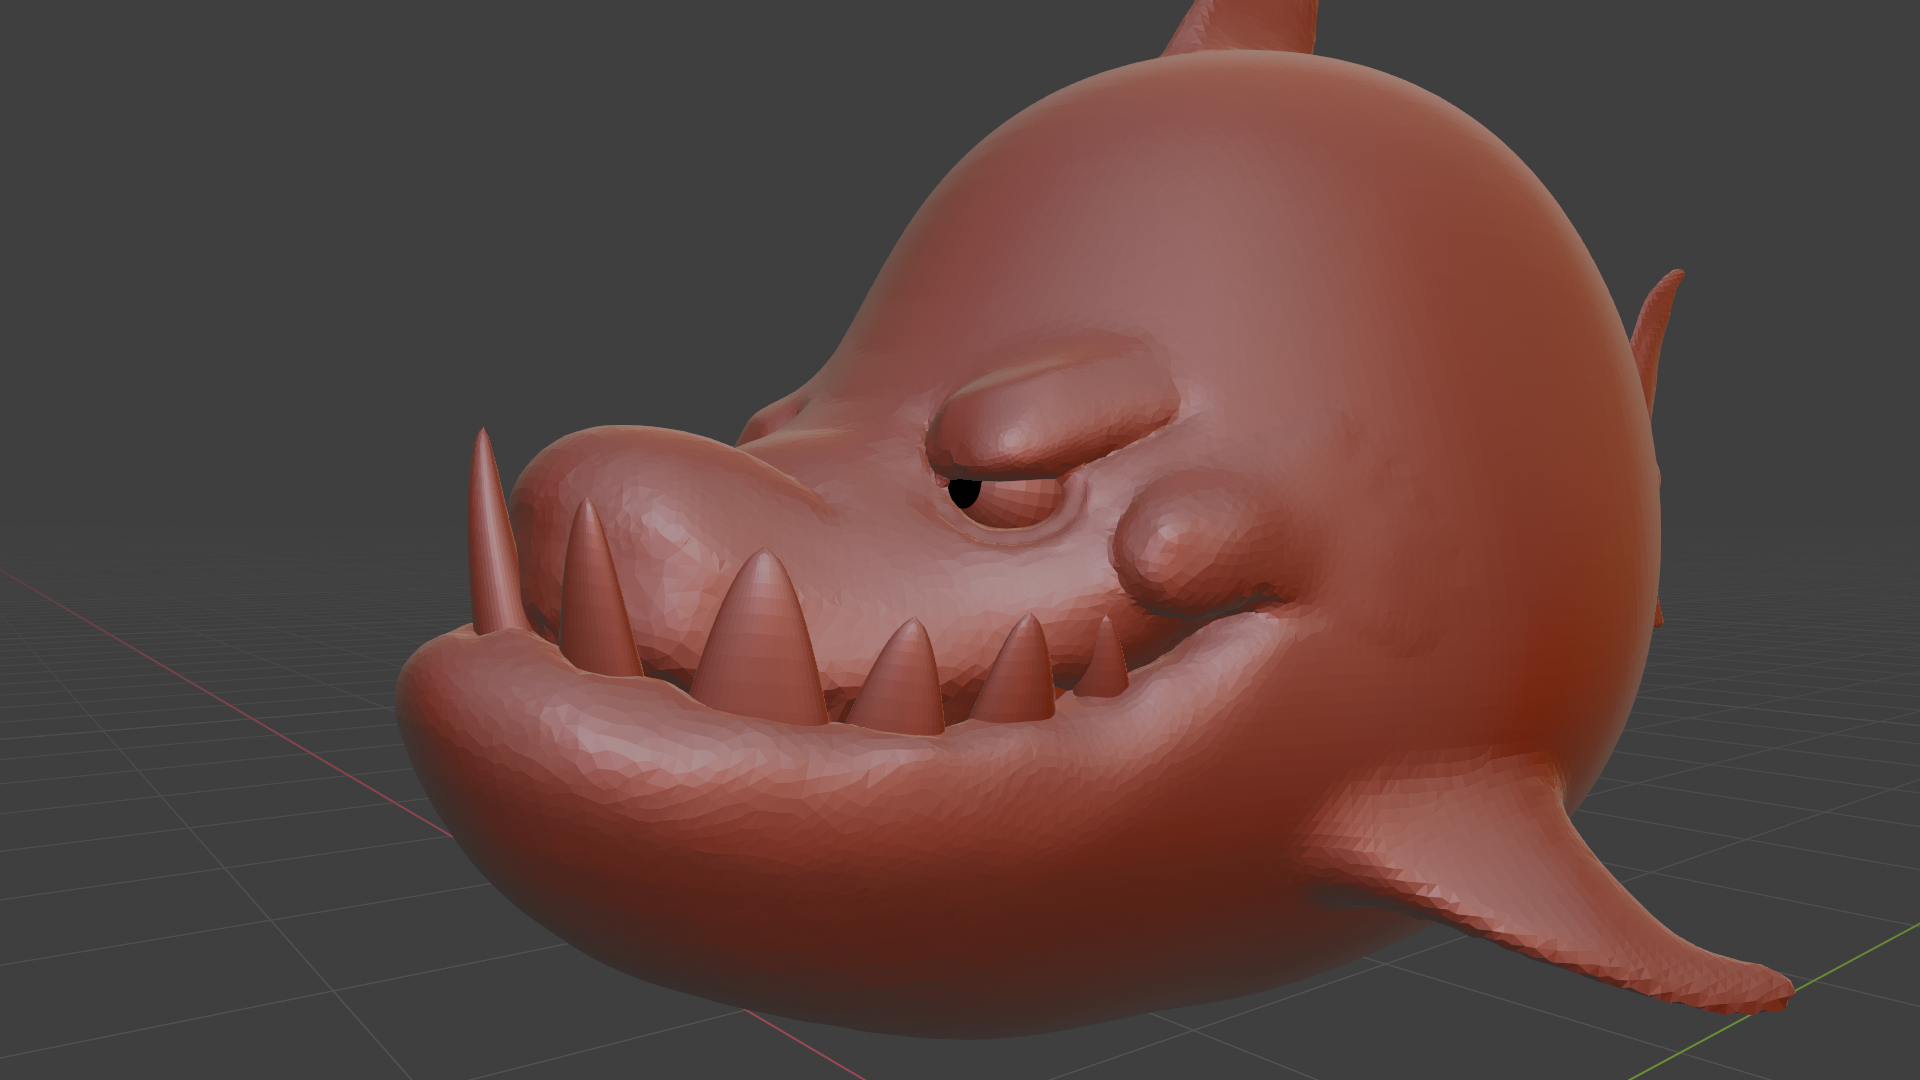
Dyntopo is still confusing to me. But I start to get the hang of it.
Especially with the crease/pinch brush combo. ;) The "relative detail" option seems to be the more intuitive one to me. So I will stick to that for now. But the collapse options, even if I understand the meaning behind their terms, do sometimes unexpected things.
This is how the "World of SubD" works according to my understanding (it may or may not be correct so take it with a grain of salt). It's really magical when you think more deeply about it.
I like to think of "Subdivide Collapse" as a way to keep generating new faces as you sculpt. It subdivides the long edges on a face and collapses the short edges (creating and destroying geometry as you sculpt, though it feels more like you are just creating more so than destroying). This works well when adding hills and valleys to the sculpt or using the grab or snake hook brushes.
But it works poorly when trying to get good pinching and creasing on something because the creases end up joining back into one piece when they get close enough (no longer creasing).
"Collapse Edges" removes the short edges and leaves the long edges intact. Collapsing is probably best to show rather than tell.
This is a short video of edges collapsing manually but the process is happening automagically during sculpt mode when you set Dynotopo to Collapse Edges.
Collapse Edges works well when you have an area of high poly (edge/face) density that you want to bring back to match the rest of the model. For example: if you were sculpting a High Quality Human: the face would probably have a very high poly density at some point and the rest of a body would have less poly density. Faces need to be detailed to be believable. Once you have finished getting the fine details refined and believable you could use a brush with low strength and turn on Collapse Edges to lower the poly density.
"Subdivide Edges" does what it says. It splits the long edges of a face up more and more where needed to prevent stretching (effectively creating more faces and geometry but only where needed). I like using this when using the crease and pinch brushes where I want lips and other naturally creasing areas to look more realistic. The other methods don't respond well to heavy pinching.
"Relative detail" changes the size of the dynamic topology (creation and deletion of edges/verts)based on how close to the object the viewport is (the closer you are the more detail you will see). This can be good and bad. If you zoom out and sculpt over an area that has a ton of detail using Subdivide Collapse w/ Relative Detail, the high quality details and small faces will get replaced with less detail and larger faces. The opposite is also true when zooming in.
"Constant detail" uses the same detail no matter how far or close you are to the object being sculpted.
Keep in mind that some brushes do not execute the Dynotopo. The smooth brush is one of them (I think that was a wise design choice).
Hopefully this explanation helps a little.
this is very helpful. Relative detail and Brush detail were the ones I liked the most, wirh relative detail seem to be more in synch with me. But yeah, the destruction tgat happens, when I'm not close enough, got me more than once on the shark. Same goes for the pinching under the cheek und the subdevide edges. The video explained it briefly but your explanation was more understandable to me. So thanks for that :)
Yep, Christmas hits hard at work. Since Black Friday there is nearly no time to do hobbies. And this year is worse than ever. Probably b/c people can go out for the first time this year.
Nevertheless, I managed to do the last step of the shark. :)
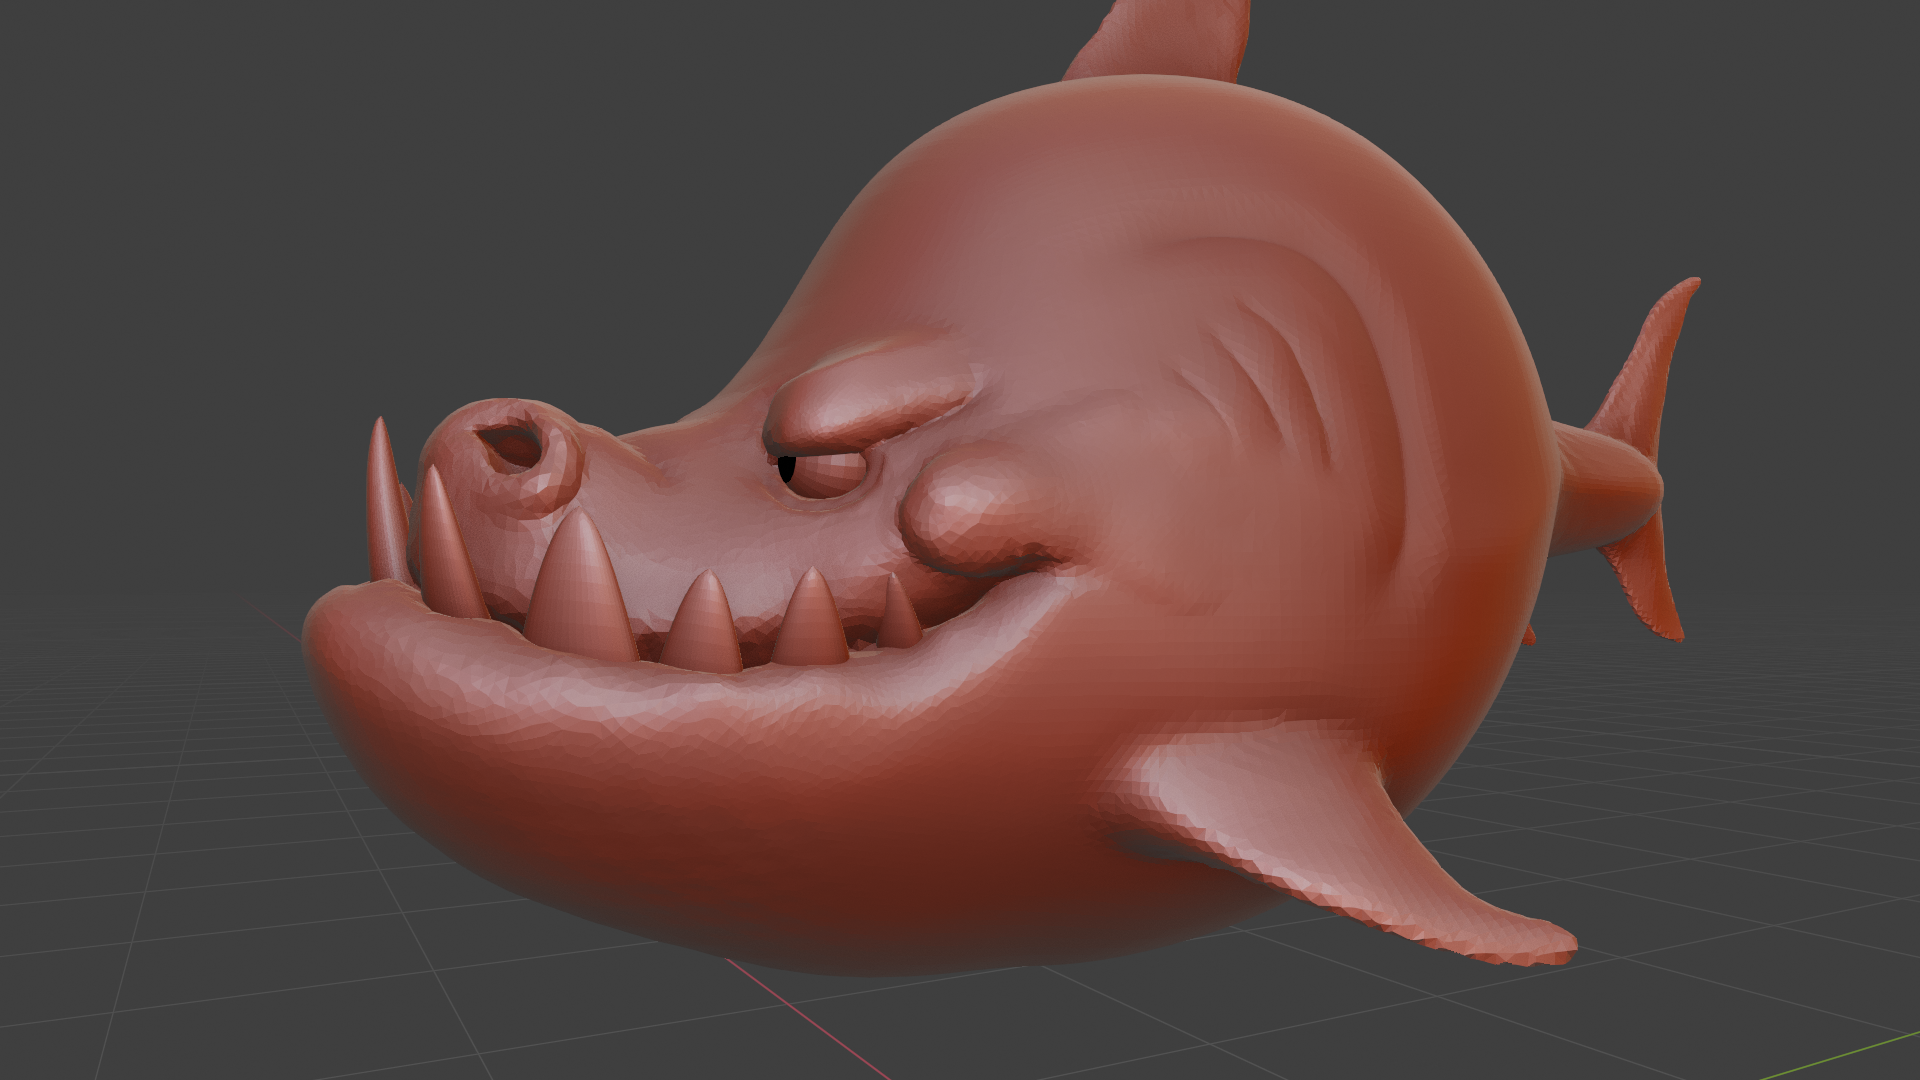
But before I submit a new attempt for the course I have to redo the low poly room. It didn't pass, so I have the chance to remake it. ;)
That turned out nice! Make sure to turn on smooth shading for that shark and it will look, well, smooth haha.
Interesting, I wonder why you didn't pass the lo poly room exercise. You must need a few more items and maybe a little more realistic lighting?
interesting way to approach this...
but how do you tell someone to "go stand in the corner"?
:D
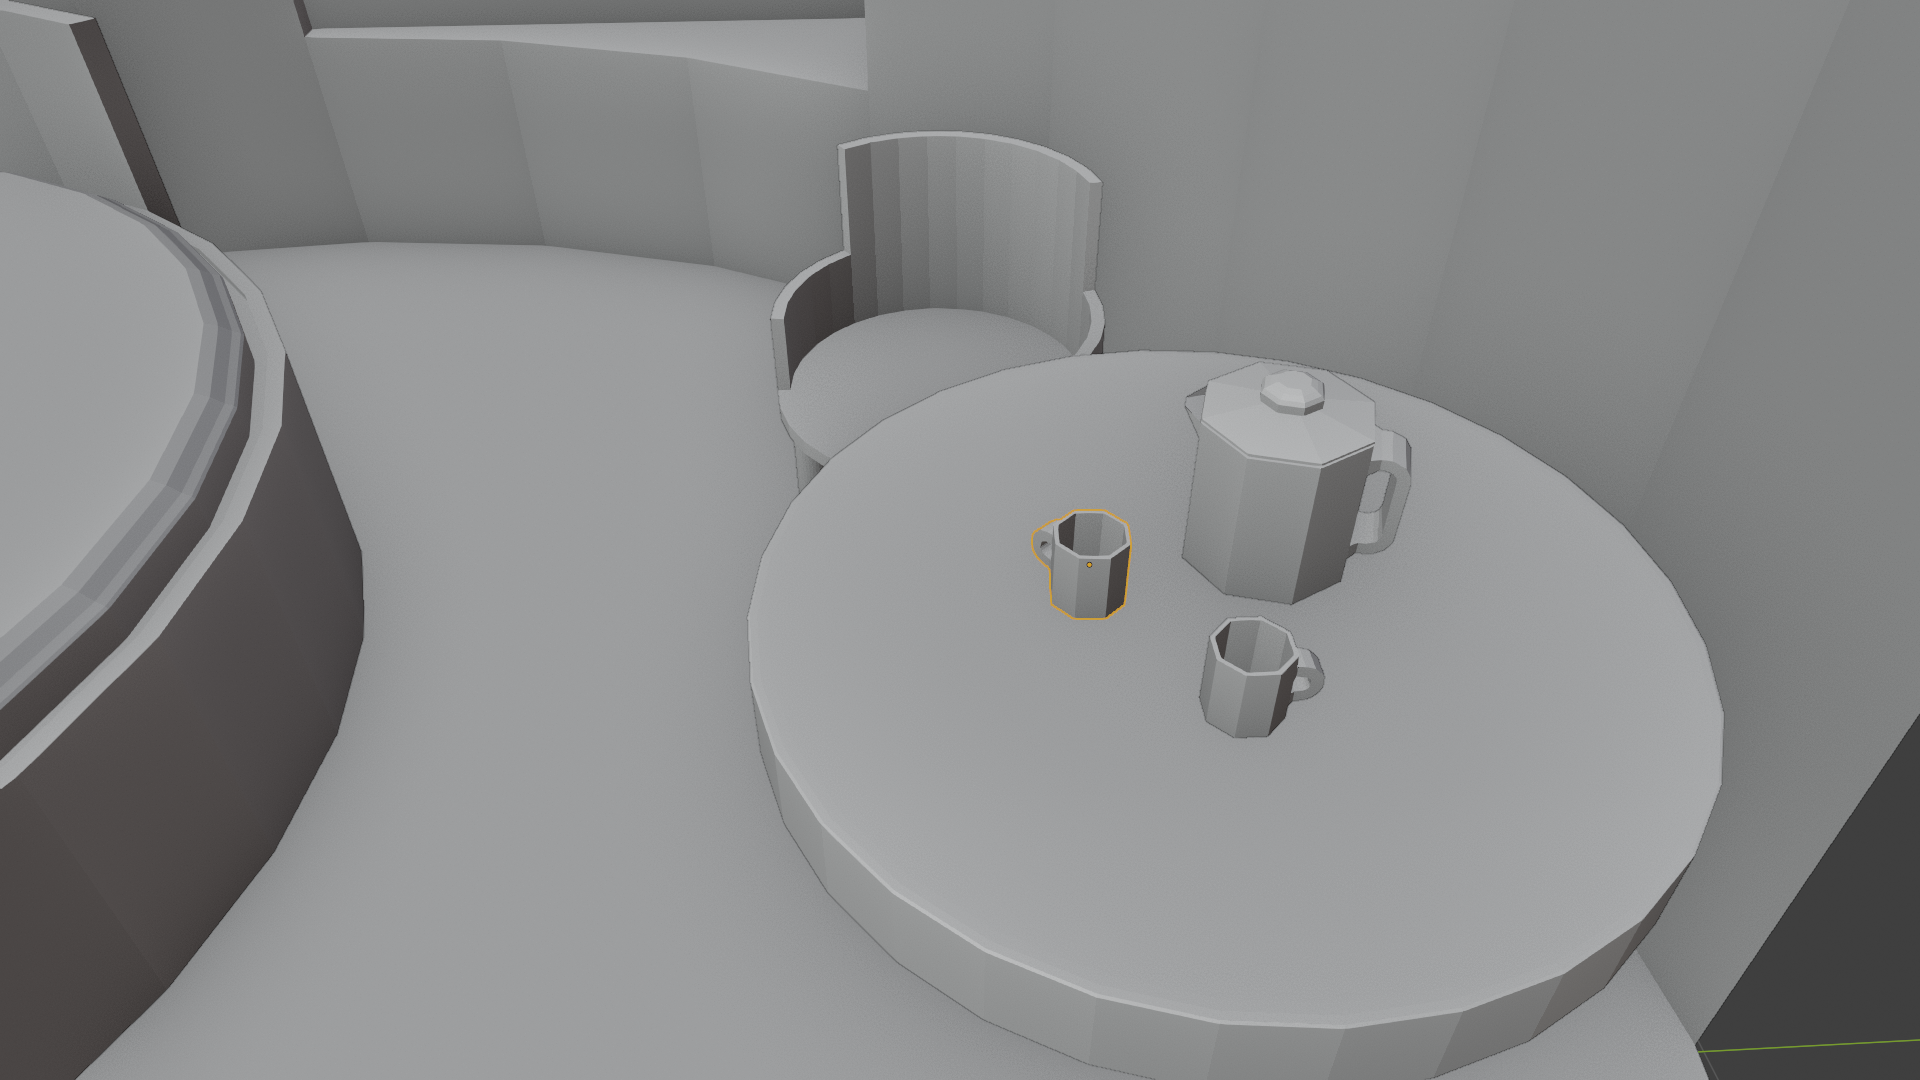
Well, after a needed break from the holiday season. I can finally come back to the low poly room. I will try to make at least one asset per day and submit the finished room after this month.
To get the hang of it again I tried the simplest thing possible, at first, a pot and two cups/mugs.
