@jlampel I had to reupload and resubmit my question. I am still a little baffled at what is going on, I checked normals and even tried to bake the jut-out separate, but I still got similar results.
I have no idea why it looks like it won't upload :/ Try this: https://www.dropbox.com/request/6swmJ3hv8lqr0DHB6shx
Sure thing! Ok, so it looks like one problem is due to the mirroring - it matches the high poly on the left side but not on the right:

You could either fix it so it's the same on both sides or just turn off the rendering for the mirror modifier. I also marked a couple more edges as sharp:

After that I joined the two parts of the high poly together and edited the geometry to make them one mesh (or you could bevel the edges - anything to get rid of that sharp line) to fix this seam:
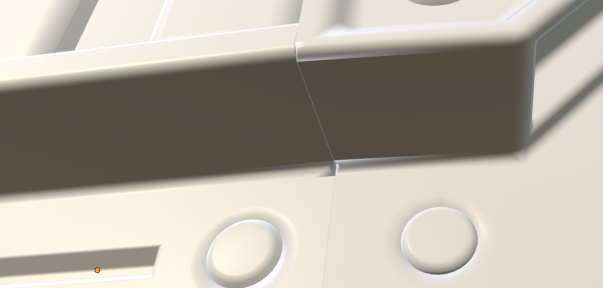
Once you do that, it should bake fine!
@jlampel Thanks for the help I have fixed all but a few issues. I am still having issues on edges that are over 75 degrees showing seams and the curved part of the gun has some issues. I uploaded my updated file for you to look at.
Great! Ok, one at a time:
There's a geometry overlap right down the middle:
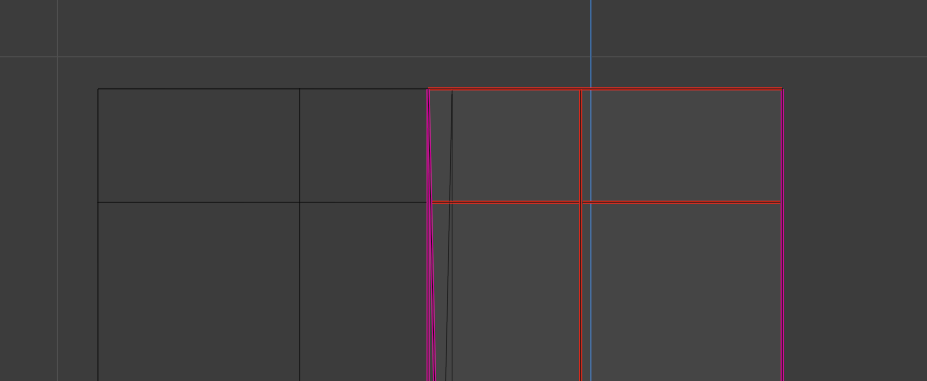
The split looking edges are from the edge split modifier, because there are two rays being fired at the same spot:
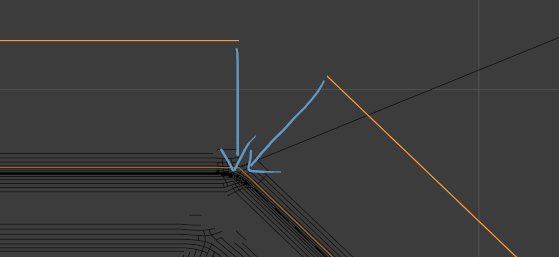
When it should look more like this:
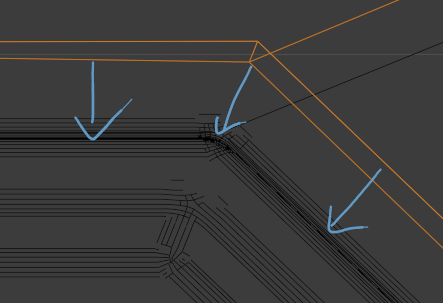
That will cause skewed details though, which is why we use the subdiv modifier like you already had set up. I've also reduced the strength of the displacement to be the minimum possible to still cover all the details (0.003).
For all the areas that doesn't fix, it's because the low poly mesh is not lined up with the high poly, causing the rays to miss and not hit anything or hit the wrong surface:
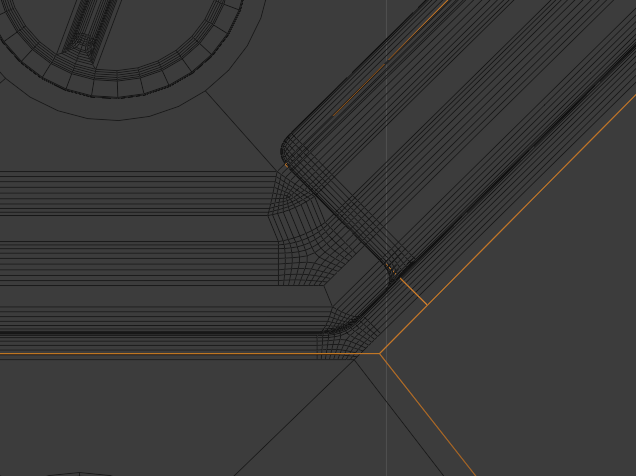
Try to snap it as close as possible to the high poly, and it's fine if it overlaps since we're using a cage:
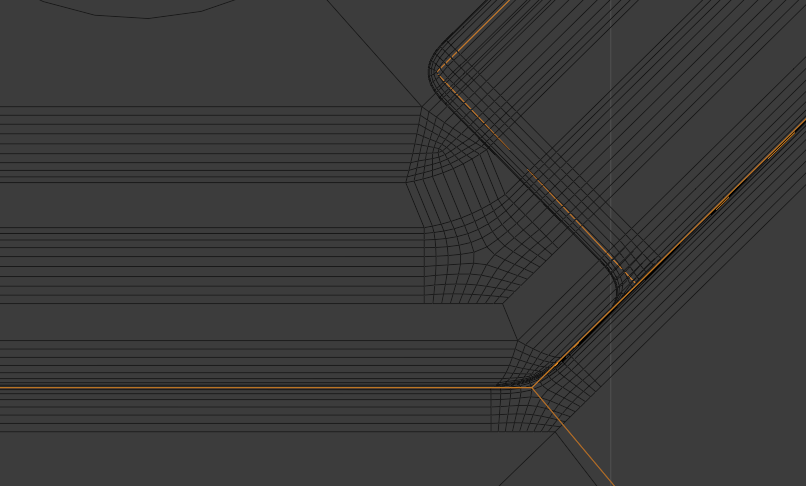
For the front cutout, the rays are just missing it entirely in the glitchy area. Notice the empty space:
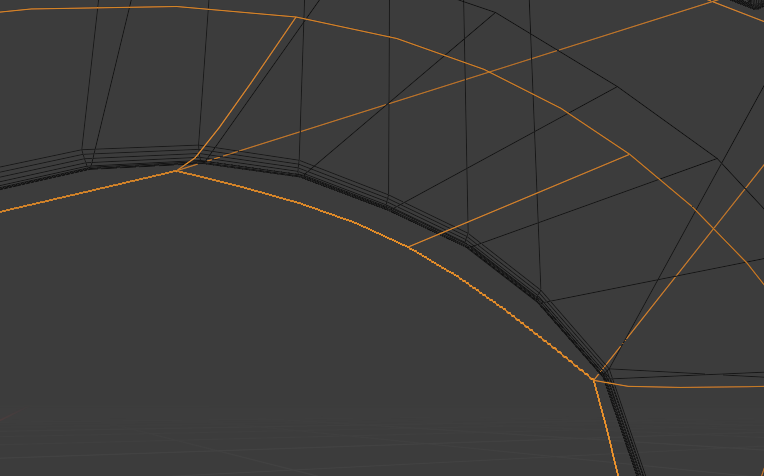
In this case, you'll have to line up the high poly mesh exactly with the low poly - it won't look as nice and rounded, but at least it'll be artifact-free!