This bird has a lot to tell:

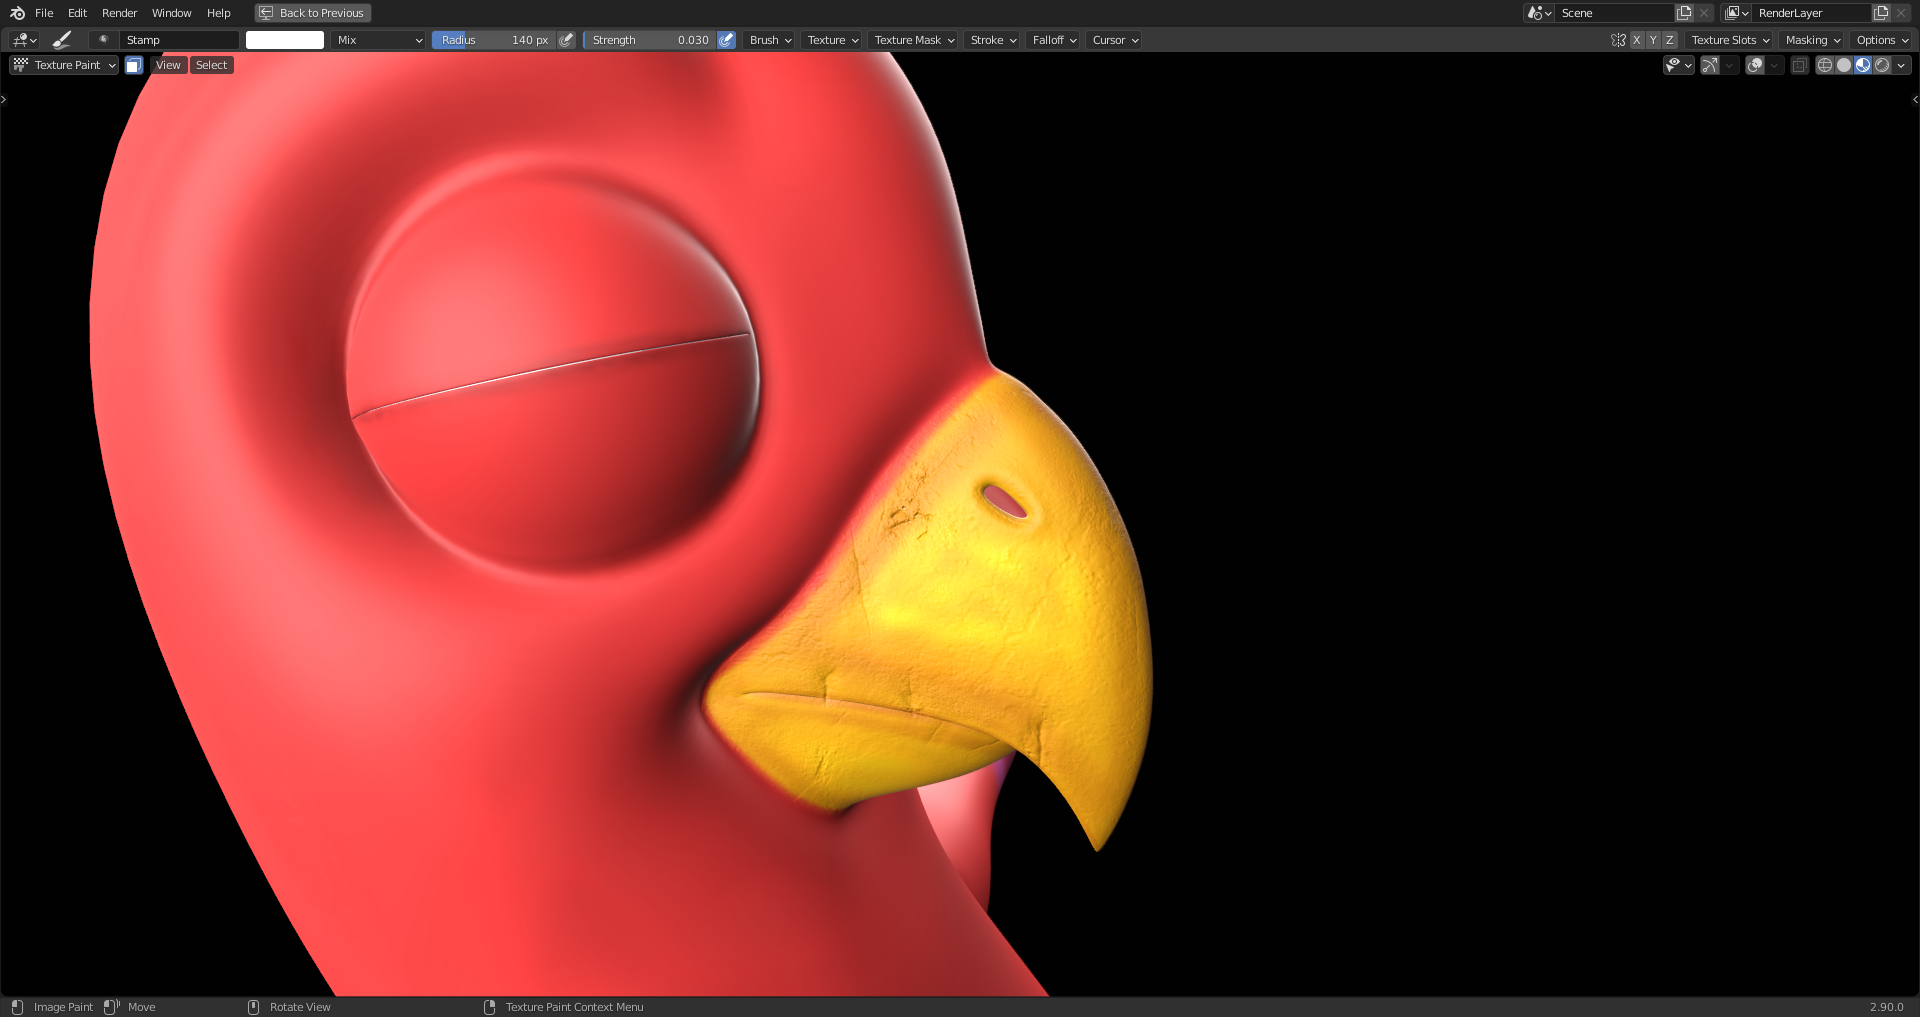
The cracks were mainly created with rotating and scaling a "Grime Texture" in "Stencil Mode" of the "Texture Brush" used.
Some manual cracks added using a tablet and "Pressure Sensitivity" turned on:
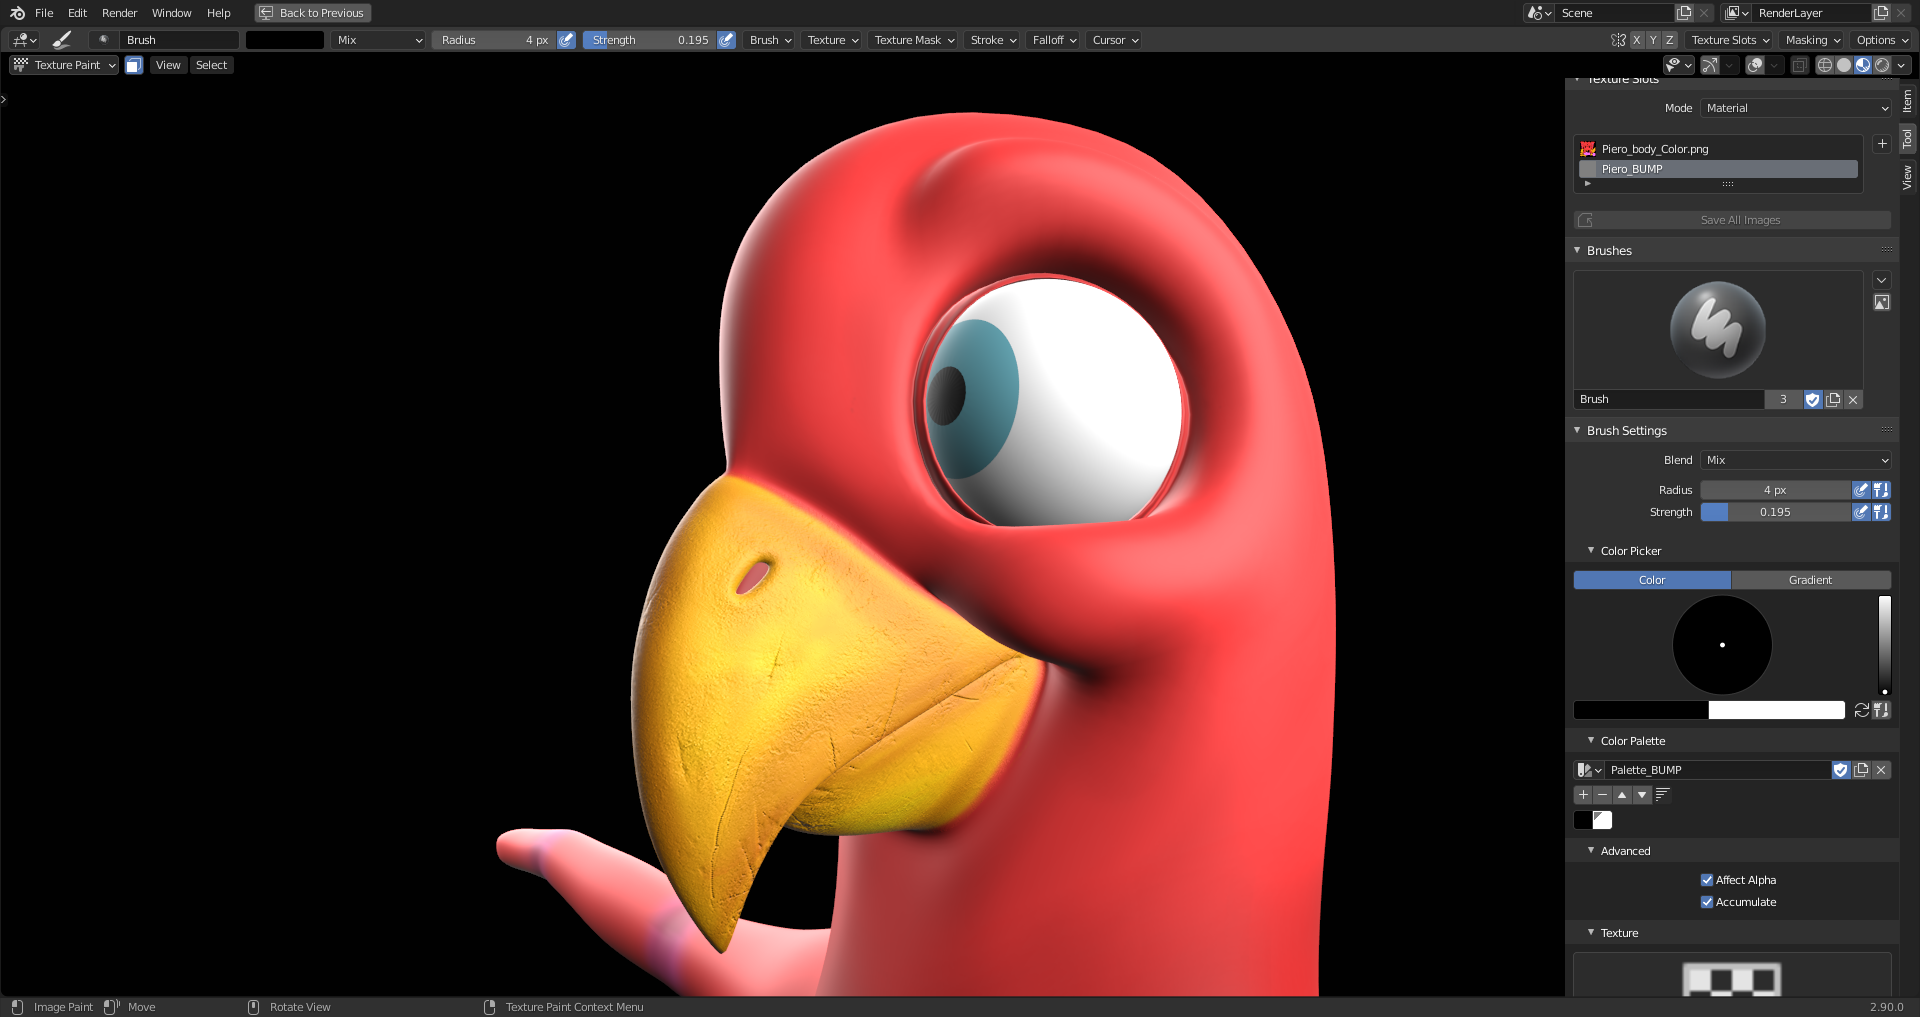
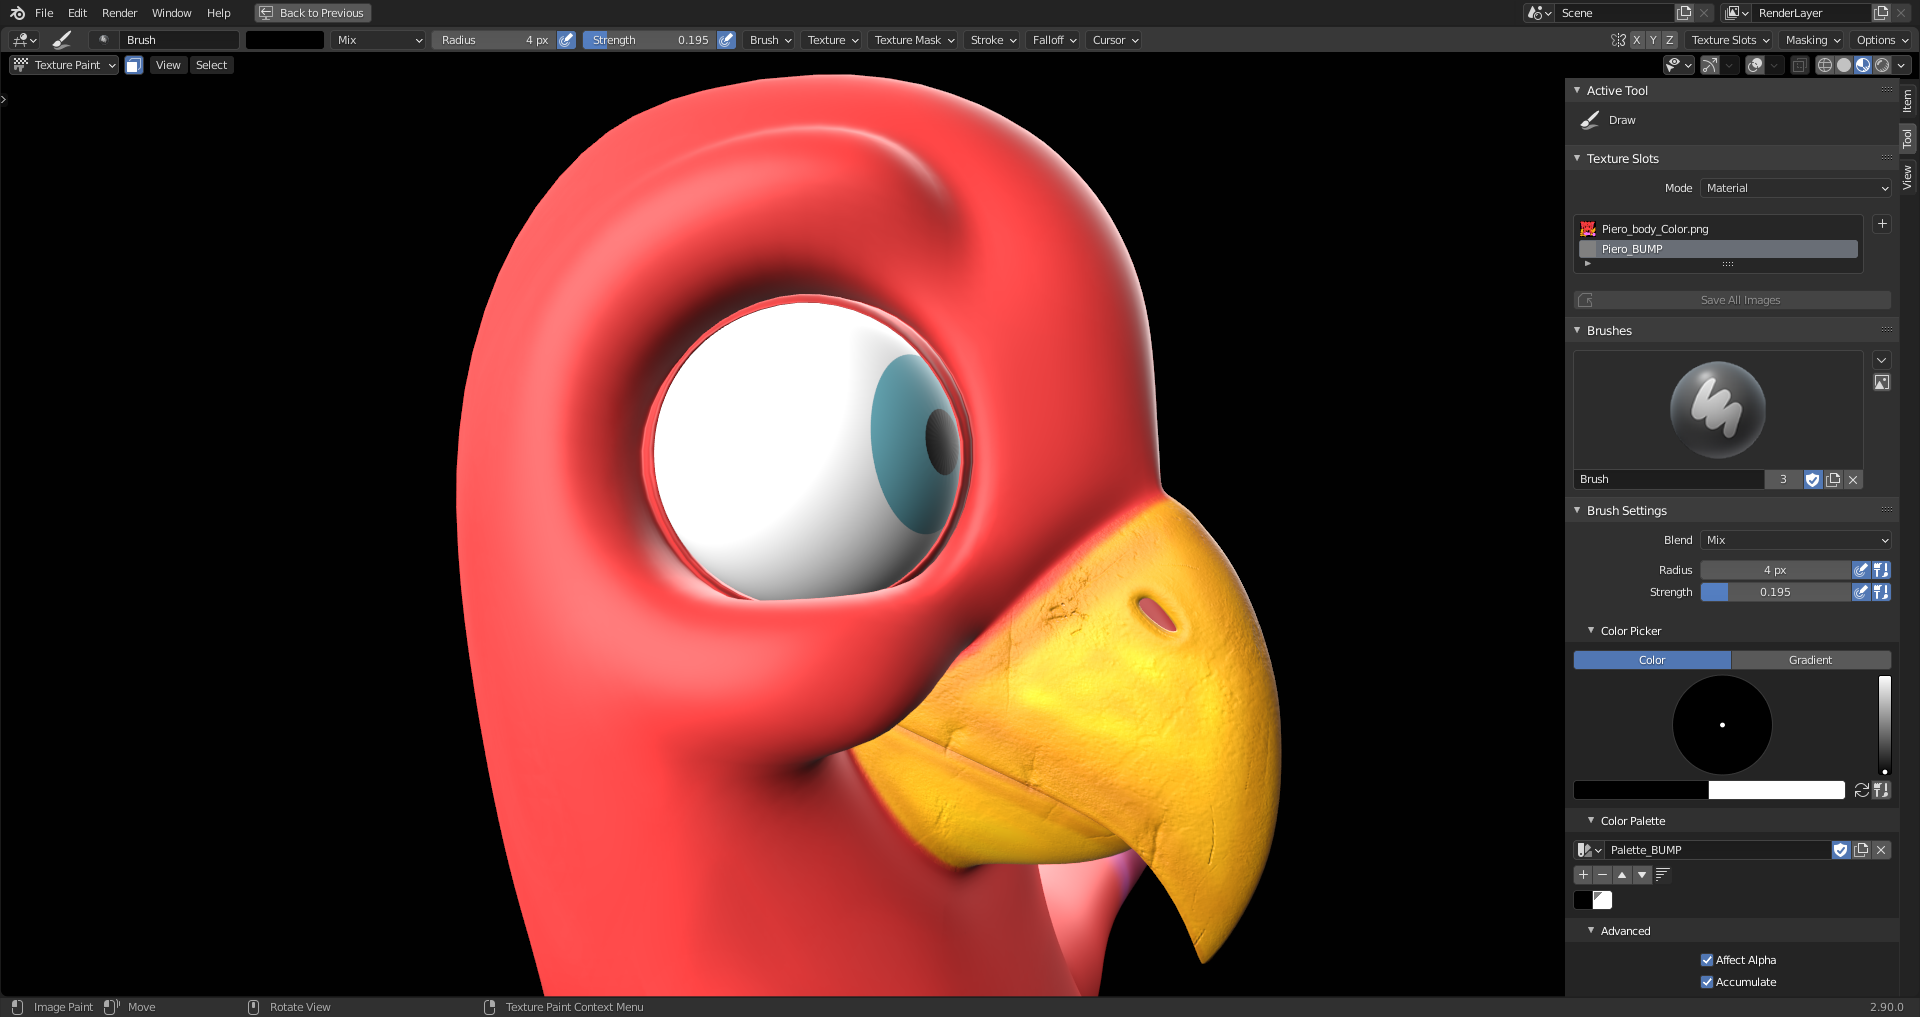
The claws with the hand-painted large scales using again the tablet (which I'm not yet very familiar with 😉) and "Pressure Sensitivity" for the radius and the strength of the brush:

As I've learned, the "Pressure Sensitivity" is a percent value of the setting that you entered manually into the field where you can use that dynamic feature. So, setting a value to zero means that you won't have any effect with your tablet pen no matter how strong your pressure is. When creating Piero's large claw scales, I used "Radius" = 74 pixels and "Strength" = 0.112.
A question to people who're experienced users of tablets with Blender: Can I control the orbiting with my tablet pen or do I have to use the mouse/keybord?
When you set one of the pen's buttons to act as the MMB, you can orbit with your pen. You definitely don't want to use your mouse and your pen, that is very impractical ;)
I totally agree with you, ![]() spikeyxxx, since changing between mouse and pen disrupts the texture painting workflow too much. I sometimes already unintentionally touched my pen button and opened a dialogue box for some brush settings. Changing the setting for this pen button to act as the middle mouse button would facilitate the workflow a lot.
spikeyxxx, since changing between mouse and pen disrupts the texture painting workflow too much. I sometimes already unintentionally touched my pen button and opened a dialogue box for some brush settings. Changing the setting for this pen button to act as the middle mouse button would facilitate the workflow a lot.
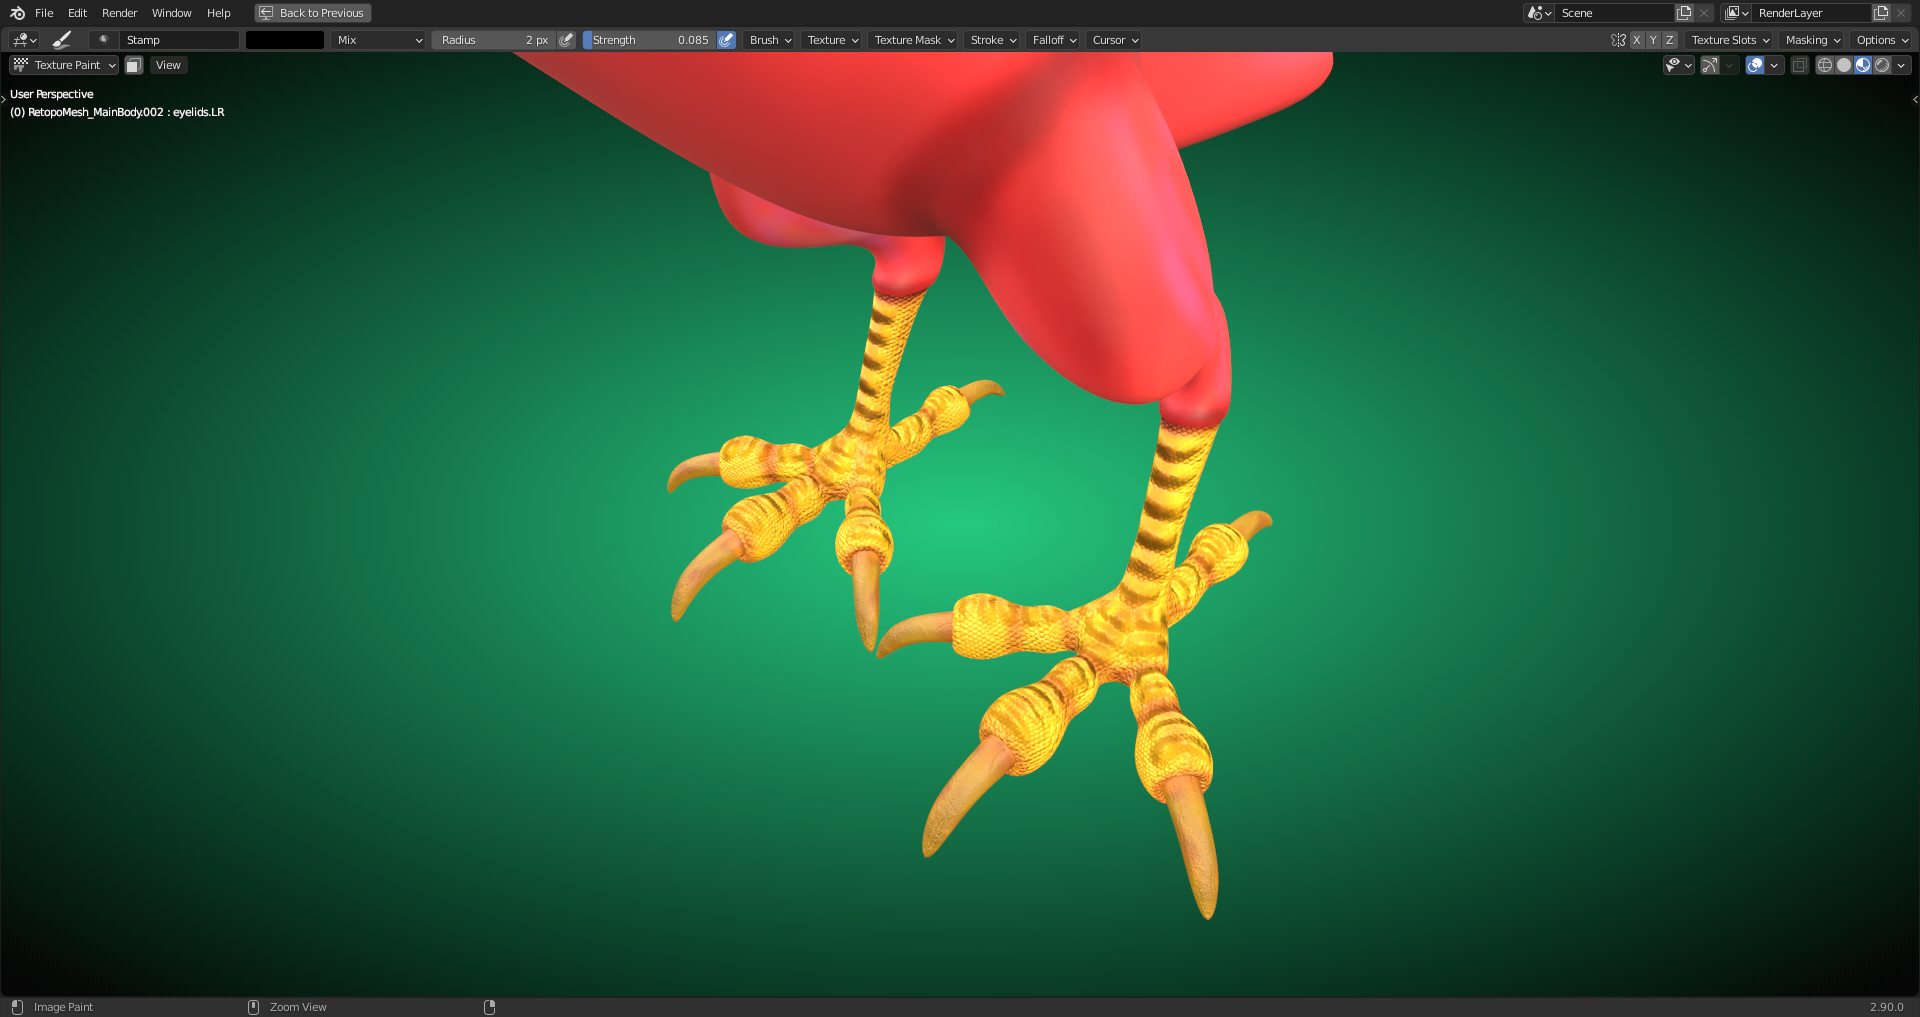
The "Bump Texture" is now complete with the talons now having a more uneven looking surface that shows some cracks:
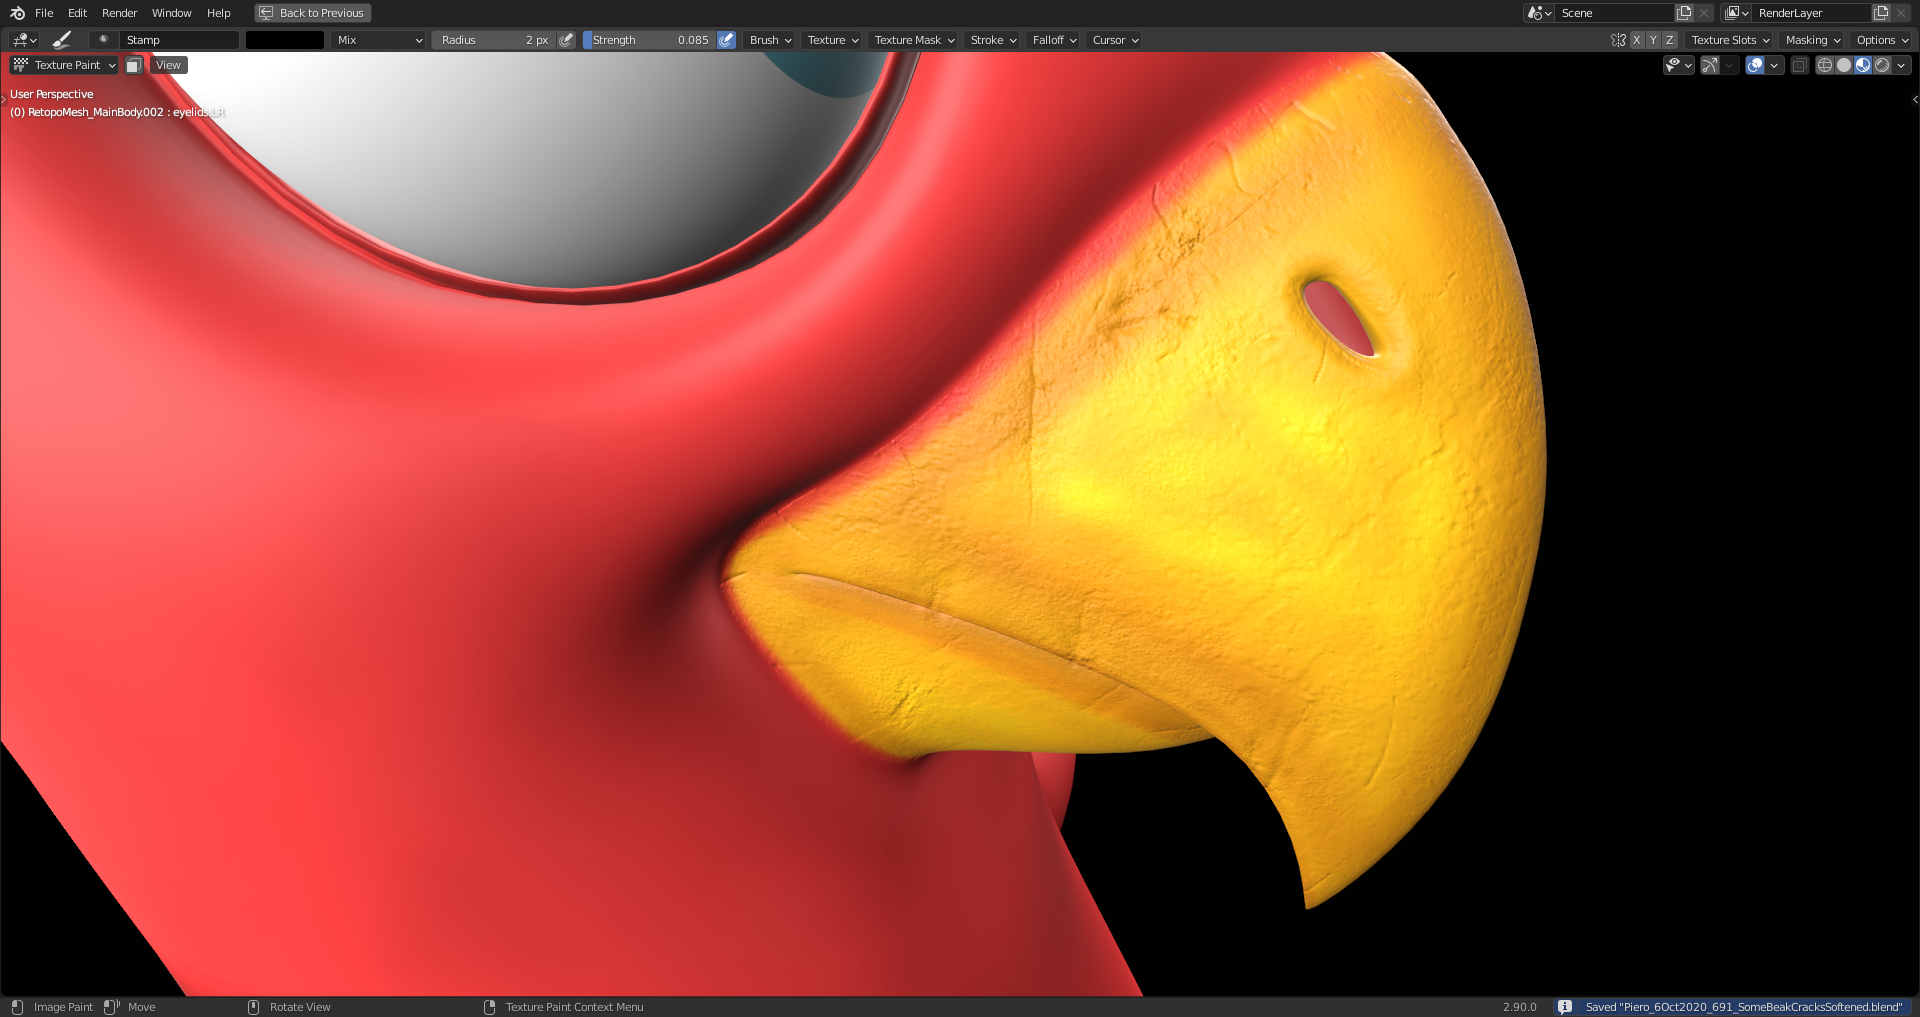
I've also softened some beak cracks:
Next and final step of the texture painting will be to blend the "Bump Texture's" shades of grey into the "Color Texture" in order to make them look "more connected". This will be done in Gimp using "Overlay" as "Blend Mode" and blending in selected parts of the "Bump Texture" repeatedly.
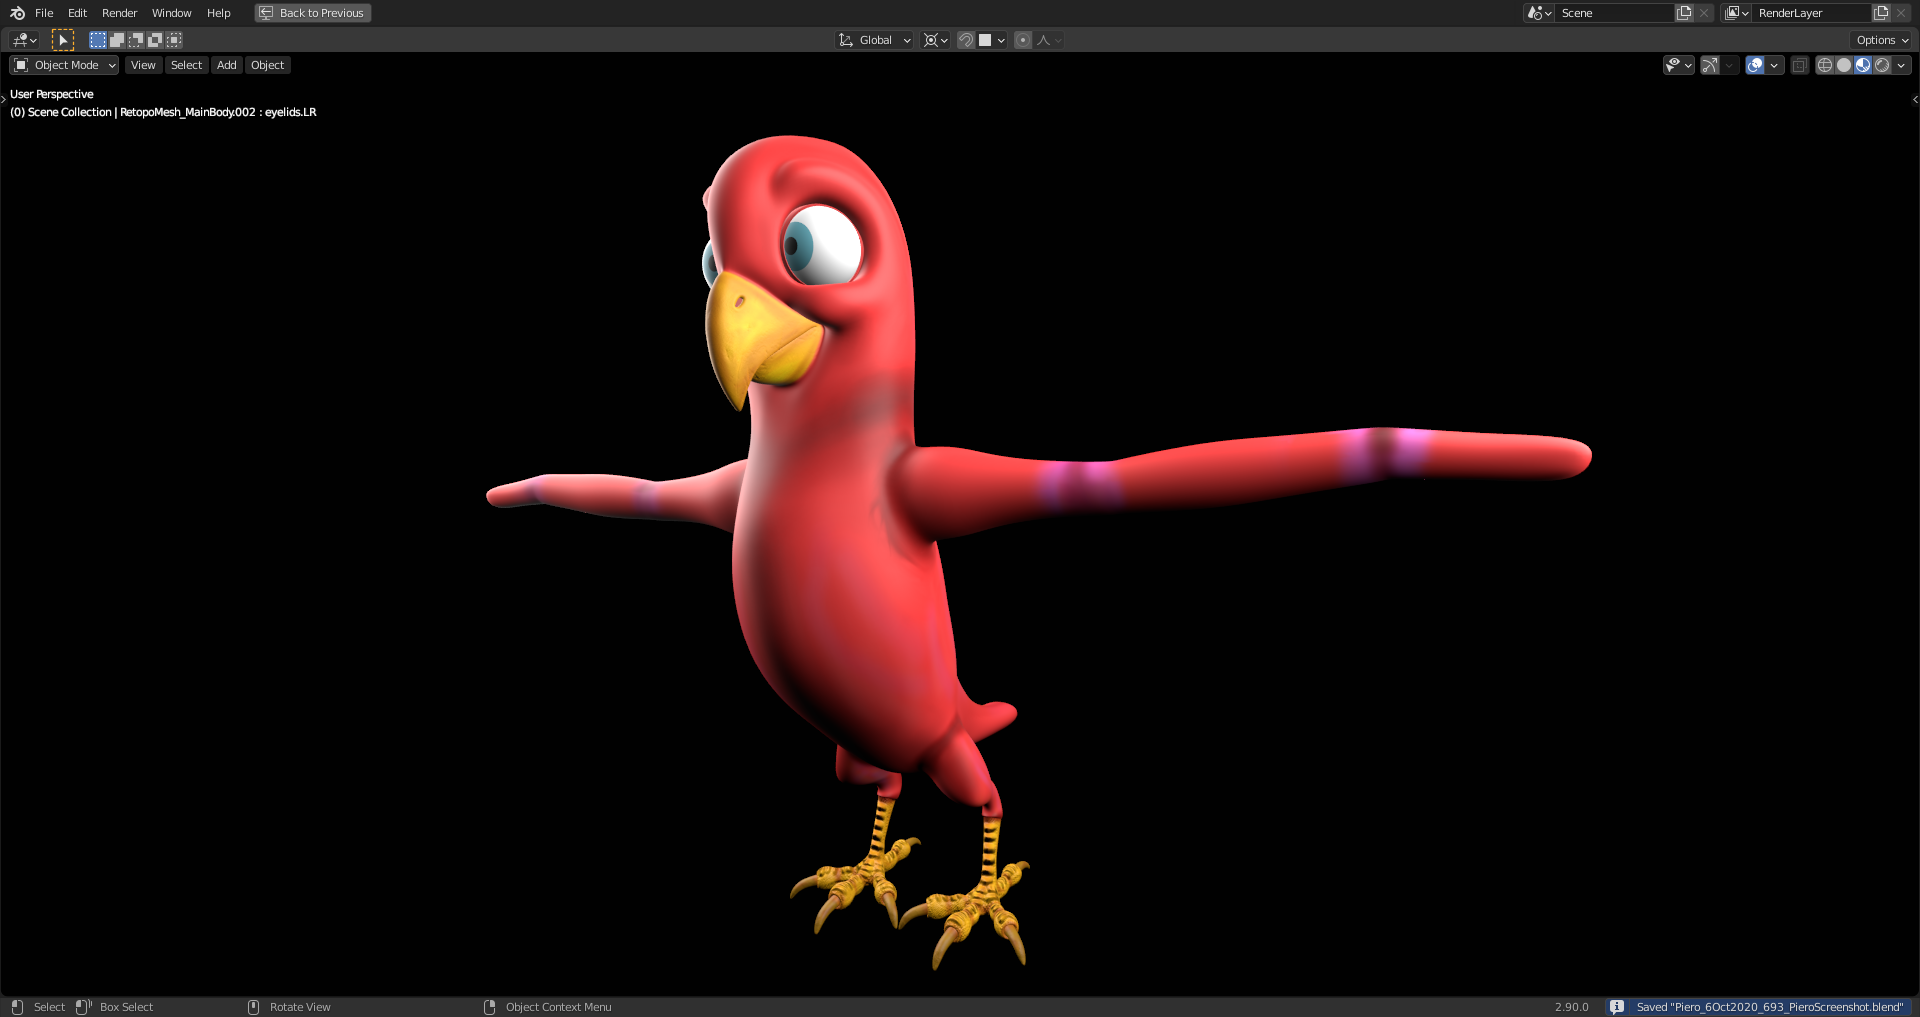
Piero is happy, too:
The "Bump Texture" is now blended into the "Color Texture" using the "Overlay Blend Mode" and selected parts of the "Bump Texture" duplicated several times in order to amplify that effect:
1) Original "Color Texture":

2) Color Texture with "Bump Texture" blended into it:

This is the list of all mixed in layers:

The layers labeled with "Claw", "Beak" and "Talon" are duplicates of these body parts from the "Bump Texture" named "Piero_BUMP28.png" and "Visible" is the final "Color Texture" created from all the layers below in the layers list.
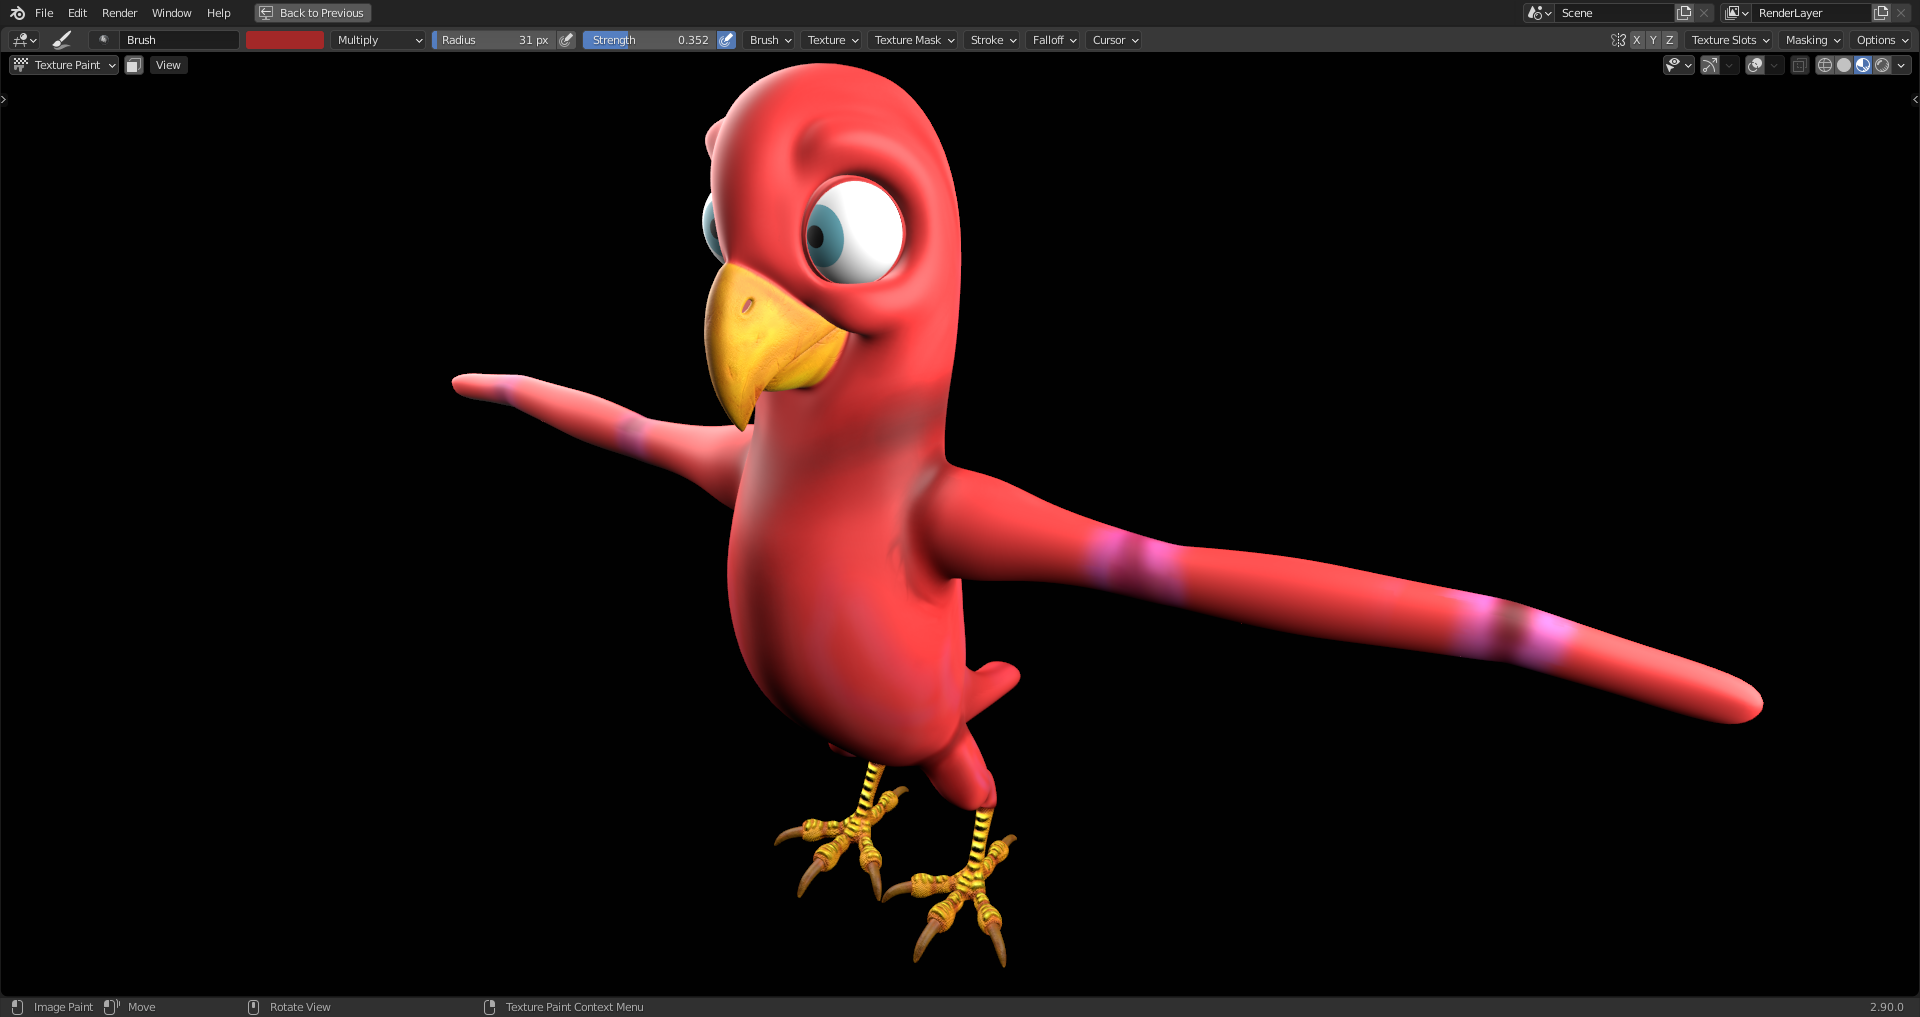
With that texture applied, Piero looks like this:
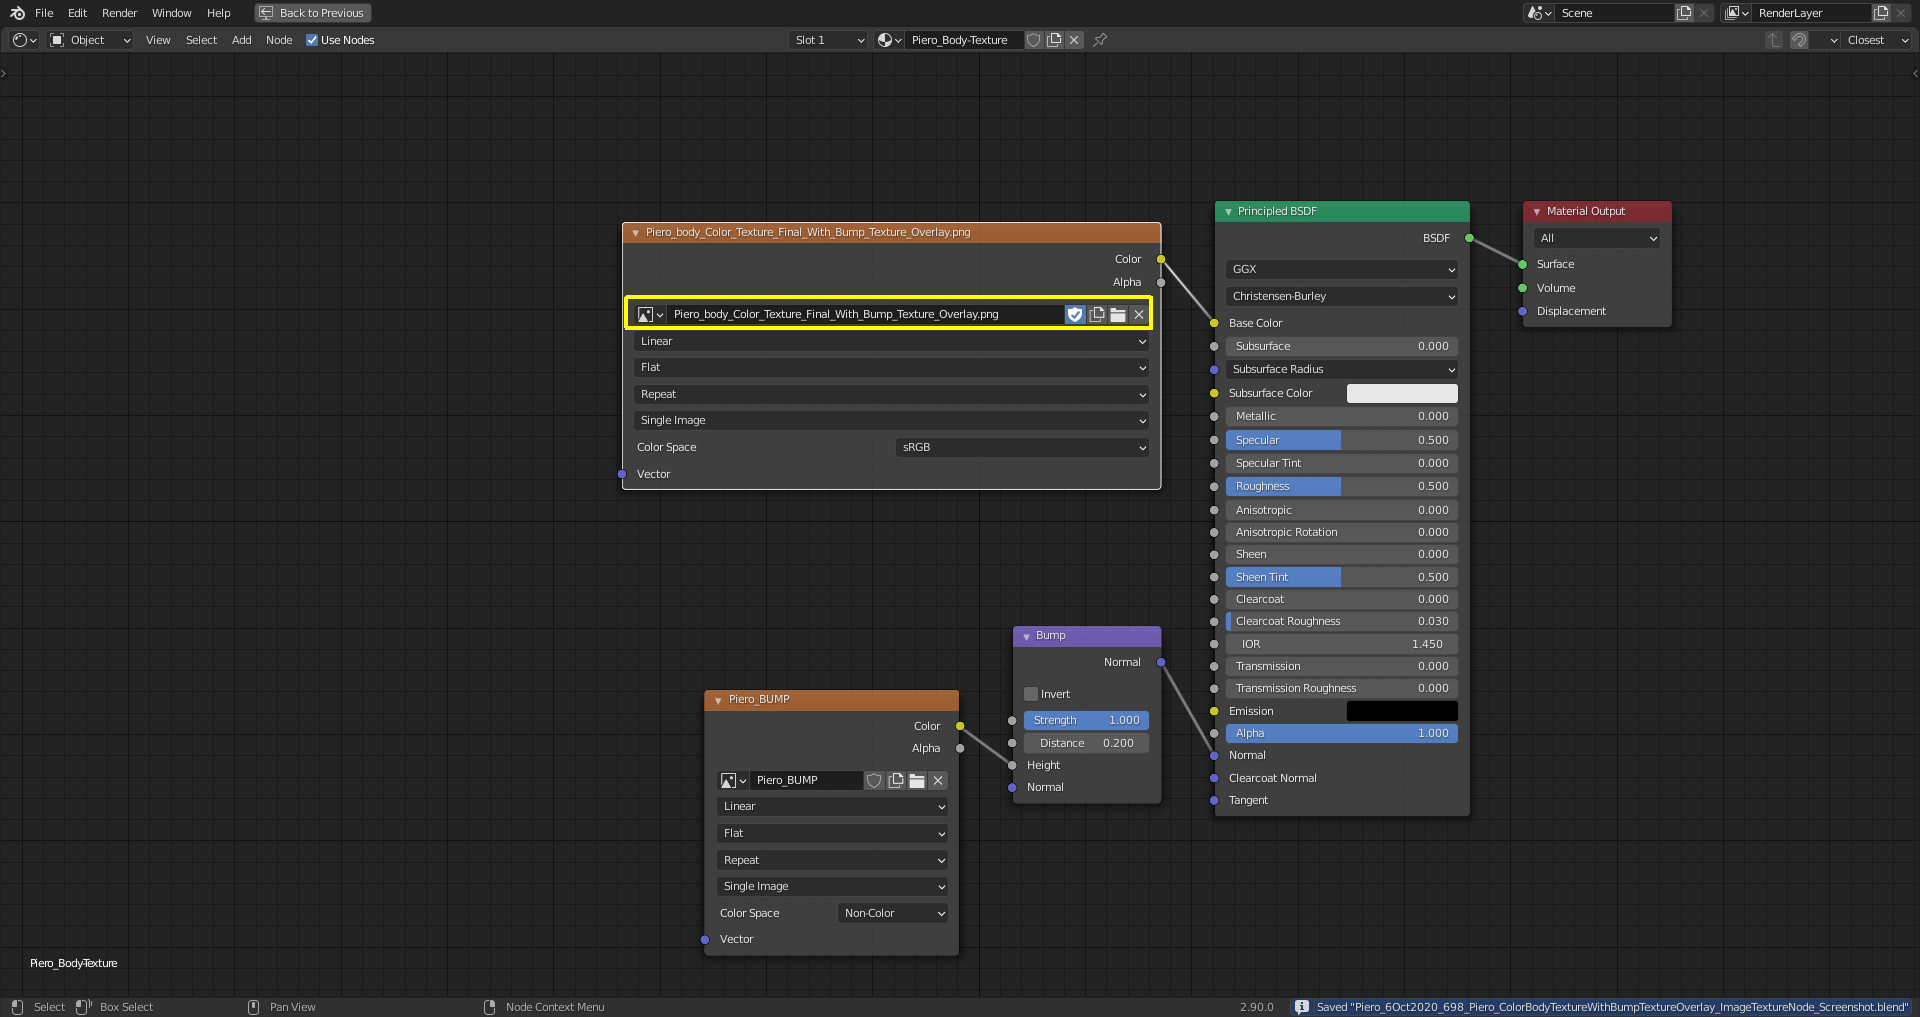
In order to use this texture on your model, you have to select it in the image texture node:
