UV unwrapping the toes and the legs separately and then joining them gives me this result:
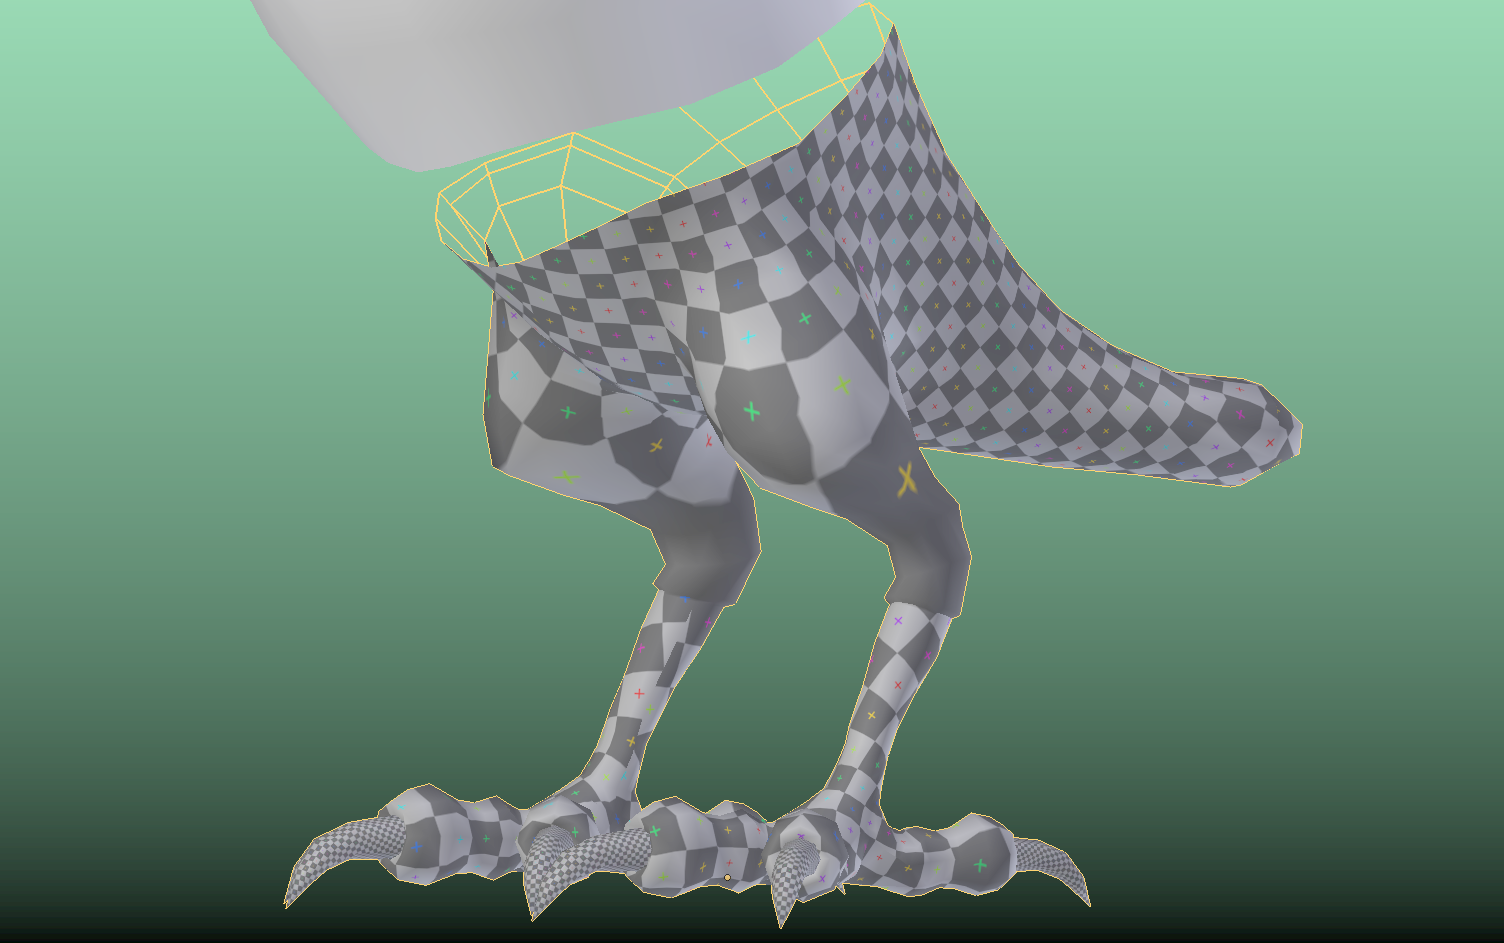
Is there a normalize UV islands that would fix that?
P.S. Your Pierro is coming along awesome Ingmar ![]() duerer
duerer
The newly created bridging "Edge Loop" creates a very distorted "UV Map Island":
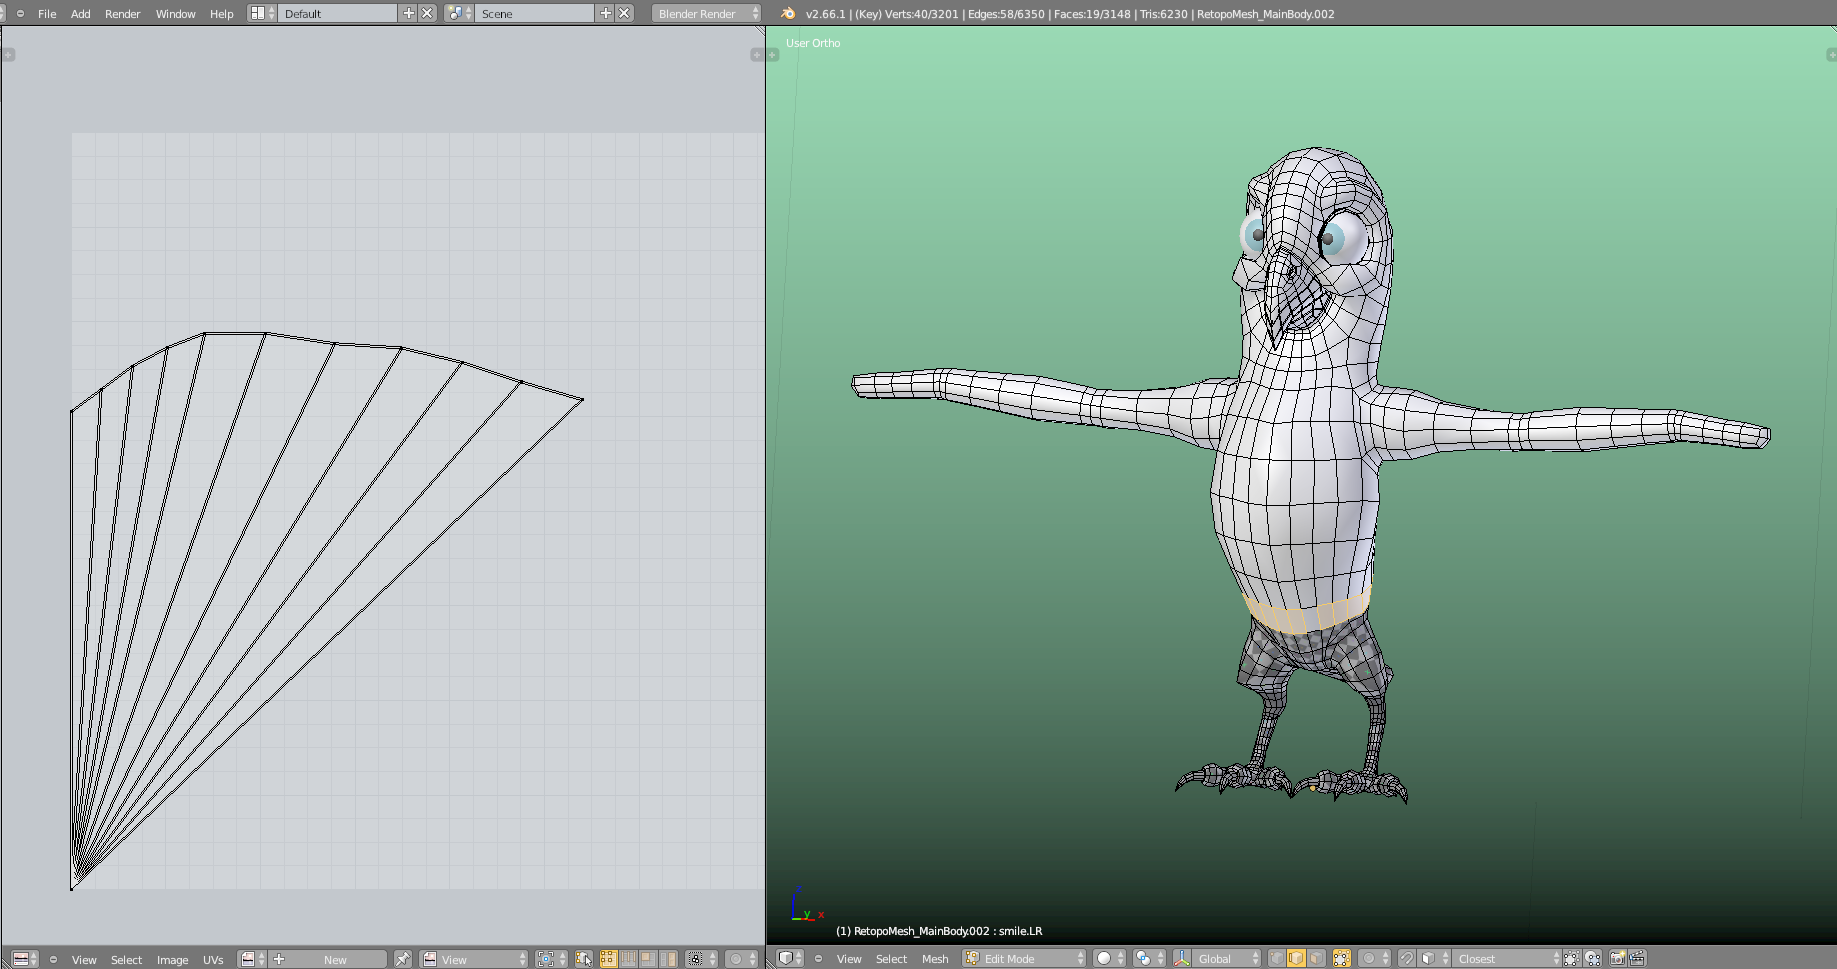
Thanks, ![]() blanchsb 😀! The part from the thighs upwards will be covered with feathers so that the stretching at the thighs shouldn't matter, but I don't know what Master Kent will say 😉😁. Isn't there something called "UV Sculpting" so that you can smoothe the "UV Map" in order to relax areas with strong stretching? But I haven't checked whether this is already a part of Blender 2.66.1 that I'm using since Kent uses it for this course
blanchsb 😀! The part from the thighs upwards will be covered with feathers so that the stretching at the thighs shouldn't matter, but I don't know what Master Kent will say 😉😁. Isn't there something called "UV Sculpting" so that you can smoothe the "UV Map" in order to relax areas with strong stretching? But I haven't checked whether this is already a part of Blender 2.66.1 that I'm using since Kent uses it for this course
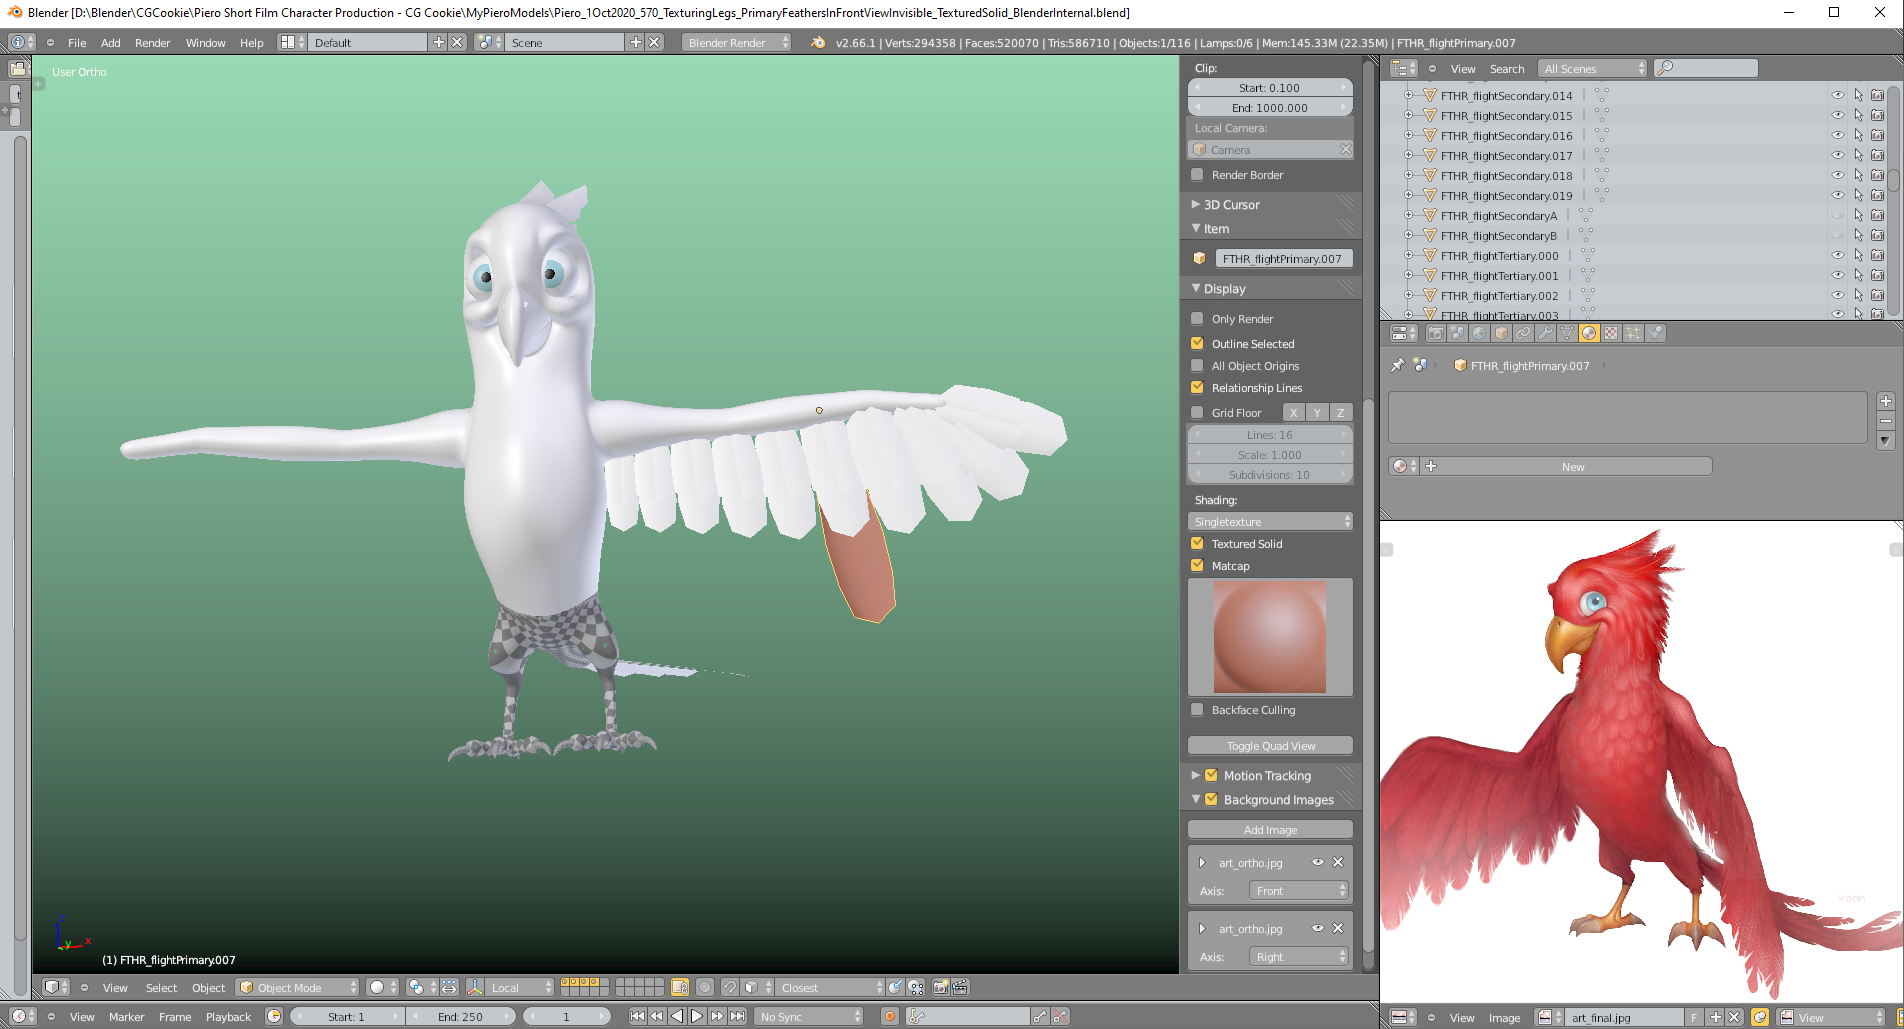
Just had a magical moment 🧙♂️! Turning on "Textured Solid" in "Blender Internal" for displaying face-assigned textures in "Solid View Mode" makes Piero's "Primary Feathers" invisible in front view (only!) as long as you don't have "Matcaps" turned on:
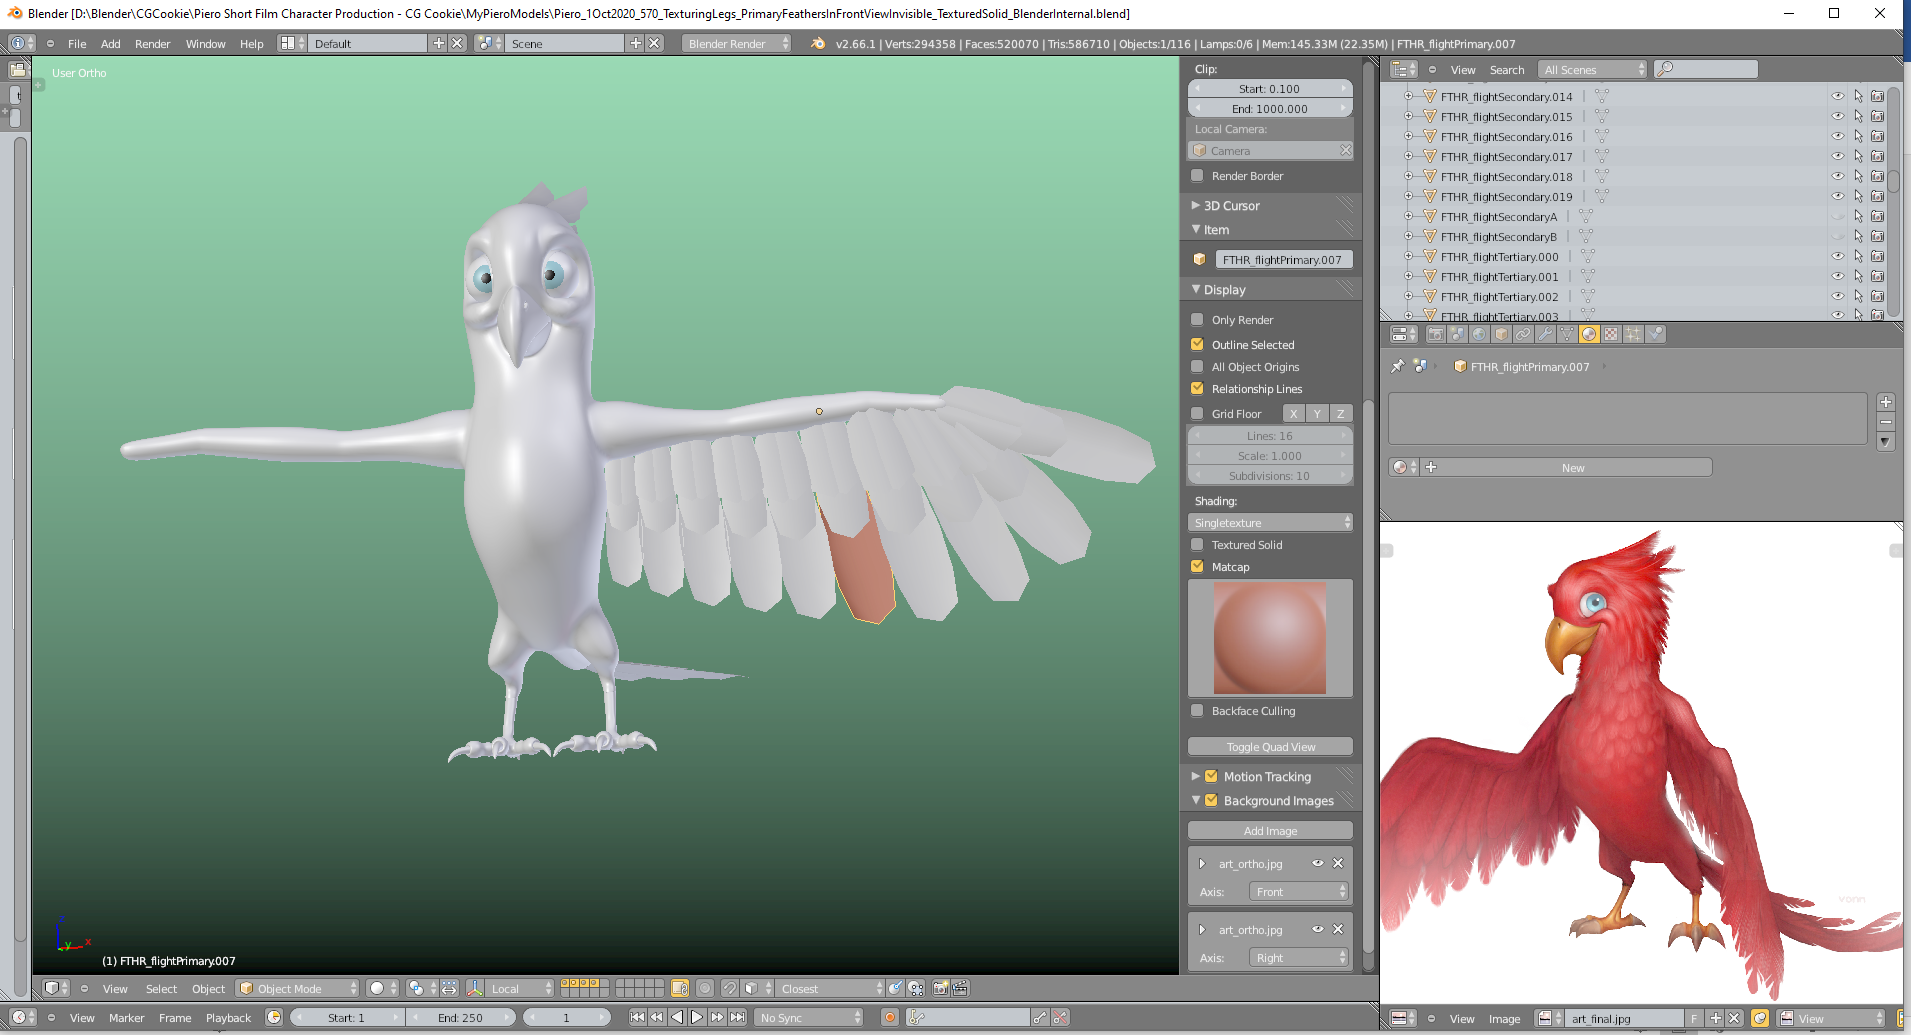
And without "Textured Solid":
Thanks, ![]() spikeyxxx, for this information! It makes a lot of fun to work with earlier versions of Blender and to see what they already could or not. And it's a little bit nostalgic, too 😉.
spikeyxxx, for this information! It makes a lot of fun to work with earlier versions of Blender and to see what they already could or not. And it's a little bit nostalgic, too 😉.
I agree!
It also makes you appreciate certain features more, in stead of just taking everything for granted and only complain about what is still missing ;)
Just found out that "Mirror Select" works in Blender 2.66.1 only in "Vertex Select Mode". Nevertheless you can call this function in "Edge Select Mode" and "Face Select Mode" too, but the result only becomes visible if you switch to "Vertex Select Mode". In version 2.71 it is displayed directly in "Edge Select Mode" and in "Face Select Mode". I didn't test the versions in between but suppose that this could have happened with the transition to Blender 2.70.
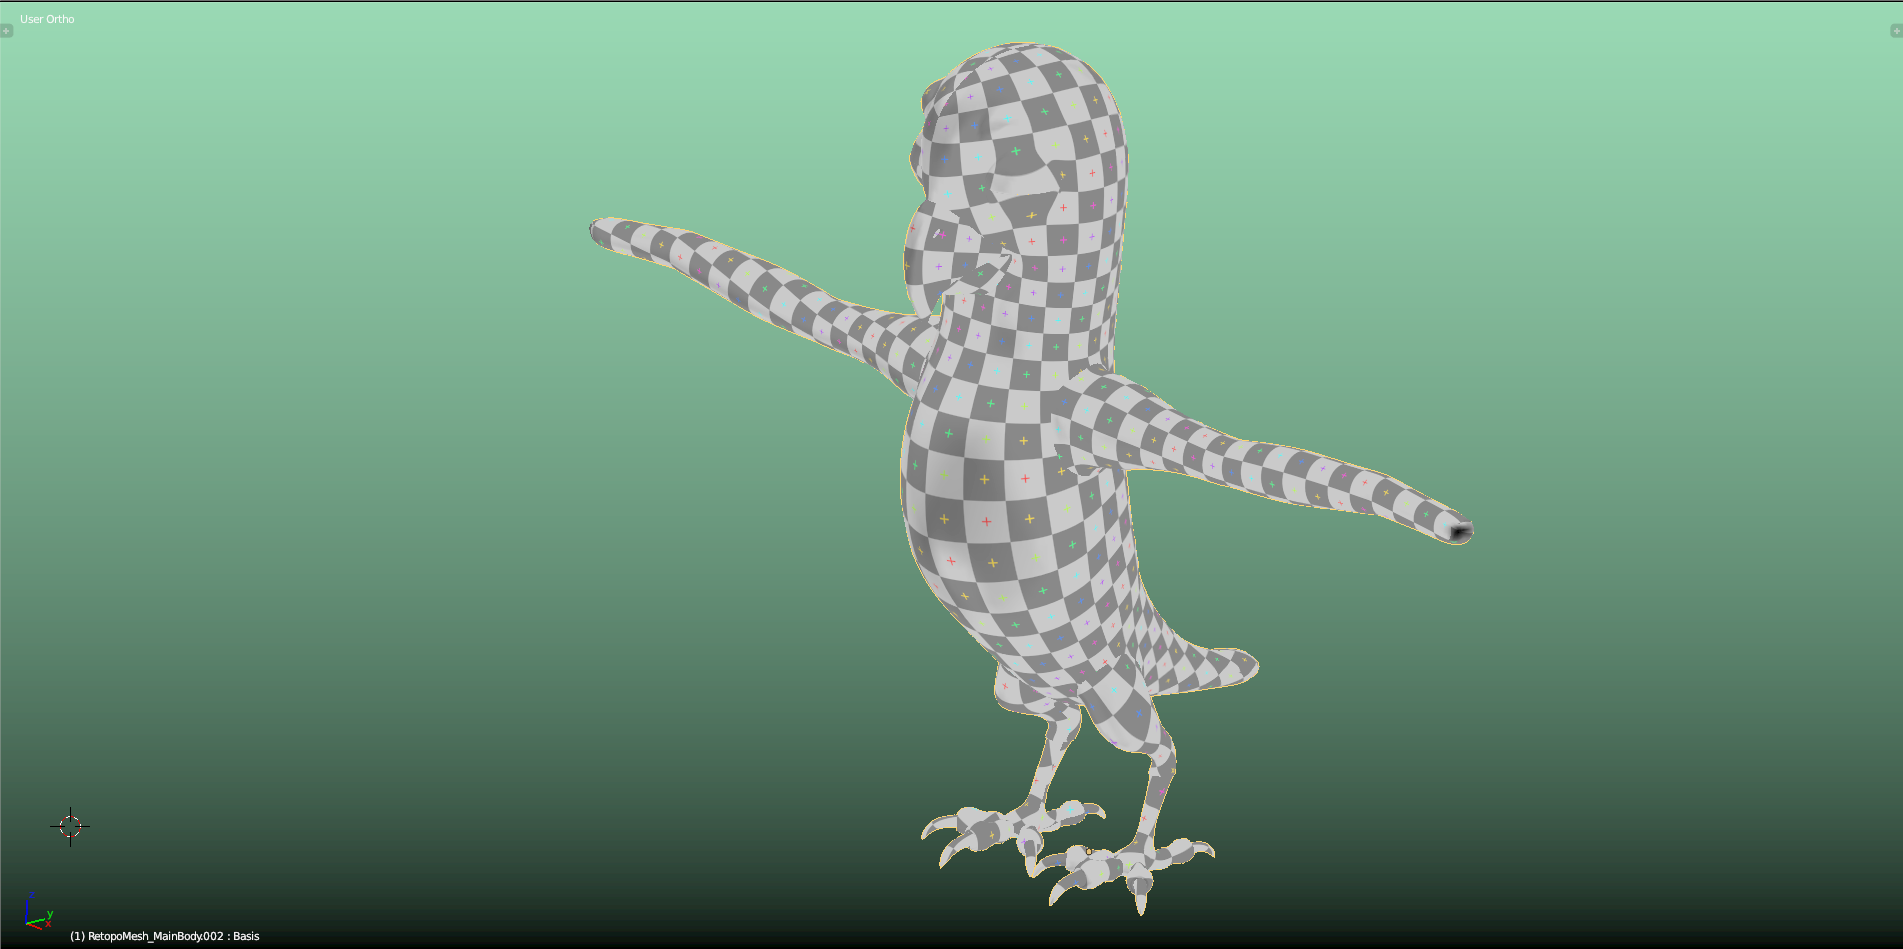
The "UV Grid" test texture shows the claw toes with an extremely high "Texel Density" compared to the main body:
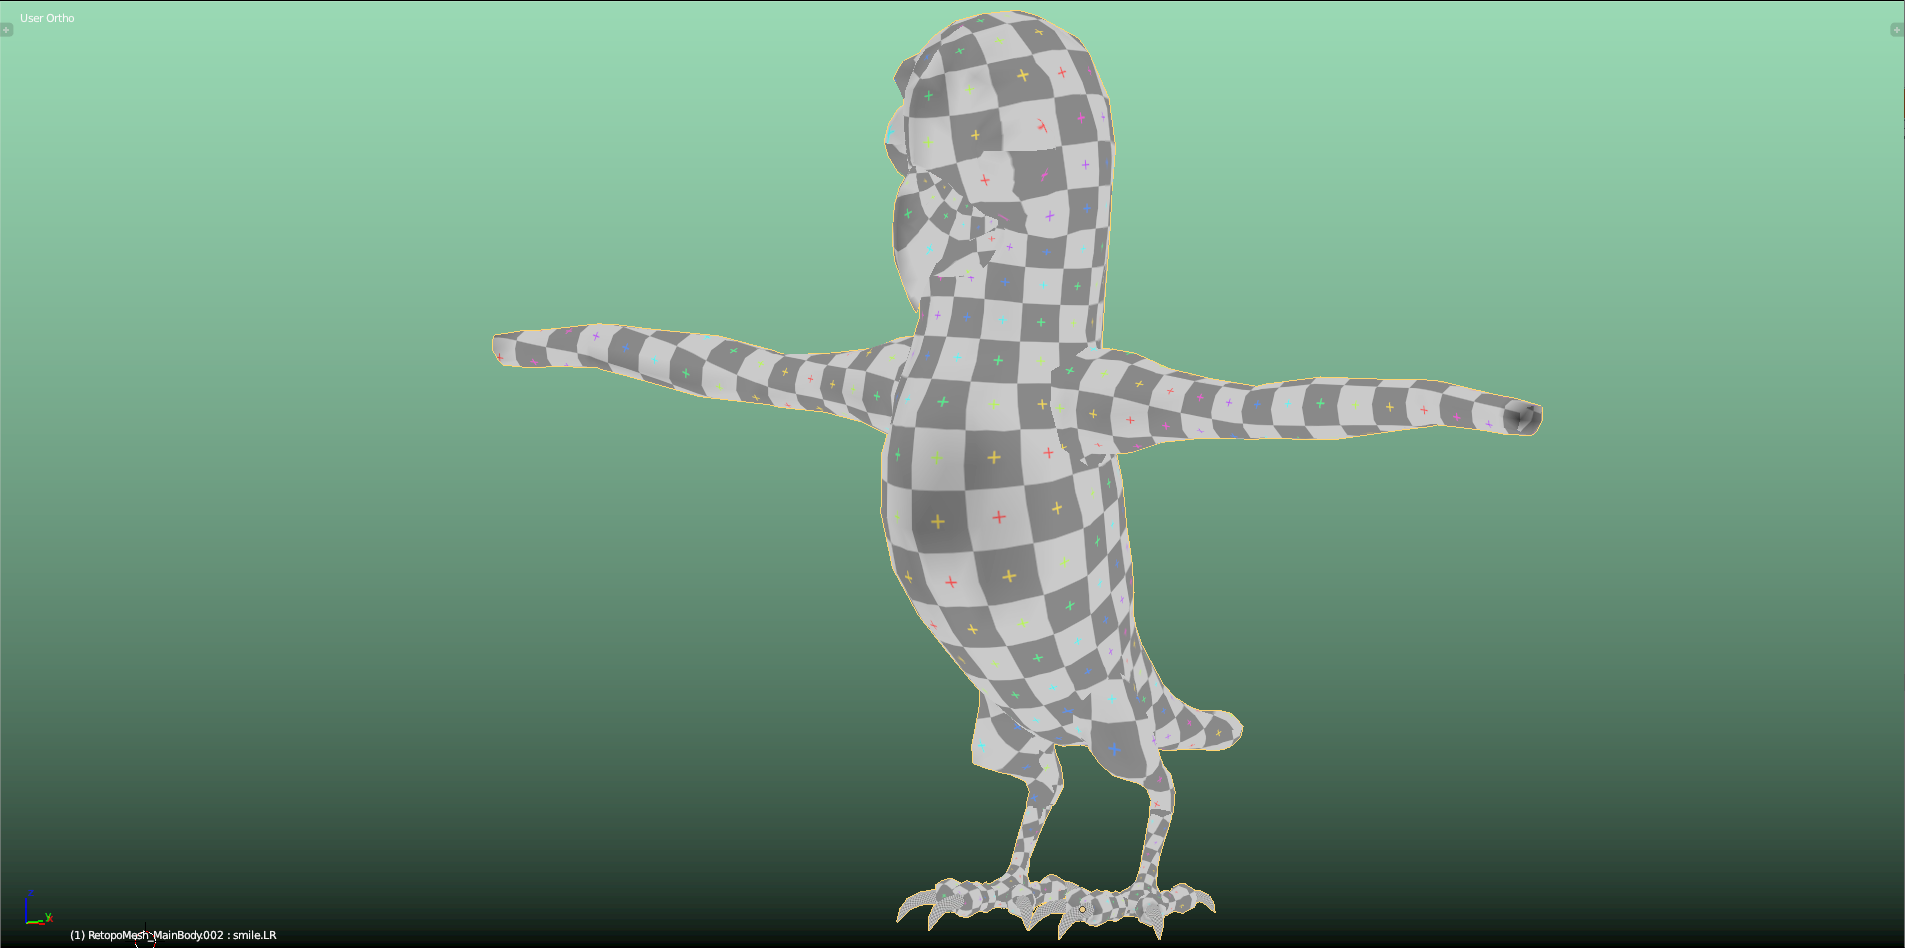
"Average Islands Scale" in the "UV/Image Editor" spreads the "Texel Density" more evenly across Piero's body:

And with some more seams at the beak, the "UV Map" looks like this (with "Average Islands Sclale" applied):

Very nice. I am not sure if you do have this, but if you have perfect symmetry on the left and right side of Pierro you could technically mirror the UV's to make more use of the texture resolution on your texture map. It comes at a price though. You lose the ability to make unique texture differences easily between the right and left side.
I'm sure there are ways to overcome that but just wanted to point that out.
![]() blanchsb In this chapter @theluthier already used "UV mirroring" for the claws. I don't know why @theluthier didn't make use of that technique when unwrapping the main body since it will be covered with feathers that would hide any visual hints for mirrored "UV Maps".
blanchsb In this chapter @theluthier already used "UV mirroring" for the claws. I don't know why @theluthier didn't make use of that technique when unwrapping the main body since it will be covered with feathers that would hide any visual hints for mirrored "UV Maps".
Mirroring UVs can save a lot of time when painting textures. Isn't it possible to bake that symmetrical texture to a new "UV Map" that shows both halfs of the model separately so that you can paint details asymmetrically onto it?
This is my packed "UV Map" for Piero:
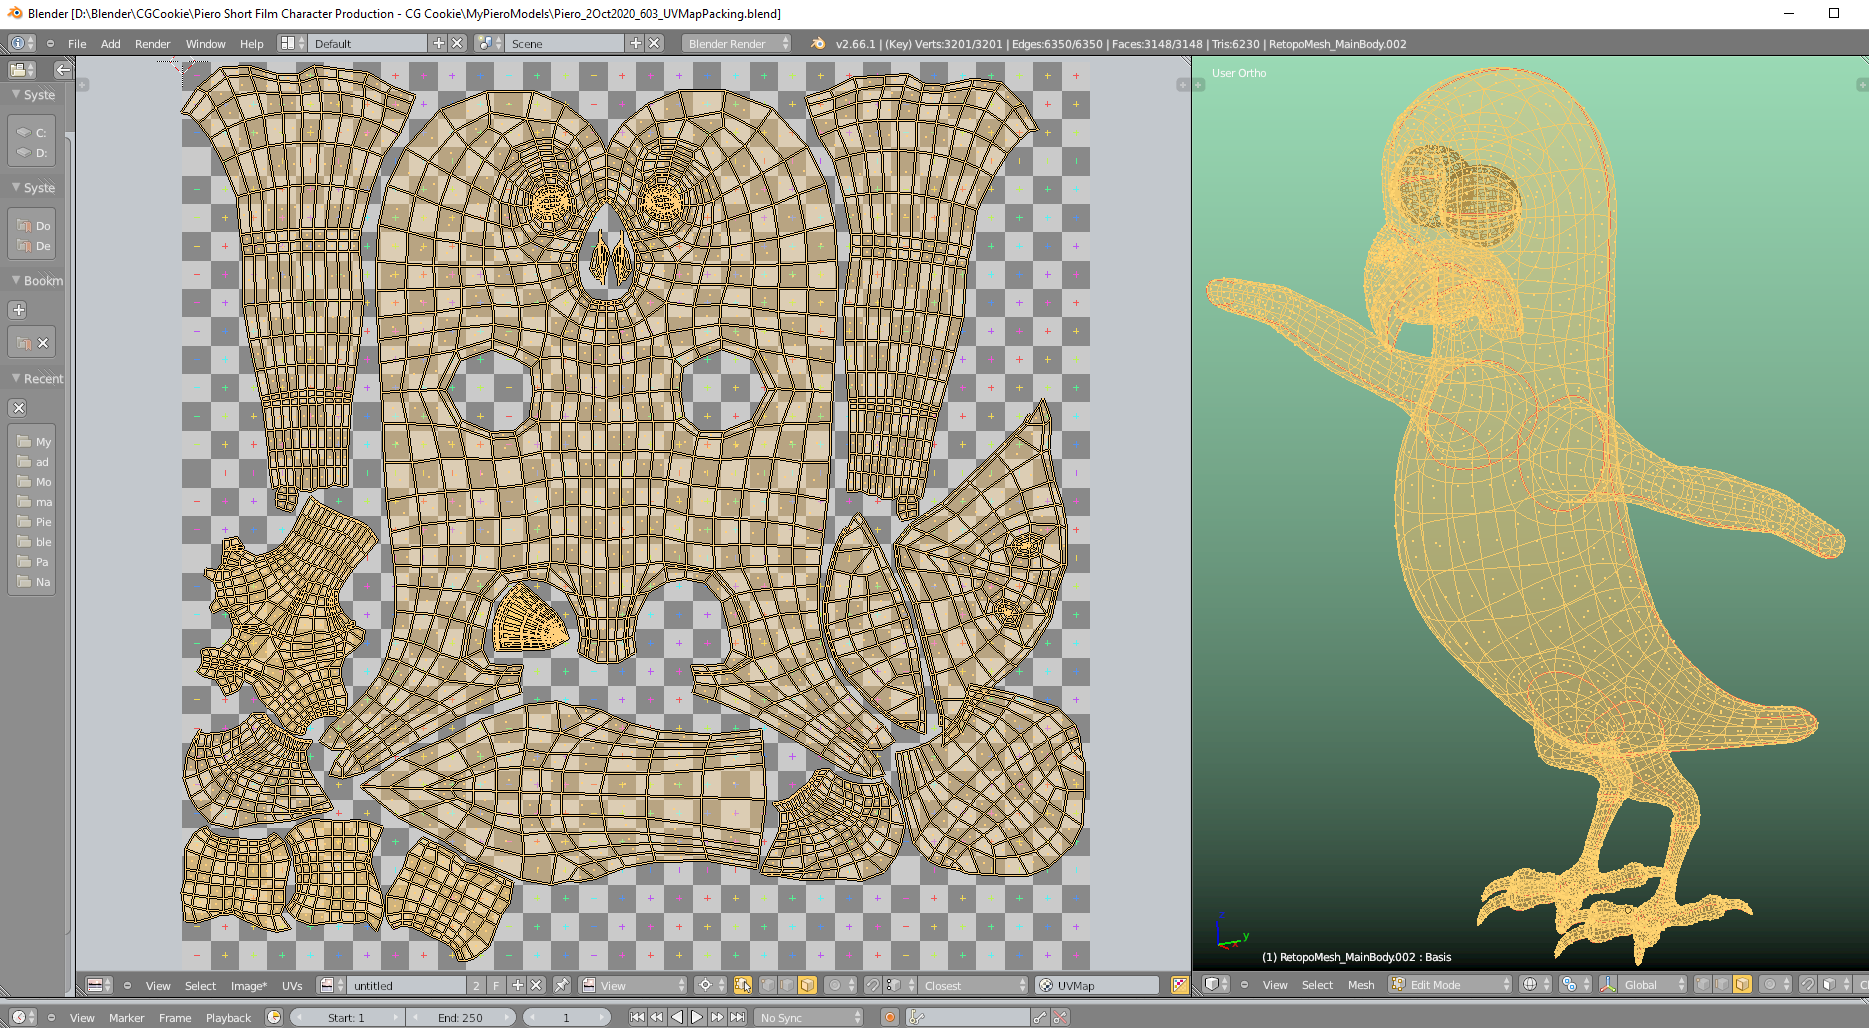
I've tried to make the "UV Islands" reflect the relative positions of their corresponding parts in the mesh. With the beak, I had to make some compromises since its "UV Islands" are relatively big but I could nevertheless manage it to keep them relatively close to each other in the bottom right and center part of the "UV Map".
PS: You can expand a selection of "UV Vertices" to the whole "UV Island" to which they belong ("Select Linked") even with "UV-Mesh-Sync" turned on with a trick. You only have to be in "Face Select Mode" because this is the only mode that respects "UV seams" on the mesh if you expand a selection on the mesh.
Mark a "UV Face" in the "UV/Image Editor" and then move your mouse pointer into the "3D Viewport". There, you can expand the selection to the limits set by the "UV Seams" on your mesh (default color: red). Now the whole corresponding "UV Island" is marked, too!
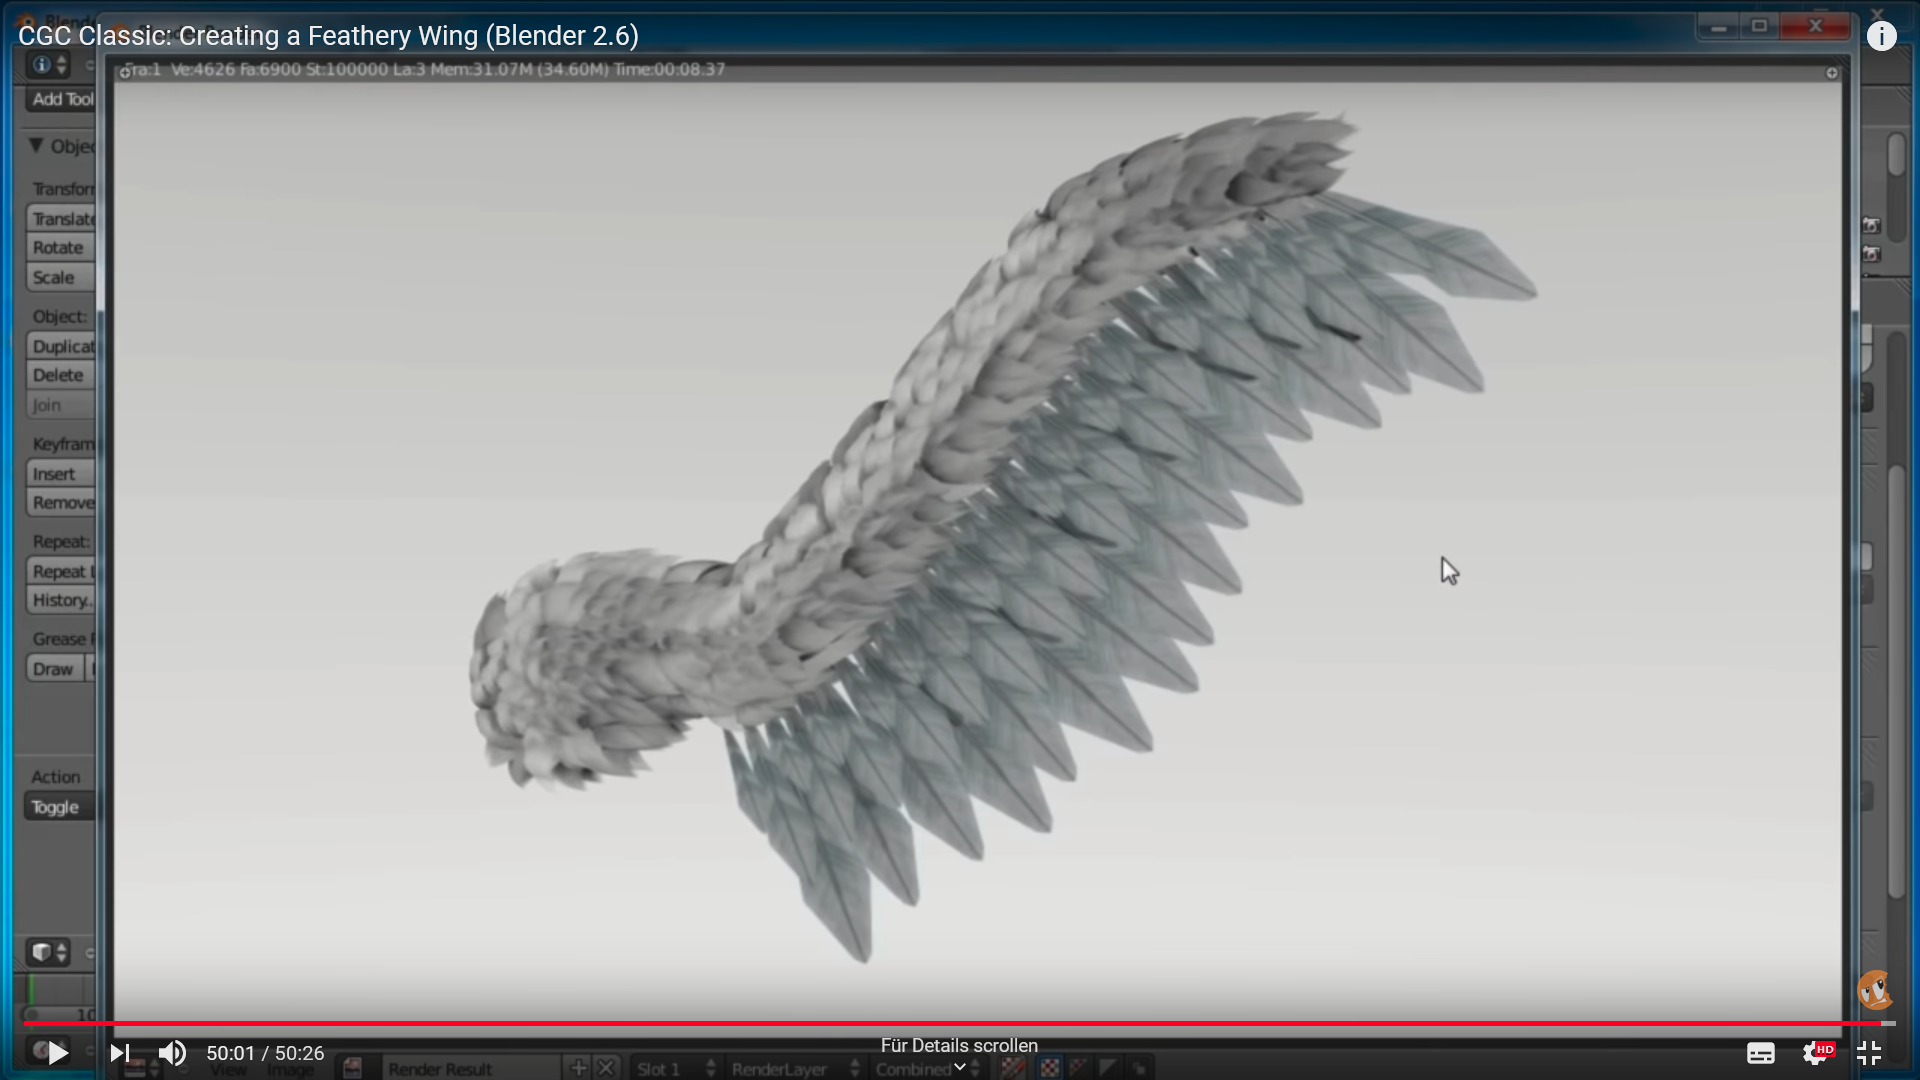
Just found this "CG Cookie Classic" tutorial on "Creating a Feathery Wing (Blender 2.6)":
I've removed some unwanted overlappings in the UV regions of the tail and the beak:

That's a good question. With photo-editing software the possibilities are endless. Within blender I don't really know though. I would think it would be a good idea to mirror those uv's if they are getting covered by feathers though..
As a side note for mirroring textures: You do have to be careful with normal maps near a texture mirror point though. If the angle is too sharp inwards along the mirror axis I know the normals can overlap projection and it creates a terrible seam.
![]() blanchsb This should be possible with a "UV Map" node in your Cycles node setup for texture baking in order to specify a different "UV Map" than the one you used for symmetrical texture painting. And the new "UV Map" should be the one from unwrapping after the application of the "Mirror Modifier". But I've to try it out whether it works like this.
blanchsb This should be possible with a "UV Map" node in your Cycles node setup for texture baking in order to specify a different "UV Map" than the one you used for symmetrical texture painting. And the new "UV Map" should be the one from unwrapping after the application of the "Mirror Modifier". But I've to try it out whether it works like this.
A propos "Normal Maps" and "UVs": I've seen recently this video from @jlampel about "Normal Maps" and sharp mesh edges.
That looks just like Piero's wing! Or does Piero's wing look just like this one...? 🤔
I honestly can't remember if I referenced this before making Piero or vice verse or coincidentally independent haha. David had a great way of teaching. Bummer that he's gone quiet in the Blender space :/