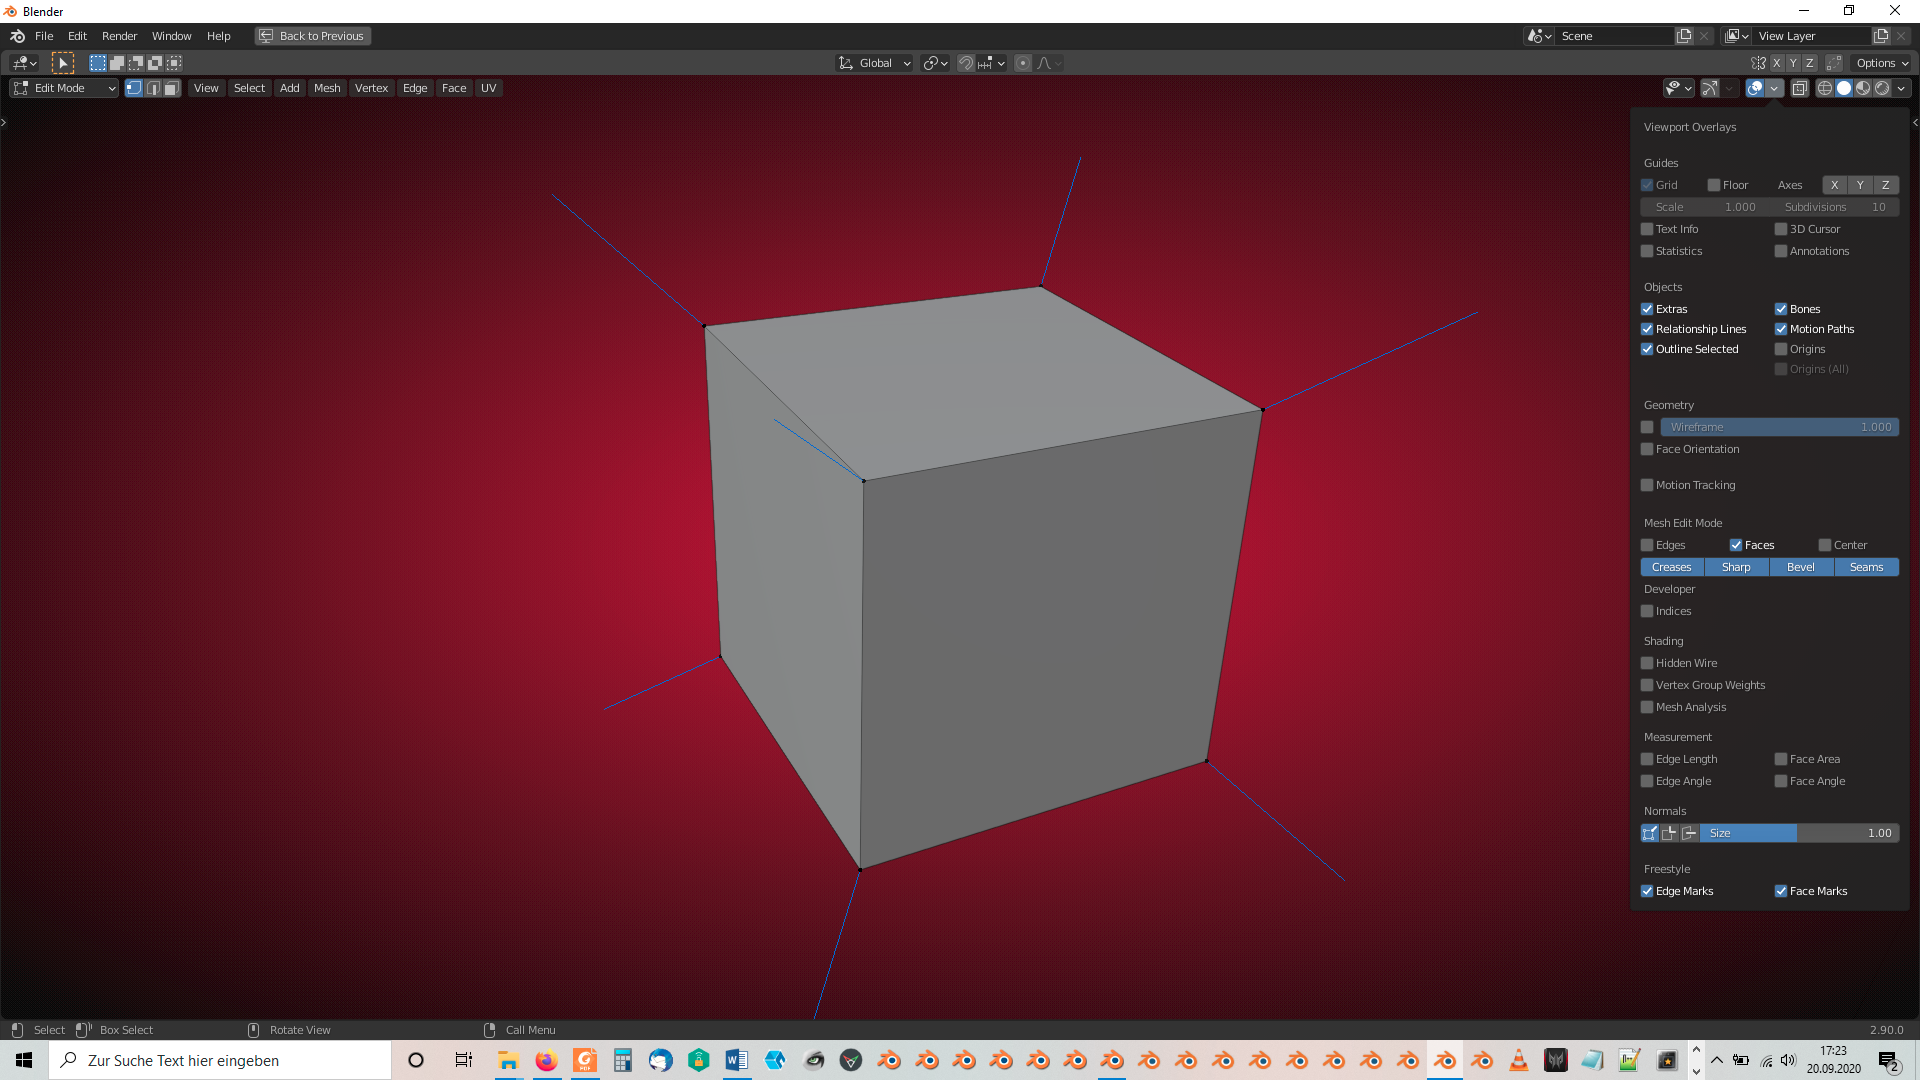
As far as I've understood it, the rays for baking "Normal Maps" use in case of not using any "Ray Cage" the "Vertex per Face Normals" (all the normals of the faces that a vertex is connected to) casting the rays in the opposite direction of the face normals as can be seen in this illustration here. So, every vertex of a default cube in Blender has 4 "Vertex per Face Normals" (also called "Split Normals") which can be made visible with the appropriate overlay in Blender:

If you use a "Ray Cage" (without a separate object from your low poly object chosen as "Ray cage"), then an inflated copy of your original low poly mesh (= your computing rescources saving low poly target mesh for use in a game engine) is used as "Ray Cage" . This cage casts its rays into the opposite direction of the "Vertex Normals" (the single normal being calculated by averaging the normals from the faces that this vertex is connected to) as can be seen in this illustration here.
With the appropriate Blender overlay on the default cube, it looks like this:

(Please note that the different vignette background colors in Blender 2.90 are set in the "Preferences" under "Themes". The Blue background is the default setting).
As long as you don't use any smooth shading, directions for the rays cast from the same face of the low poly object are logically the same (no interpolation needed) whereas in the second case of "Ray Cage" with only one averaged normal at each vertex, there needs to be an interpolation.
Smooth shading automatically introduces an interpolation which can cause normal map colors smacking into each other which @jlampel demonstrated with the beveled edges and edges between faces converging under a sharp angle which makes an edge definition as "Sharp" necessary. The use of an "Edge Split Modifier" has also to be taken into account.