@jlampel Is there a more illustrative description of what the "Bias" setting does when baking a "Normal Map" with "Blender Internal"?
I think Blender Internal is interesting for baking options that aren't (yet) available in EEVEE or Cycles like the image-texture-to-vertex-colors-baking for the use with "Point Density Textures" or in the case of "Normal Maps" for the "World" and "Camera" coordinate system as references for the normal vector definition. Blender Internal also has an interesting looking bake type named "Derivative" which looks like "Normal Maps" shifted into the yellowish.
Blender Internal certainly still offers some nice artistic options and is also still interesting for people (like me) who're interested in history. I'm sometimes thinking at all the hard work of many years that the programmers invested into creating and improving Blender Internal.
Ok, I was hesitant to break out 2.79 again, but it turned out to be not as painful as I thought ;)
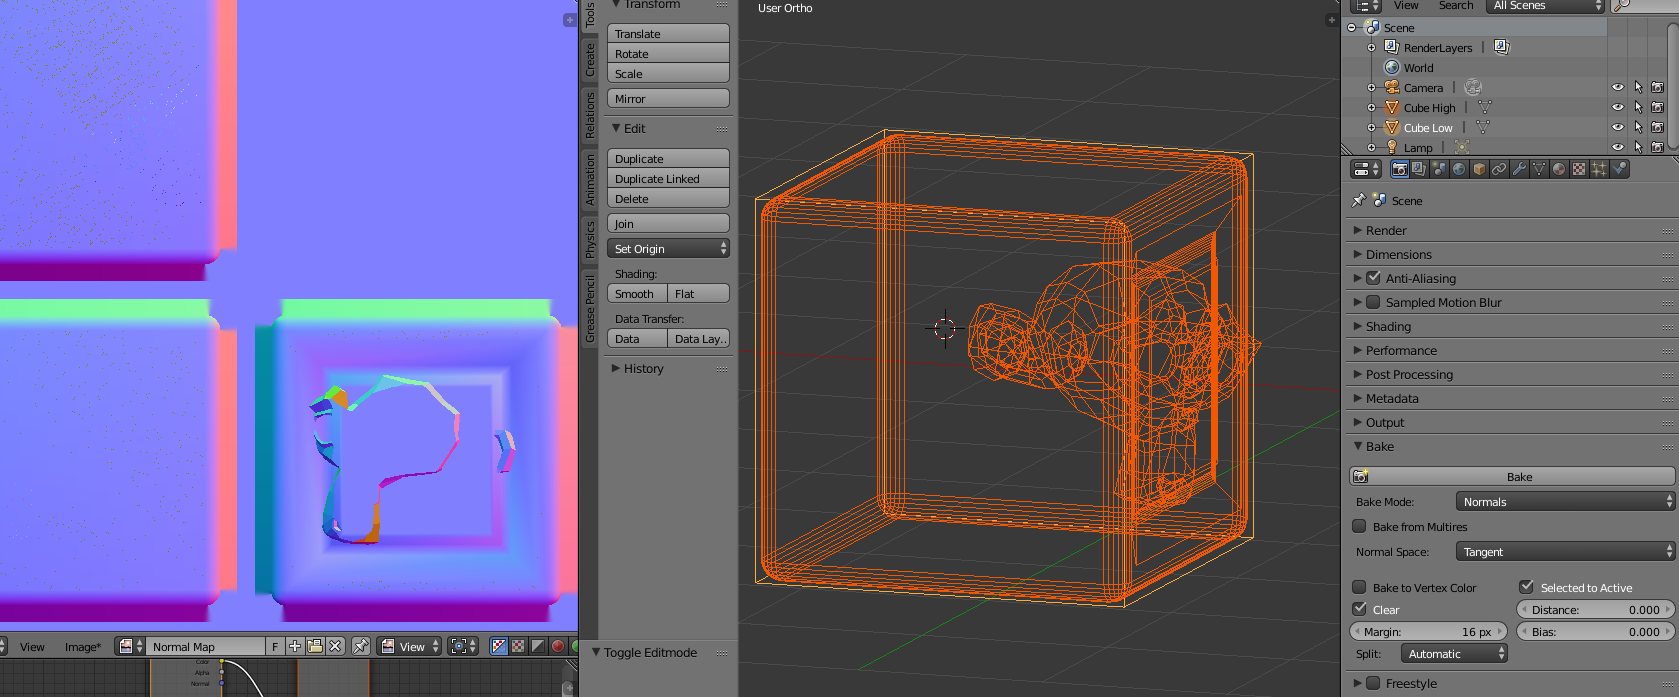
Let's say your high poly object has multiple layers of faces that they ray could hit. Here I've just got Suzanne trapped in a beveled cube.
If the ray distance (how far it travels inwards) is unlimited and the bias is set to 0, we'll get some noise from the surfaces overlapping exactly and you'll only see the part of Suzanne that's between the high poly cube's inset and the low poly cube.

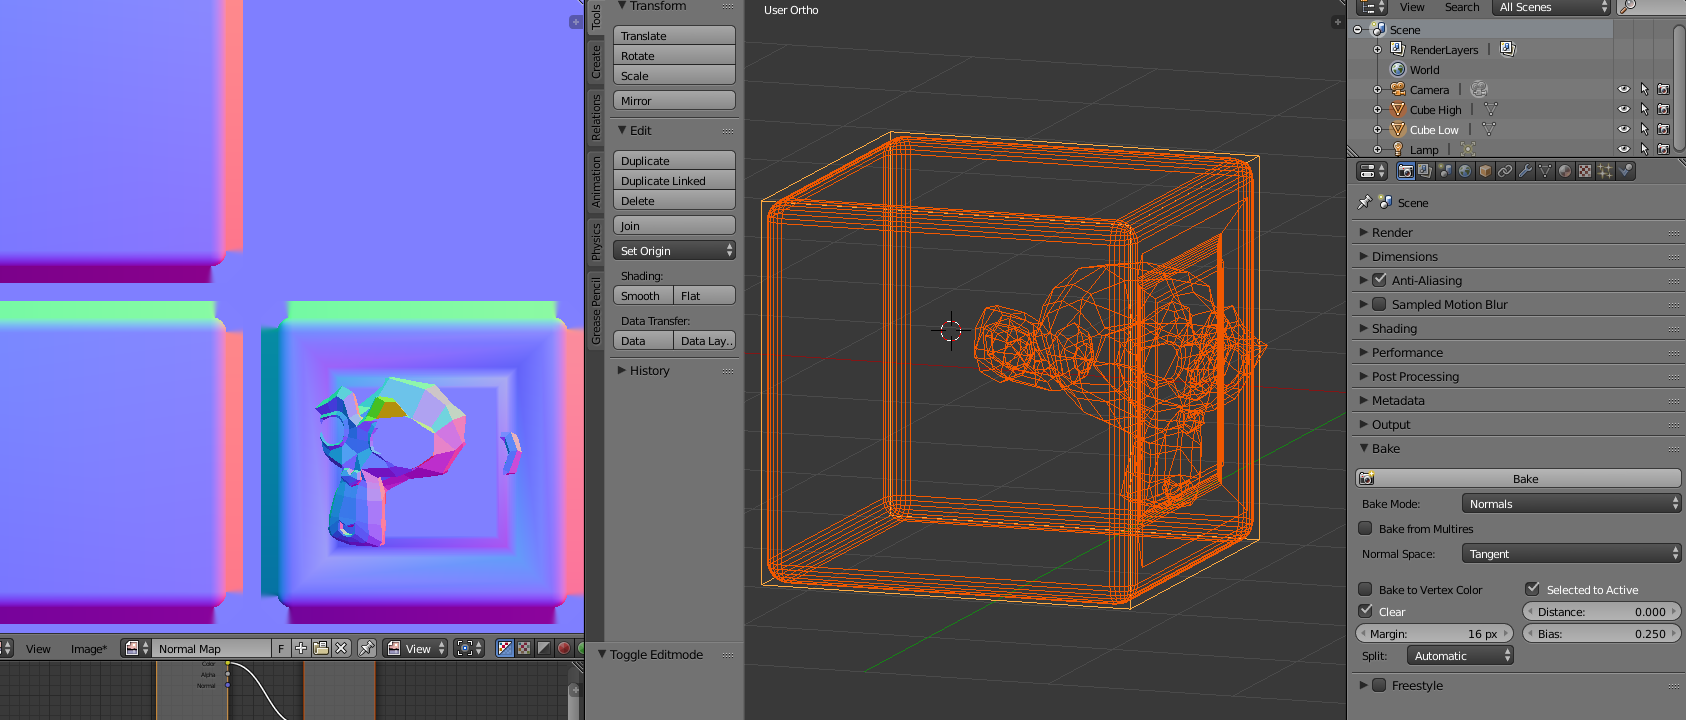
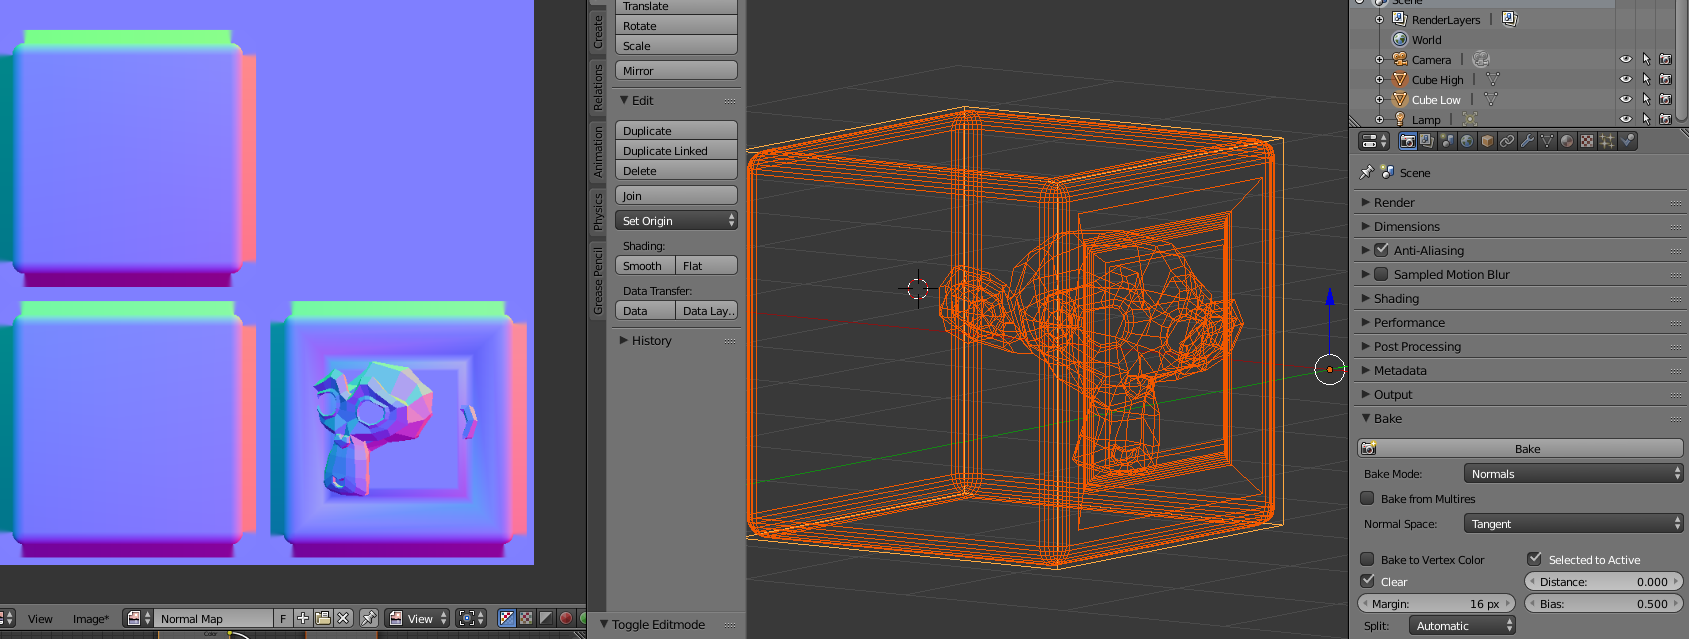
I don't have a good technical explanation of exactly what's going on (it's not moving where the rays are fired from since the bevels stay the same, and I don't think the rays are travelling backwards at all because that wouldn't help with the overlap noise), but here's what happens when you turn the setting up:


Faces outside of the low poly object start to get included, but the bevels stay the same and don't miss.
This article may also help, but it doesn't show anything specifically about the bias setting: https://www.katsbits.com/tutorials/blender/bake-normal-maps.php