Background
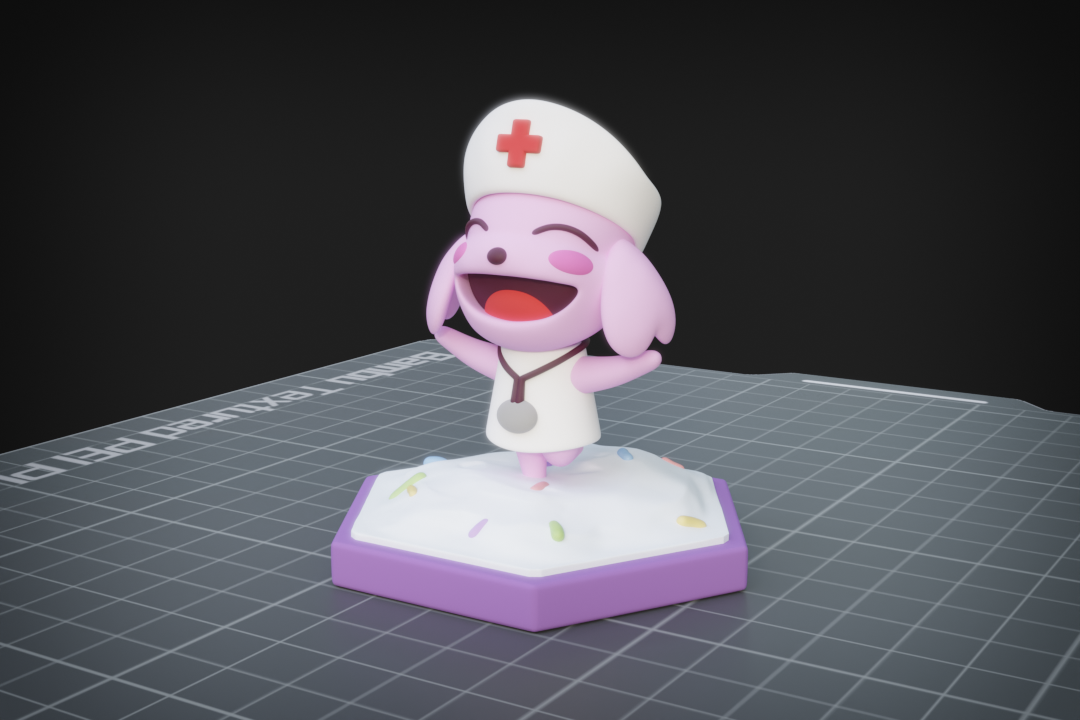
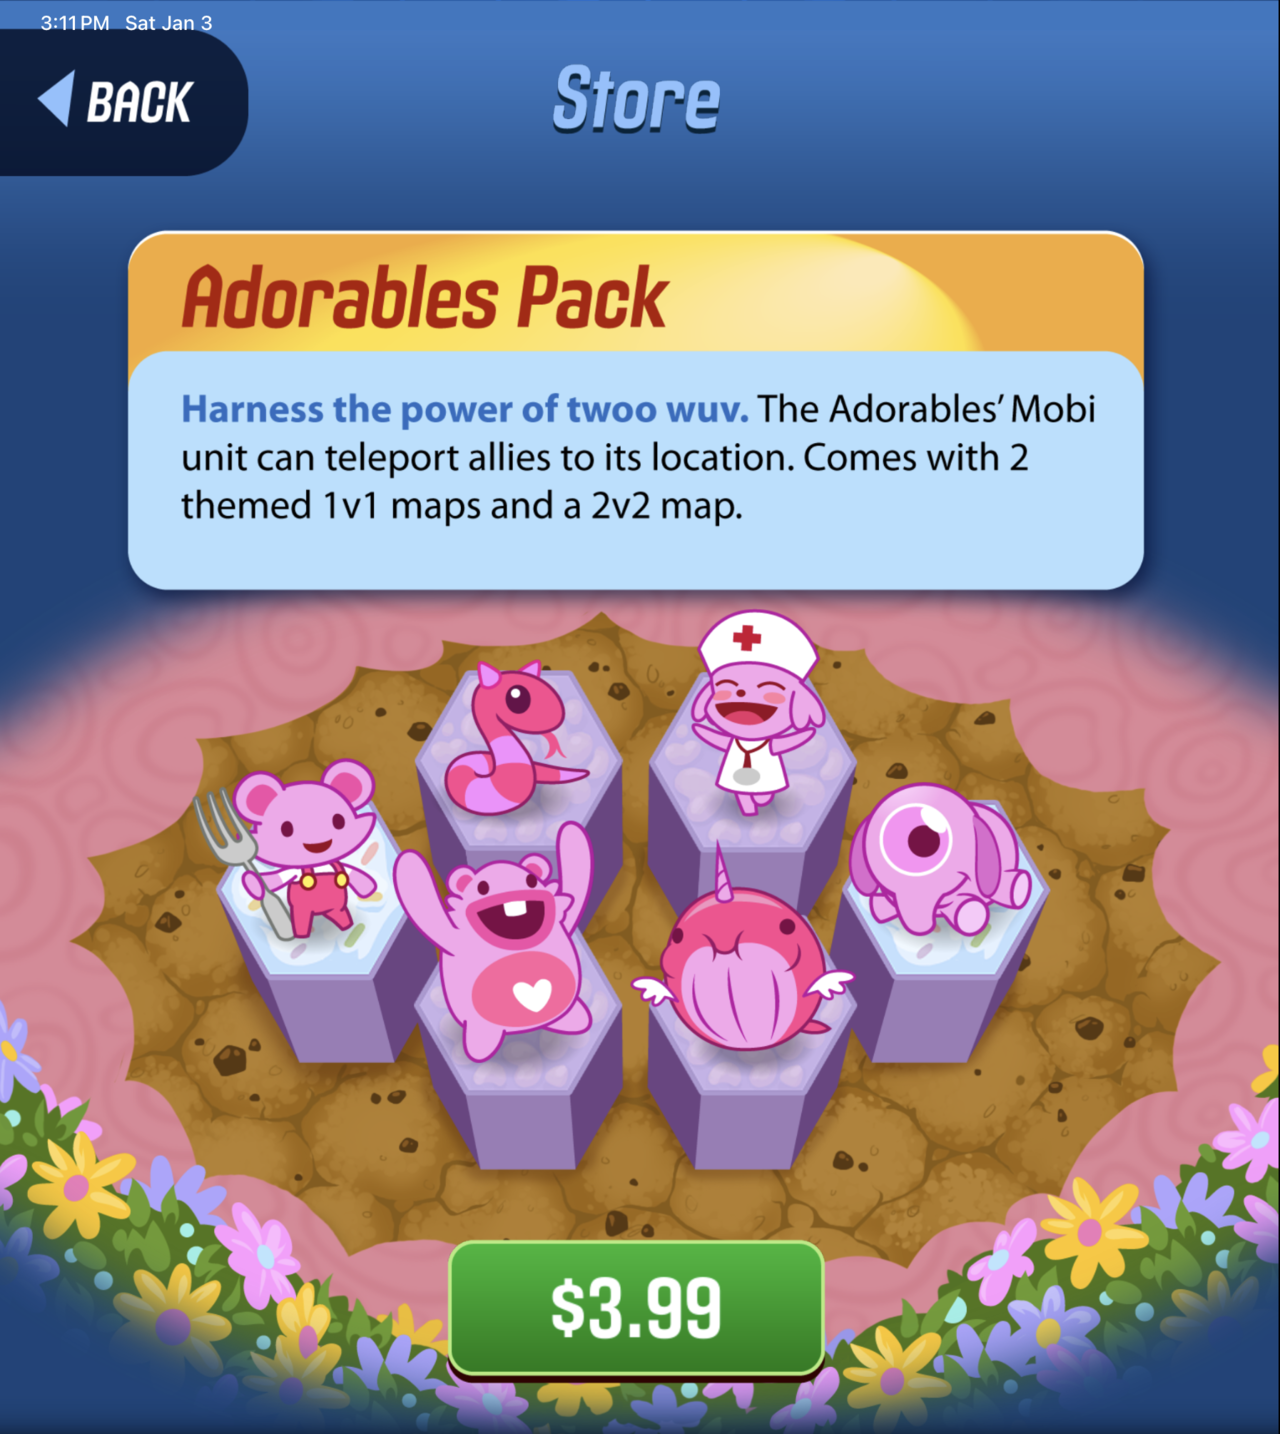
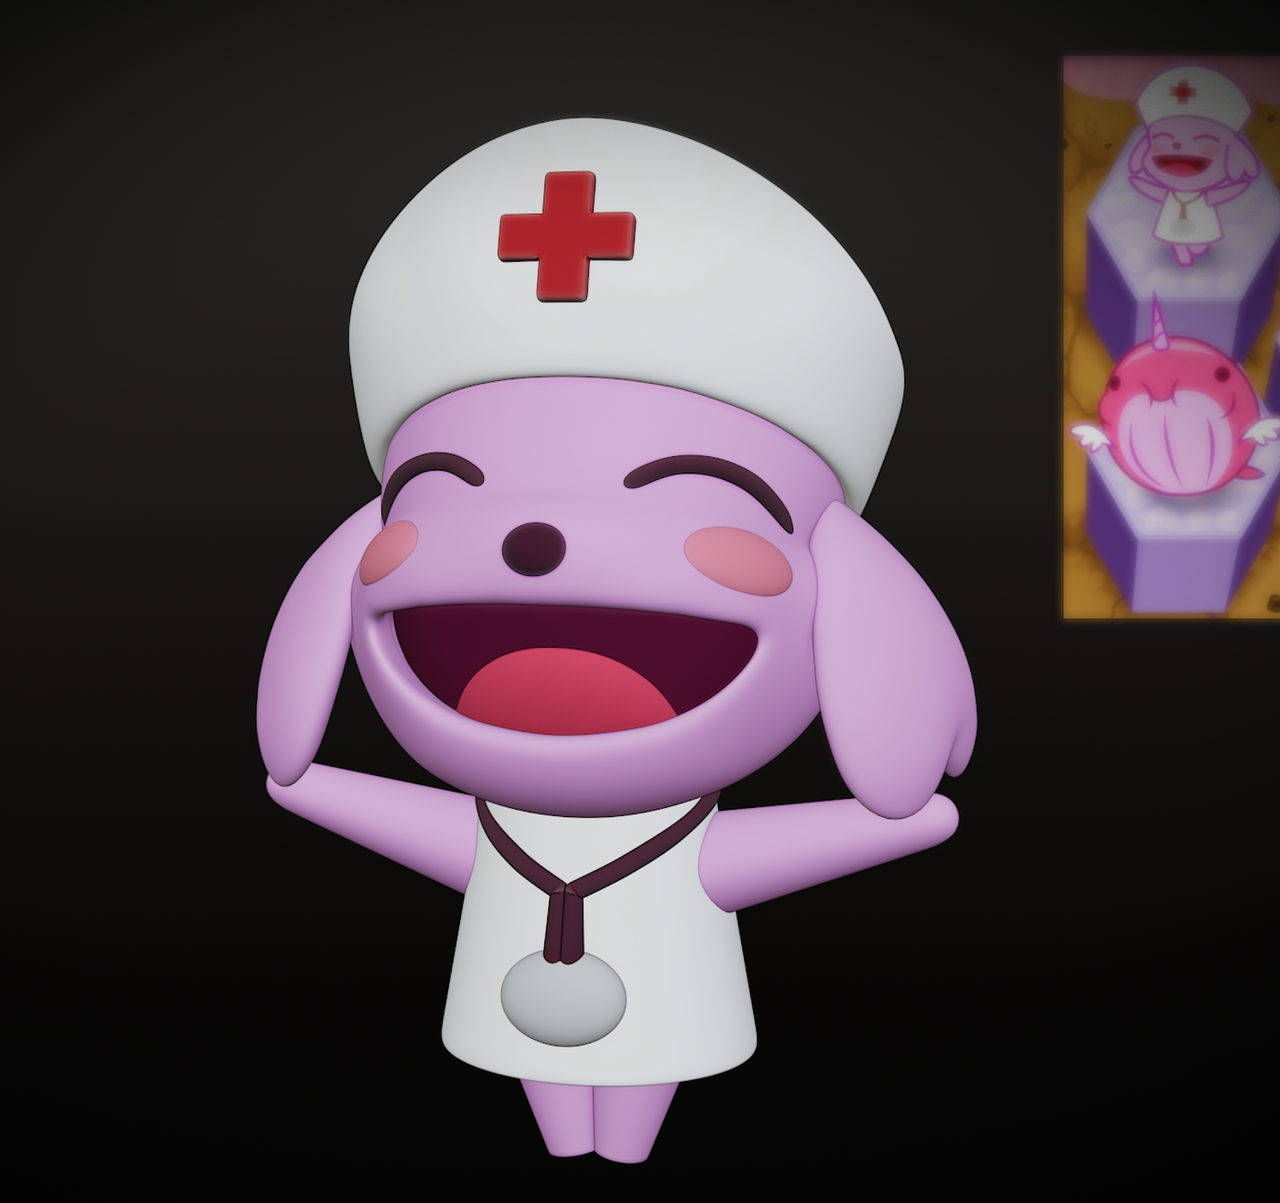
This is another tribute character from the iOS game Outwitters. Coming to the aid of the Adorables team is their version of the "Medic" which has only 1 health, but can move 3 spaces, and can heal 1 unit per turn back to full health plus an additional 1 HP.
They are critical units to both keep alive and keep near combat as they often change the tide of a match when played strategically. This character is probably the cutest in the mix on the team with a "cheering" pose normally. When healing she blows a double pawed kiss to her fellow units across the airwaves.
Modeling Process
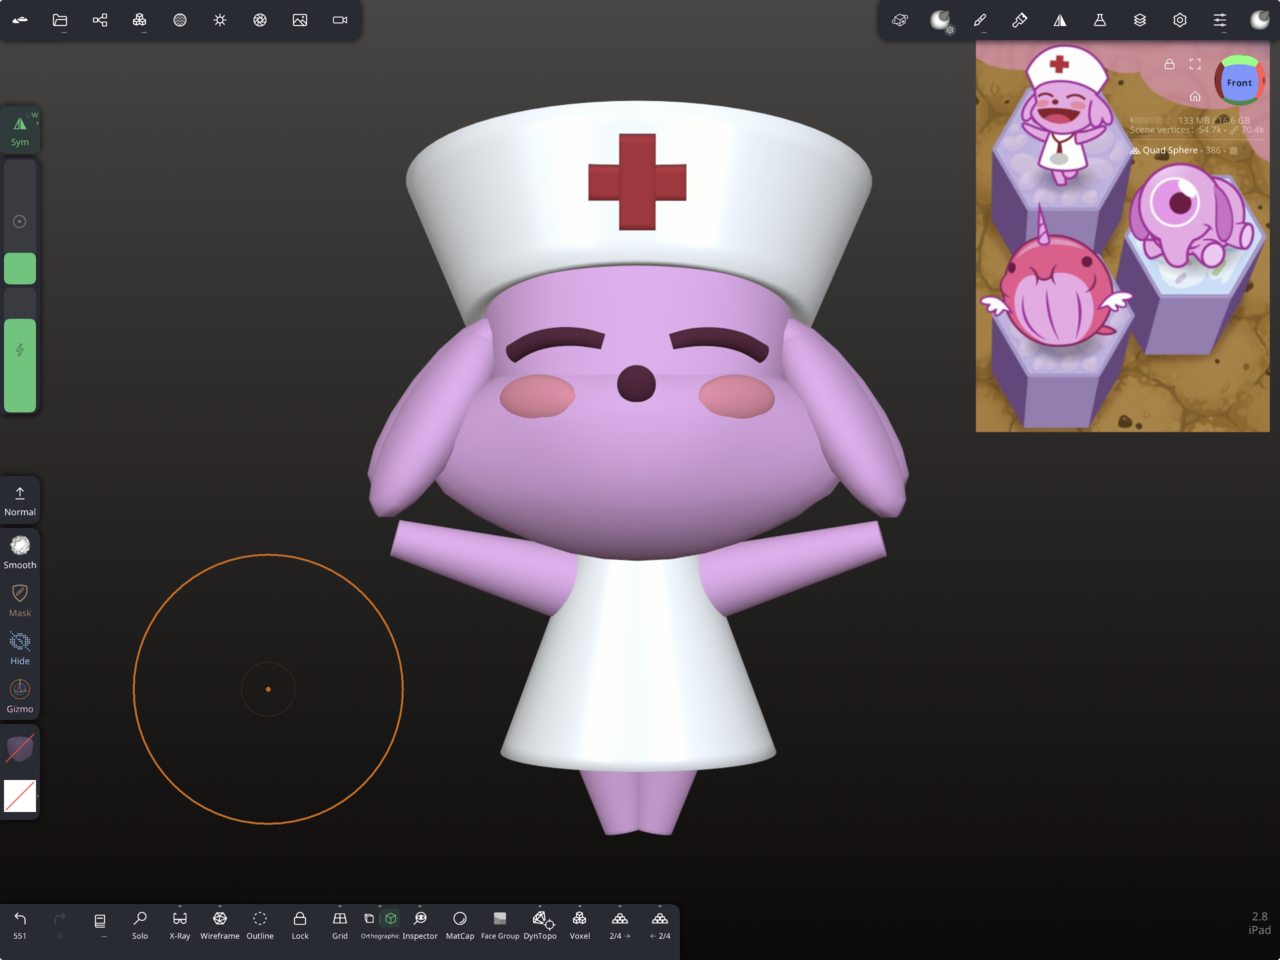
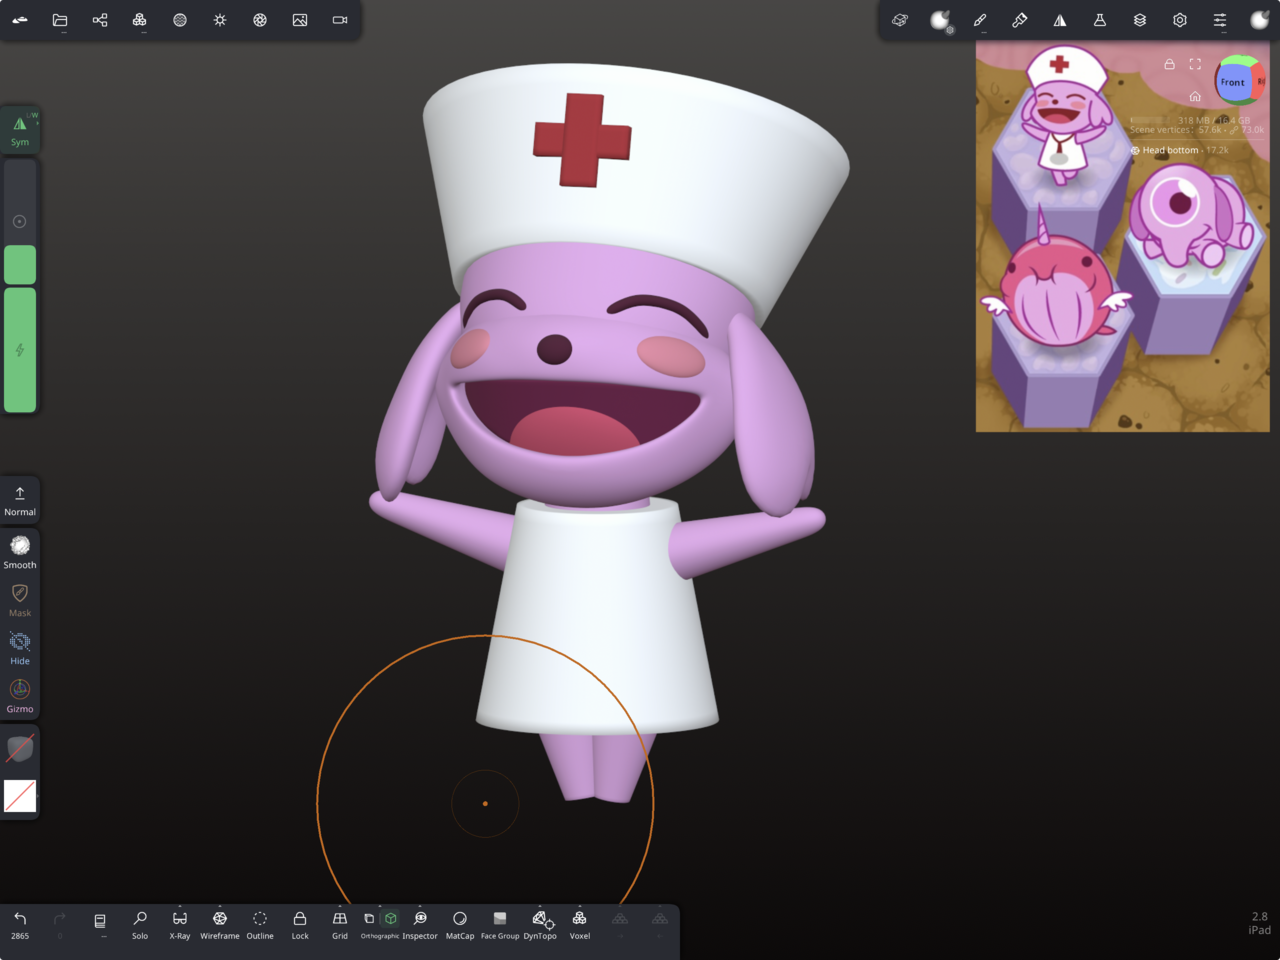
WIPS from Nomad Sculpt show me going from Blockout phase to Level 2 details and then Level 3 details.
The head was the hardest part to get, especially figuring out the "shape" language between the mouth, cheeks, and eyes since the reference image is 2D and provides no support other than hints about the supporting geometry. I got kinda grumpy that night figuring it out but when it finally took shape after much pinching/squishing/pulling I was so excited to say "there you are Peter!"
After completing the level 3 details I exported the model to OBJ file type and imported it into to blender for the final tweaks, remeshing, retopo, glamour shots, final render and compositing, and printing prep.
Printing Prep
I created a Printing Template into my blender splash screen that holds a build plate nicely aligned with it's own grid overlayed carefully onto the blender world space grid. Each division is 10mm on the build plate and I don't have to scale anything when working in metric units. I simply enter the meter value in place of the millimeter value and it goes perfectly over to the slicer without the headaches of scaling conversion.
While doing print prep on this model I used what I learned from the previous two and I coded an add-on to help me slice pieces more quickly. I made some notes while slicing to refine the add-on further, but it saves me dozens of clicks for every piece that needs to Boolean difference with another piece.
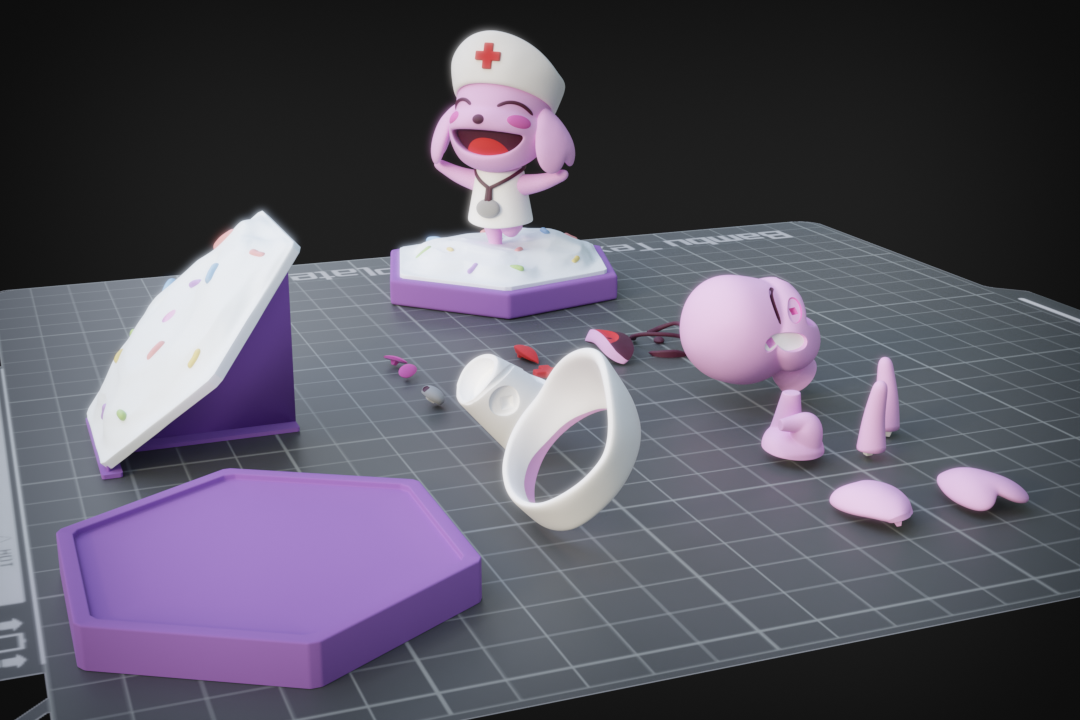
Each of the larger pieces are keyed on this project with trapezoidal prism keys to help align and hold glue better.
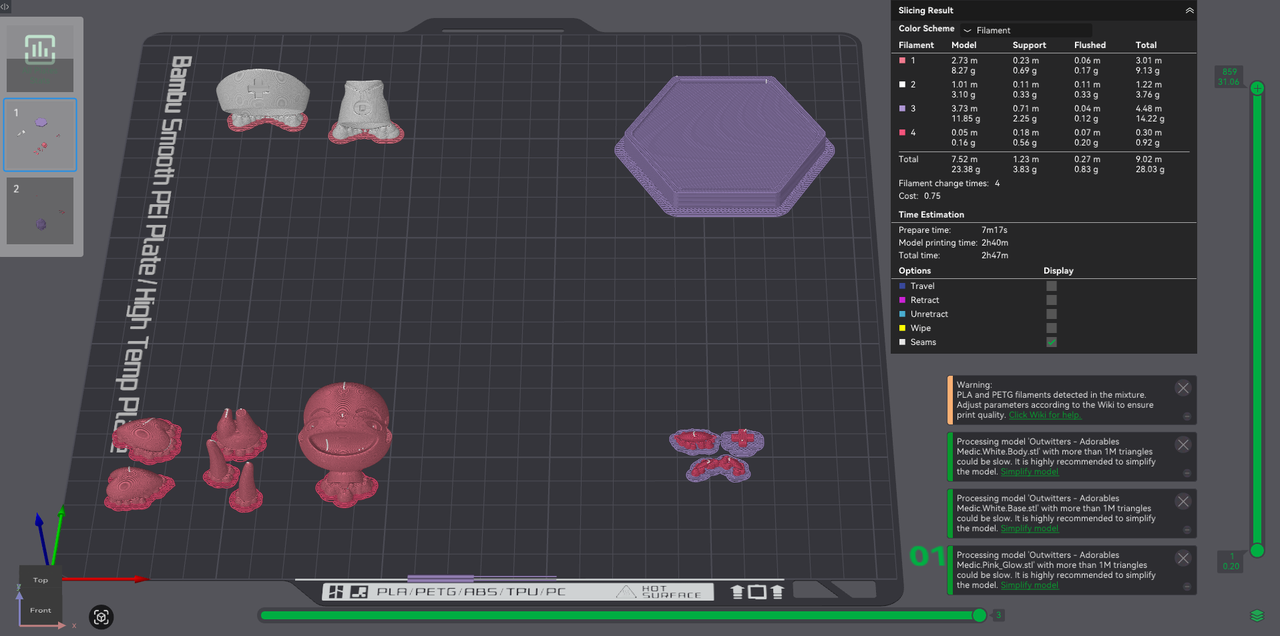
After cutting, keying, and placing all pieces on the build plate I made the 3D print render and send it over to Bambu Handy Slicer software.
You can tell there is a difference in layout in the slicer versus the blender render. I will explain why.
I have to split the pieces across 2 build plates if I want to do multiple colors on the same bed while also only needing 1 filament change per color. This saves both filament and time in the grand scheme of things.
Printing Theory and Slicing Decisions for FDM printing.
I use a Bambu Lab A1 Series FDM printer (Bed Slinger) with AMS Lite (4 Filament Changer).
Individual pieces of the same filament color are grouped together into a single printable so that the slicer considers them a single object group. Each group has to be spread far apart from each other to prevent the print head and nozzle from running into the other groups on the bed (ones that have already been printed.
The tallest parts have to print last and be separated on the Y axis (the slinger table) to prevent the tall parts from being knocked by the X-rail that the printer head slides left and right on.
I am including an animation showing how the parts end up getting laid out on the build plate before being exported as individual STL files (grouped per color).
Final Words
I definitely enjoyed making this character and will add the assembled print once it finishes.
Enjoy!