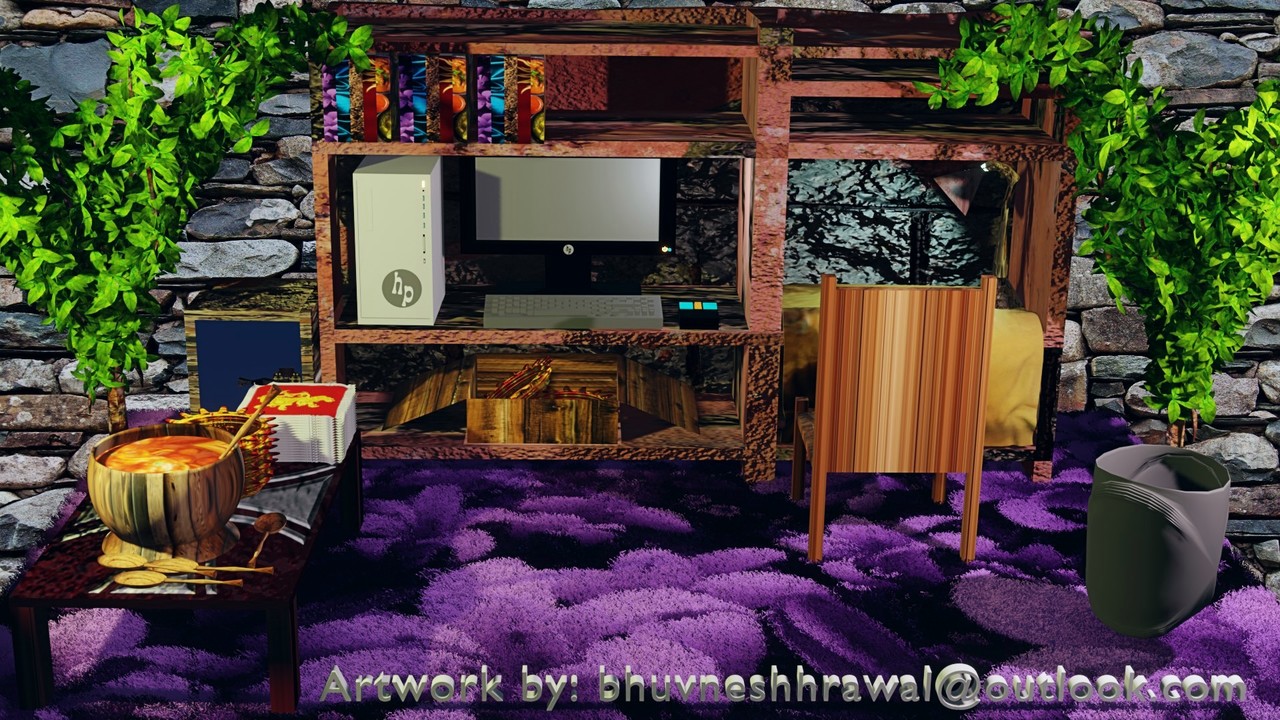
I have modeled a computer room in 3D Blender version 2.83.3 in the category are as follows:
Not the real computer room, but similar.
Technical Spec for modeling a Computer Room:
3D Modeling: in Moving, Scaling, Rotating, and Extruding...
Lighting: I used an "Area Light", mostly "Key Light" and "Fill Light".
Texturing: I used PBR (Physically Based Rendering) Textures for the rack in the back. I used four textured maps. Which includes "Color Map", "Roughness Map", "Displacement Map", and "Ambient Occlusion Map which connects to the Normal Map, your Dynamic Context Menu, which includes Texture Coordinates and Mapping, and Displacement.
Rendering: I used the EEVEE Render Engine for the final render to enable faster interactive previews in the 3D Viewport, and for final renders.
Compositing: I used "Camara Background". I selected the image from the Properties Window, then clicked open, then I selected the image where I saved it. Then, in "Render Properties" under "Film", select "Transparent". Then, in Compositing, I connected the nodes for "Image", "Render Layer", "Color: Alpha Over", Distort: Scale": Render Size, and then "Material Output".
UV Mapping (Unwrapping): For UV Mapping, I used it on every texture in the 3D Scene. When I use the tool on the object, whatever lines and cuts were there in that texture before are removed. So, first of all if you are on the 3D Viewport for the "Chair" you just modeled, and put the texture in, then go in "Edit Mode" by pressing tab for that object, by pressing "A" to select all the vertices then press"U" then "Smart UV Project" for the texture inside that object to "Unwrap".
Surface Modeling and Texturing: I used a Mesh Plane as "Image as Plane" to model and create a Textured Carpet. To create the carpet, I went to Particle Properties in the Properties Window.
For UV Sphere: I modeled it to create an "Antique Bowl" on the table on the left. Which you see soup inside that bowl. Four spoons on the table, then plates on the right, and then paper napkins.
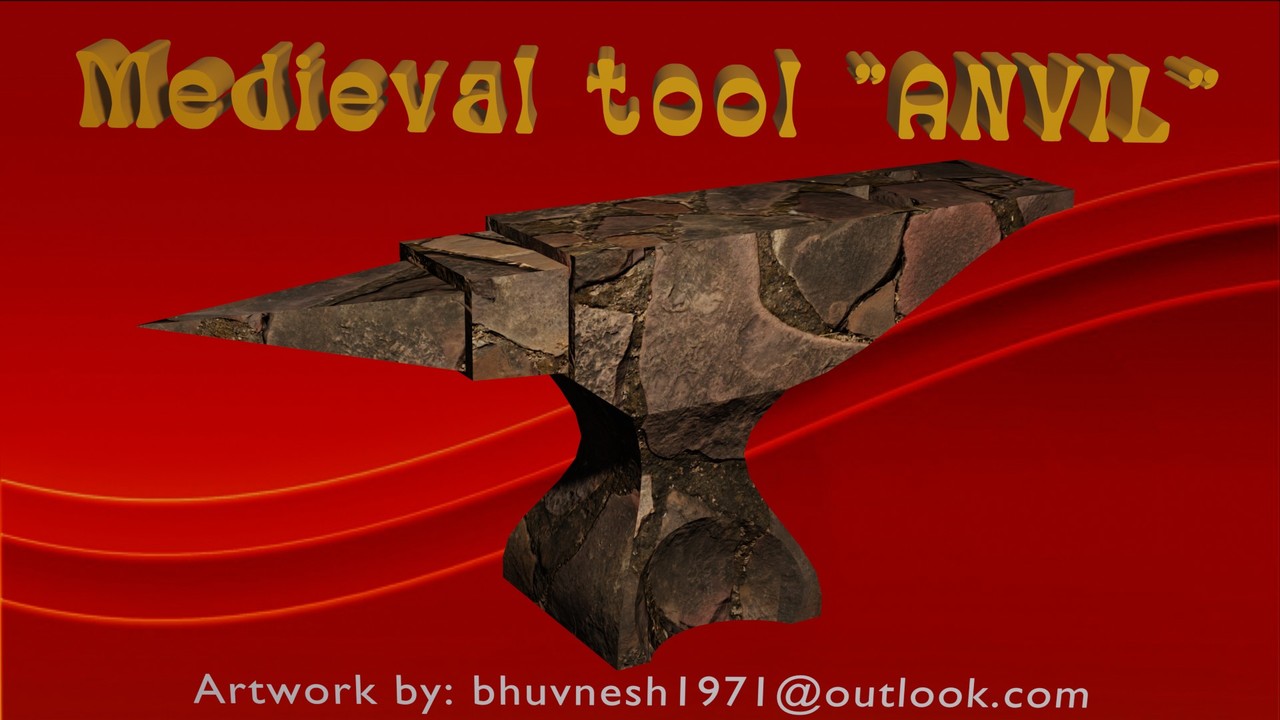
Hello! I hope all’s well. I used Mesh Cube for extruding, and Proportional Editing was turned on. In the Edit mode, I used loop-cut around 14 cuts vertically. On the 5th or 6th loop-cut, while you are in vertex mode, press S for scale, and then Shift+Z to gently scale up or down to make that curve. Then, in face select mode, select the top part of the cube, and extrude up. On the side of the cube, while you are in face select mode, press I to inset and extrude out. Press I again to inset, and extrude out two times for Table, Front, and Beak on an Anvil. Now select the right side of the Mesh Cube while in the Face mode, press E to extrude out and make it long, just about making 7 to 8 Loop-cuts, and select all the 7 - 8 loop-cut vertices. Press H to hide those vertices. Then select two vertices at the end to drag up and with the middle mouse button to scroll up and down, to curve, which creates a Hanging End of an Anvil while the Proportional Editing is on. Then press ALT+H to bring those 7-8 vertices back to create a Medieval Tool Anvil. On the top back of the Anvil, you create a Hardy hole and a Pin hole.
Last, but not least, now go to object mode, right-click on the 3D Viewport, and click Shade smooth. If it doesn’t come out clearly, then from the Properties Window select “Object Data Properties”, under Normals, and then Auto smooth. Oh yes, one more thing, I almost forgot, that I used Area lights, “Key light,” and “Fill light” to luminate the 3D scene.
For texturing, I have used PBR (Physically Based Rendering) texturing on the Anvil. There are 4 textured maps. (1) Color Map, (2) Roughness Map, (3) Displacement Map, and (4) Ambient Occlusion Map, which is a Normal Map. The Nodes in the Shader Editor are: 4 Texture Maps, Texture Coordinates, and Mapping, which is (Dynamic Context Menu), Displacement, Normal Map, and Invert color. From your second Image Texture output, the node connects to Invert Color, which connects to the Principled BSDF of the Roughness input. still background using “Camera Background”. On the bottom base of an Anvil, I used a Boolean Modifier to intersect with the UV Sphere. Then I rendered in EEVEE to give you fast interactive previews by pressing F12 or fn+12. I hope you all like it. Thank you.