Create your own sword to use in the game Beat Saber!
Beat Saber is one of my favorite VR games to play, but I feel like it would be so much more satisfying to swing sabers of my own design. In this stream I'm going to dive into what it takes to make one for yourself in Blender and Unity and how to design assets that have a very specific function that will be seen from all angles. Mod at your own risk.
If this is a topic that interests you, also check out my previous tutorial, Creating 3D Assets for Virtual Reality.
Here's a quick recap as well as links to all the mentioned resources:
1. Download Unity 18.1.6, and the Unity Project File from here: https://bs.assistant.moe/Sabers/
2. Download Mod Assistant here: https://github.com/Assistant/ModAssistant/releases
3. Run Mod Assistant and be sure to have the Custom Saber Mod checked.
4. Create a sword in Blender.
- Roughly 4.25 feet long is a great length and the size of the hitboxes, but you can make it whatever size you want.
- The sword needs to be at the world origin and running along the Y axis.
- Keep the polycount relatively low. No subdiv modifiers. Mine ended up being about 2,500 tris, but you could certainly add a bit more.
- Don't be afraid of n-gons, but triangulate them before exporting to Unity.
- Be sure to recalculate normals, shade smooth, and mark any necessary edges as sharp.
- The saber can be all one object or several - it doesn't matter.

- If you're new to modeling, these courses can get you started:
- Next, add materials. The shaders themselves won't transfer over, but you need to assign different parts of the object to different material slots.

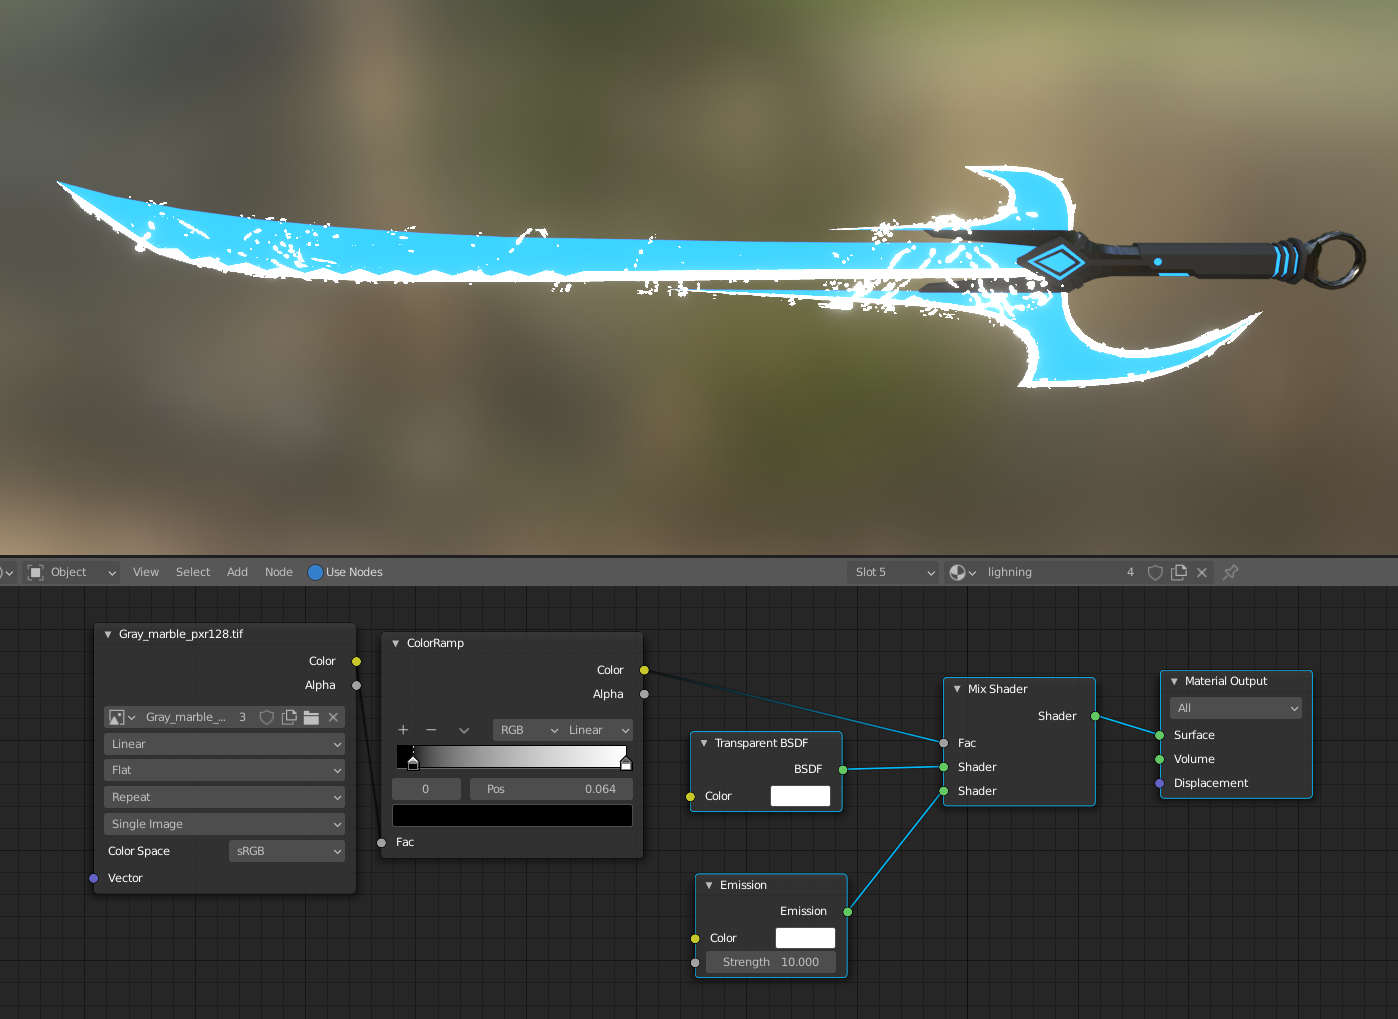
- If you want, add in some fun lightning effects by creating meshes that surround the glowing part of the sword. I've used a marble texture from Pixar to blend between emission and transparency.
- Unwrap the lightning part of the mesh so that if you move the UV's along the X axis, it flows in the direction of the blade. We'll animate this in Unity.

- Next, create a basic rig for the weapon. Parent the sword to it with Ctrl+P and choose Empty Weights. Make sure to create a bone for the hilt, even though it won't be animated.
- Assign the different parts of the weapon to the newly created vertex groups in Edit Mode so that they follow the bones.

- Create an opening animation by keyframing all the bones in Pose Mode on frame 10 or so, and then go back to frame one and hide all the parts in the hilt and insert another keyframe.
- Name this action in the Action Editor and click the shield icon to save it.

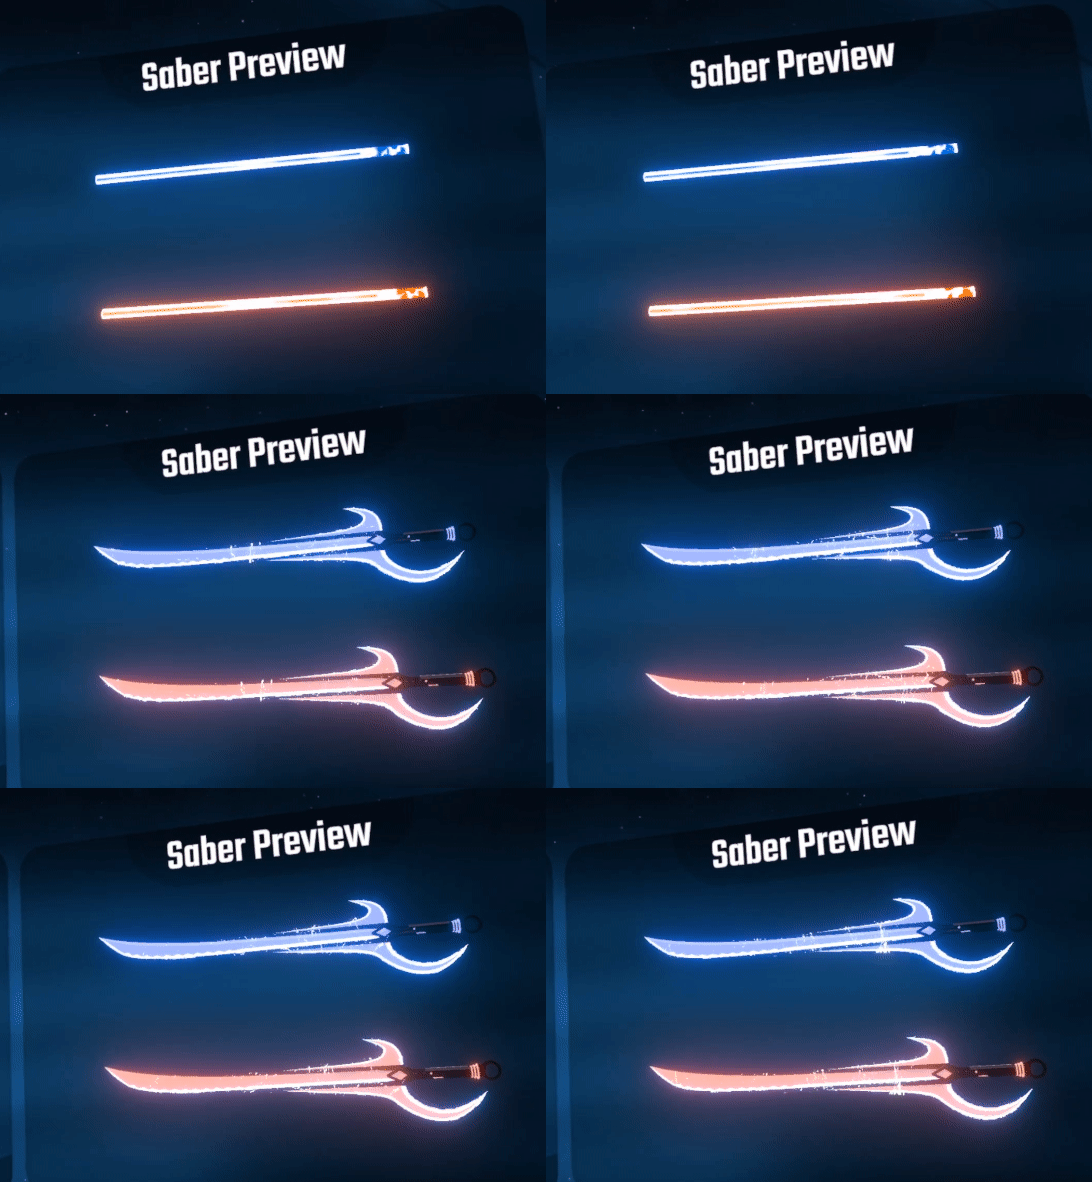
- Go to a frame where the sword is open and remove the action from the action editor. This makes sure the sword won't be closed when you export it.
- Once the mesh, UV's, and animations are ready, export the sword object(s) and the armature as an FBX file. Be sure to choose Limit To Selected Objects under Include and All Actions under Bake Animation.
- Be sure you're using Unity version 2018.1.6. If you don't have it, download it from here: https://download.unity3d.com/download_unity/57cc34175ccf/Windows64EditorInstaller/UnitySetup64-2018.1.6f1.exe
- Open up the Unity project that you downloaded in step 1.
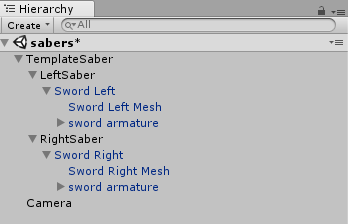
- Delete the sabers in the scene and replace them with your own. Be sure the place the left saber under the Left Saber object and the right one under the Right Saber object in the Hierarchy.
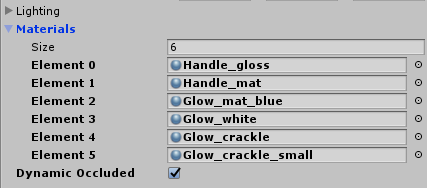
- Next, select the models and remap the materials using the Inspector and the materials provided in the SABER \ Materials folder. I've made a few variations of each material for the different colors.
- If you would like to animate your textures, edit the shader code from the SABER \ Shaders folder and follow this guide: https://gamedev.stackexchange.com/questions/135375/animated-textures-for-models-how-to-write-a-shader
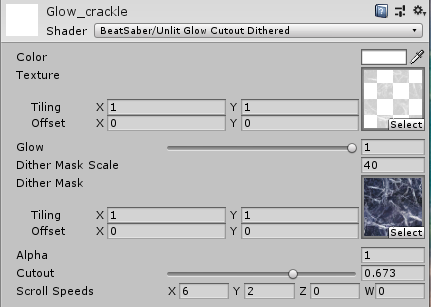
- You can also use the sh_custom_unlit_transparent_scroll.shader script I created for the lightning effect (drag and drop it onto the material) that's included in the downloads for this livestream.
- For the Unlit Glow Cutout material to work, the color textures needs to have transparency and the dither mask texture needs to not have transparency. For whatever reason you can't use the same texture.
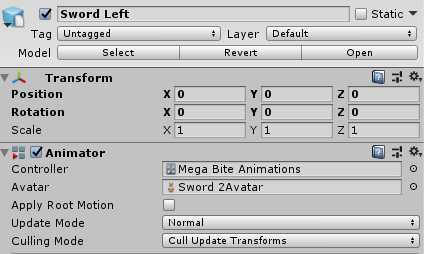
- Once the materials are set up and assigned, create a new Animator Controller in the Project and assign it to an Animator component on each saber object.
- Edit the Animator Controller and create a new state that holds the animation you want to play when it starts. Name it something memorable, like 'draw'.
- Create a new transition between the Entry state and the new state and name that transition the same name.

- Head back to the scene and select the LeftSaber or RightSaber object and add a new event under On Level Start (or whenever you want the animation to play).
- Choose Animator \ Set Trigger (string)
- Drag and drop the left saber object into the object slot and type the name of the animation state that you want to play.

- Finally, go to Window \ Saber Exporter and export the sabers into the Custom Sabers folder that the Mod Assistant created for the game. If using Windows and Steam it's under Program Files (x86)\Steam\steamapps\common\Beat Saber
- Play the game and enjoy! For more details, check the other tutorials out at this site: https://modelsaber.com/
- If you made a really cool one, let me know below or on Twitter! I'd love to check it out.



Hey there!!!
helloooo
Salutations!
BTW, if you have any sword / lightsaber designs you think are super cool, link them here and I'll see if we can incorporate it.
Hey all 👋 We'll get started in about an hour.