Deform is moving my apple

posted to: Intro to Sculpting
Trying to follow along. And when I get to the apple section... I've got a sphere. I am doing elistic reform (346px, .5 strength). When I click and hold on the far edge of a sphere, and I click and slide it inward to try to deform the apple, it does deform it, a bit, bit it also slides the entire sphere in the direction I'm dragging the mouse. Any thoughts on what I could be doing wrong here?
1 love
Reply
  • Martin Bergwerf replied

    Hi Joe,

    That sounds like your Influence is too large. The Brush Radius is in Screen Pixels (default), so zooming in on the Sphere might already help.

    You can also change the Radius to be in Scene size:

    Brush Size.png

    1 love
  • Omar Domenech replied

    Also in this lesson it's just the basics. If you want a deep dive into Sculpting, you can watch the Sculpting Fundamentals:

    https://cgcookie.com/courses/core-fundamentals-of-digital-sculpting-blender

    1 love
  • Ford Grimm(Ford) replied

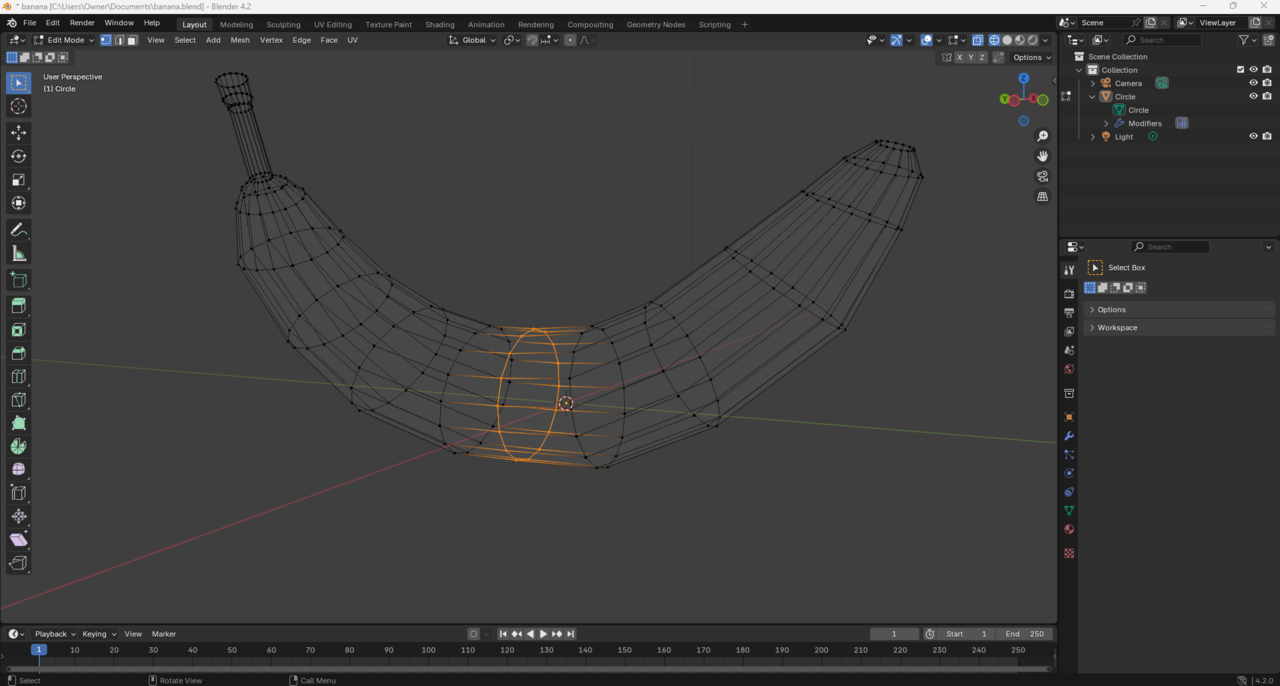
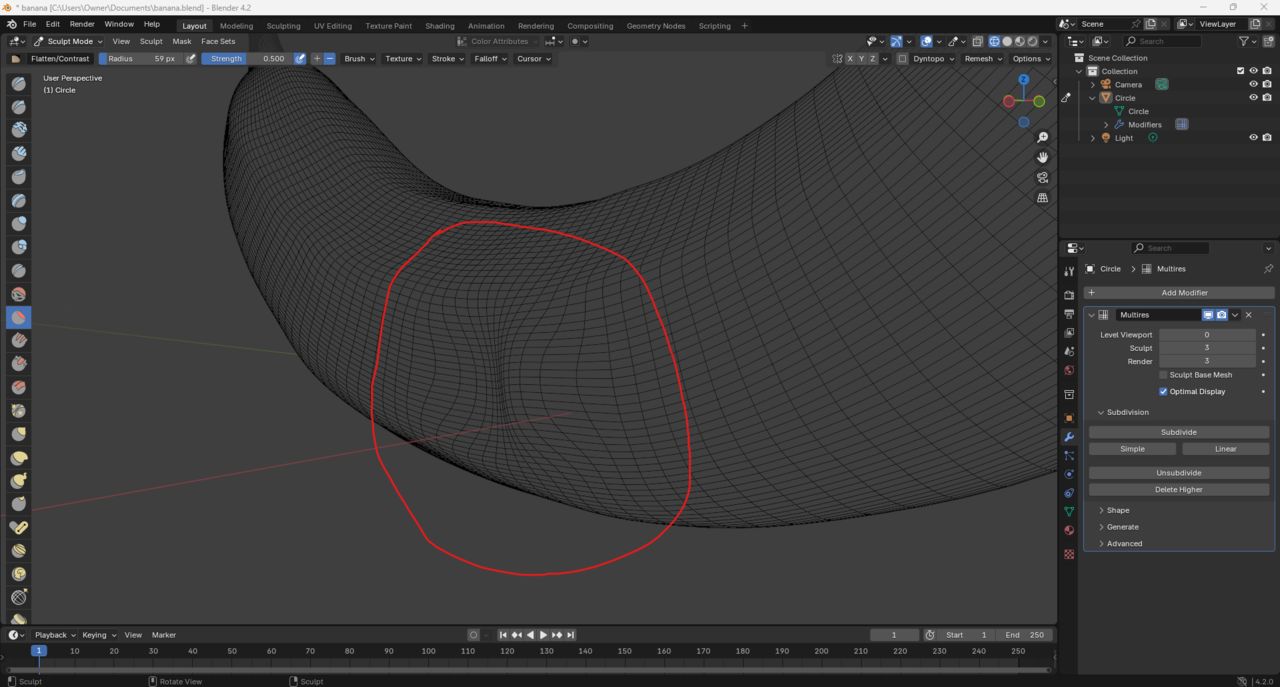
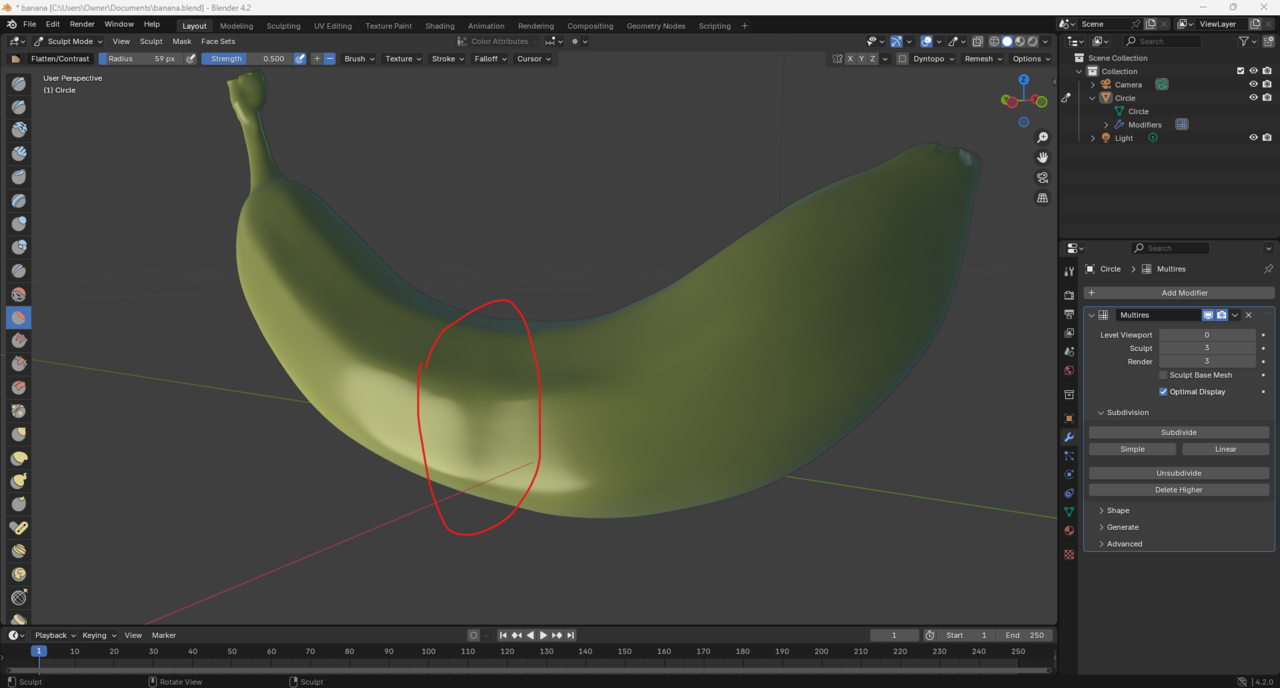
    Hi there! So my banana that I shaped in edit mode was giving me this ring in the middle! But I discovered the problem was the ring had a face! So after deleting the face it fixed it a lot, but not sure how to get these pinched mesh (if that's the right term) un-pinched, it's doing weird stuff on the banana, all help appreciated! 


    pinched.pngpinched 2.png025-07-31 052113.png025-07-31 052333.png

    1 love
  • Omar Domenech replied

    Looks the same problem, there's an interior face that shouldn't be there. In face select mode, select that face and delete it. And maybe just for good measure, see if you have any double vertices, so select that ring of edges and M to merge by distance. 

    2 loves
  • Martin Bergwerf replied

    Hi Ford Ford ,

    I assume the top two images are the current situation.

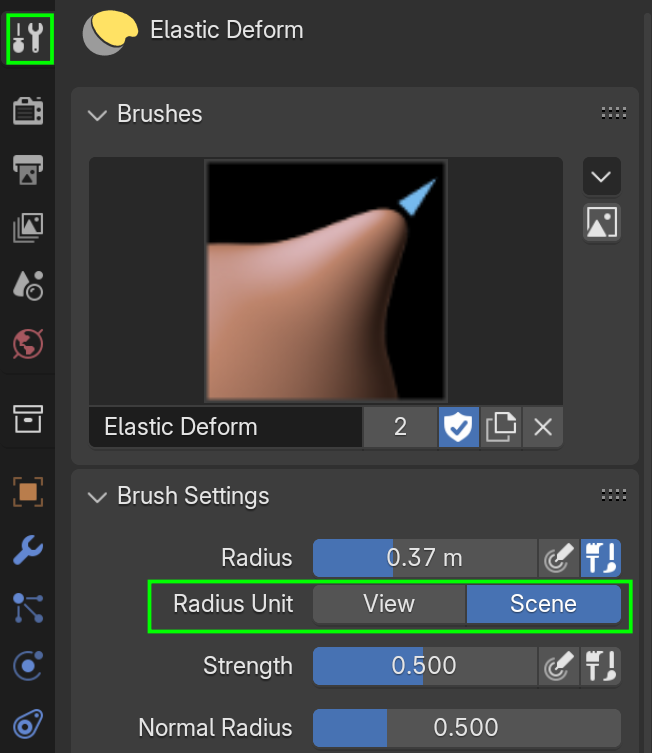
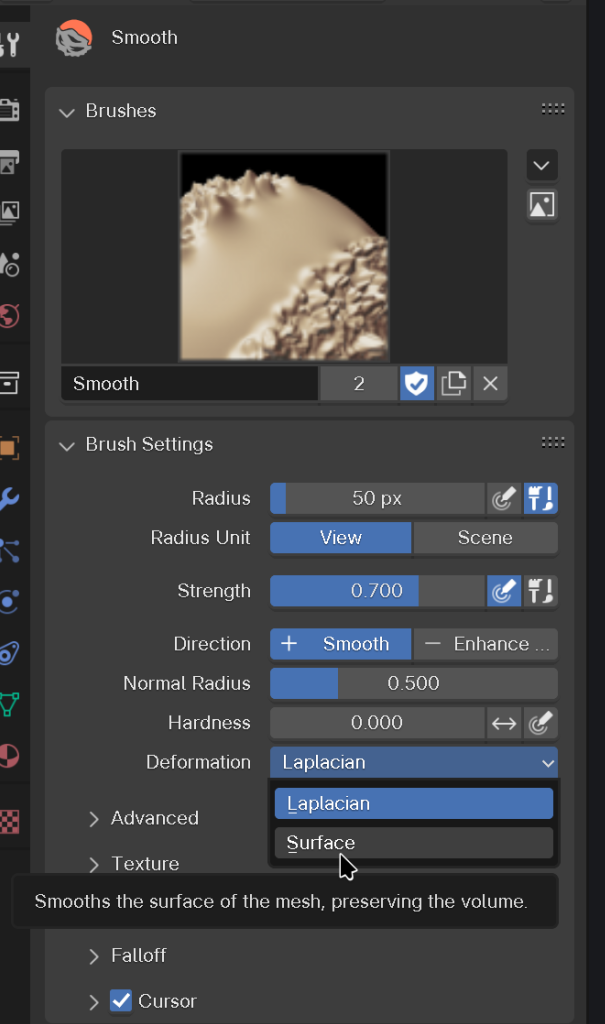
    There are several thing you can try; there is a Slide Relax Brush, and you can try the Smooth Brush, with the Deformation changed from Laplacian to Surface:

    Smooth.png

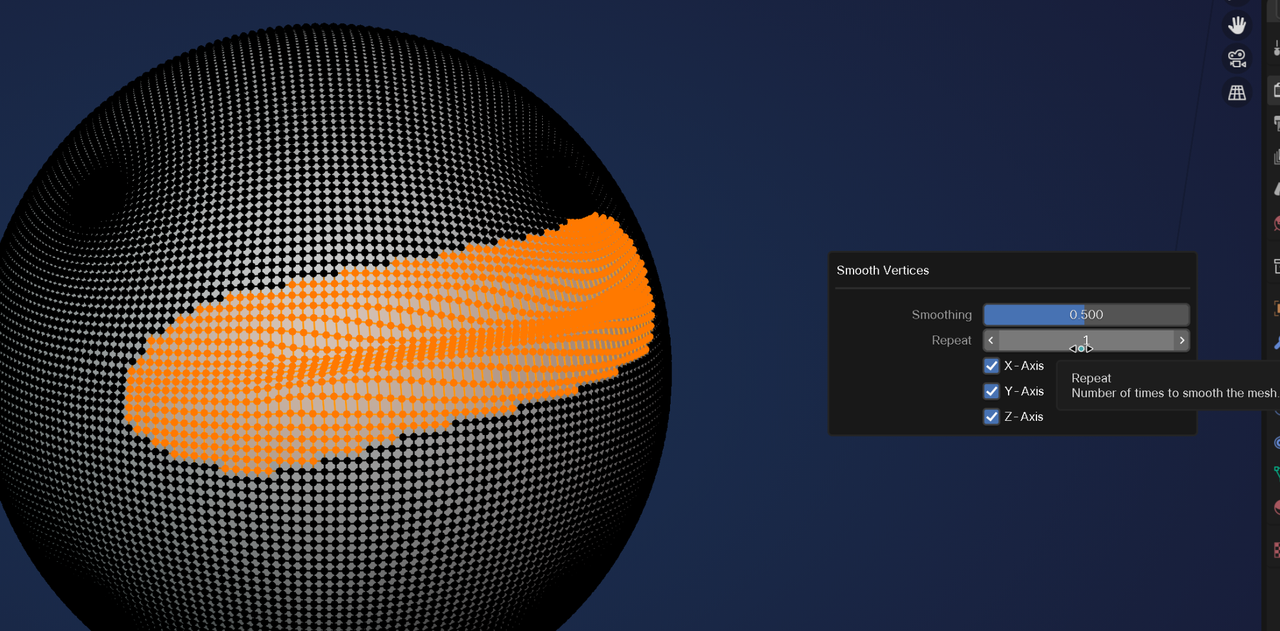
    But the probably easiest way, is to go into Edit Mode and Select that area and its surrounding Vertices and then (right click or in the Vertex Menu) Smooth Vertices:

    Smooth_01.png

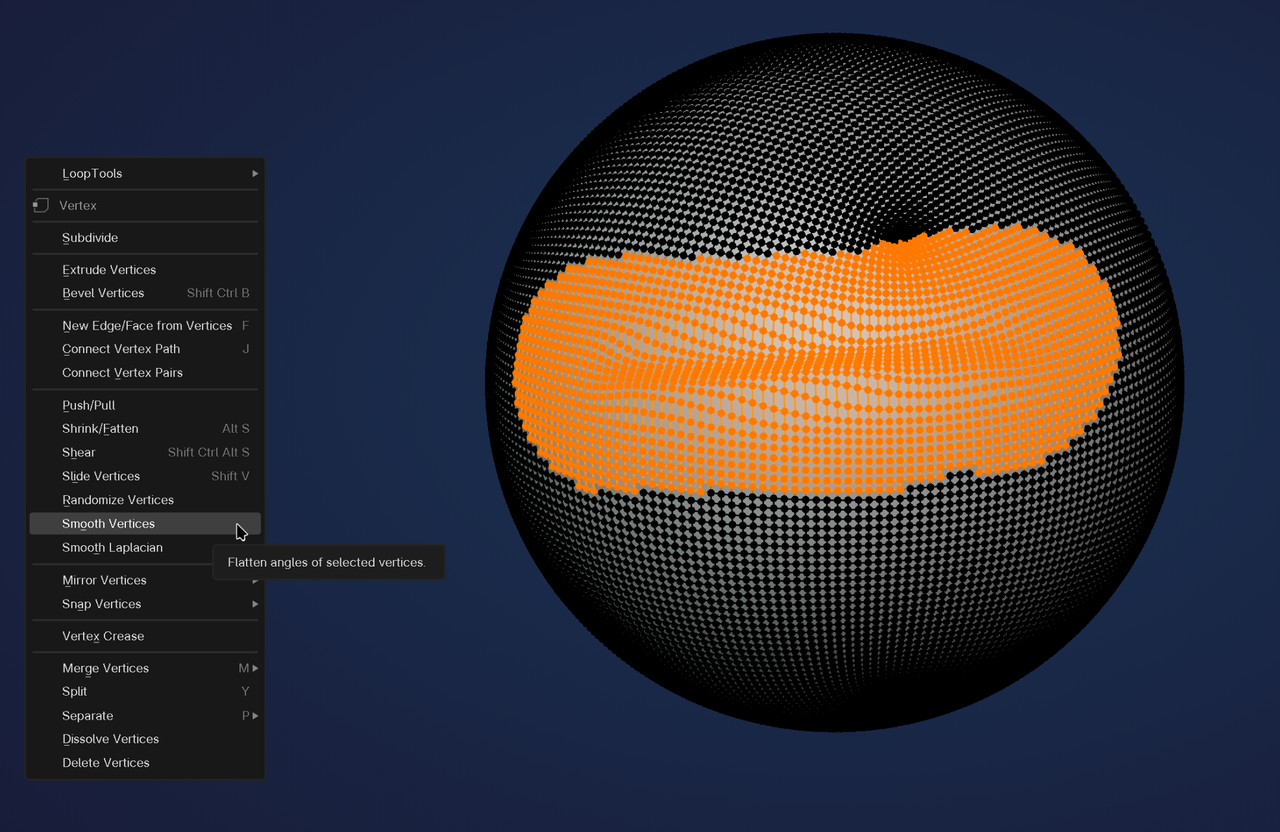
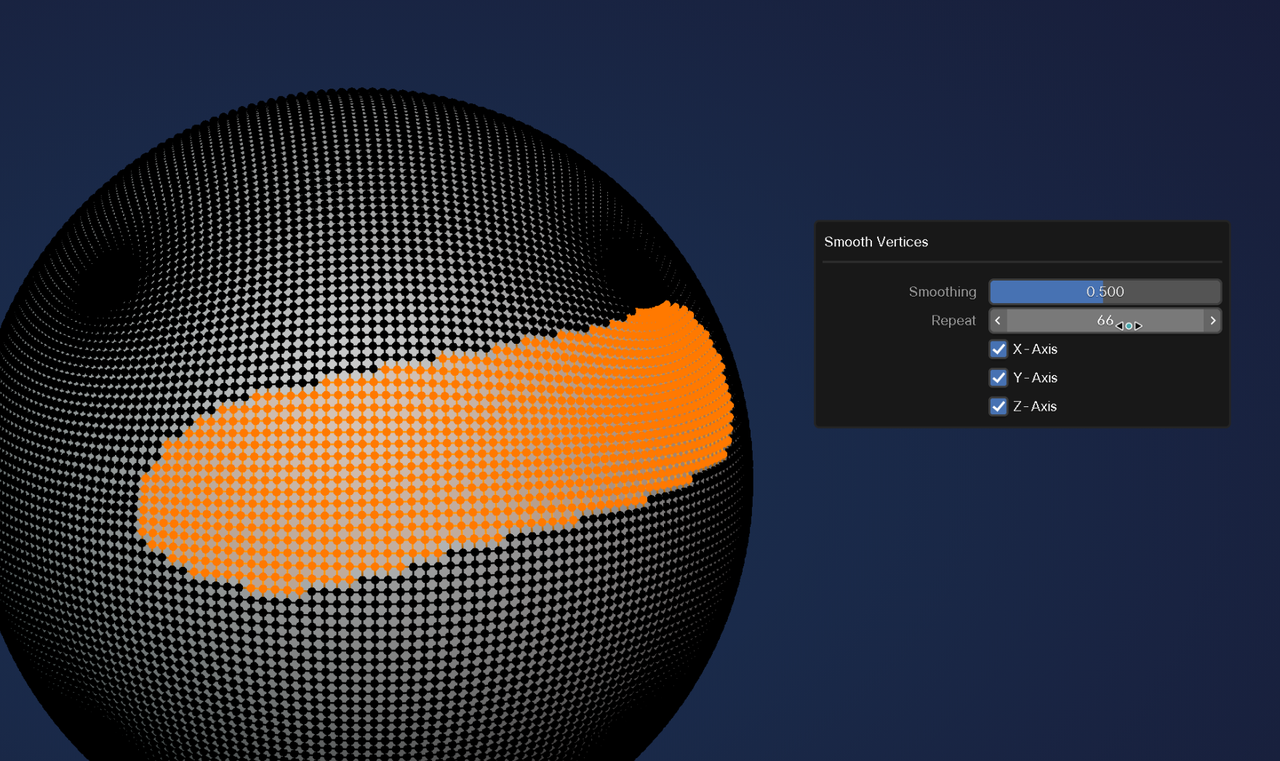
    Then in the 'Adjust Last Operation' Panel, you can increase the iterations until you are happy with the result.

    Maybe you need to use a combination of these techniques.

    2 loves
  • Martin Bergwerf replied

    Example:

    Smooth_02.png

    Smooth_03.png

    1 love
  • Ford Grimm(Ford) replied

    oomar I tried both and unfortunate Neither worked, the face has been remove like in the top two pictures I added.

    MMartin Bergwerf I will definitely try smooth vertices! But I'm not sure how to see the mesh in edit mode like you have here, all I have is the very basic circle like I drew originally

    025-08-04 053714.png


    1 love
  • Omar Domenech replied

    His images are edit mode as usual like you your images, only that perhaps Martin customized his vertices to look larger. Bad eyesight most likely, we're all there. 

    2 loves
  • Martin Bergwerf replied

    Oh wait Ford ,

     I wasn't paying attention; you are using a Multires Modifier.

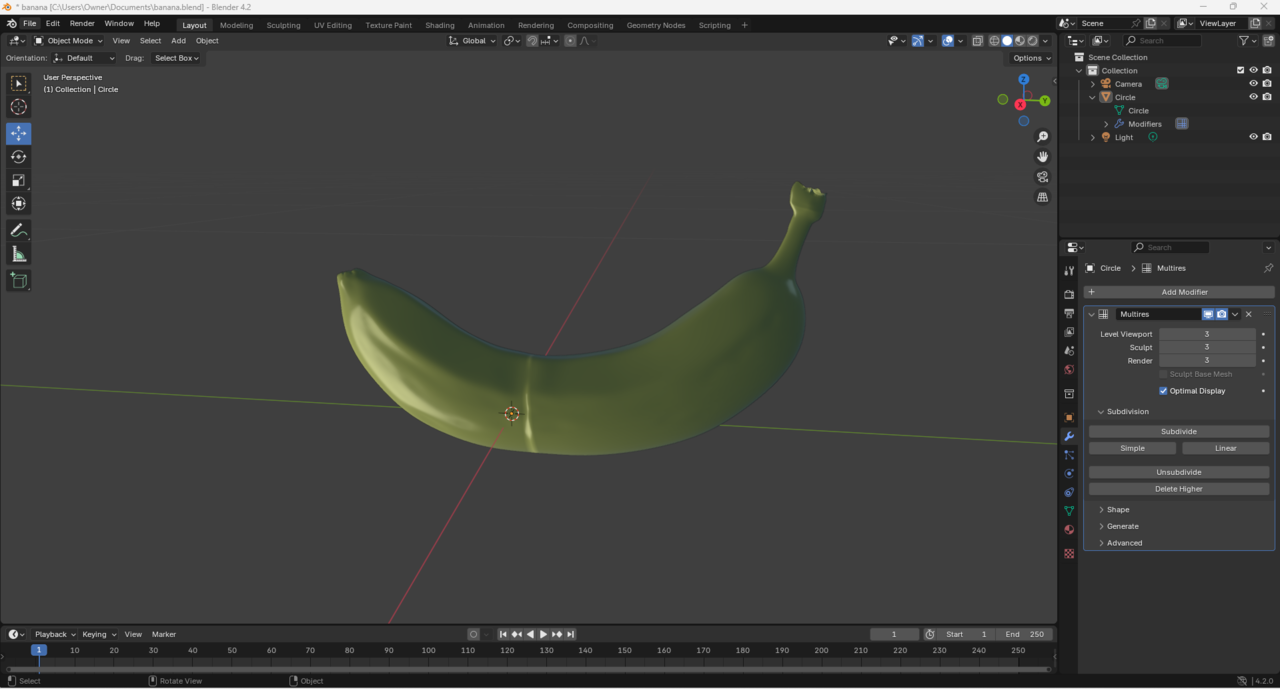
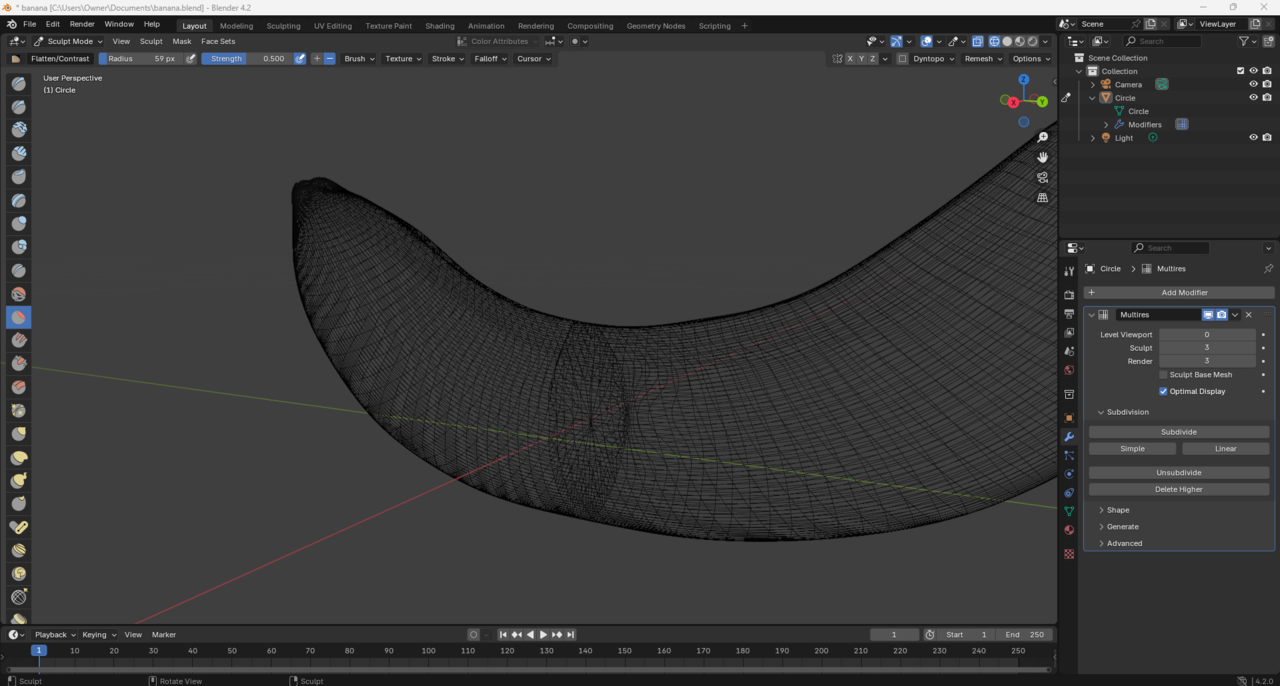
    Then that Edit Mode Smoothing won't work. You could go back a few Sculpt Levels in the Modifier until the problem area looks okay and then slowly go up again, Smoothing each Level.

    Or just start over and Delete Higher Levels.

    Mesh Modeling mistakes are often fixable, but with Sculpting, it is usually easier to start over. Get into the habit to Save Incrementally often, especially when Sculpting, so you have 'recovery points' and you don't have to start from scratch each time.

    2 loves
  • Ford Grimm(Ford) replied

    Ahhh ok that solves it, thank you guys for your help!!

    • 👍