„Single Image“ Texture Painting in Blender 2.90
1) Set your „Viewport Shading“ to „Solid“
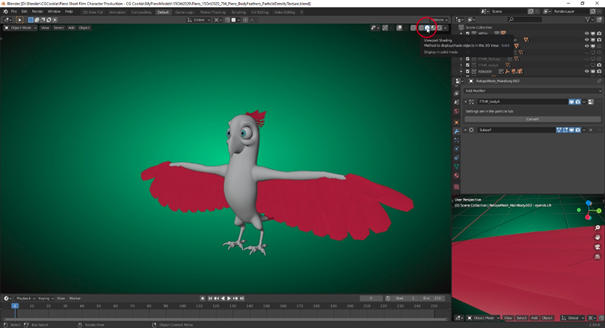
2) In the 3D Viewport select „Solid Mode“

Note: The "Texture Button" in the "Overlays" settings for the "Solid Mode" only needs to be pressed if you want to see the active texture (the one which you selected in your material's node tree or in the "Texture Slots" of the "Texture Paint Editor") also in "Object Mode".
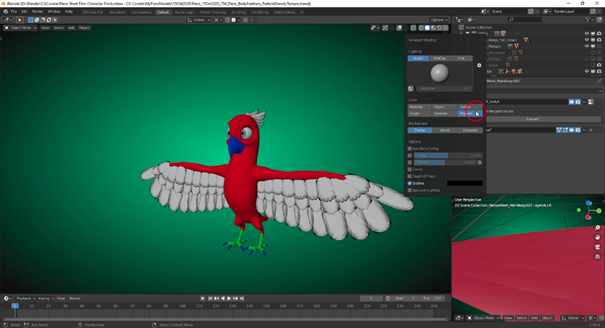
3) For creating a new texture without assigning it to a material (as it is the case here for creating a texture that controls the particle emission density), …
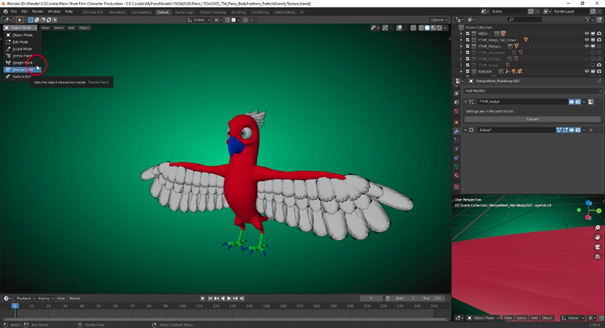
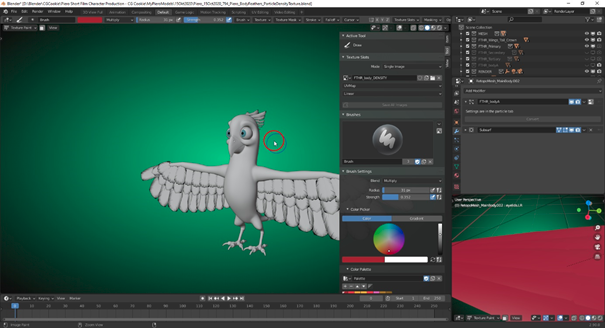
a) … switch in the „3D Viewport“ to „Texture Paint Mode“
b) Select „Single Image Mode“ in the „Texture Slots Panel“ of the „Properties Panel“ (Press „N“ if it’s not visible on the right side of you „Texture Paint Editor“)
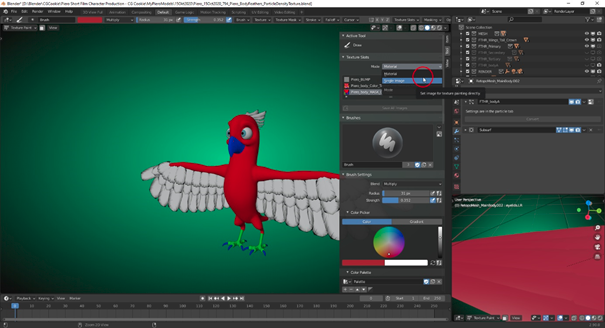
The magenta color of the object on which you want to paint shows that a texture is missing:
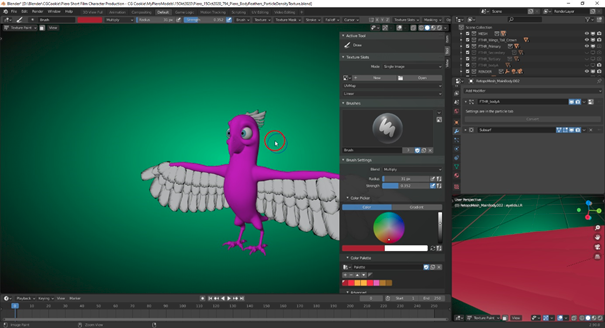
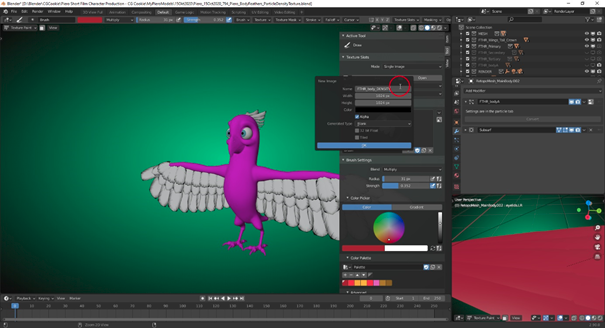
c) Click on „New“ in order to create a texture

Name it „FTHT_body_DENSITY“
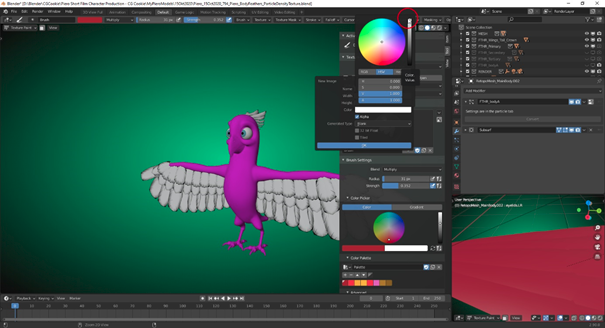
Set the initial „Color“ to „White“
And click „OK“ which now shows your object completely white
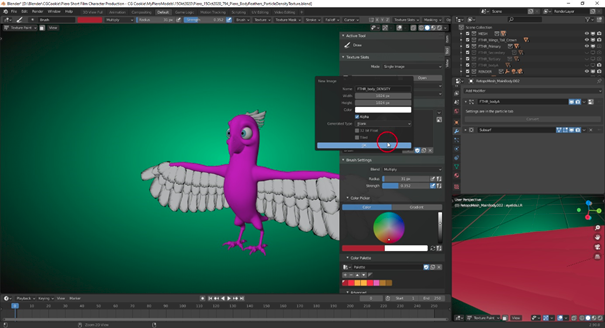
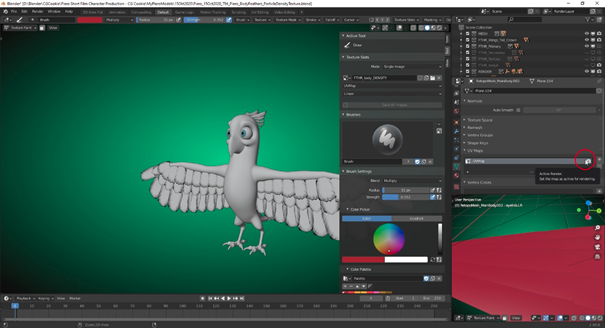
It uses the „Active UV Map“ which you can select by clickin on the „Camera Symbol“ to the right of a „UV Map“ in the „UV Map Panel“ of the „Object Data Tab“ for your active object

...