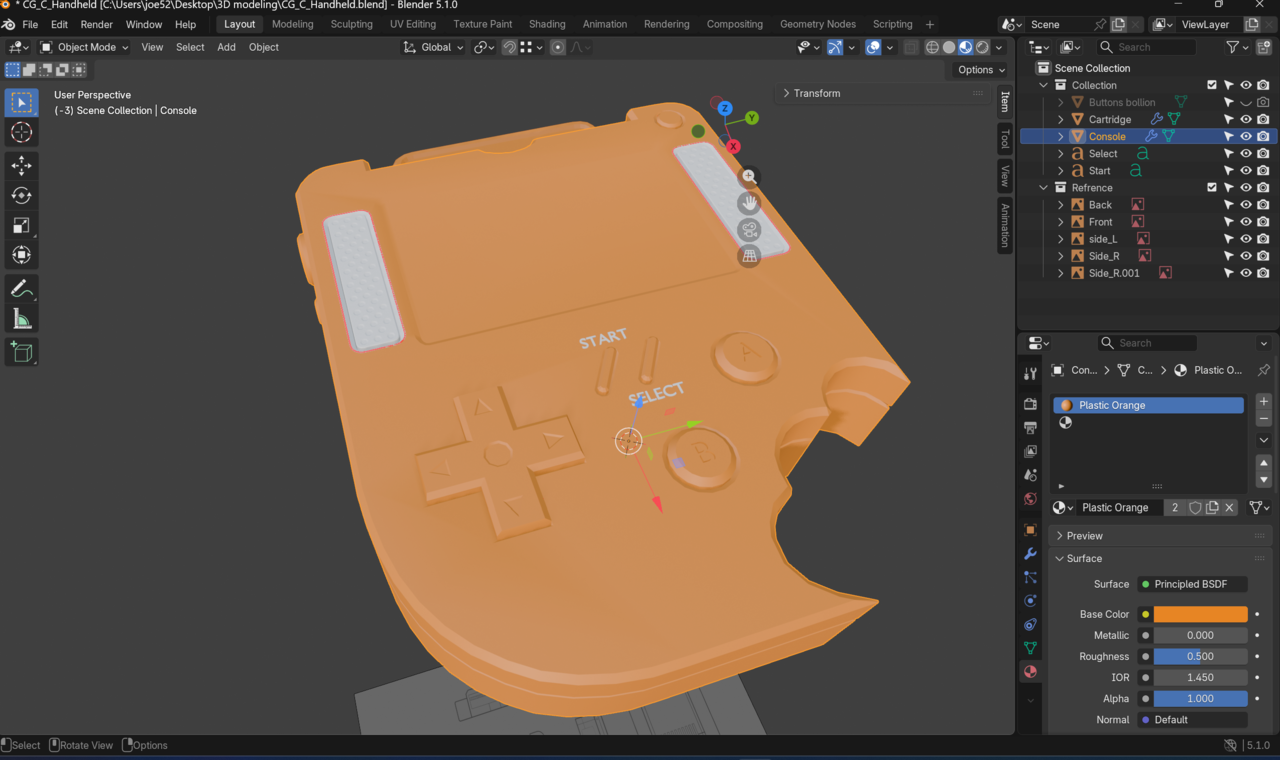
When applying my material to the model the speakers stay the default colour.
Hi SStoic ,
It's probably something really easy to fix, but could you upload your .blend file to Dropbox, googledrive, or so and post a link here, please? Then we can also see what's going on with those red outlines (Dwayne is probably right, but the we know for sure).
Or try Selecting the (Faces of the) Speakers in Edit Mode and Assigning the right Material. See also: https://cgcookie.com/community/22049-material-not-on-the-screen-and-speakers
Based on that screenshot, I'd say that the speakers are assigned to the 2nd slot and not the buttons.
Hi, folks
Thanks for taking the time to look over my question and offer support!
Here is the blend file, I'm still not to sure what to think. My guts telling me it might be something todo with flipped normals.
Link URL: https://drive.google.com/file/d/1xRIXtPT2Jv0AyYSJtqHHp78tQQry-Som/view?usp=sharing
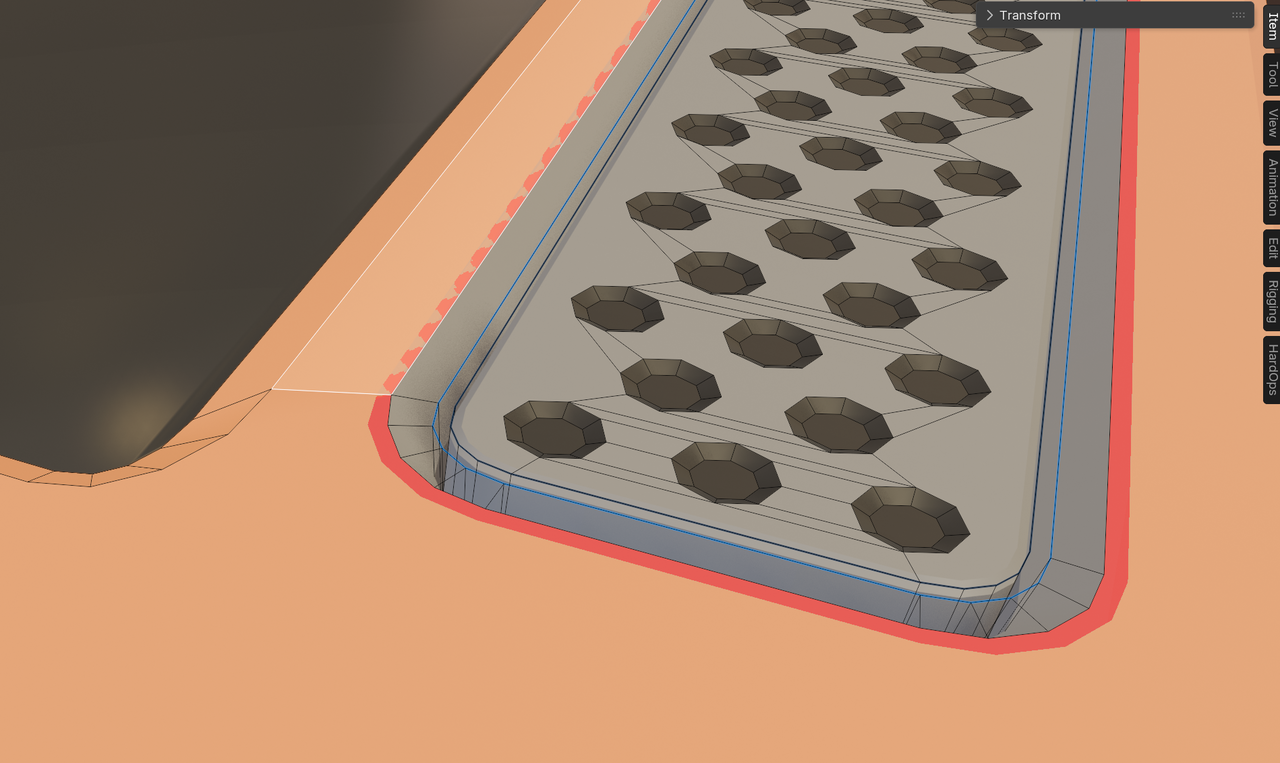
Ah! on the inset part, it's just scaled too big. If you go into the interior and select this loop on both sides and ALT-S to scale them along the normals, that should fix it. Don't have to scale it much, just enough to get rid of the line.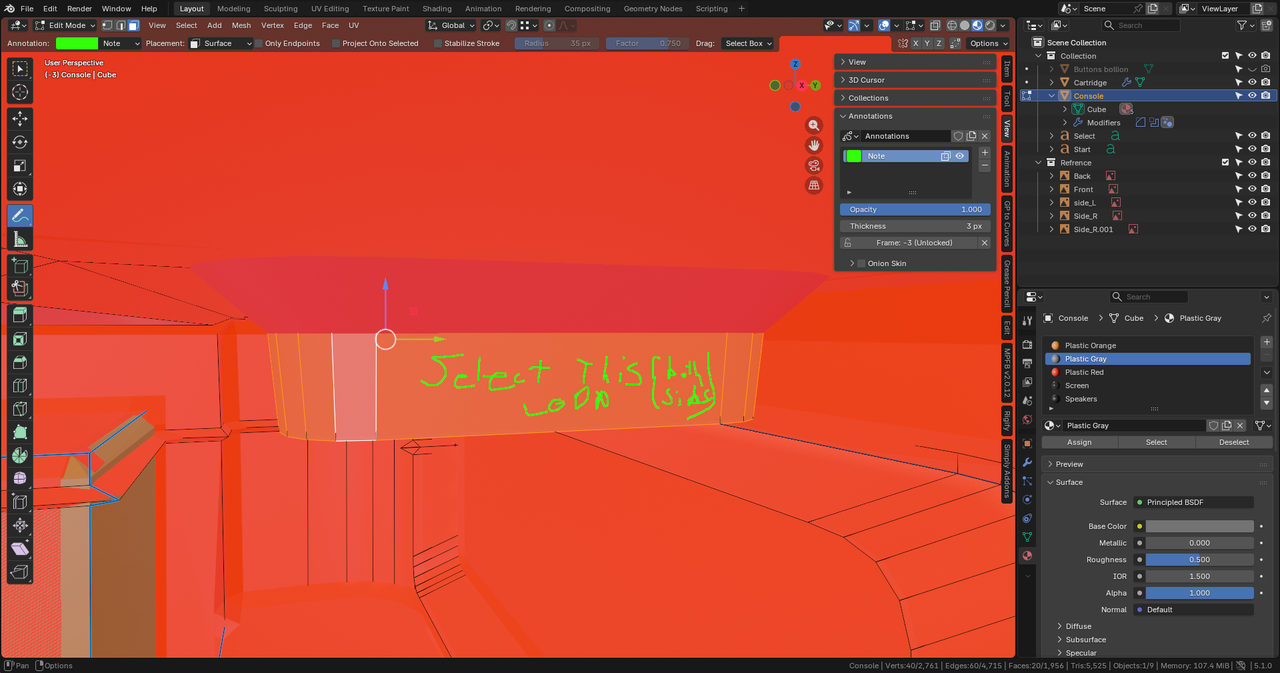
(also, I think it's just a part of the normals overlay and not something that will show up in the actual render... Sometimes, though, when using the tools, you might hvae to do a little cleanup to fix issues like this.)
Hi SStoic ,
Your Bevel (Amount) is too large for such a small model (I Hid one Face and disabled Face Orientation and Bevel, too better see what's going on):
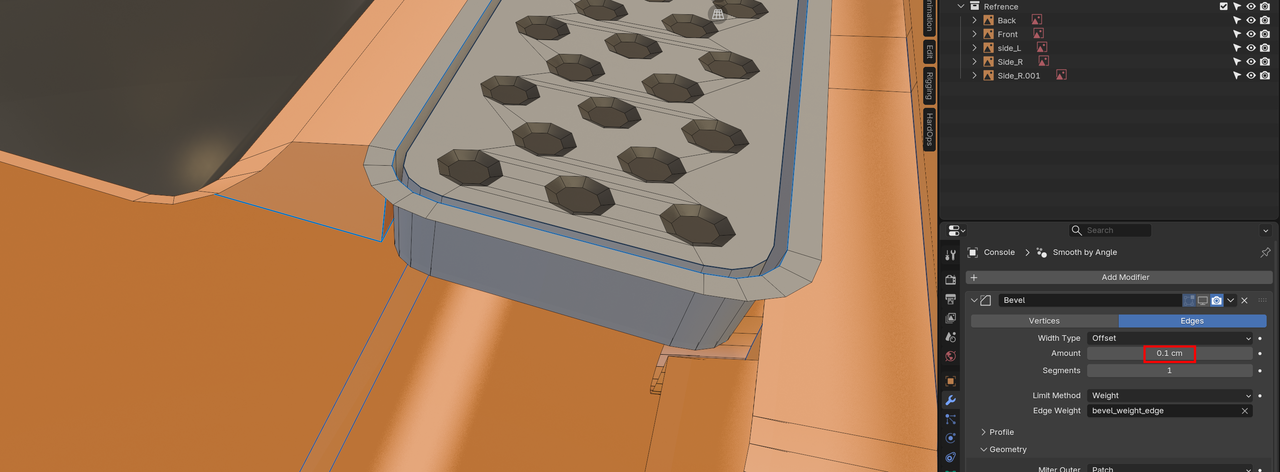
With the Bevel enabled you get this, so-called Z-fighting, where two Faces are (partially) in the same place:
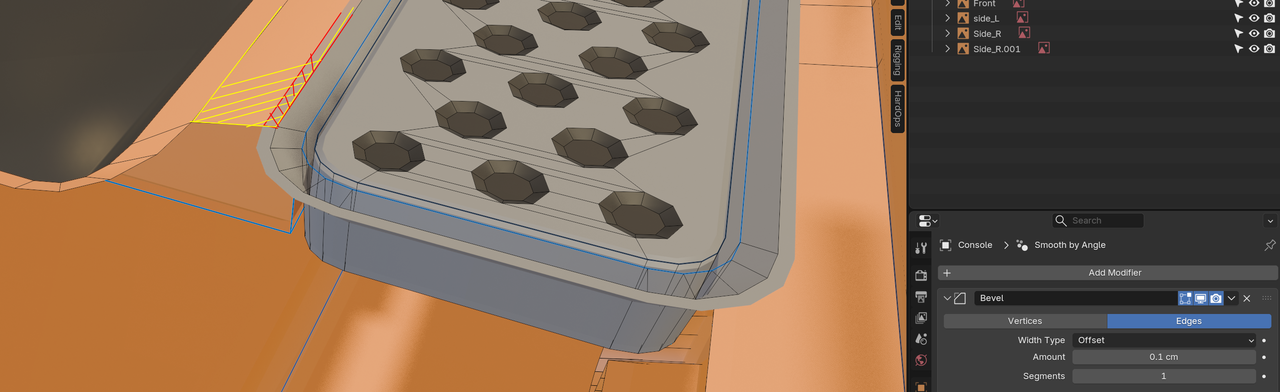
With Face Orientation enabled, you get that red 'line':
Now, as for the original question of the Speaker Material, you appear to have been able to fix that.